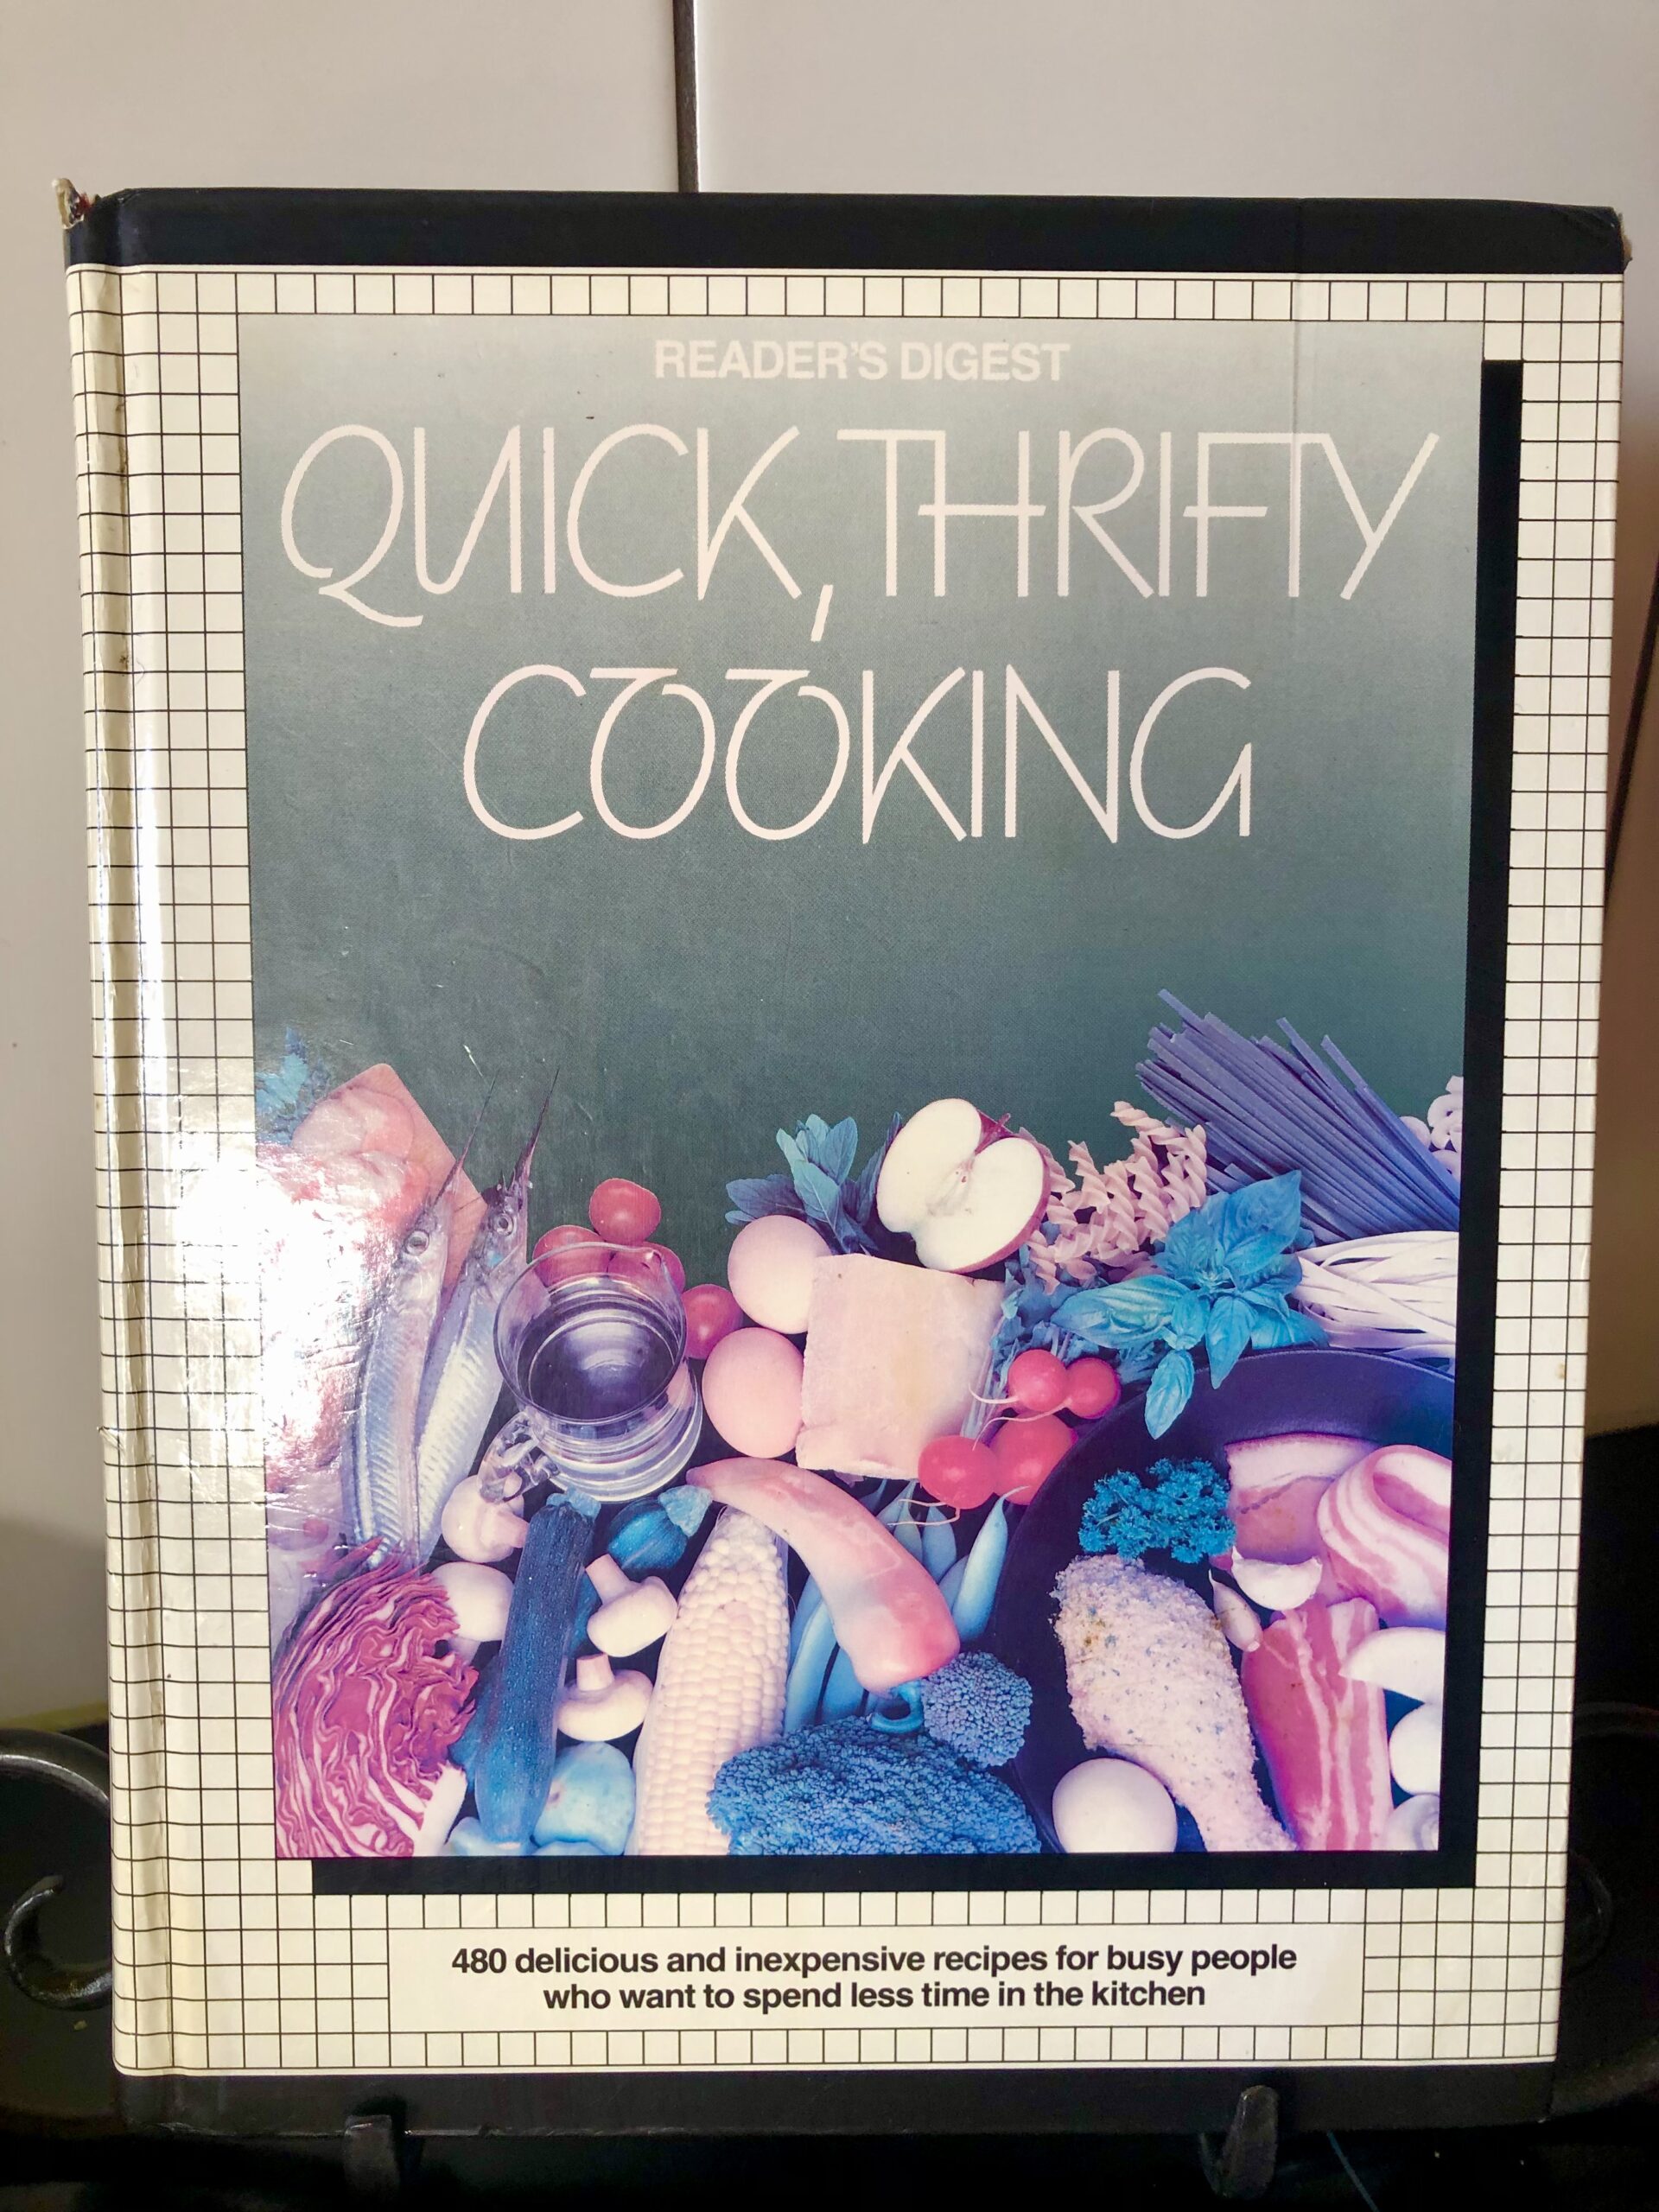
80s Quick, Thrifty Cooking

Come with me into the raddest era and enjoy a super easy recipe that is a great tummy filler for those busy days!

We are heading into the year 1985 and diving into a Readers Digest cookbook of Quick, Thrifty Cooking. If the cover doesn’t bring back some nostalgia then nothing will. 😁

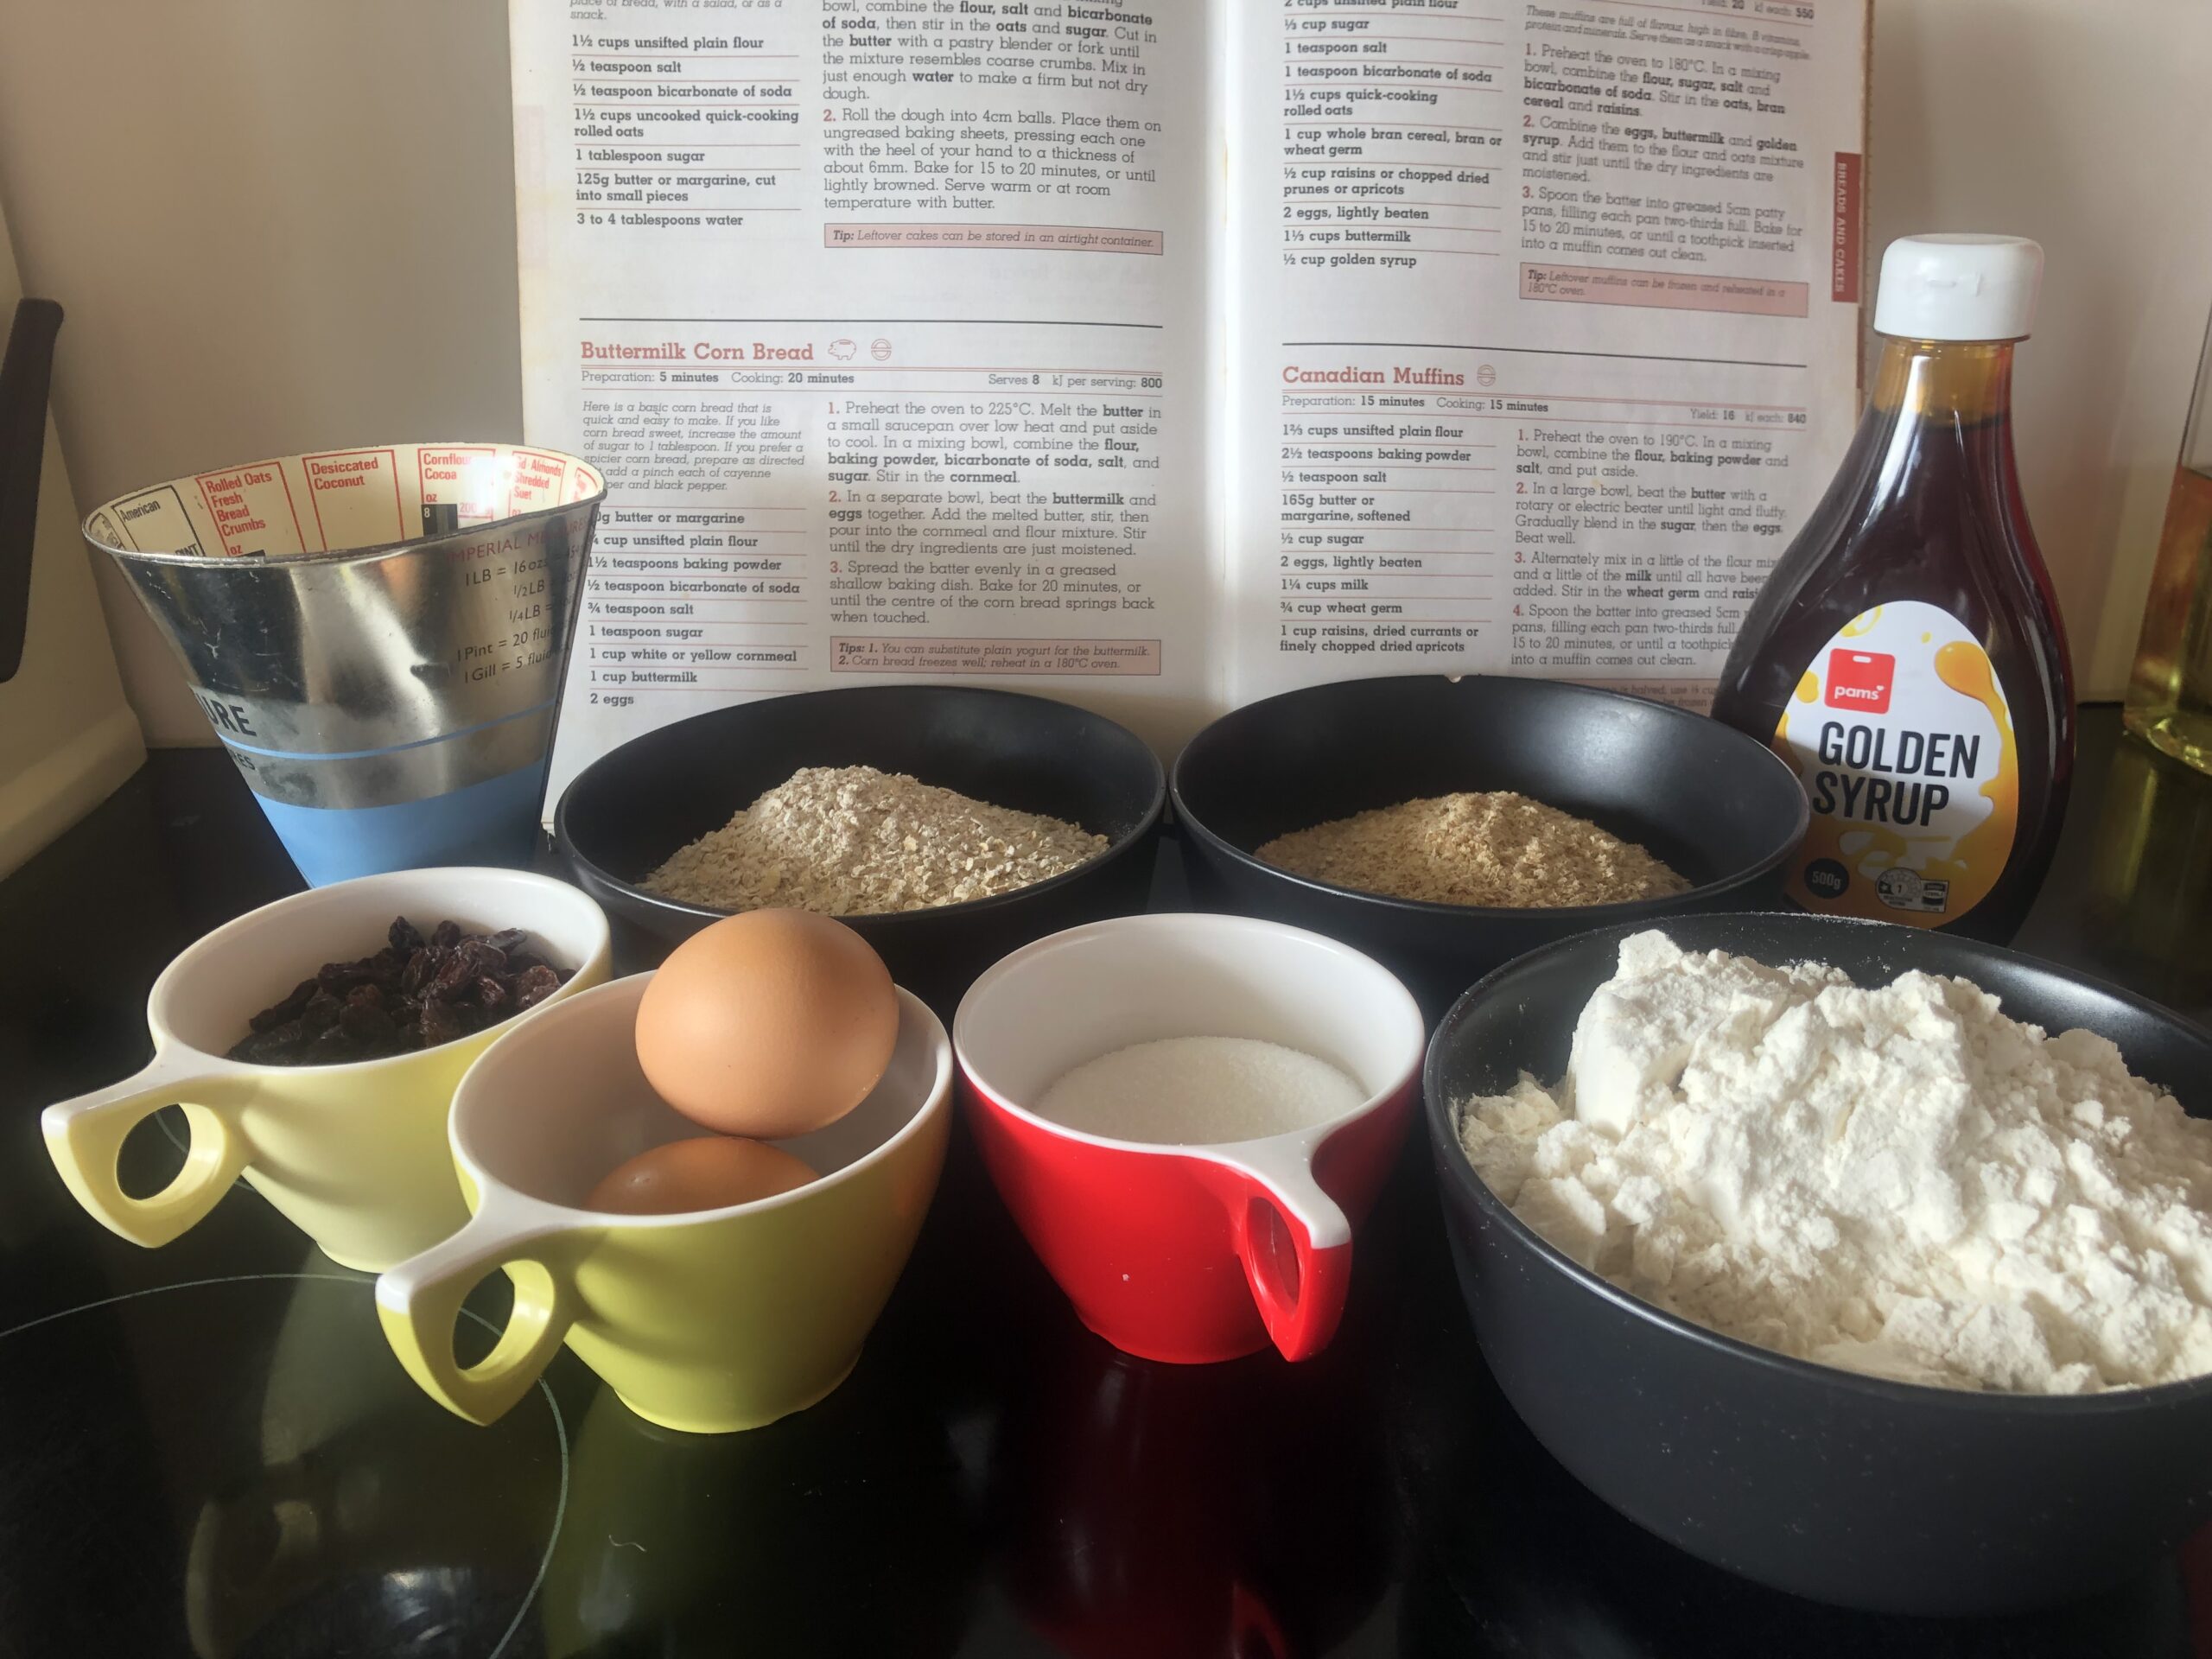
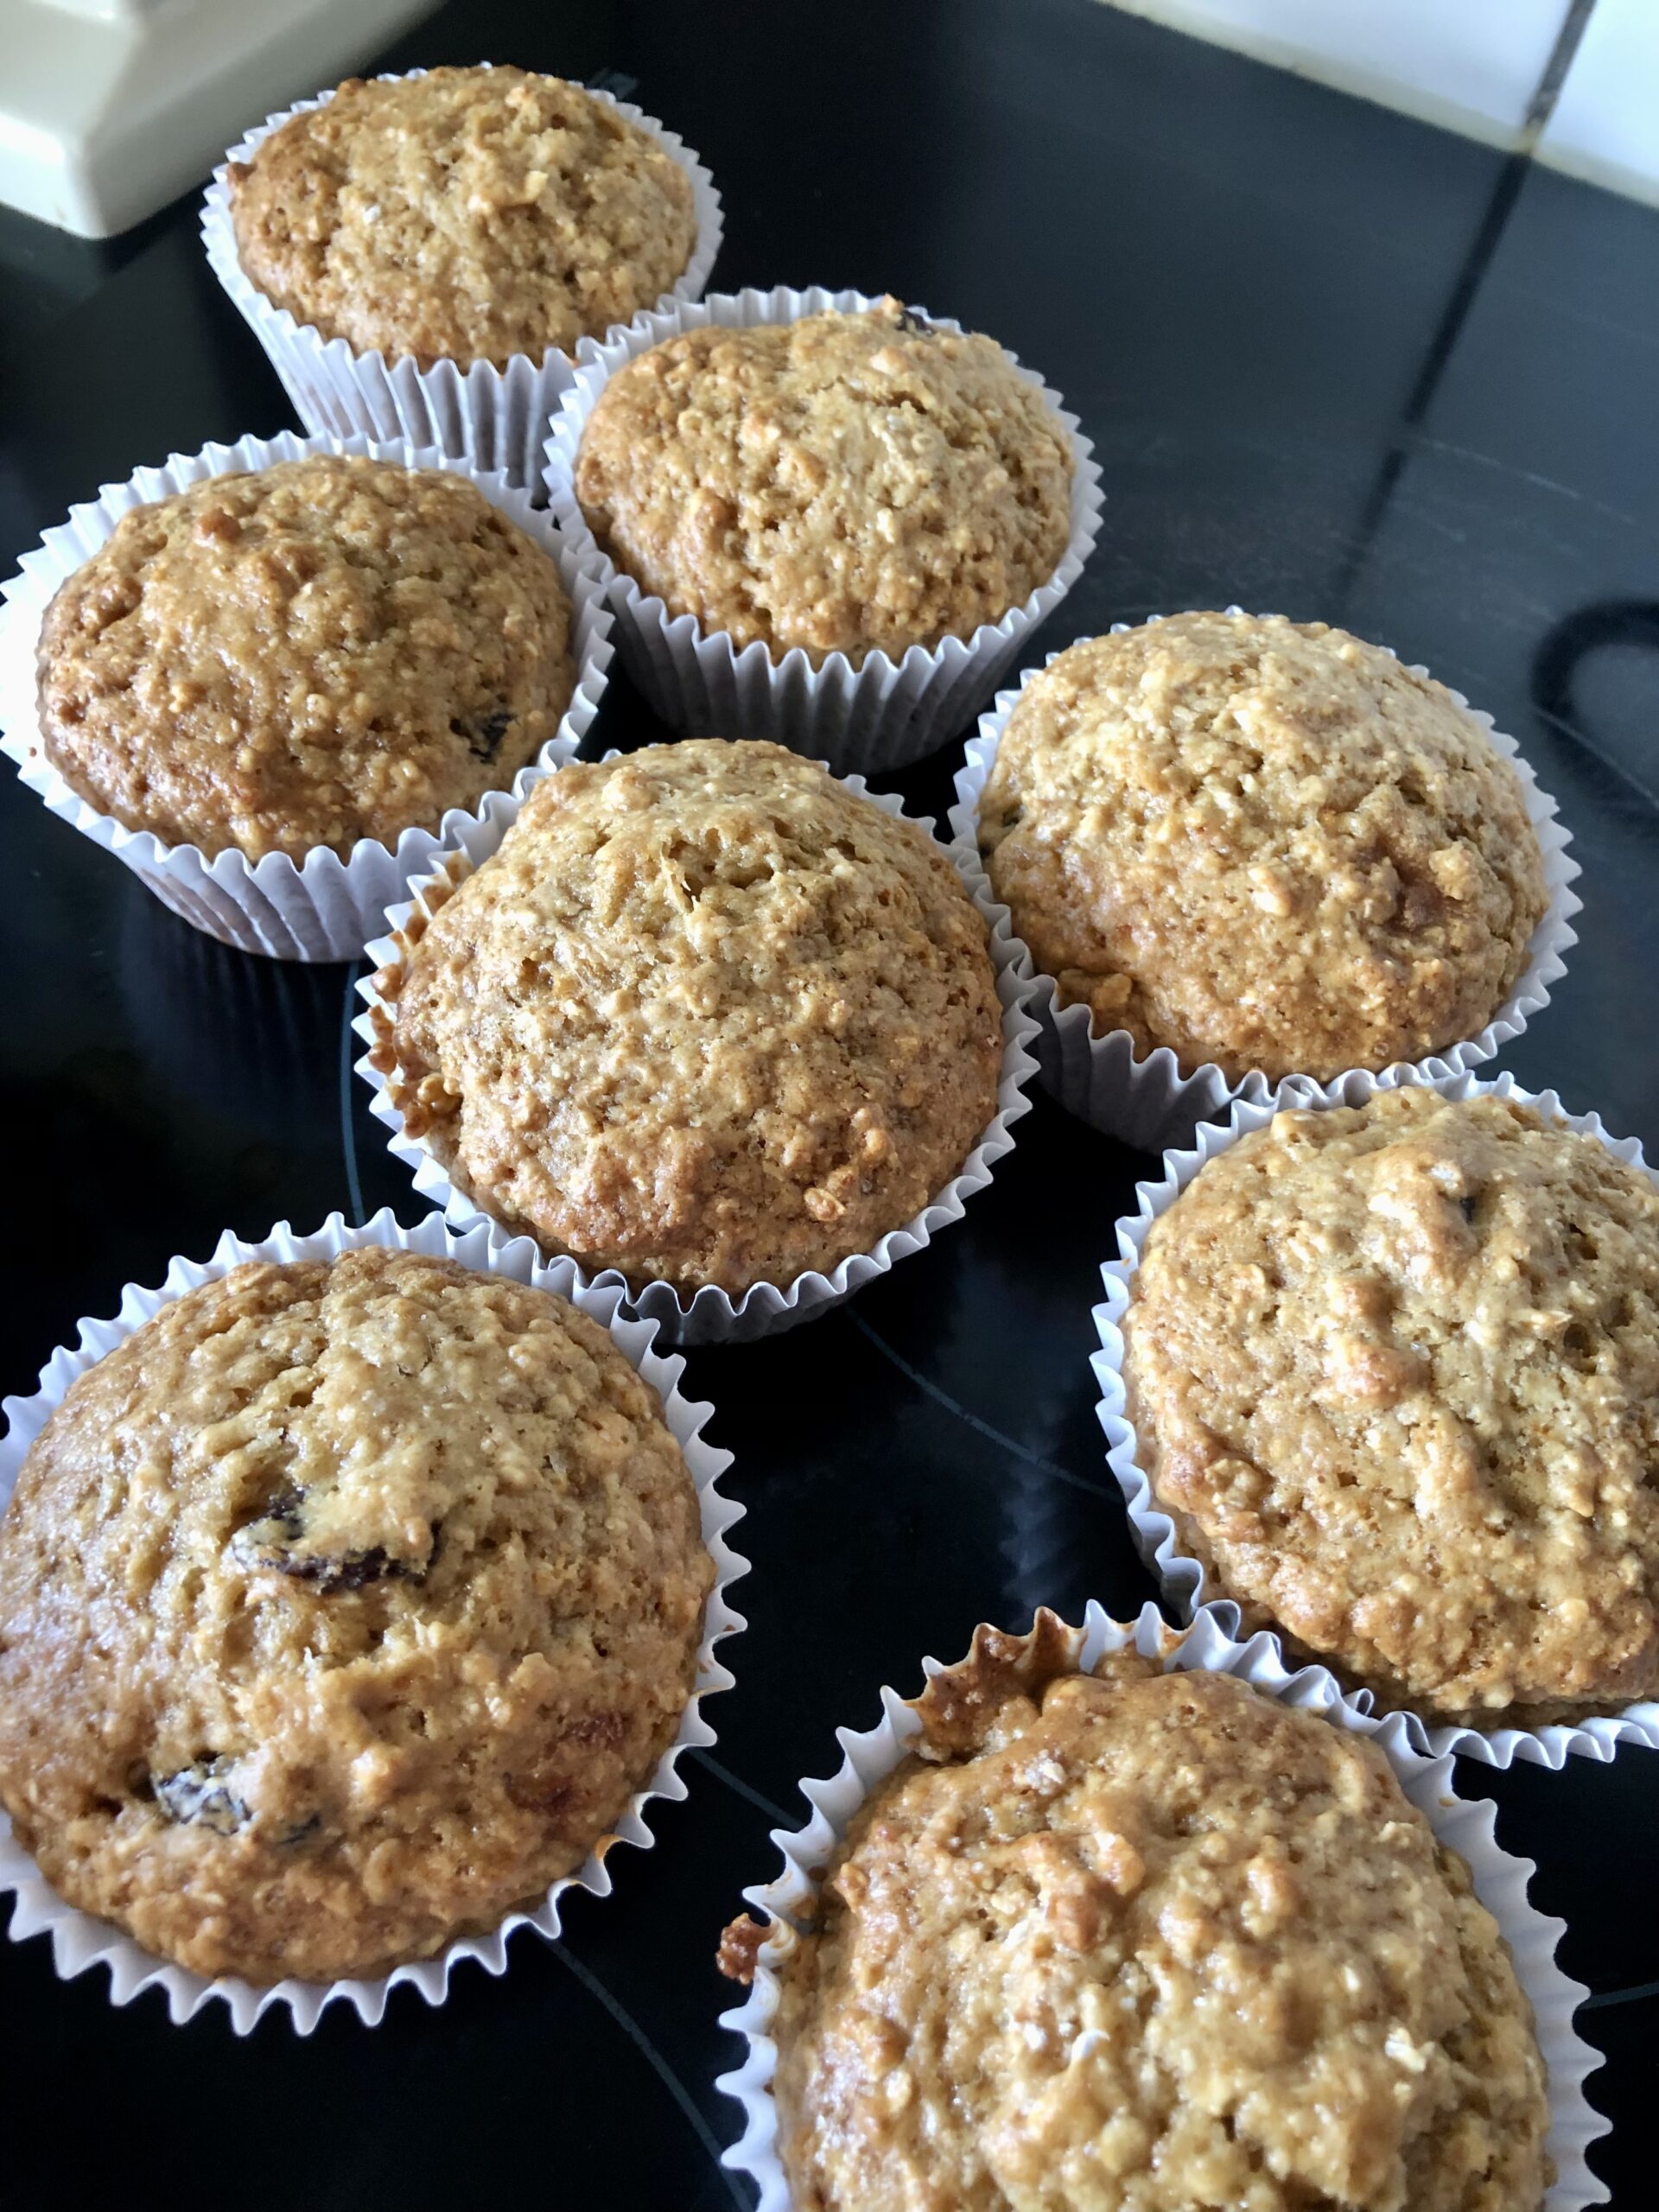
If you want a filling snack with lots of goodness then these High fibre muffins are the one for you!

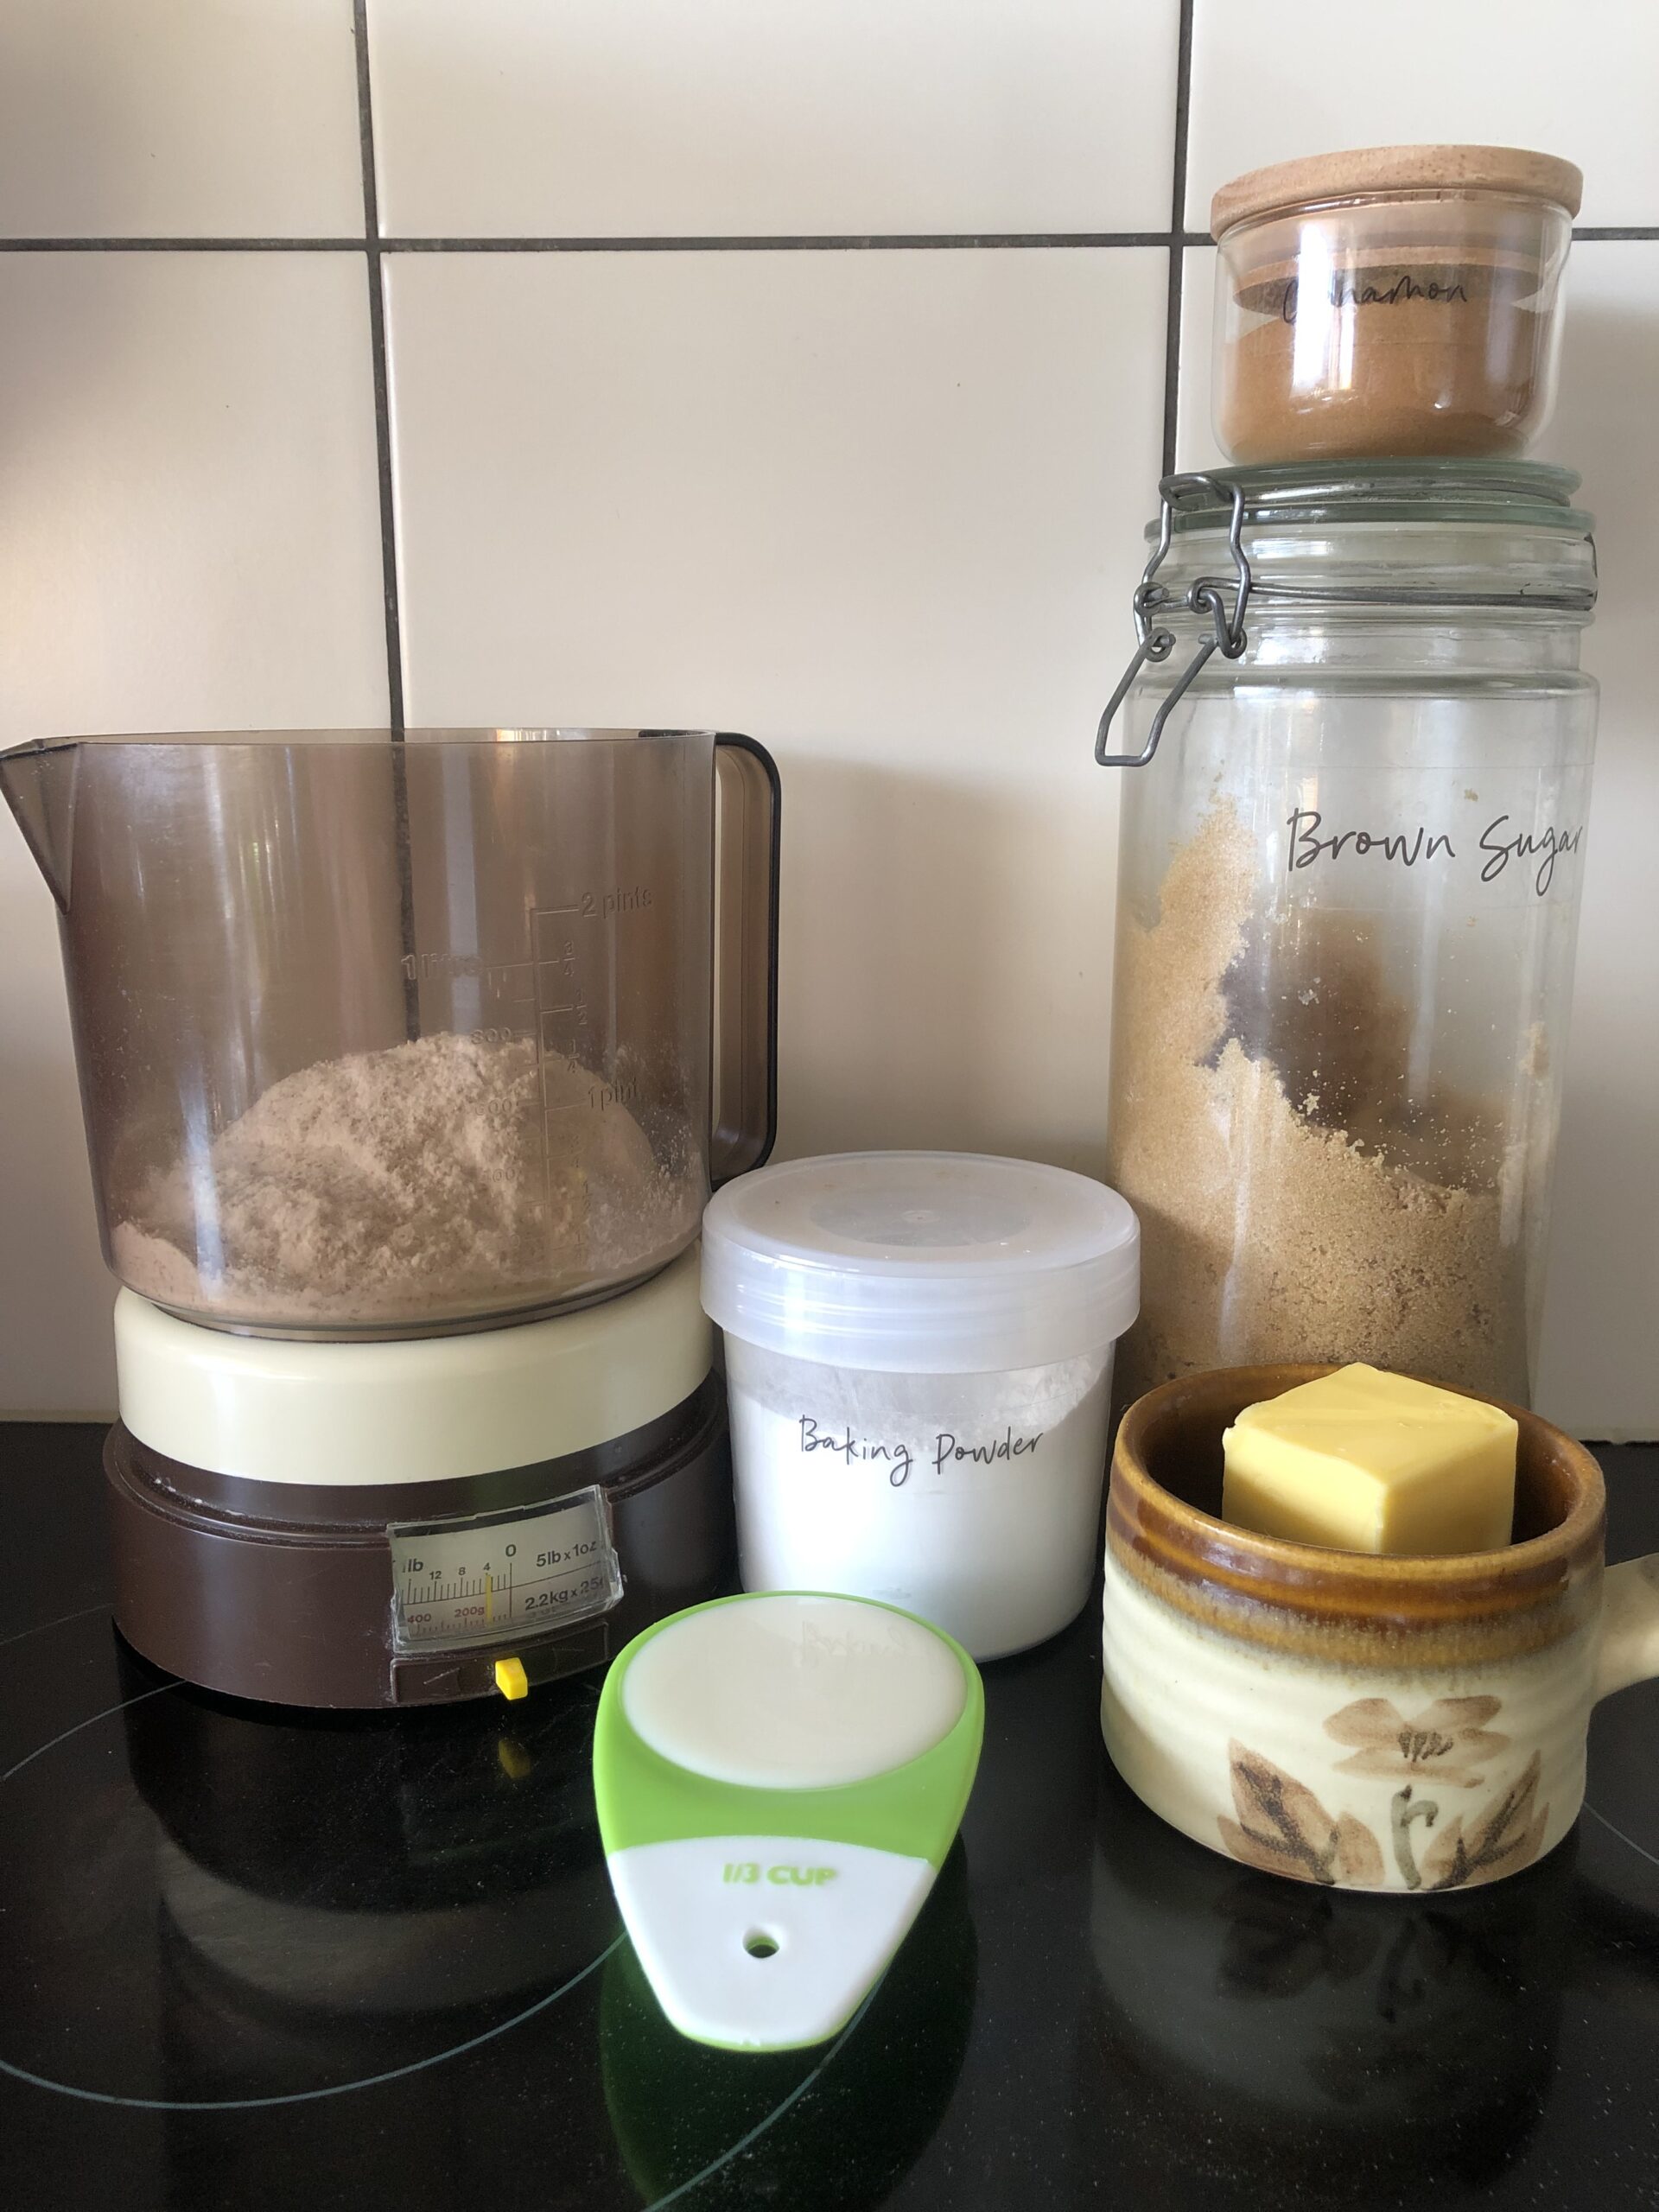
We start off with the ingredients list:

2 cups unsifted plain flour

1/3 cup sugar

1 tsp Salt

1 tsp Baking soda

1 1/2 cups quick cooking oats (the fine ones)

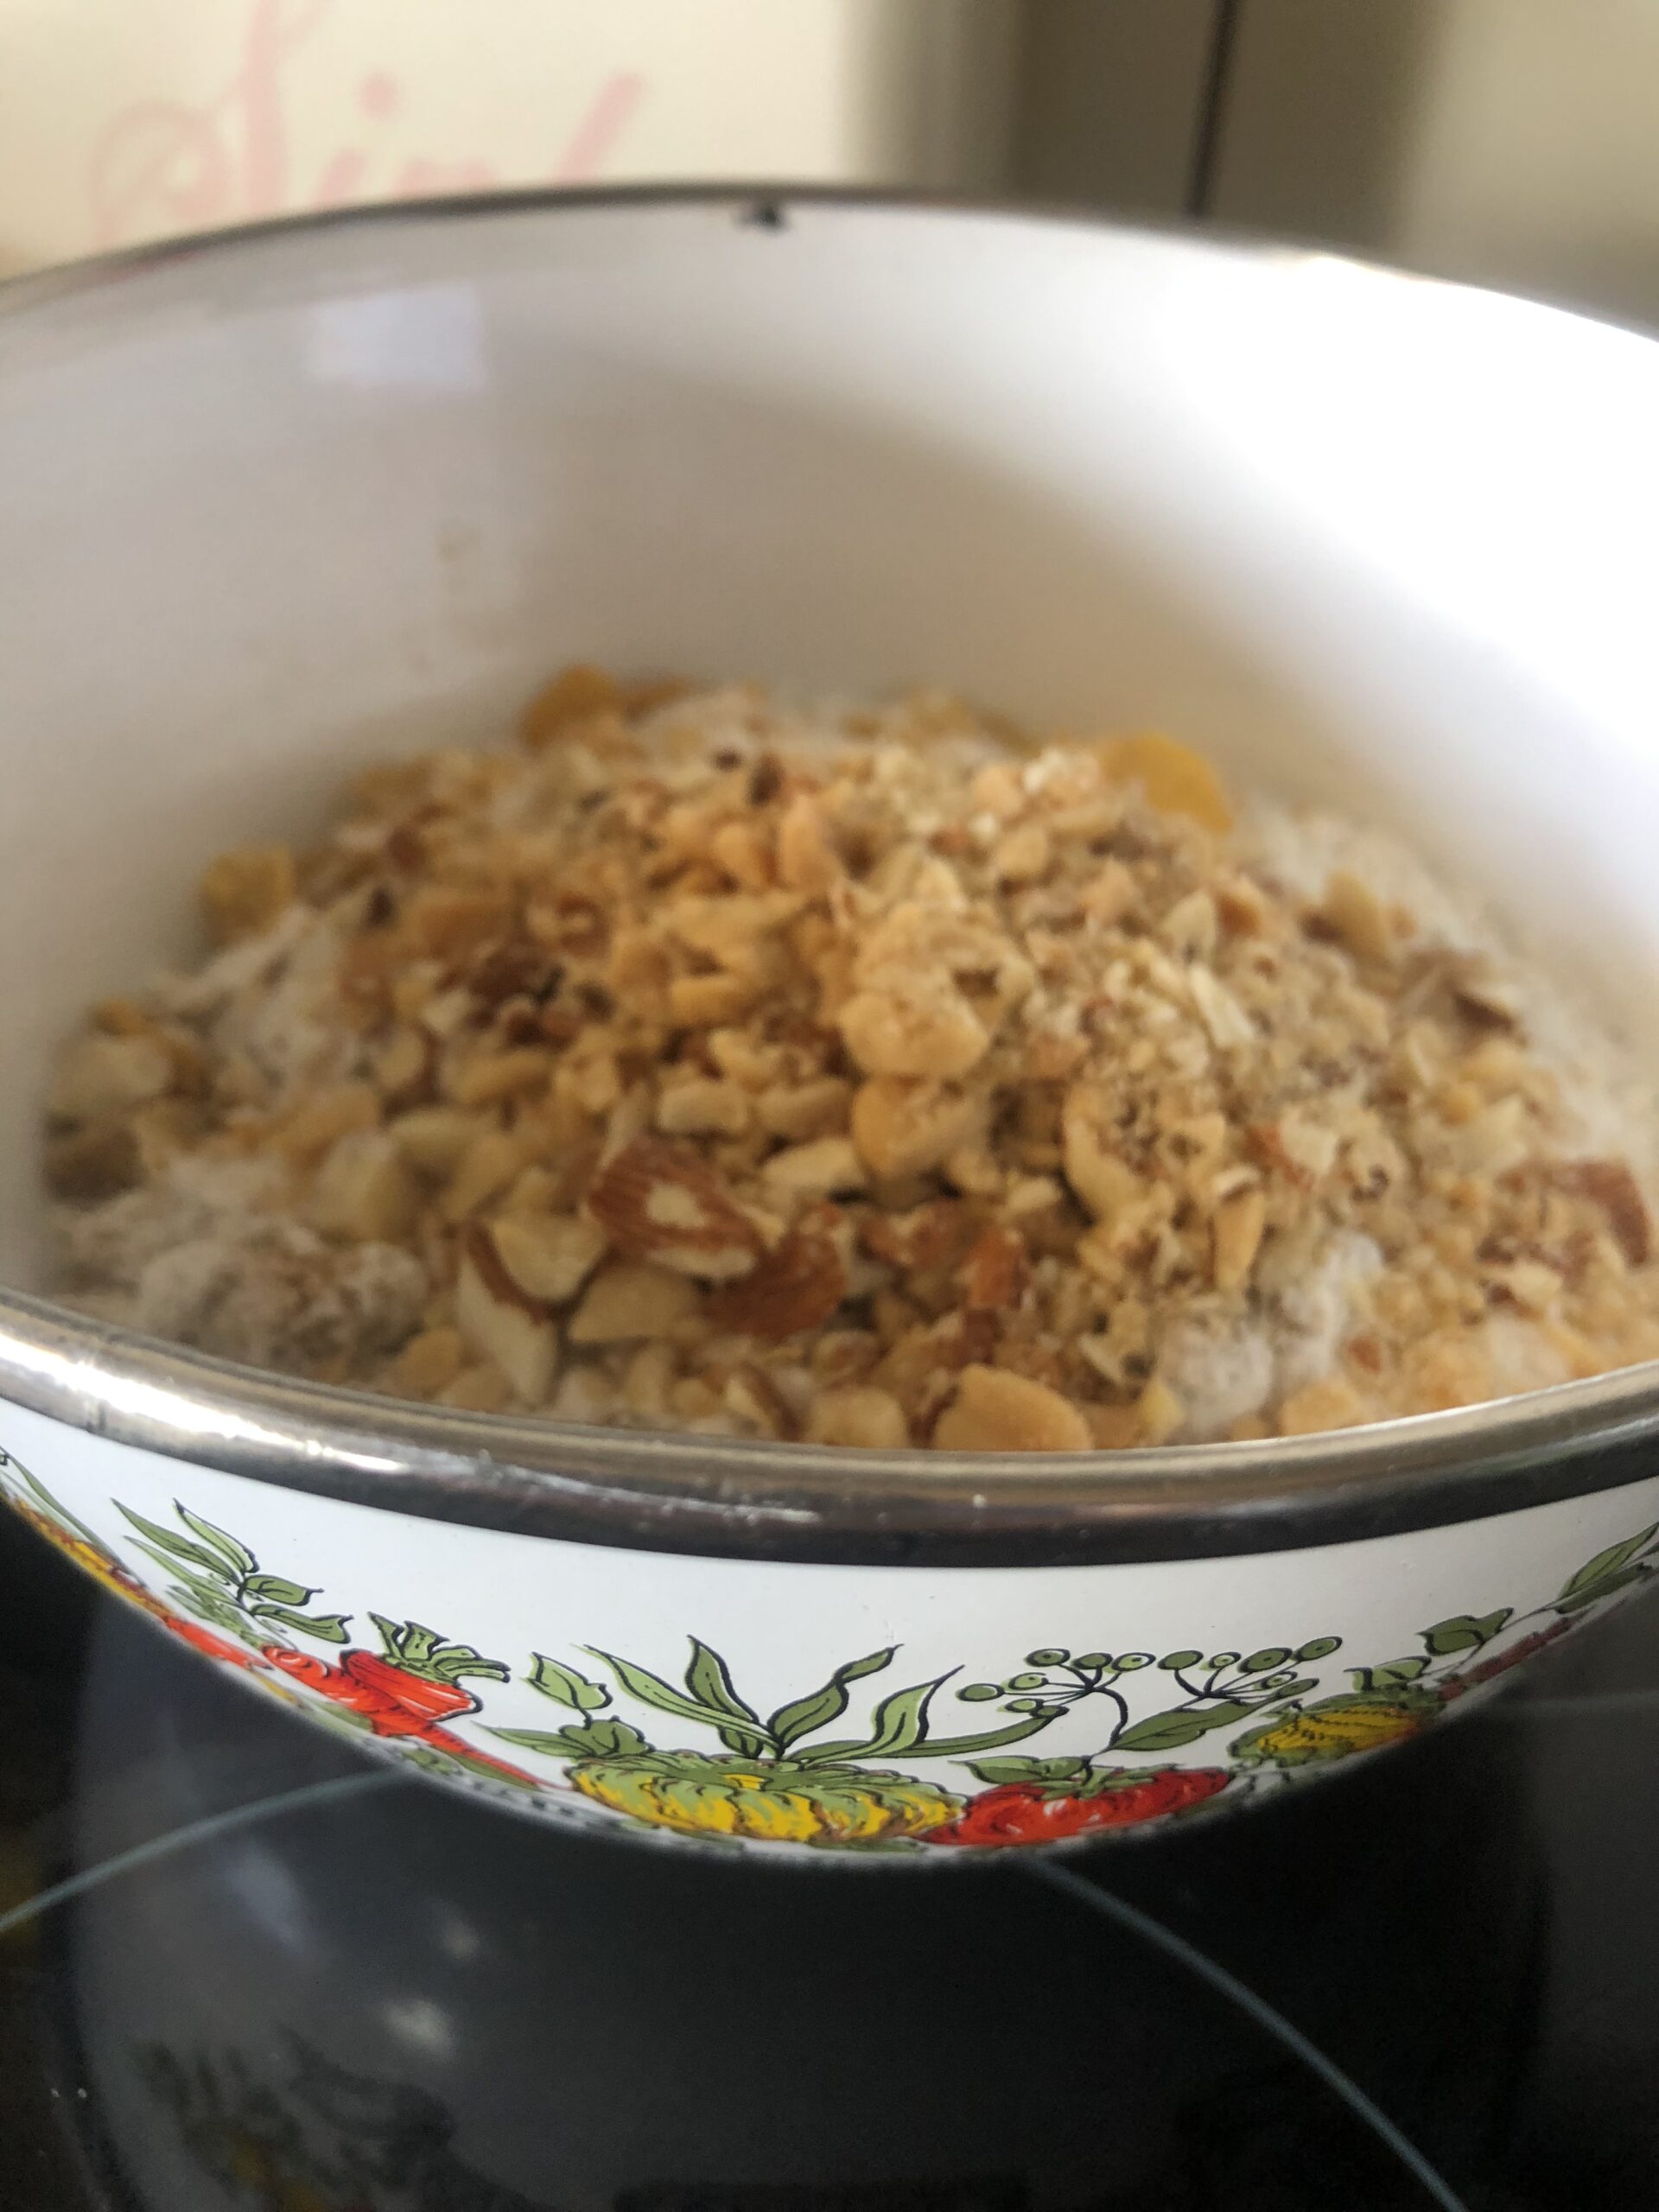
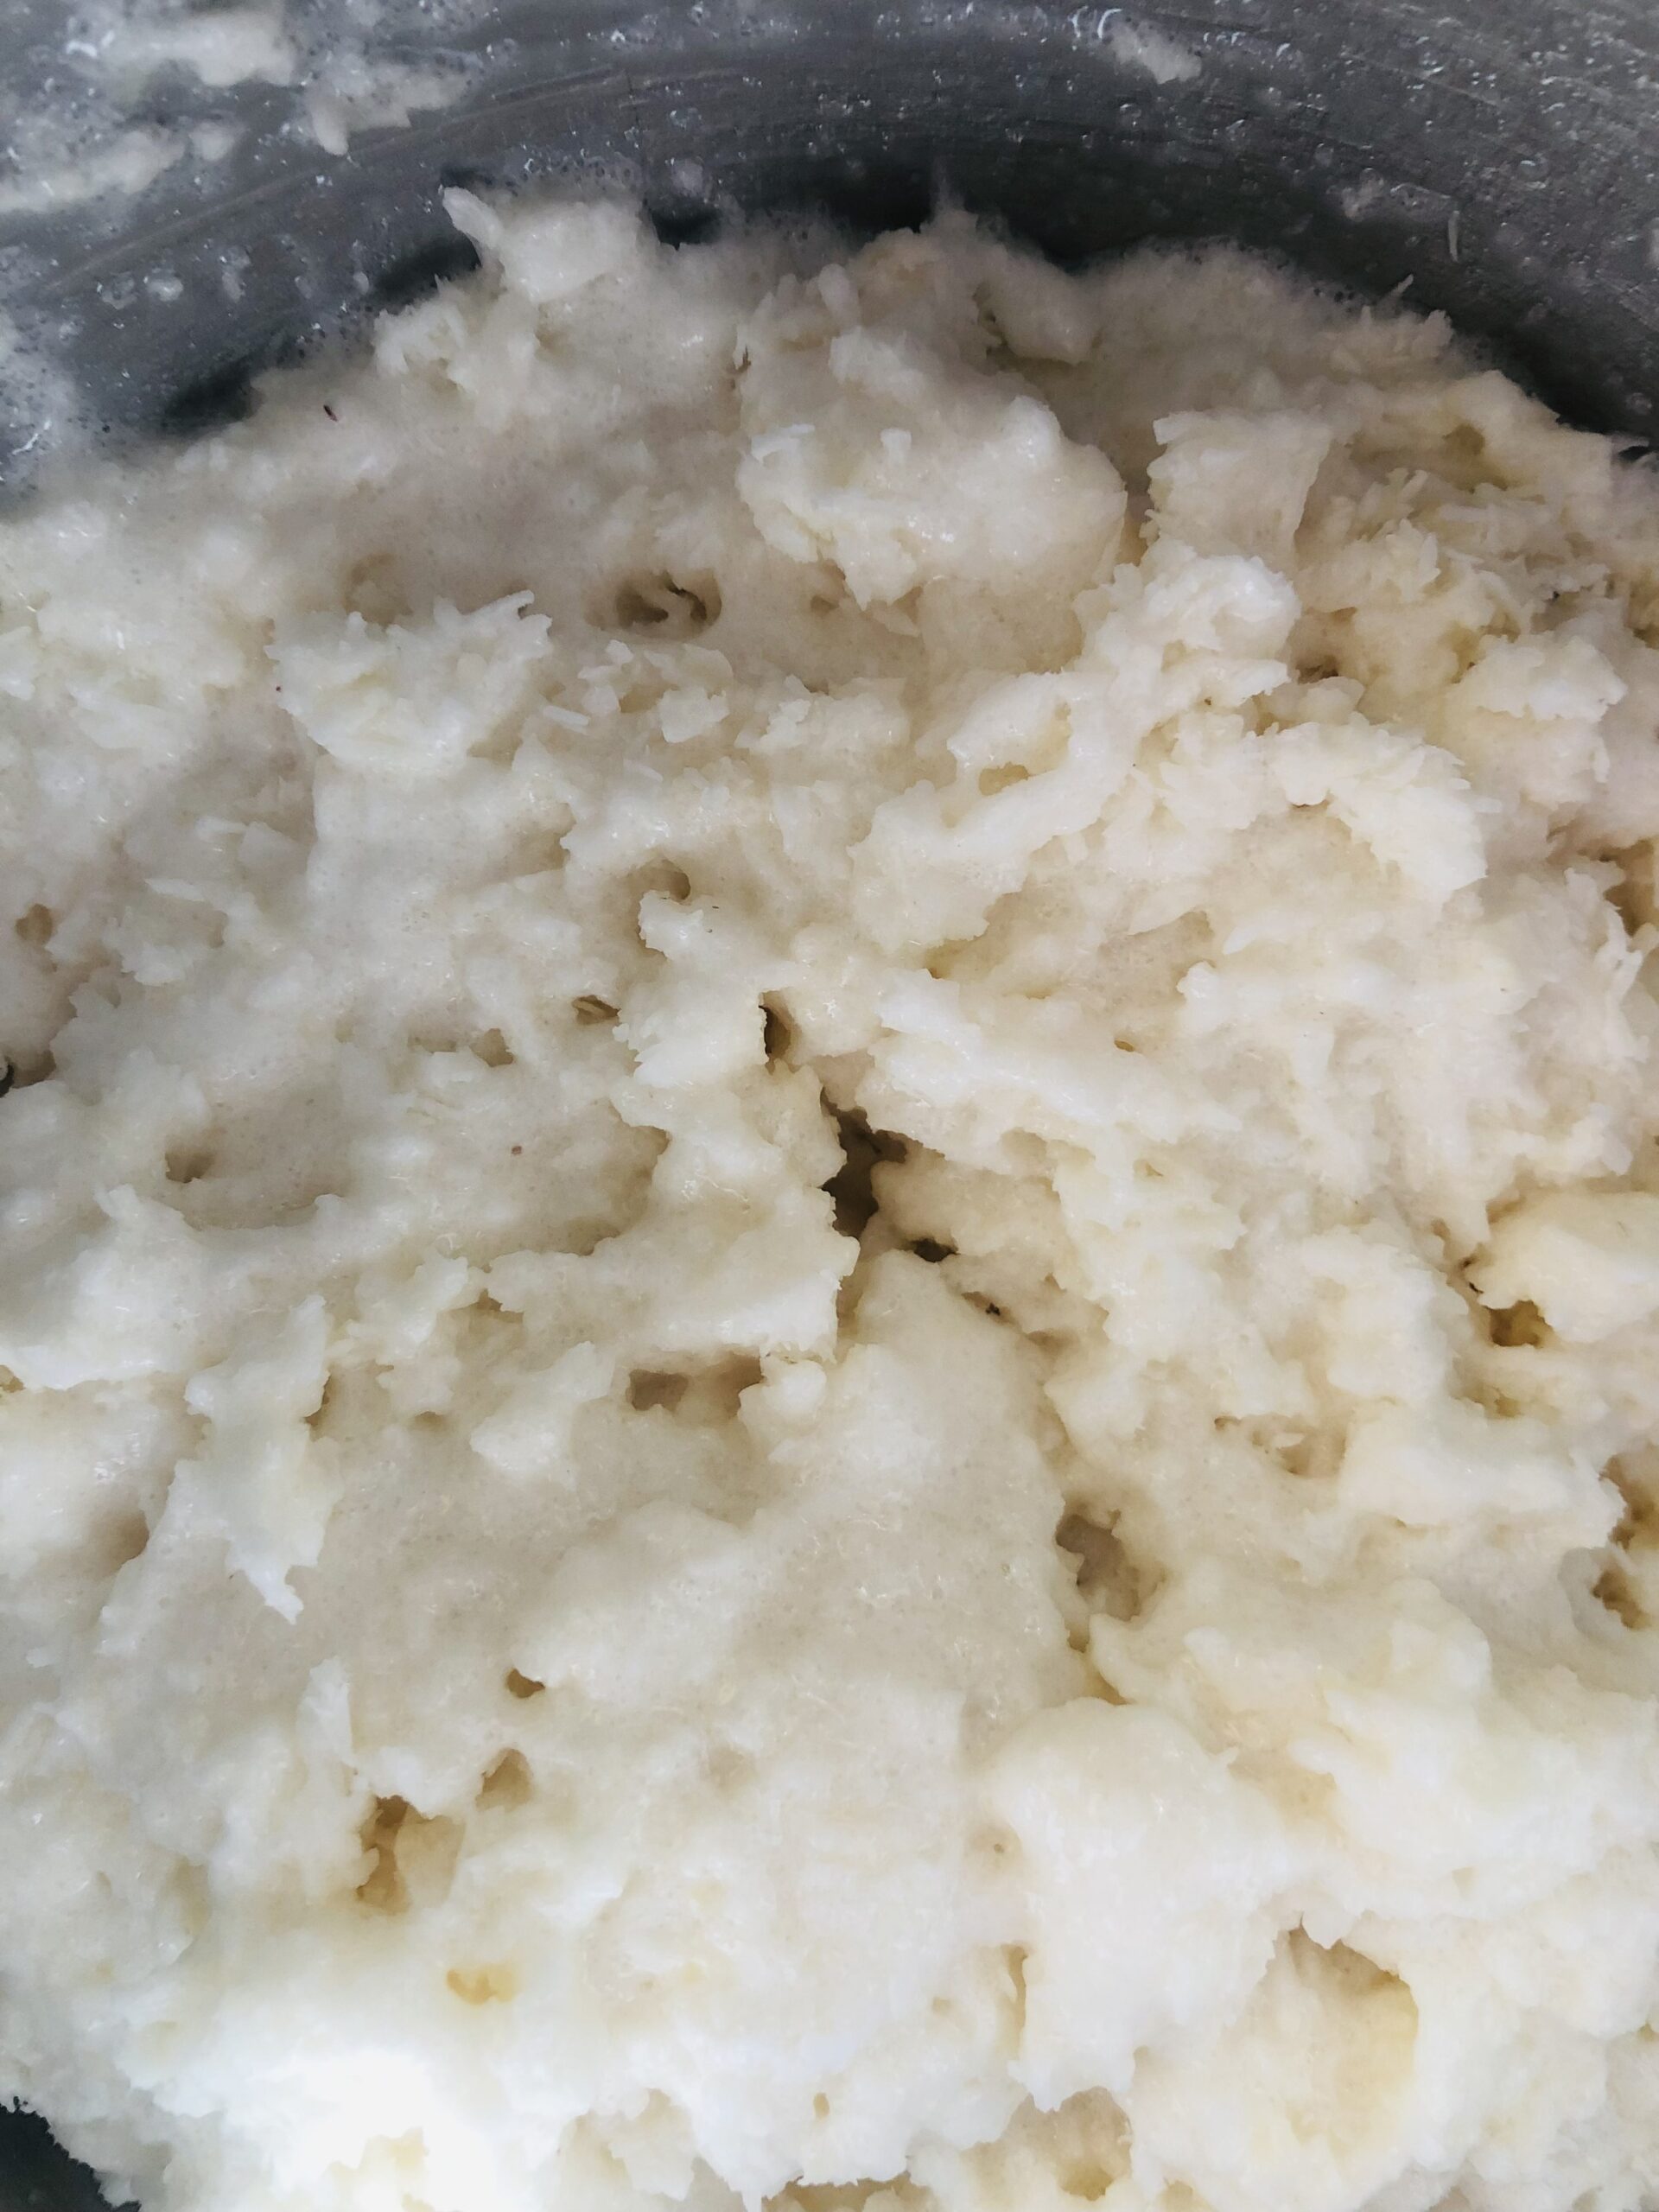
1 cup of Whole bran cereal/Bran or Wheat Germ (I used wheat germ as that’s what I had in the cupboard, the quicker the better)

1/2 cup Raisins or for that extra fibre boost – Prunes!

2 Eggs lightly beaten

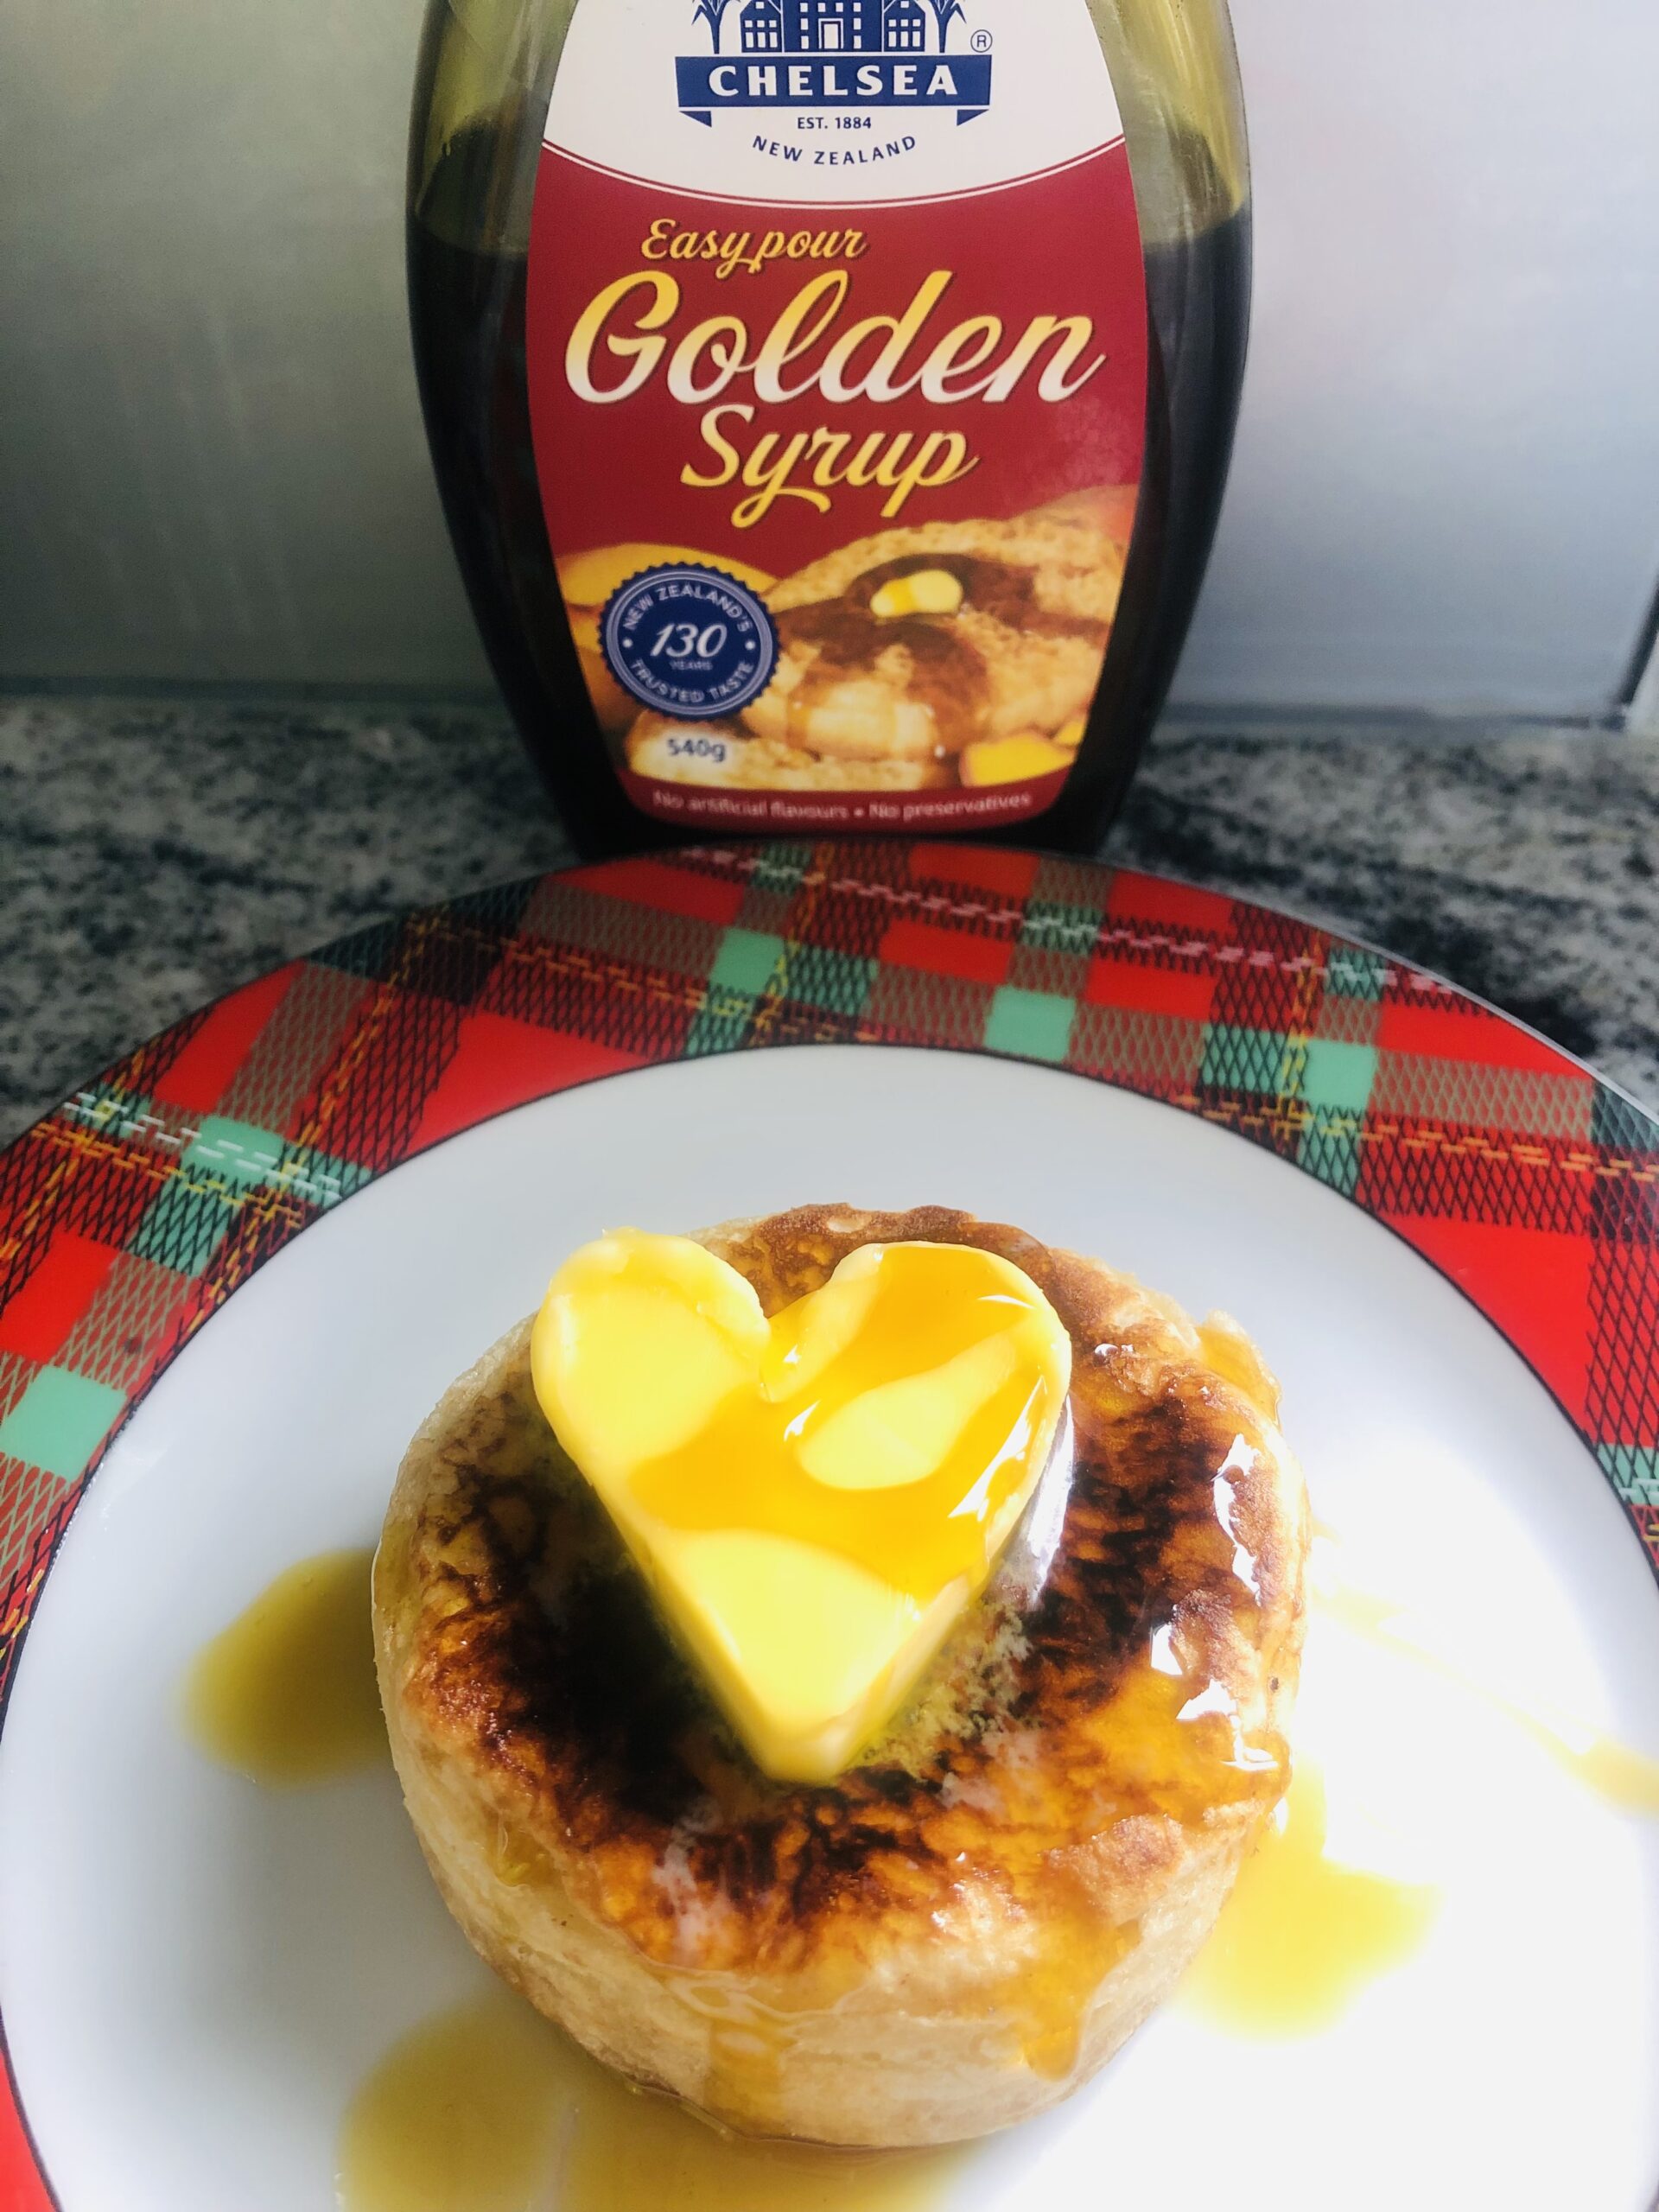
1/2 cup Golden Syrup


The tag line for these is “These muffins are full of flavour, high in fibre, B vitamins, protein and minerals” (Perfect if you need a bit of regulating 😁).

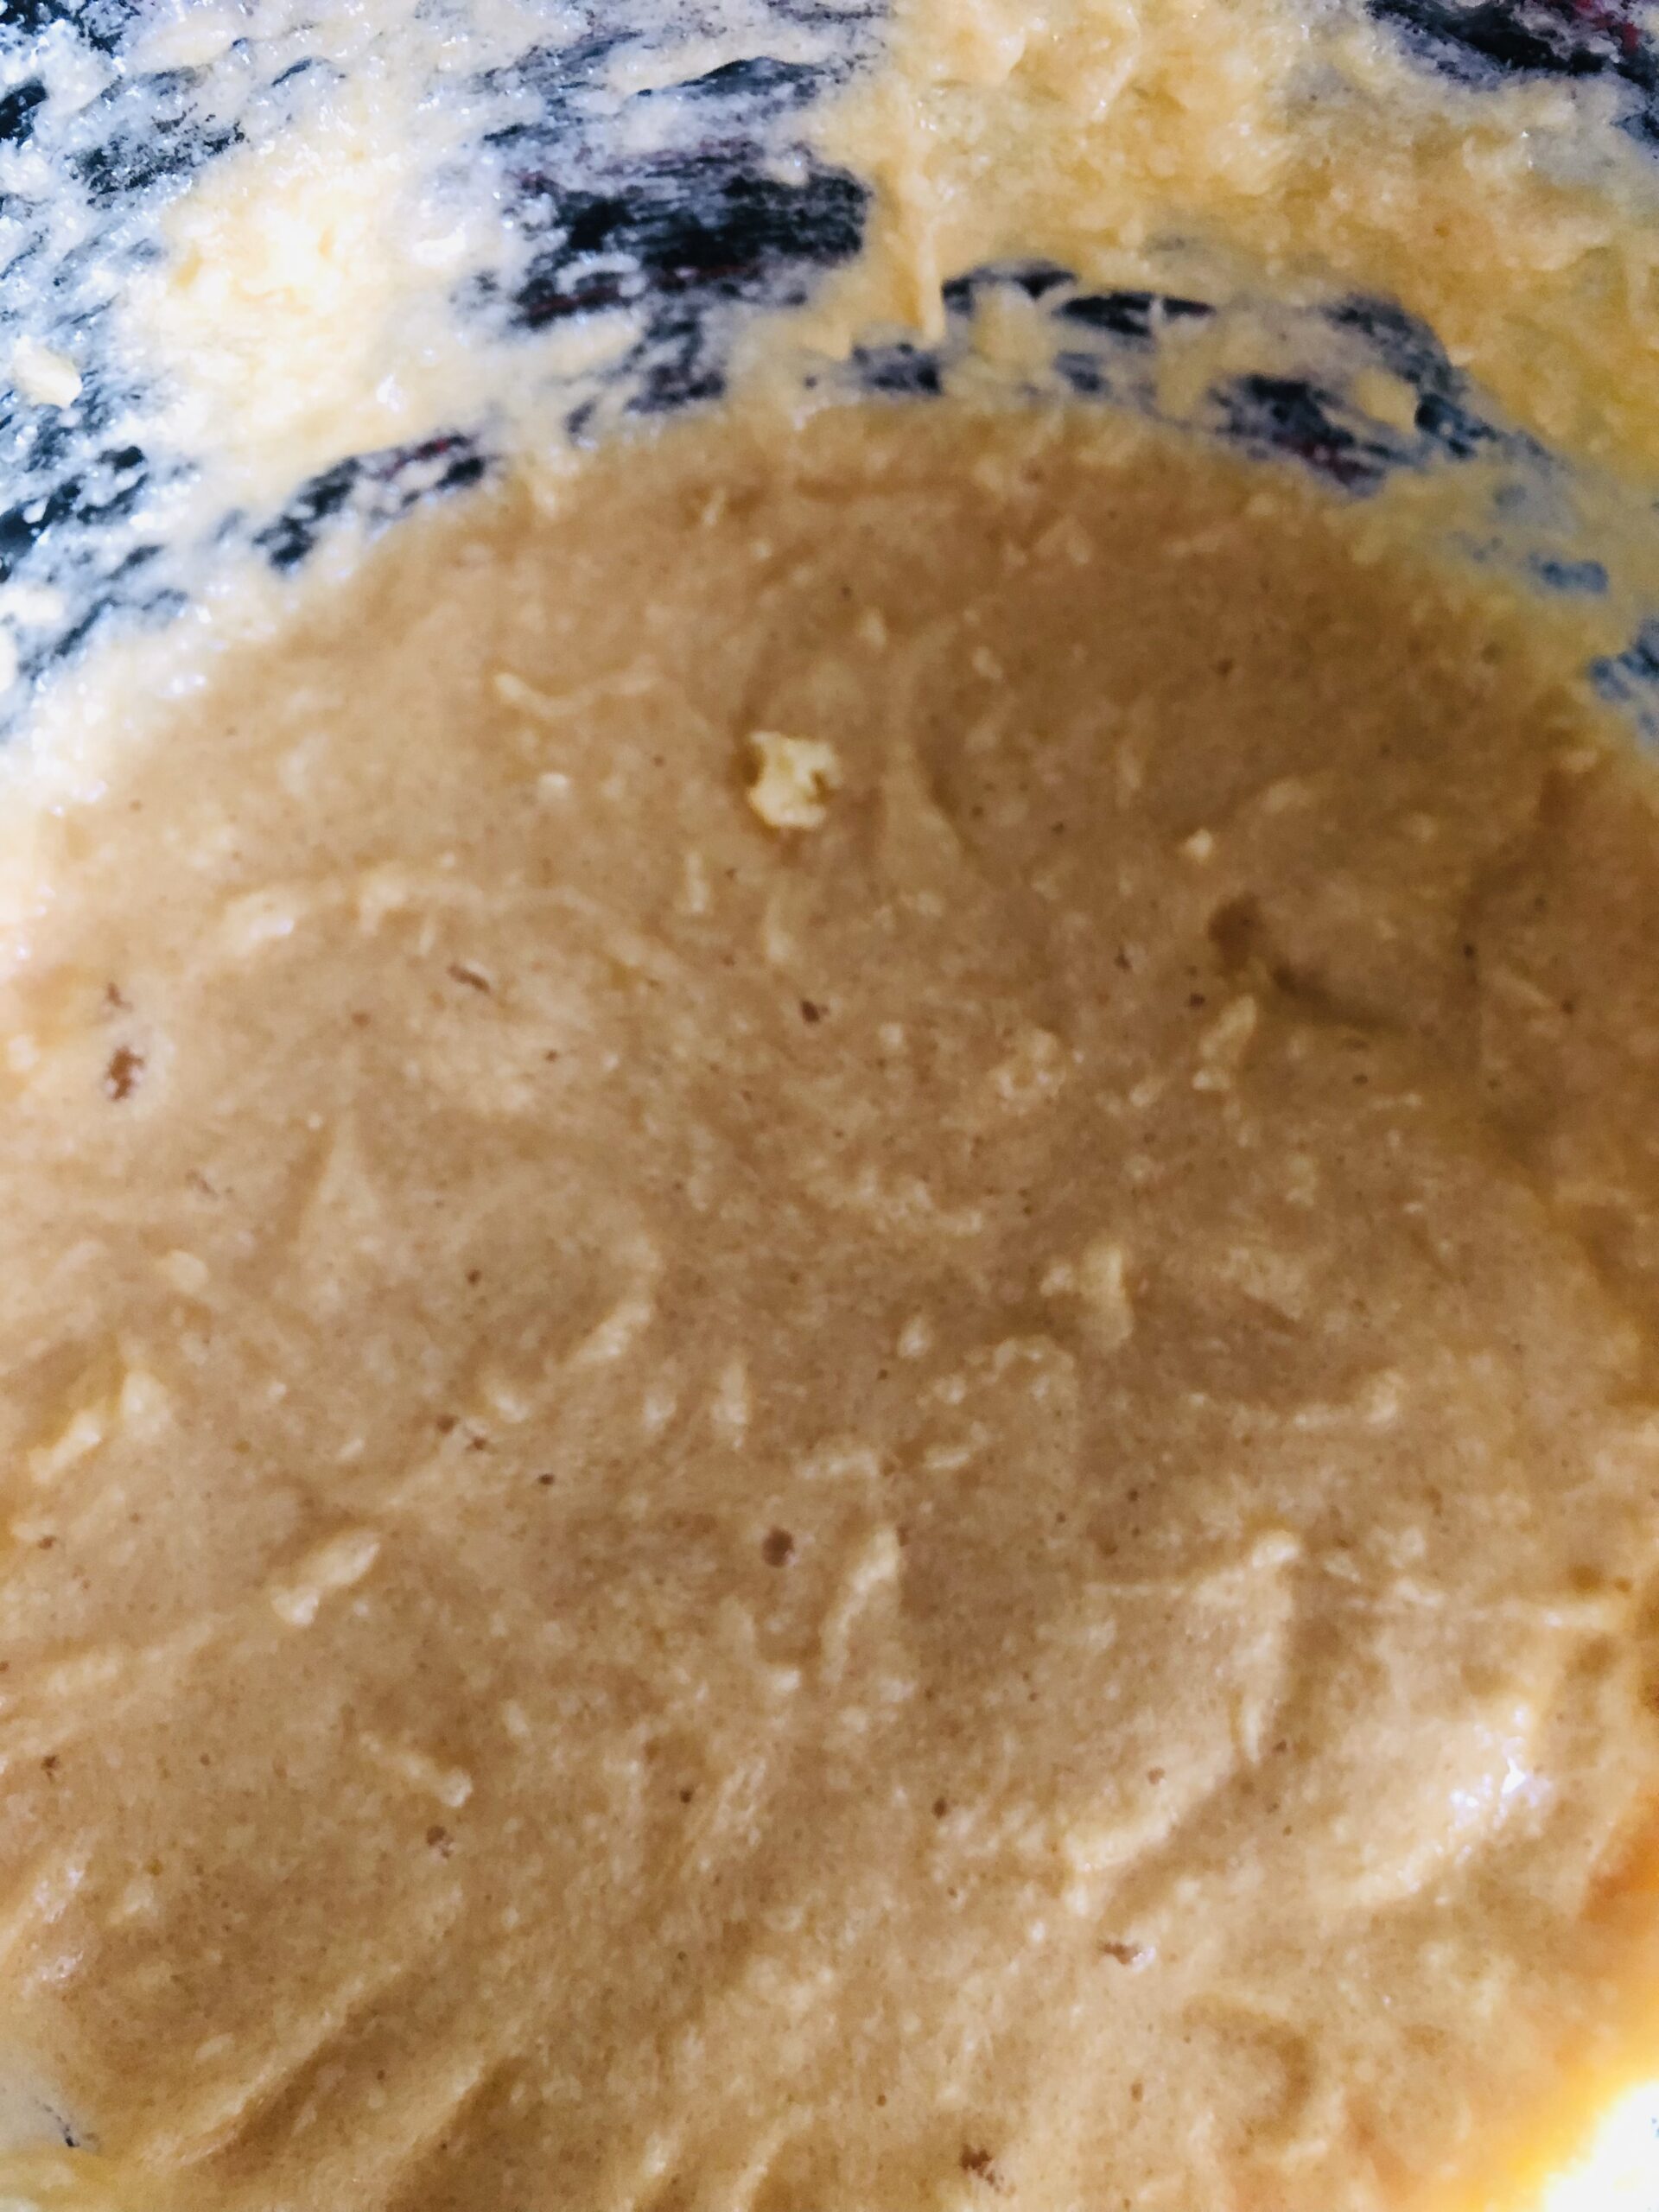
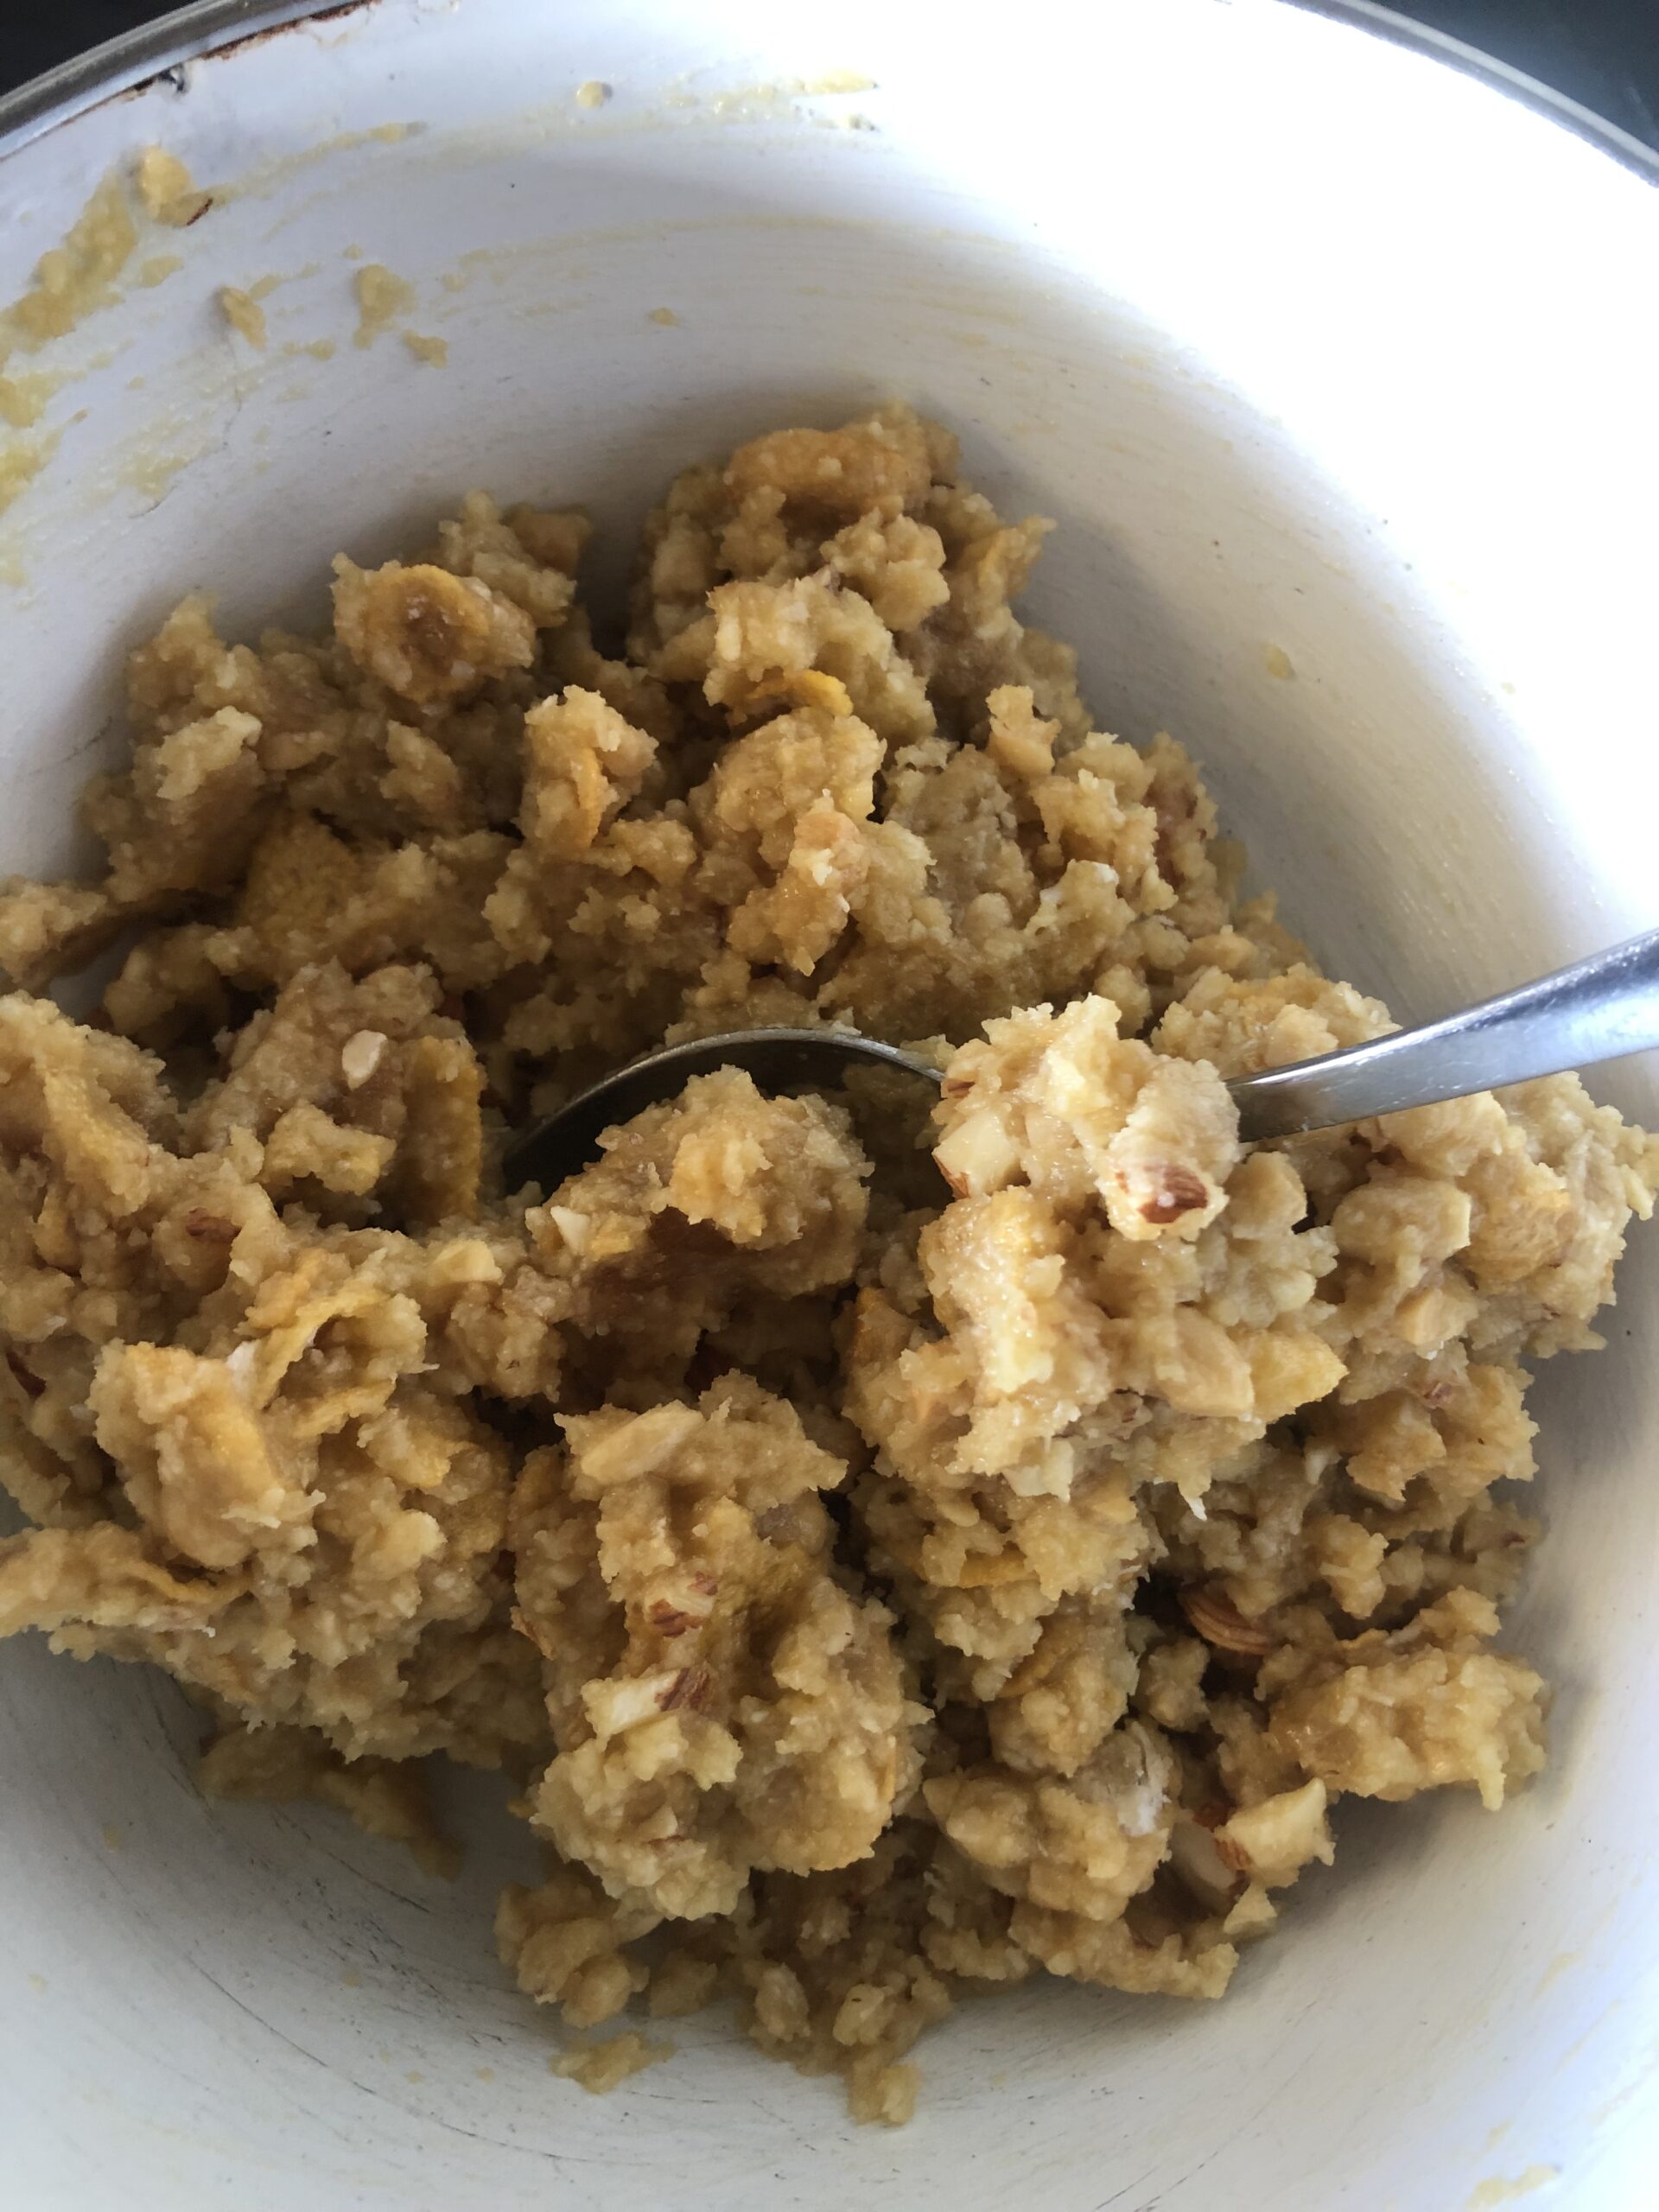
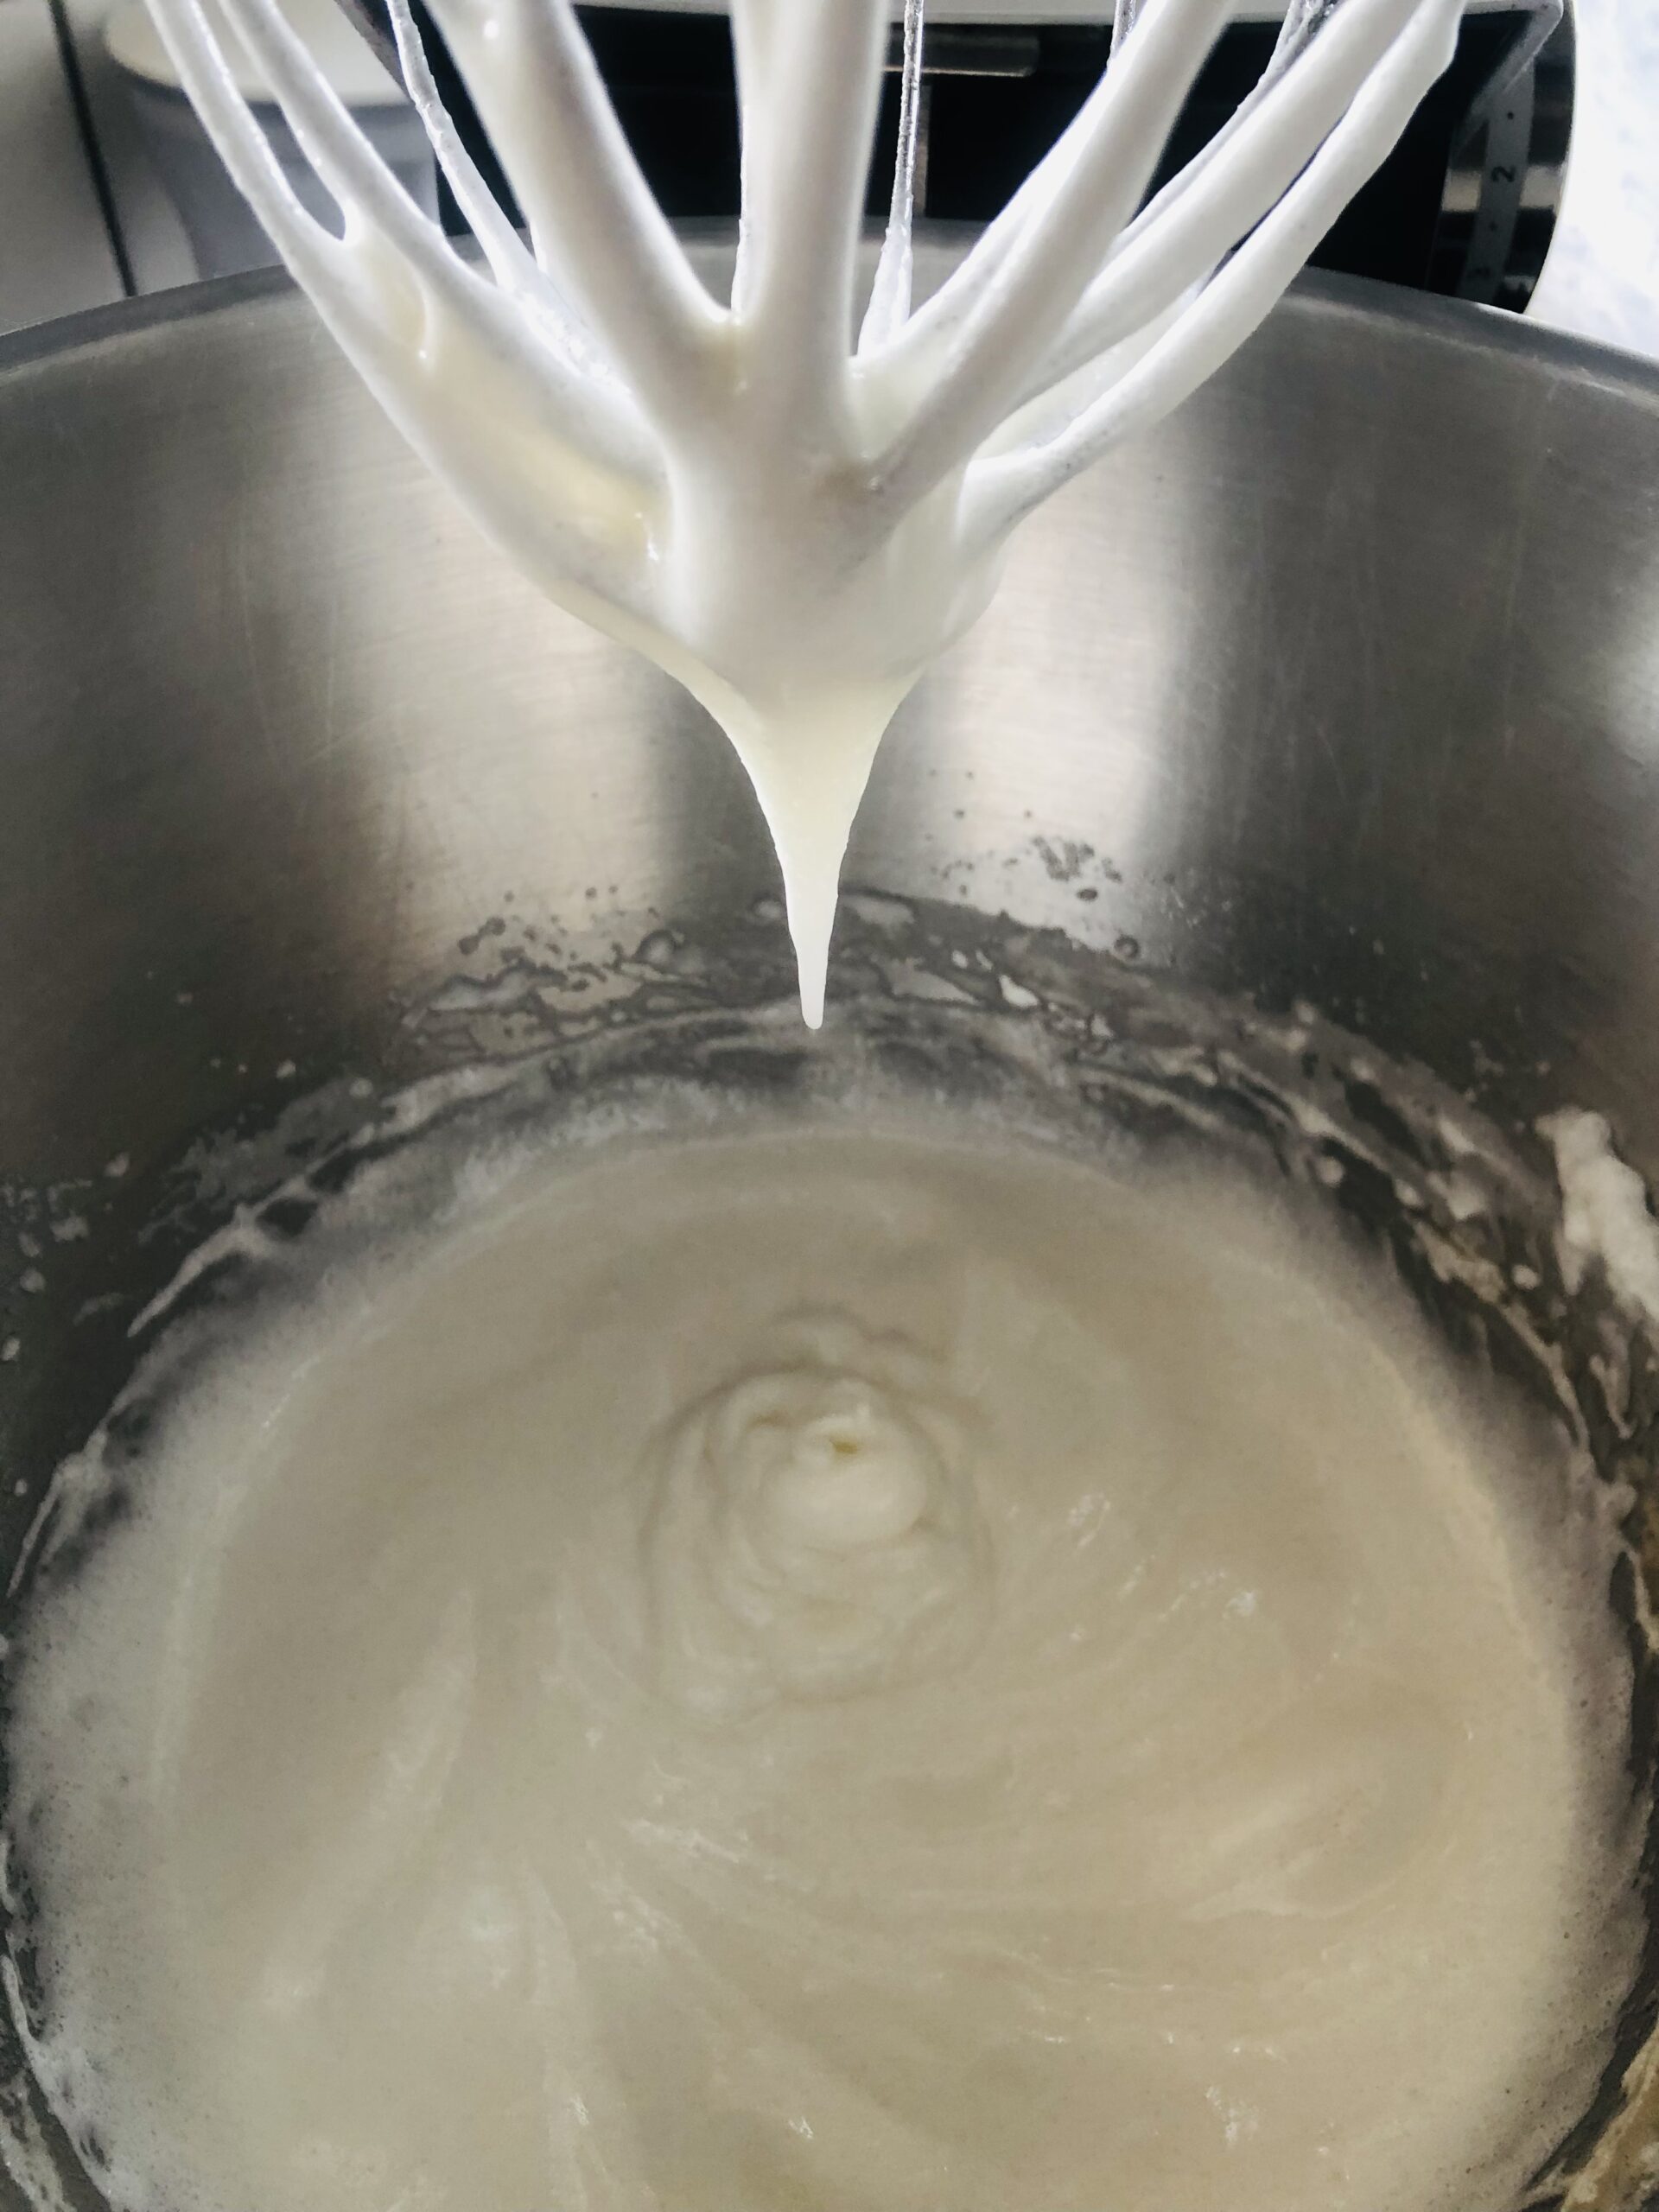
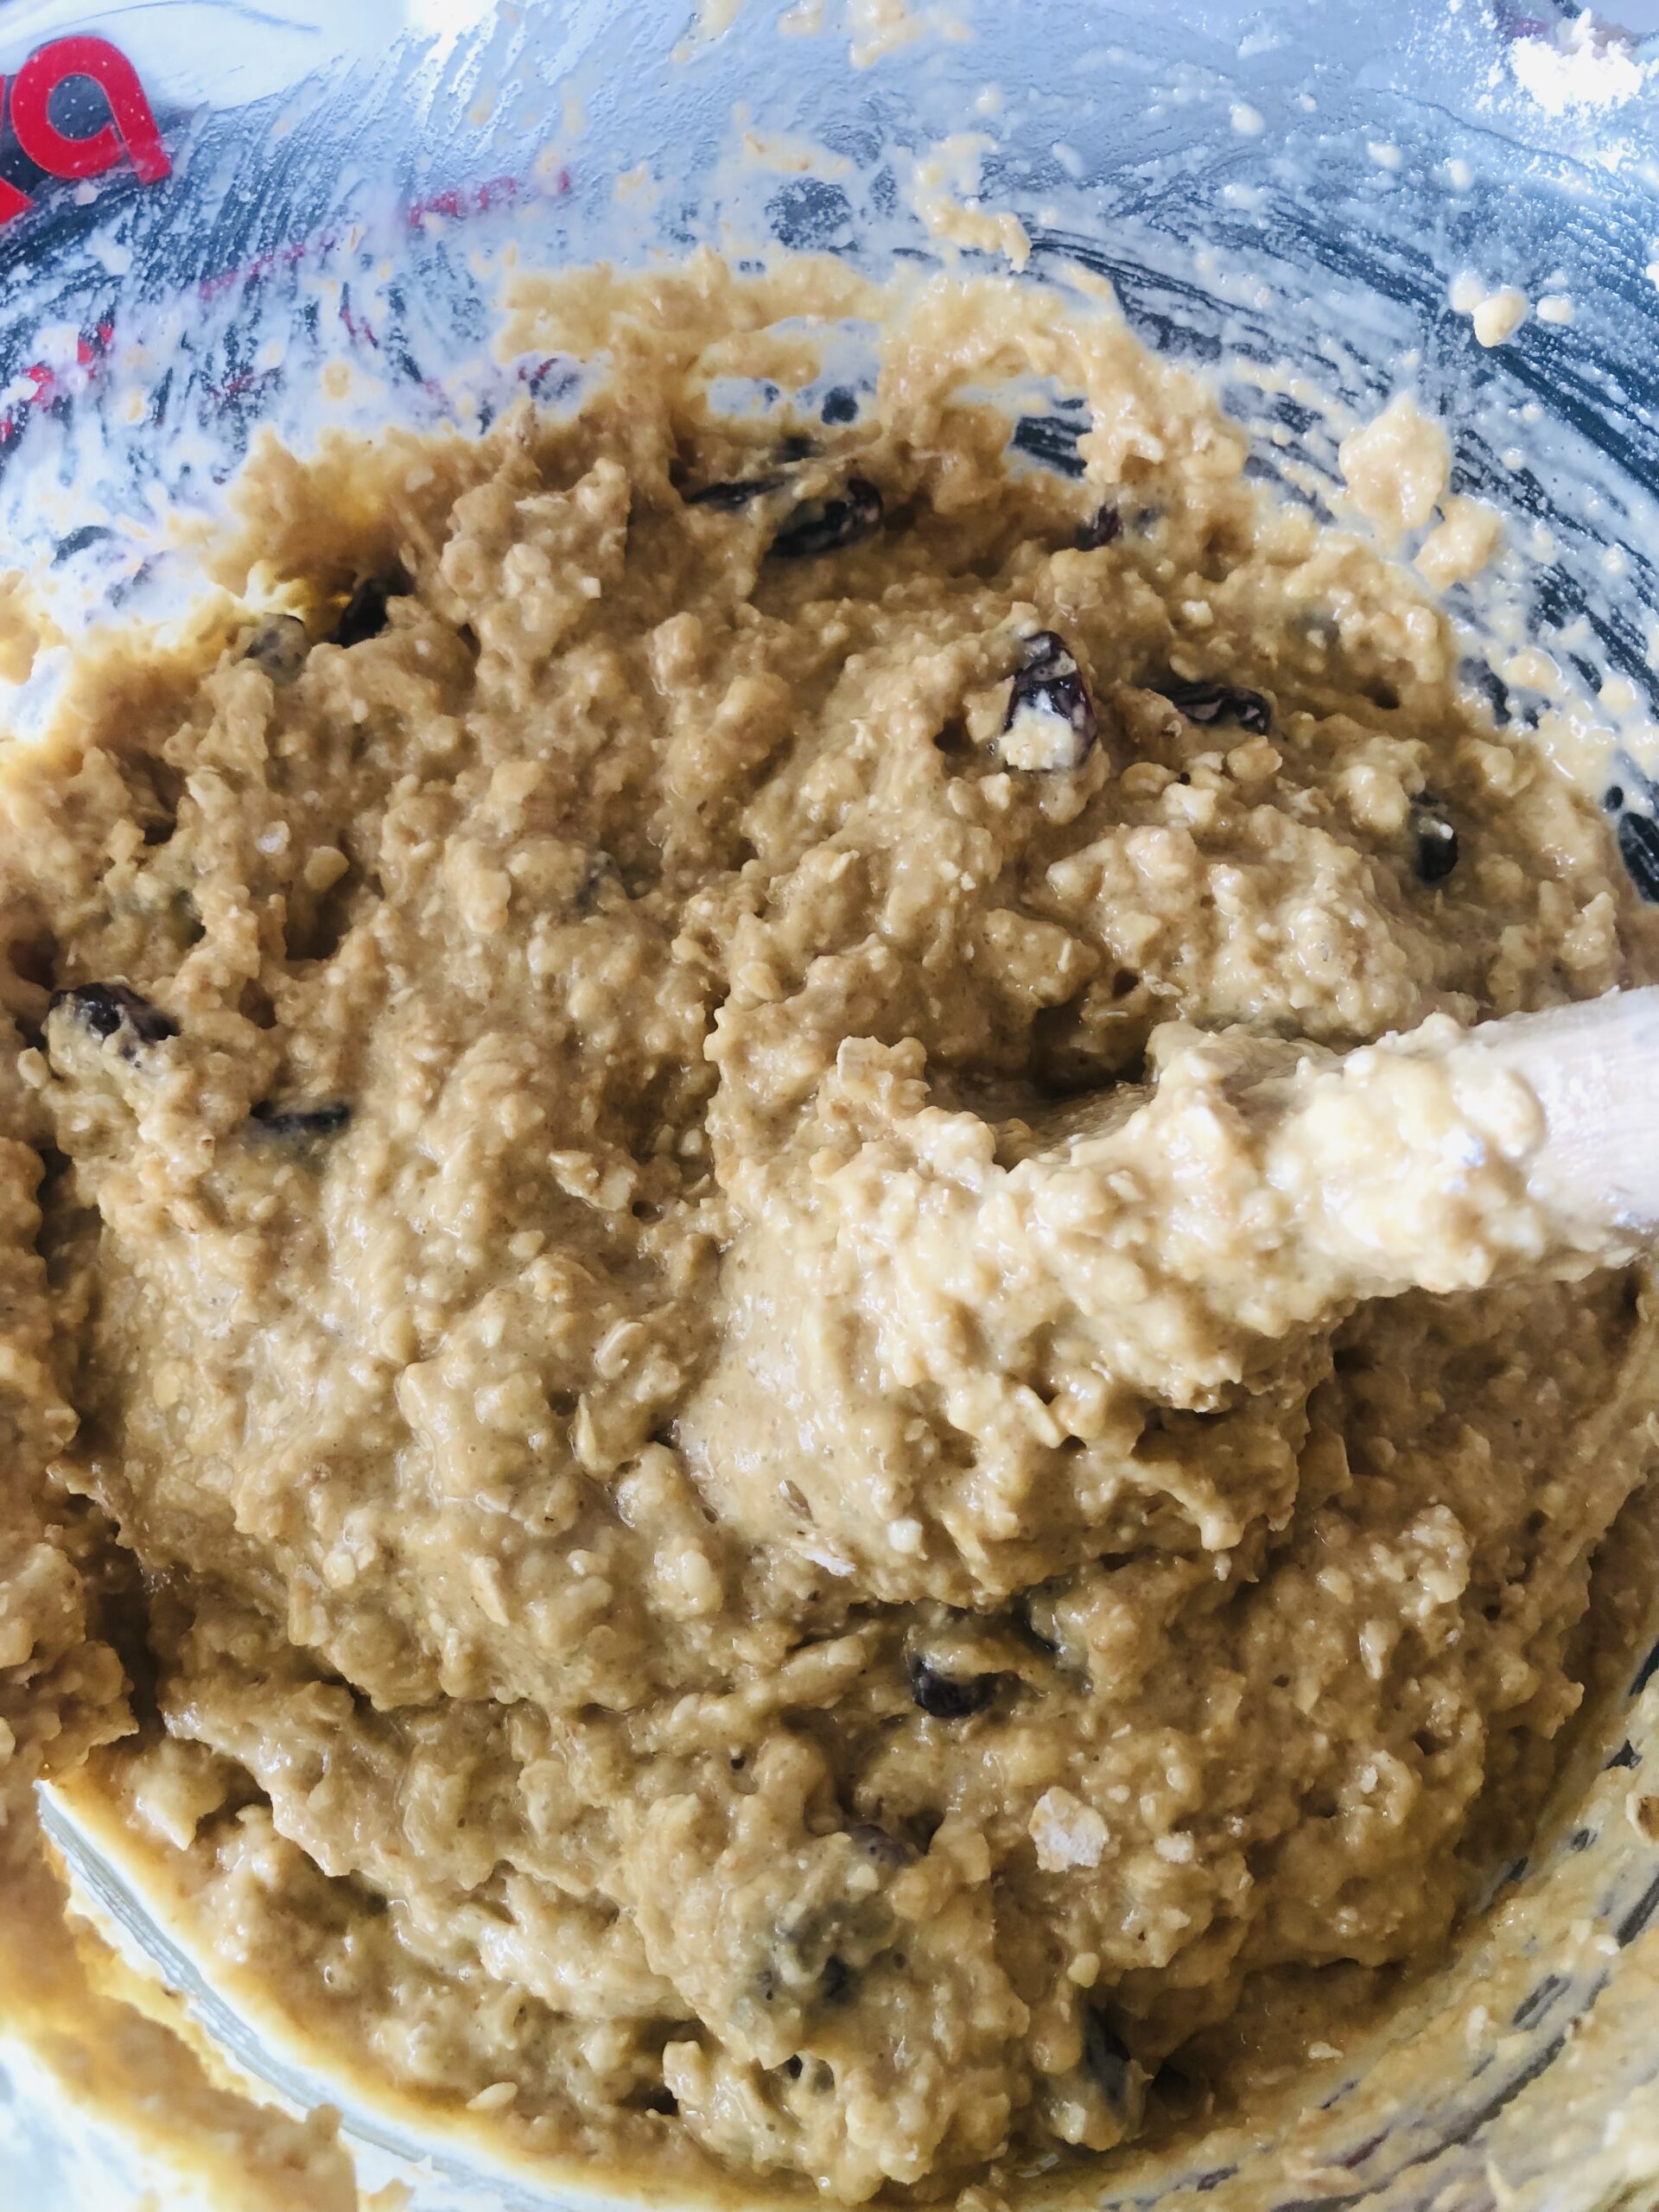
Only two bowls to dirty and two to wash, easy as.  The oven gets popped on at 180C and I combined  all of the dry ingredients in a big bowl.  The smaller bowl gets the eggs, buttermilk and golden syrup. Remember if you don’t have buttermilk just use regular with a teaspoon of lemon juice or white vinegar stirred in and left for 5 minutes.

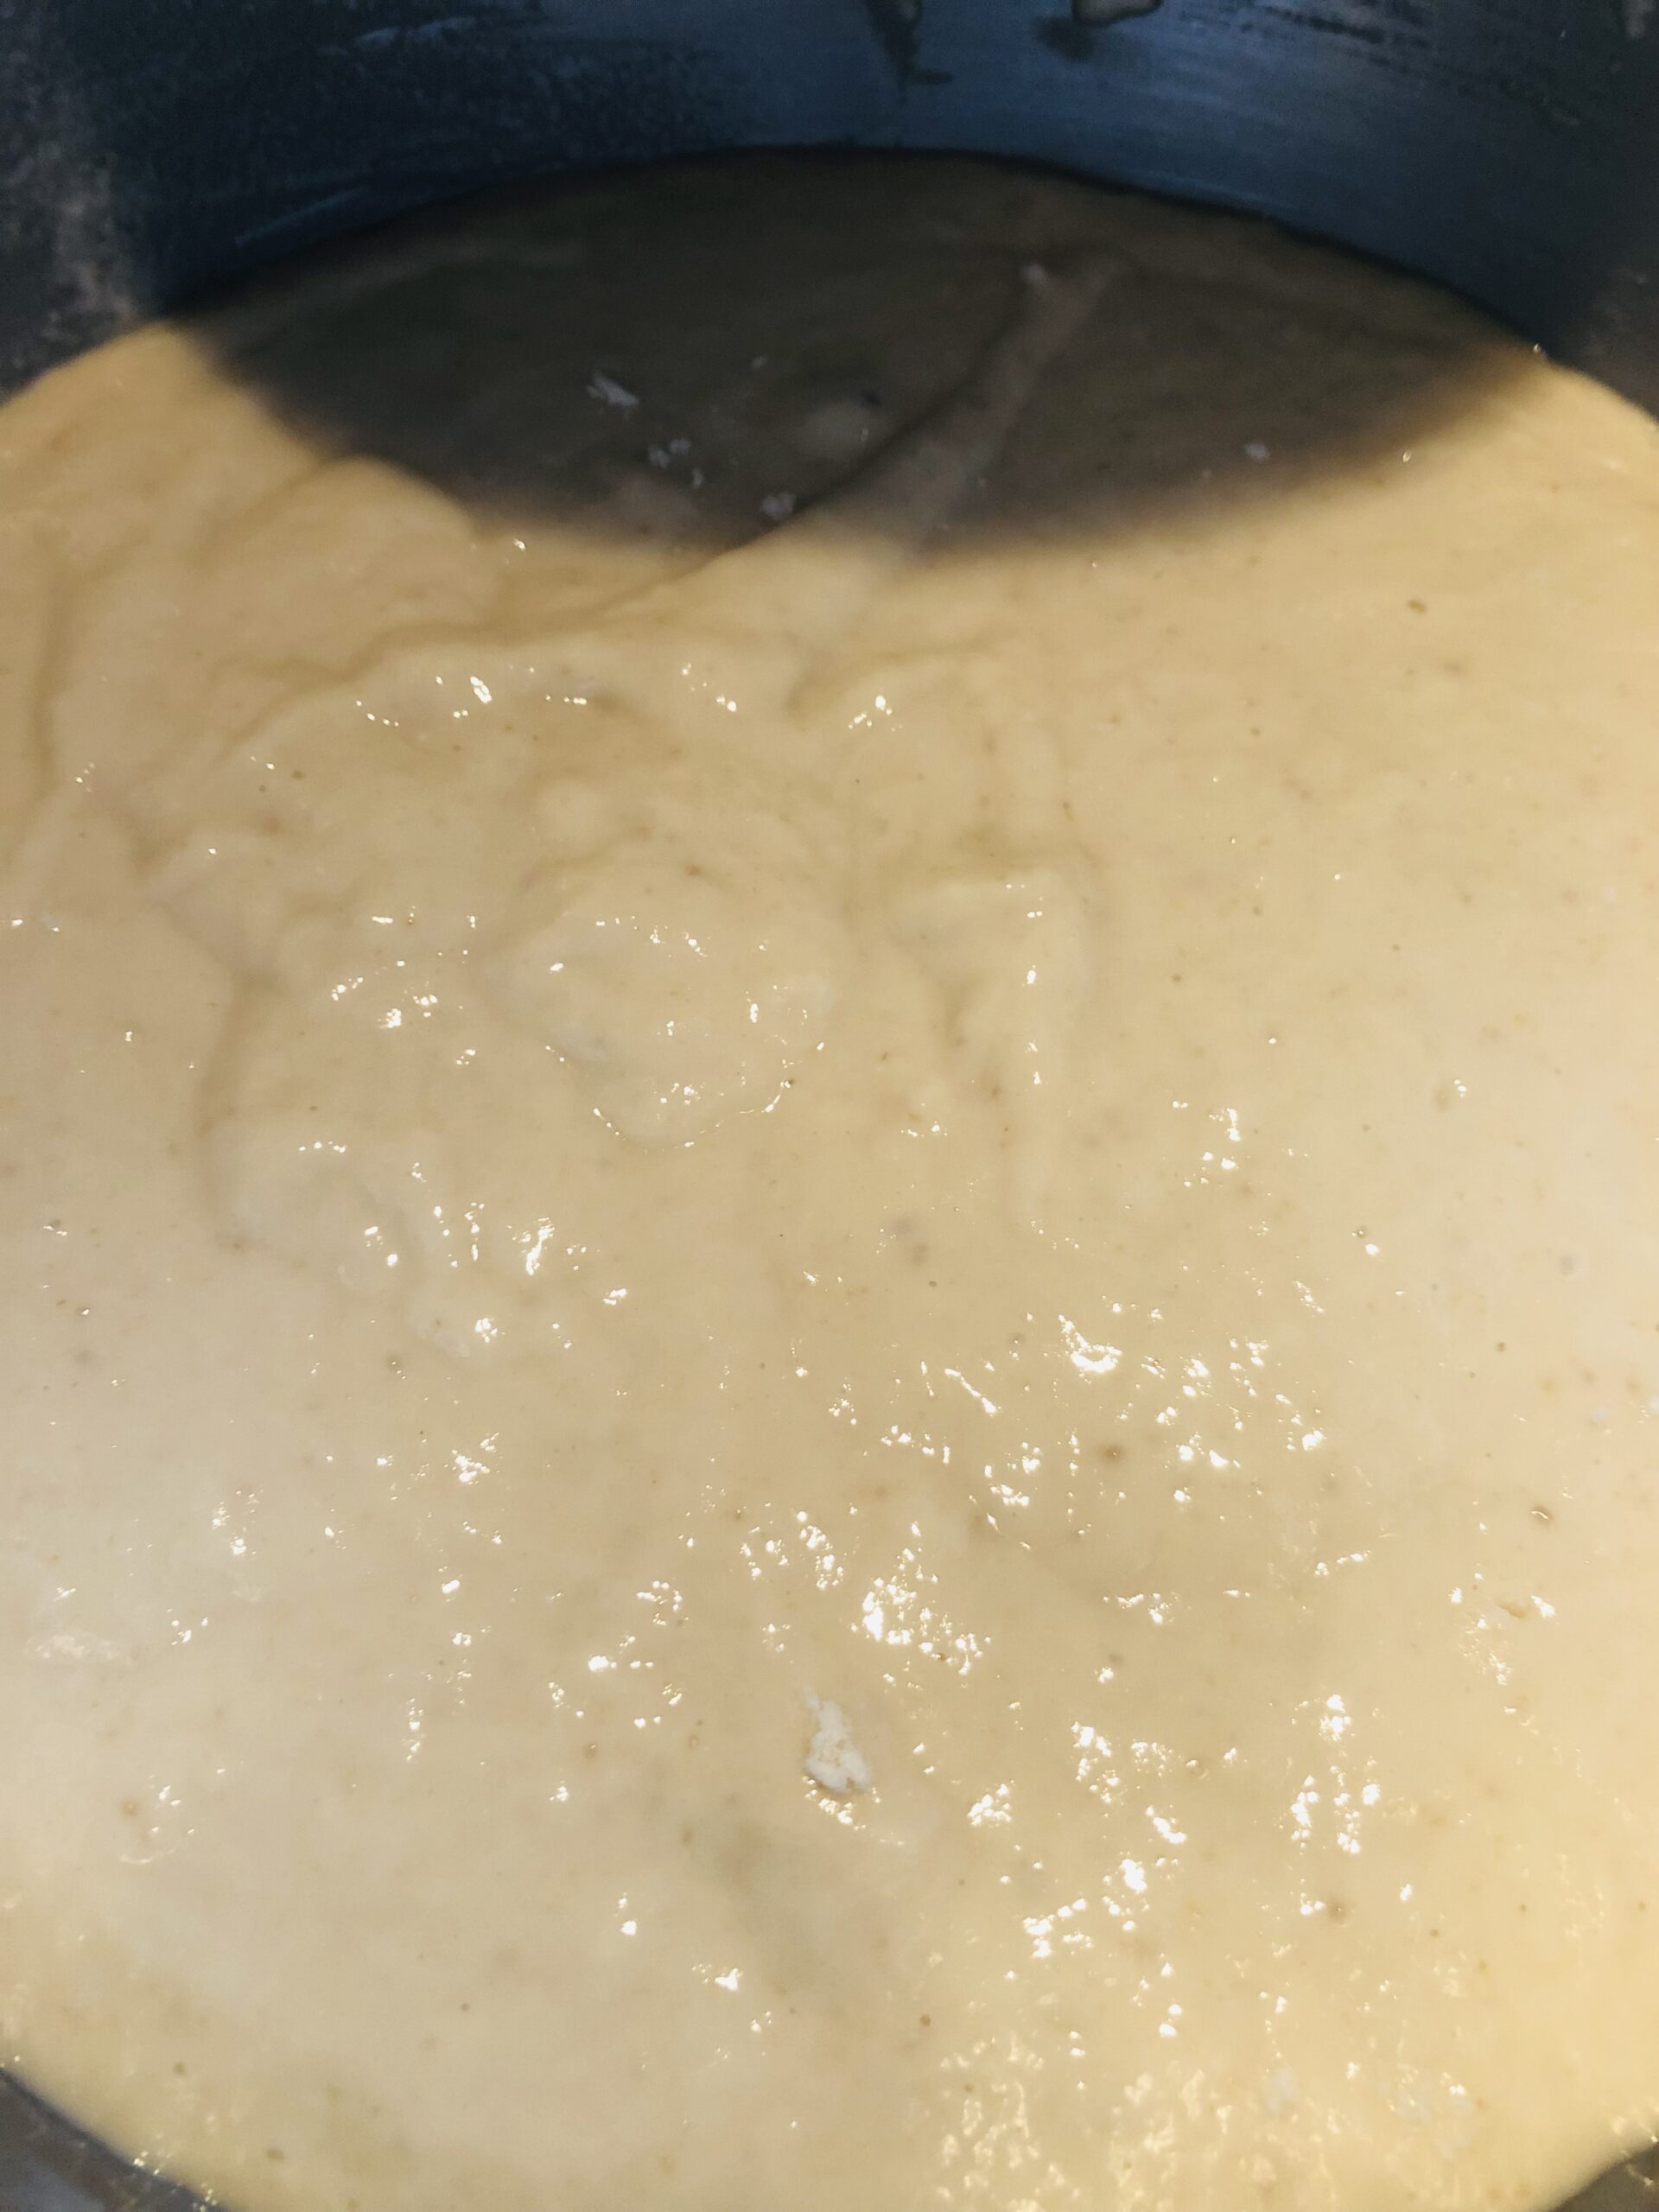
Pop the wet ingredients into the dry ingredients in the larger bowl and make sure that it is all slowly mixed in, sometime you need to watch out for those little pockets of flour. 😉

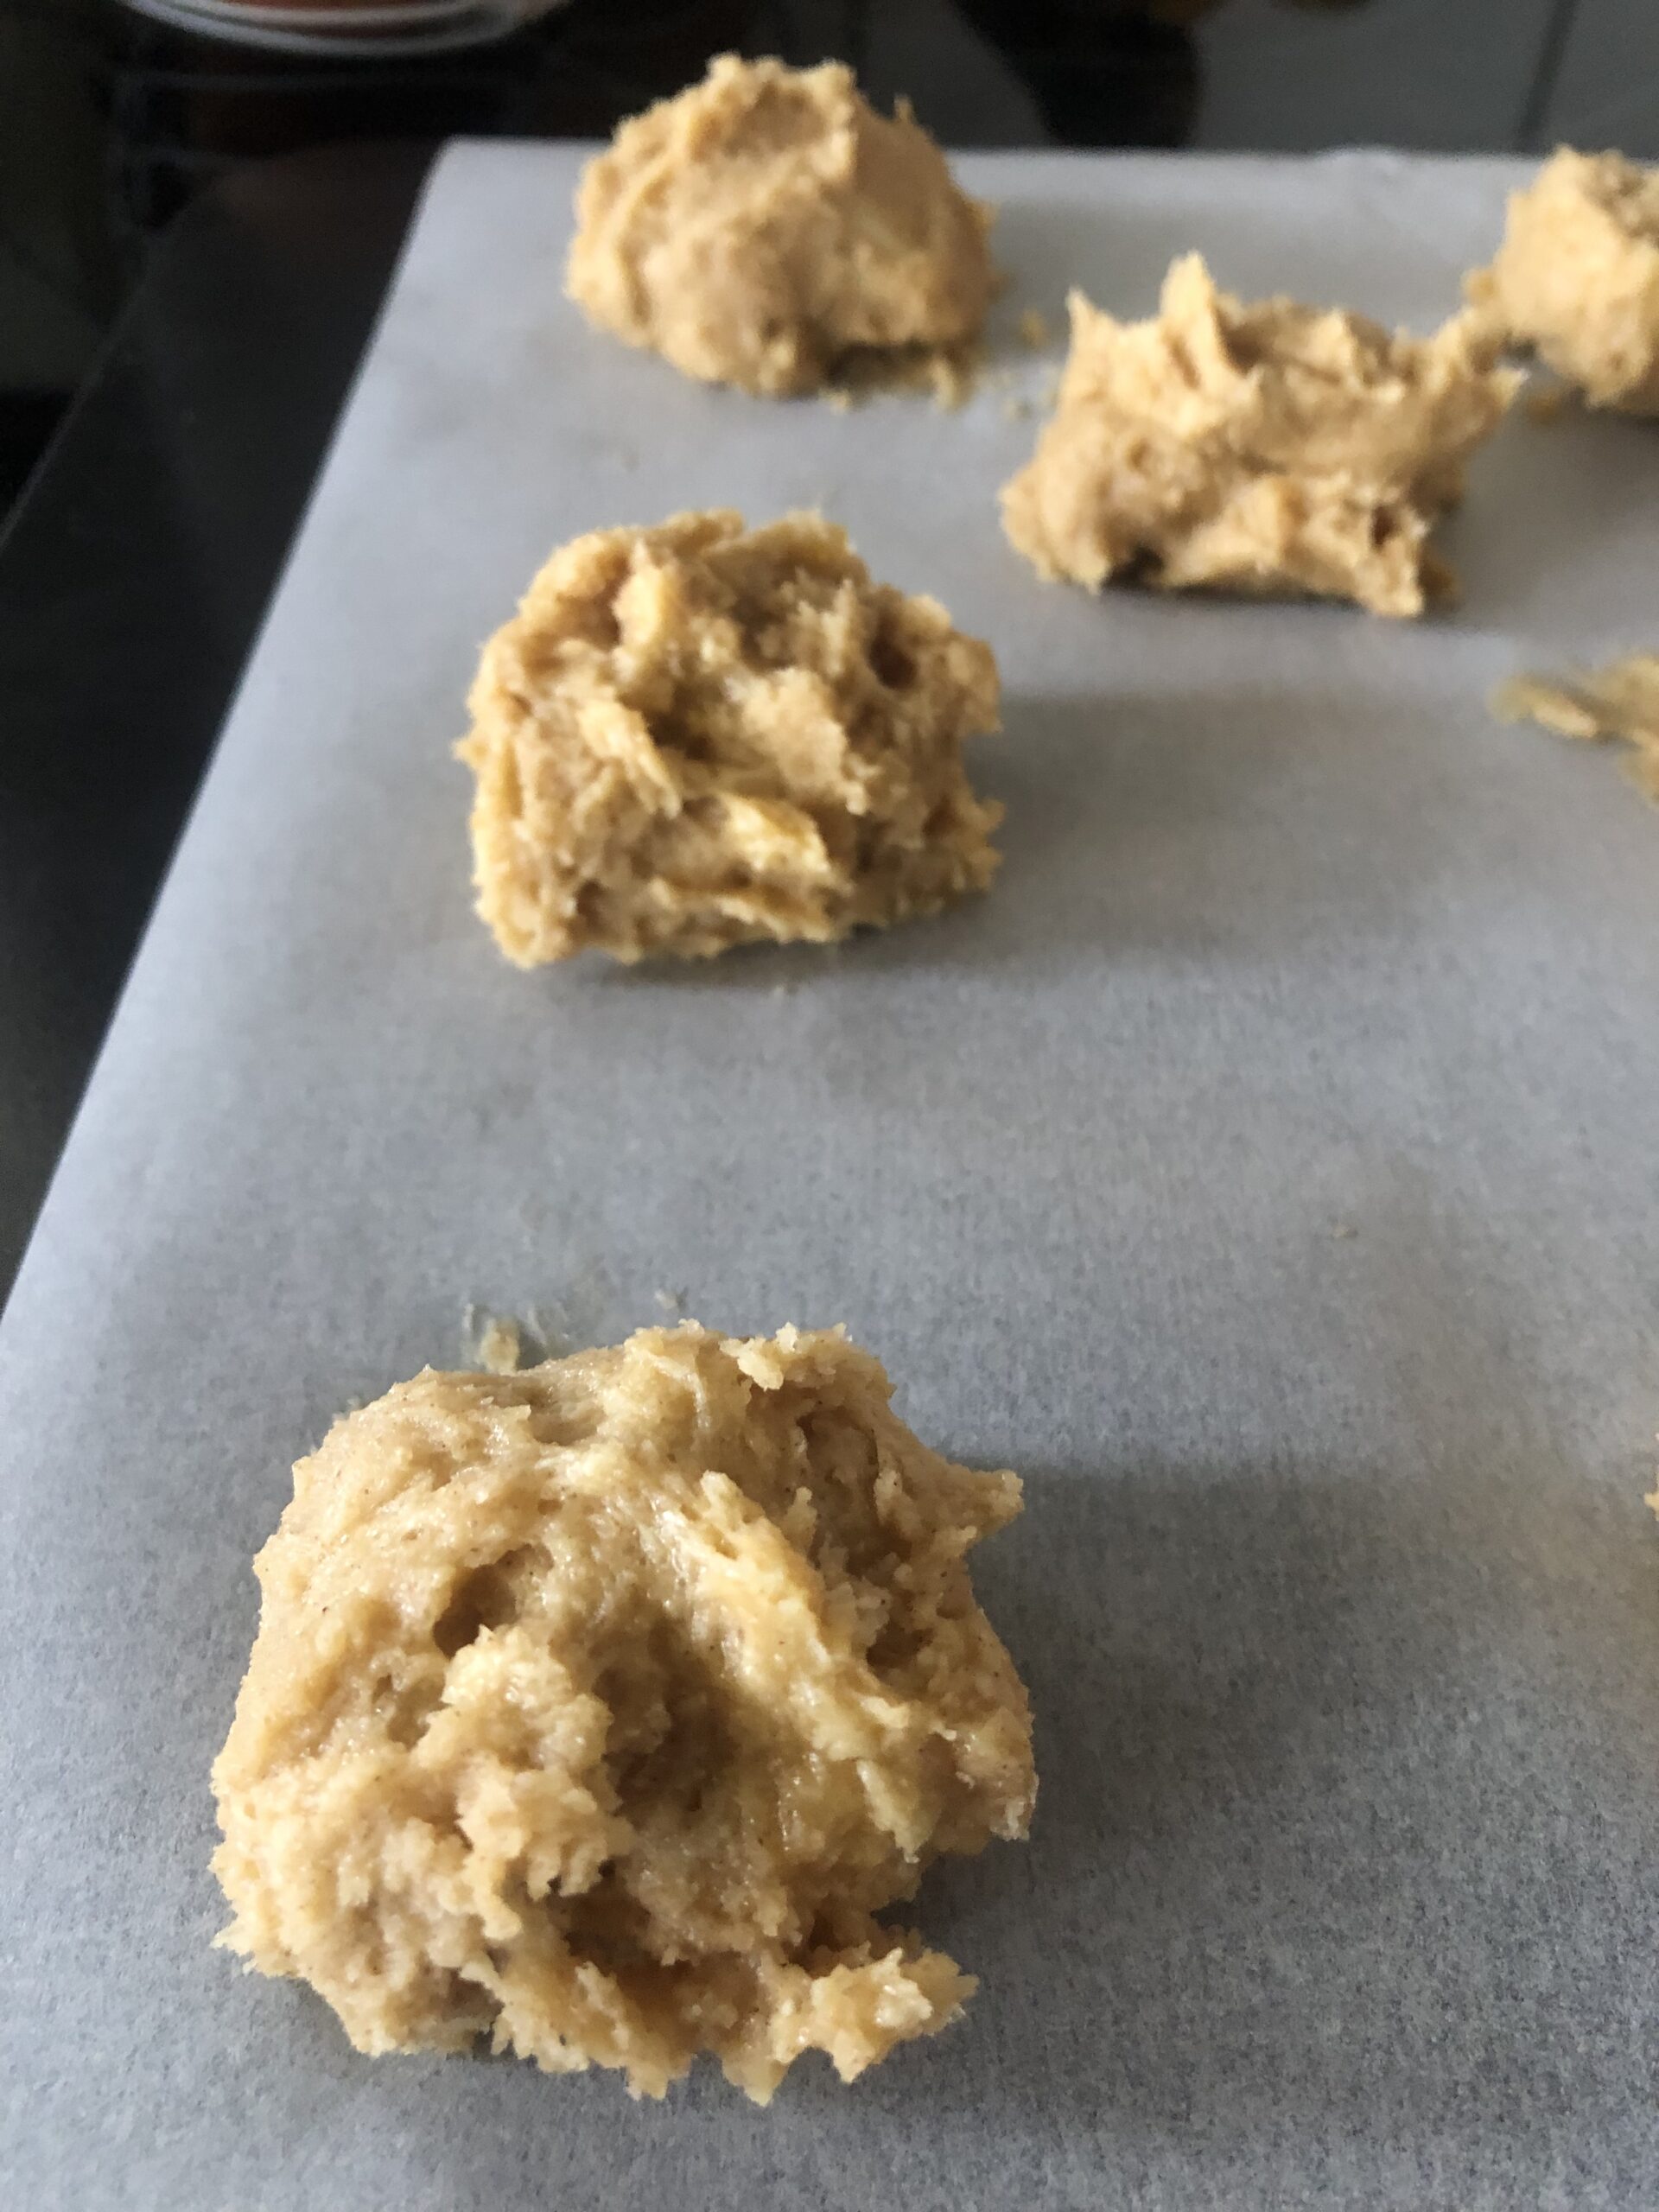
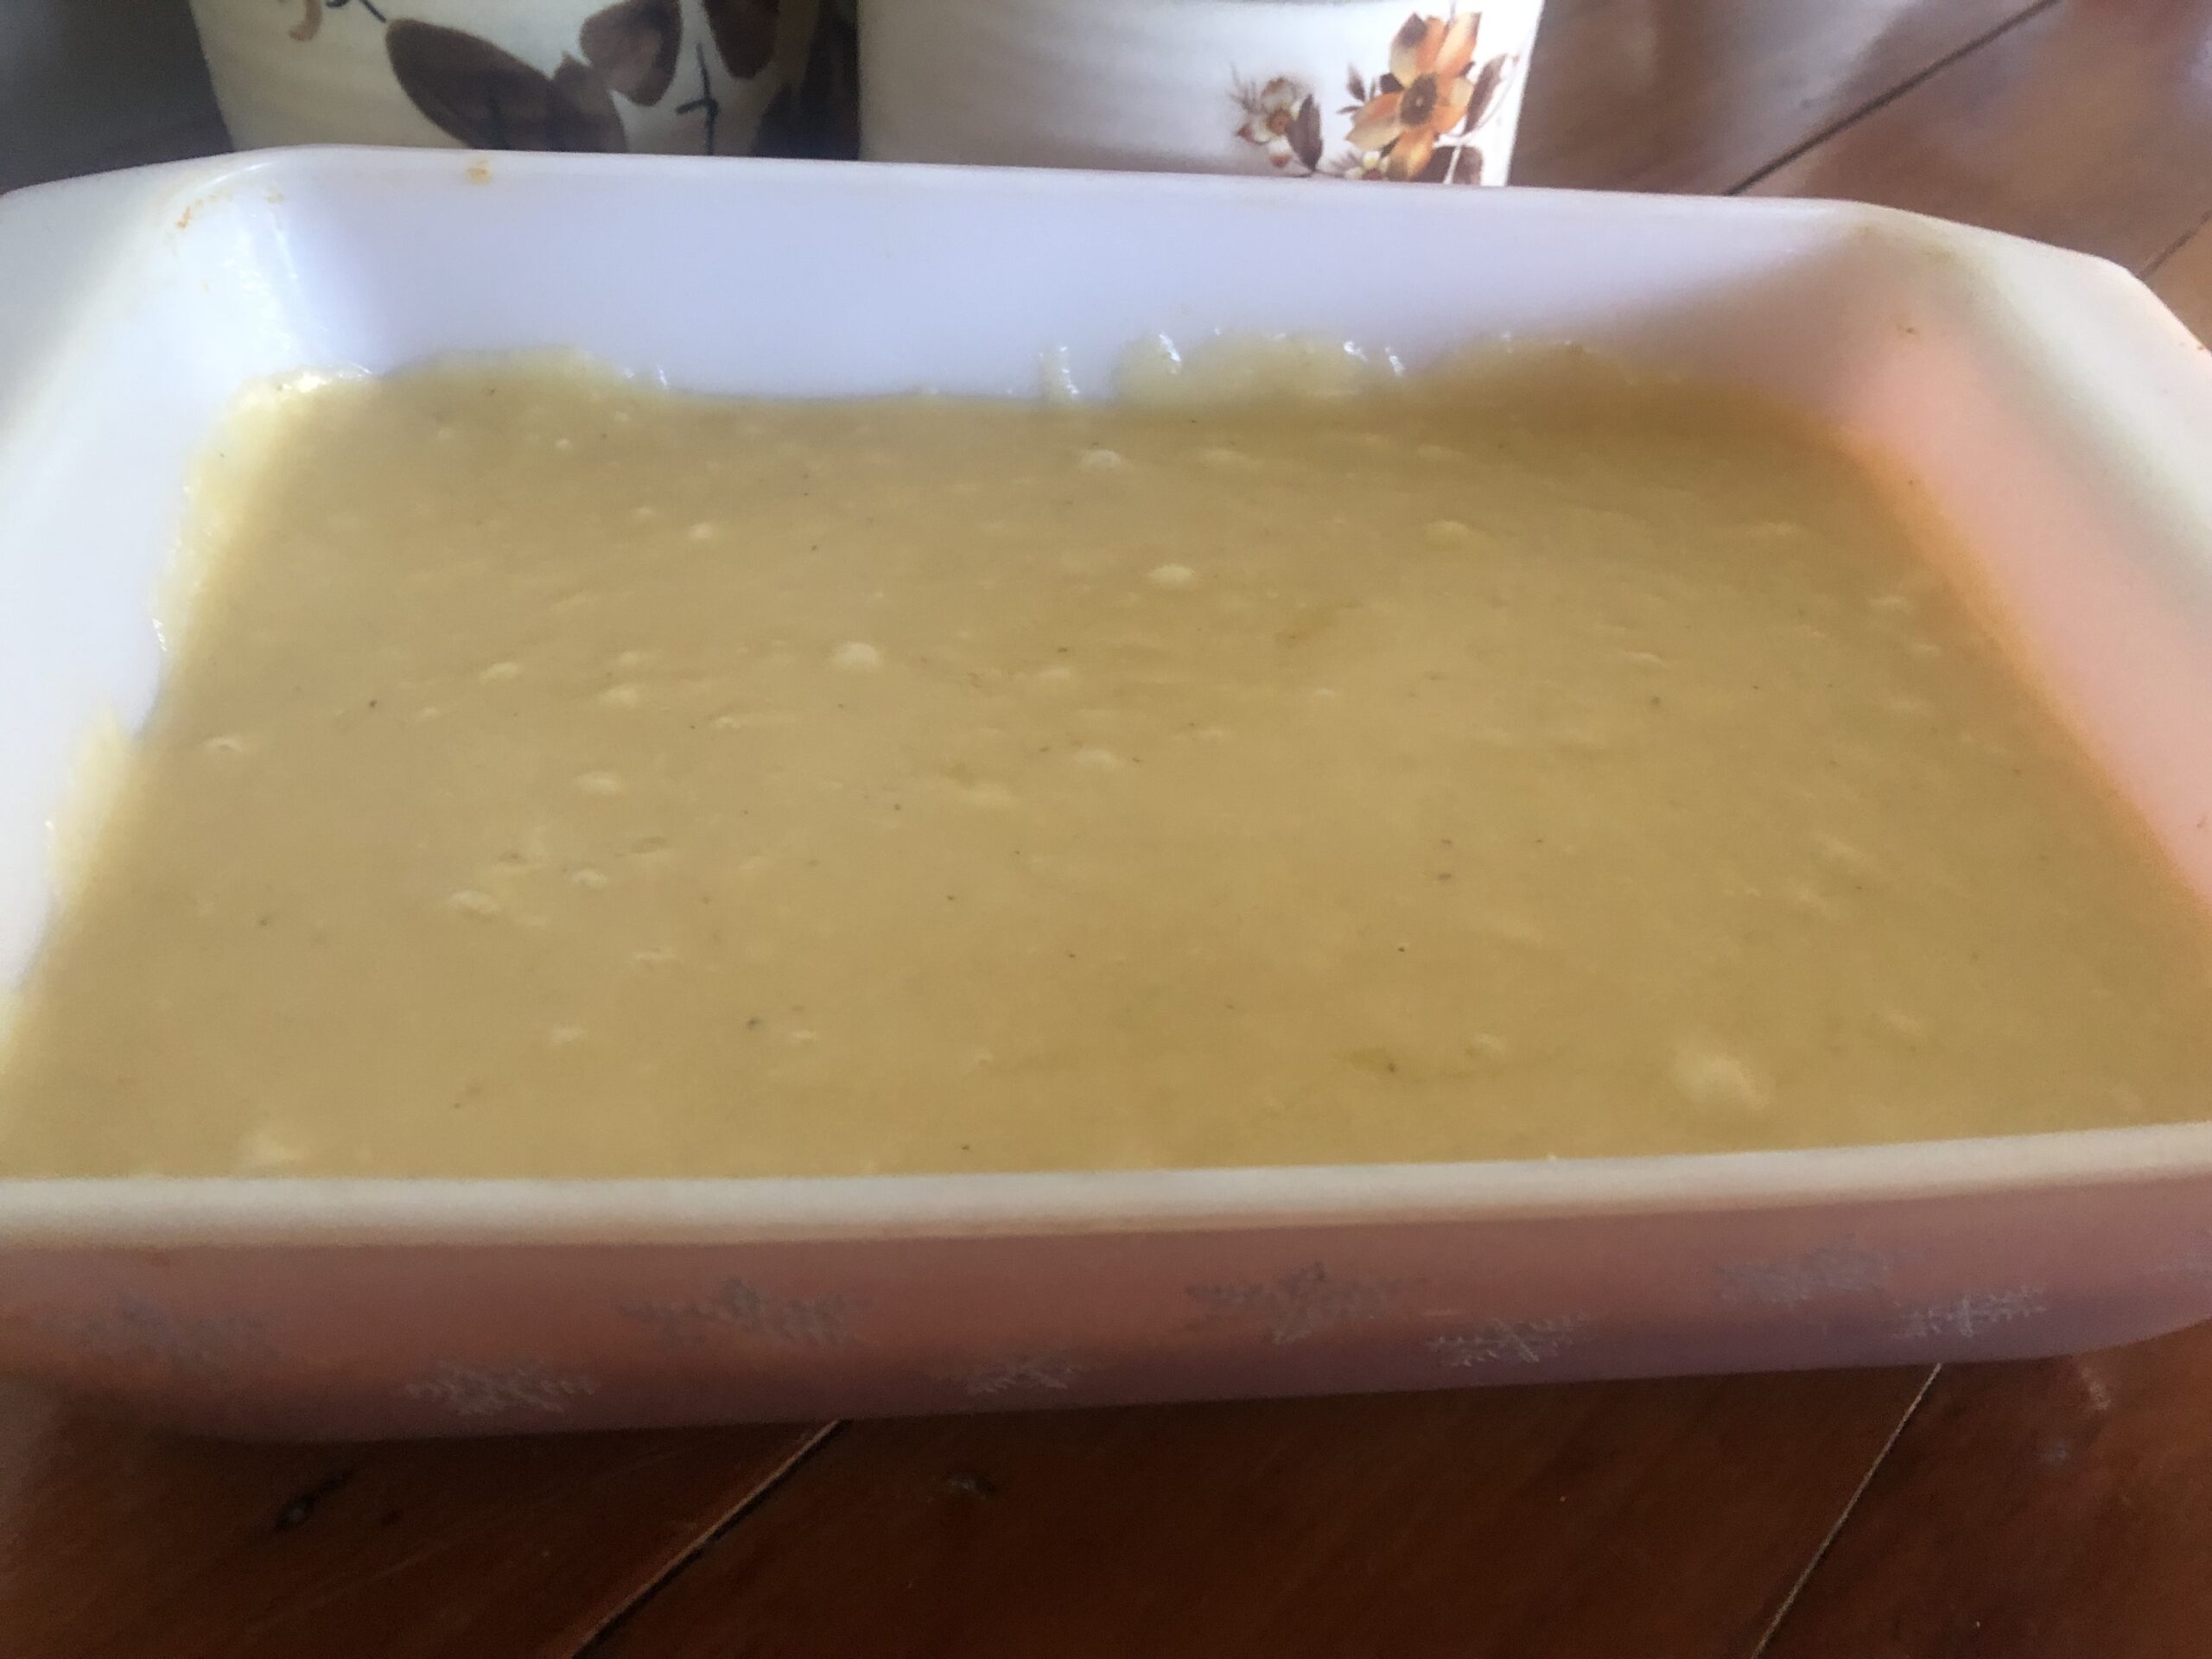
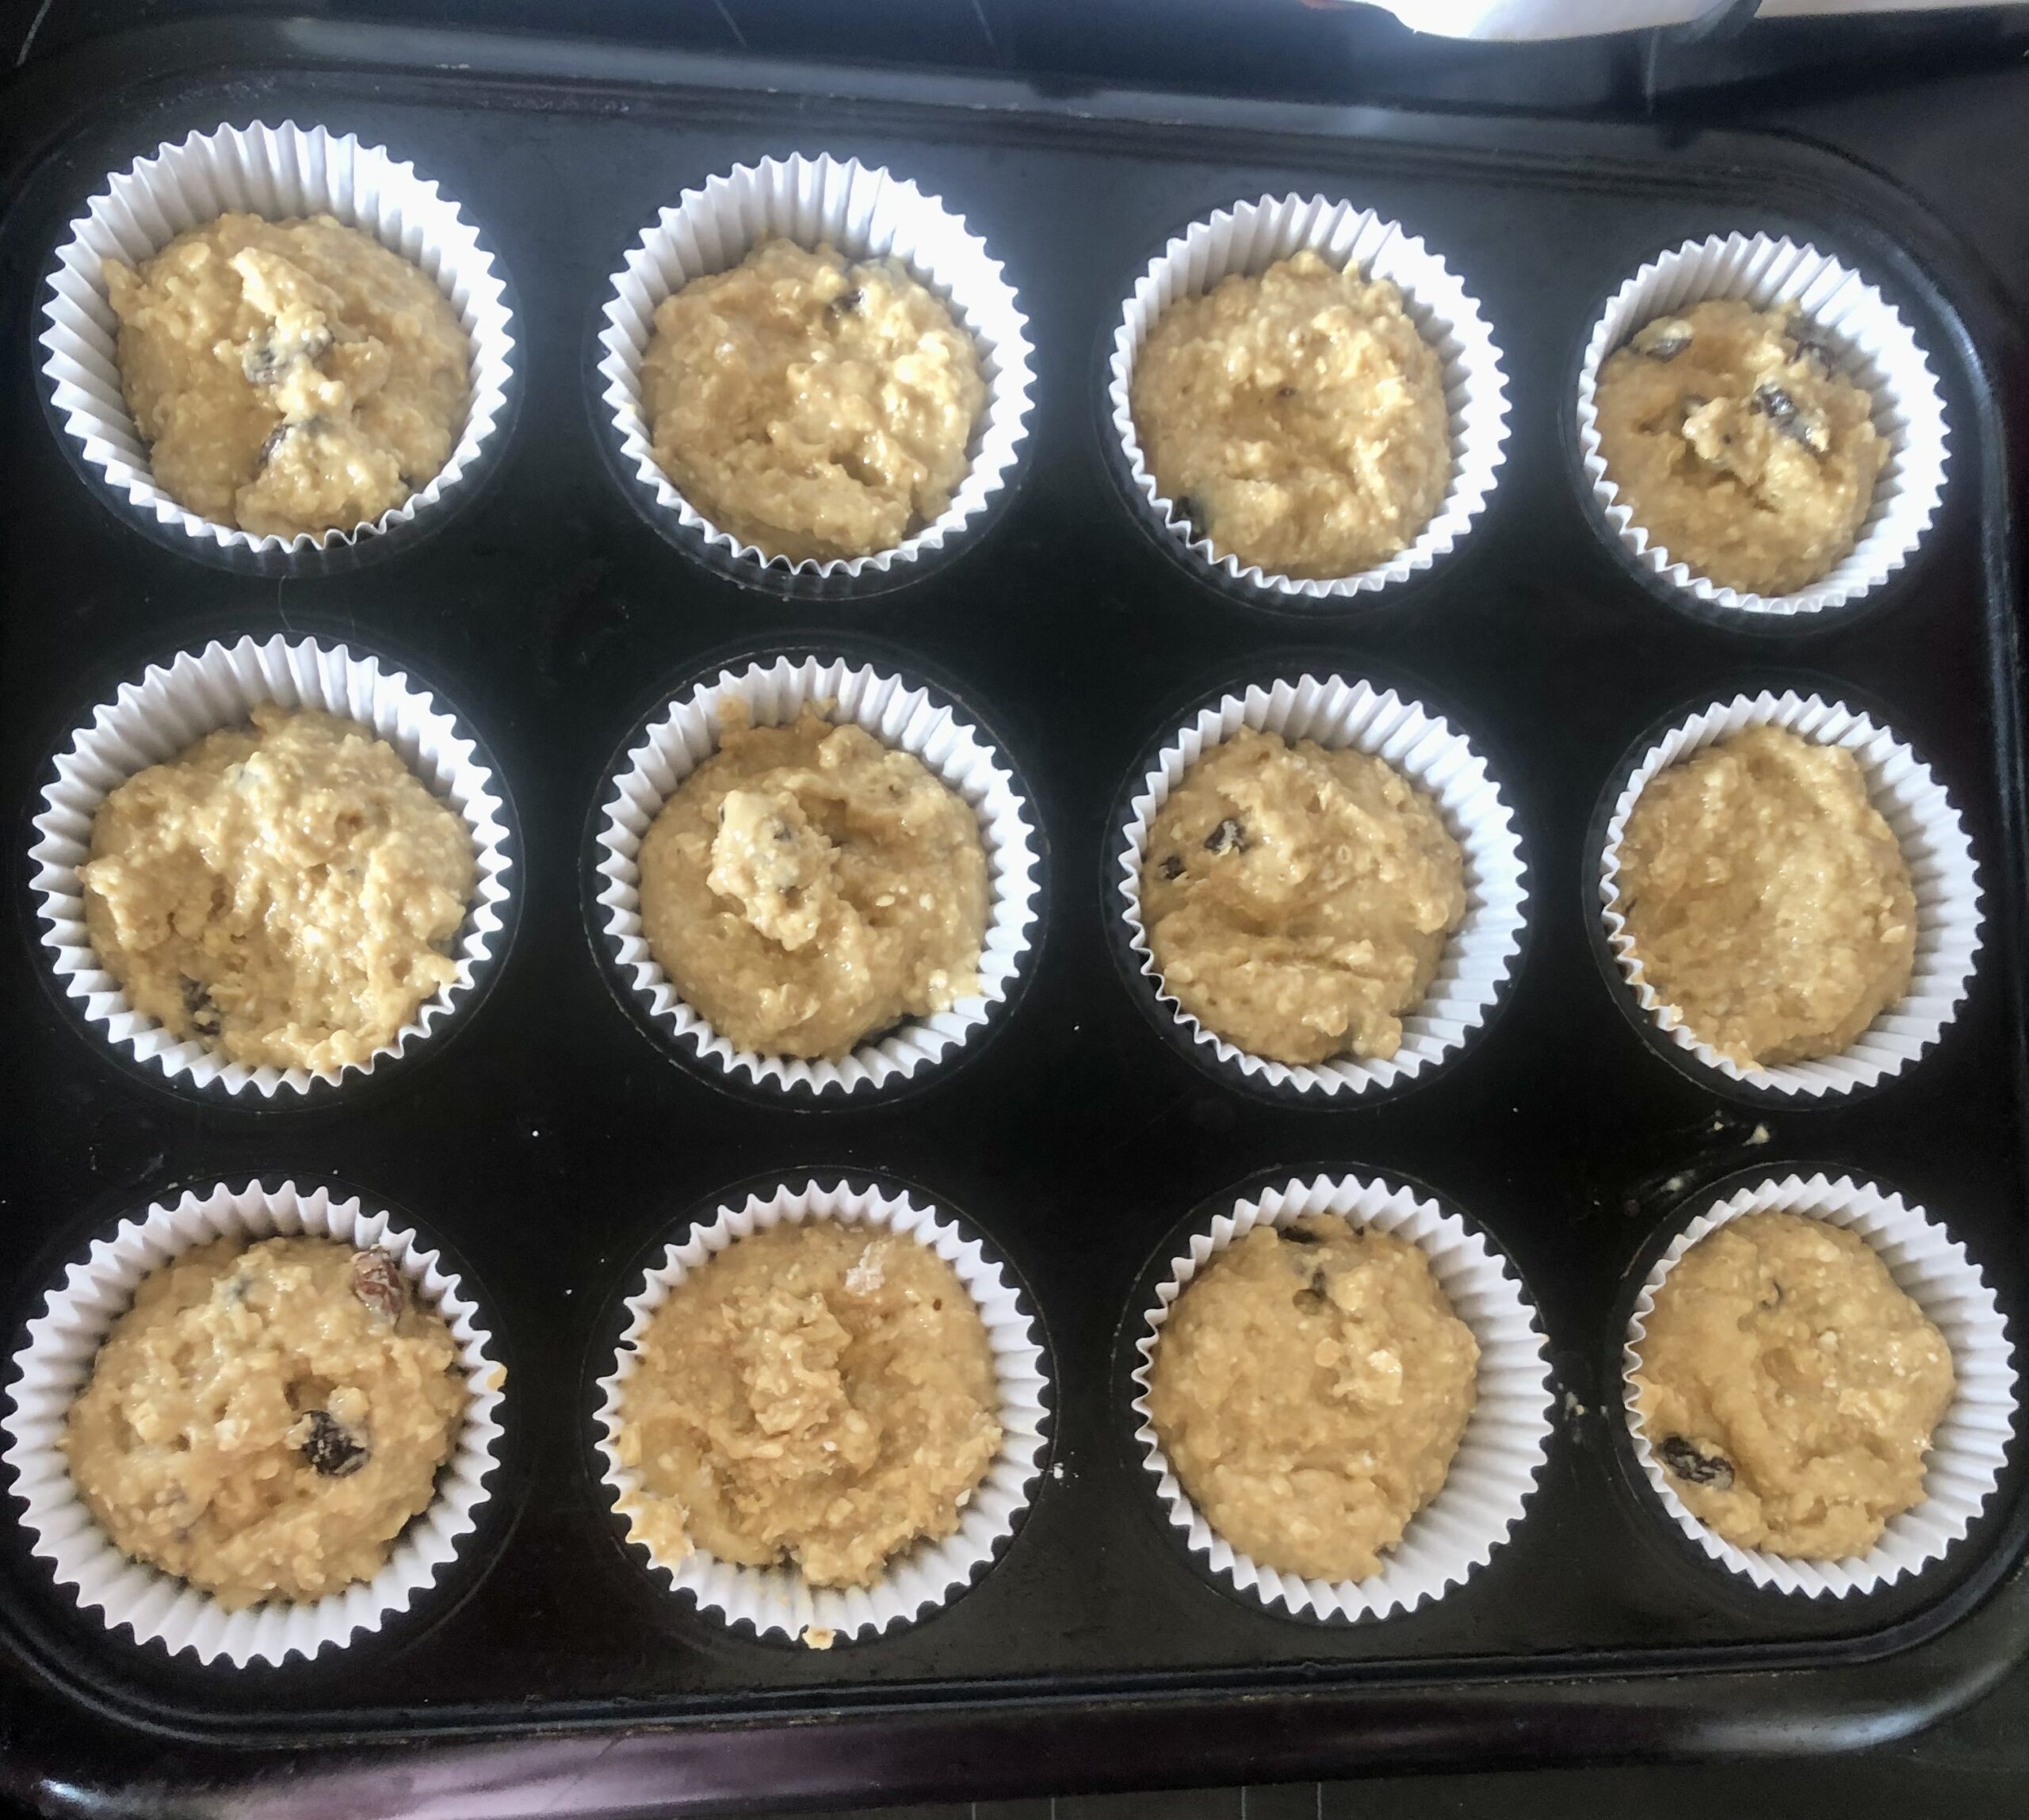
Spoon the batter into patty pans lined with patty cases (cupcake cases for those young ‘uns). Making sure they are about 2/3 full.

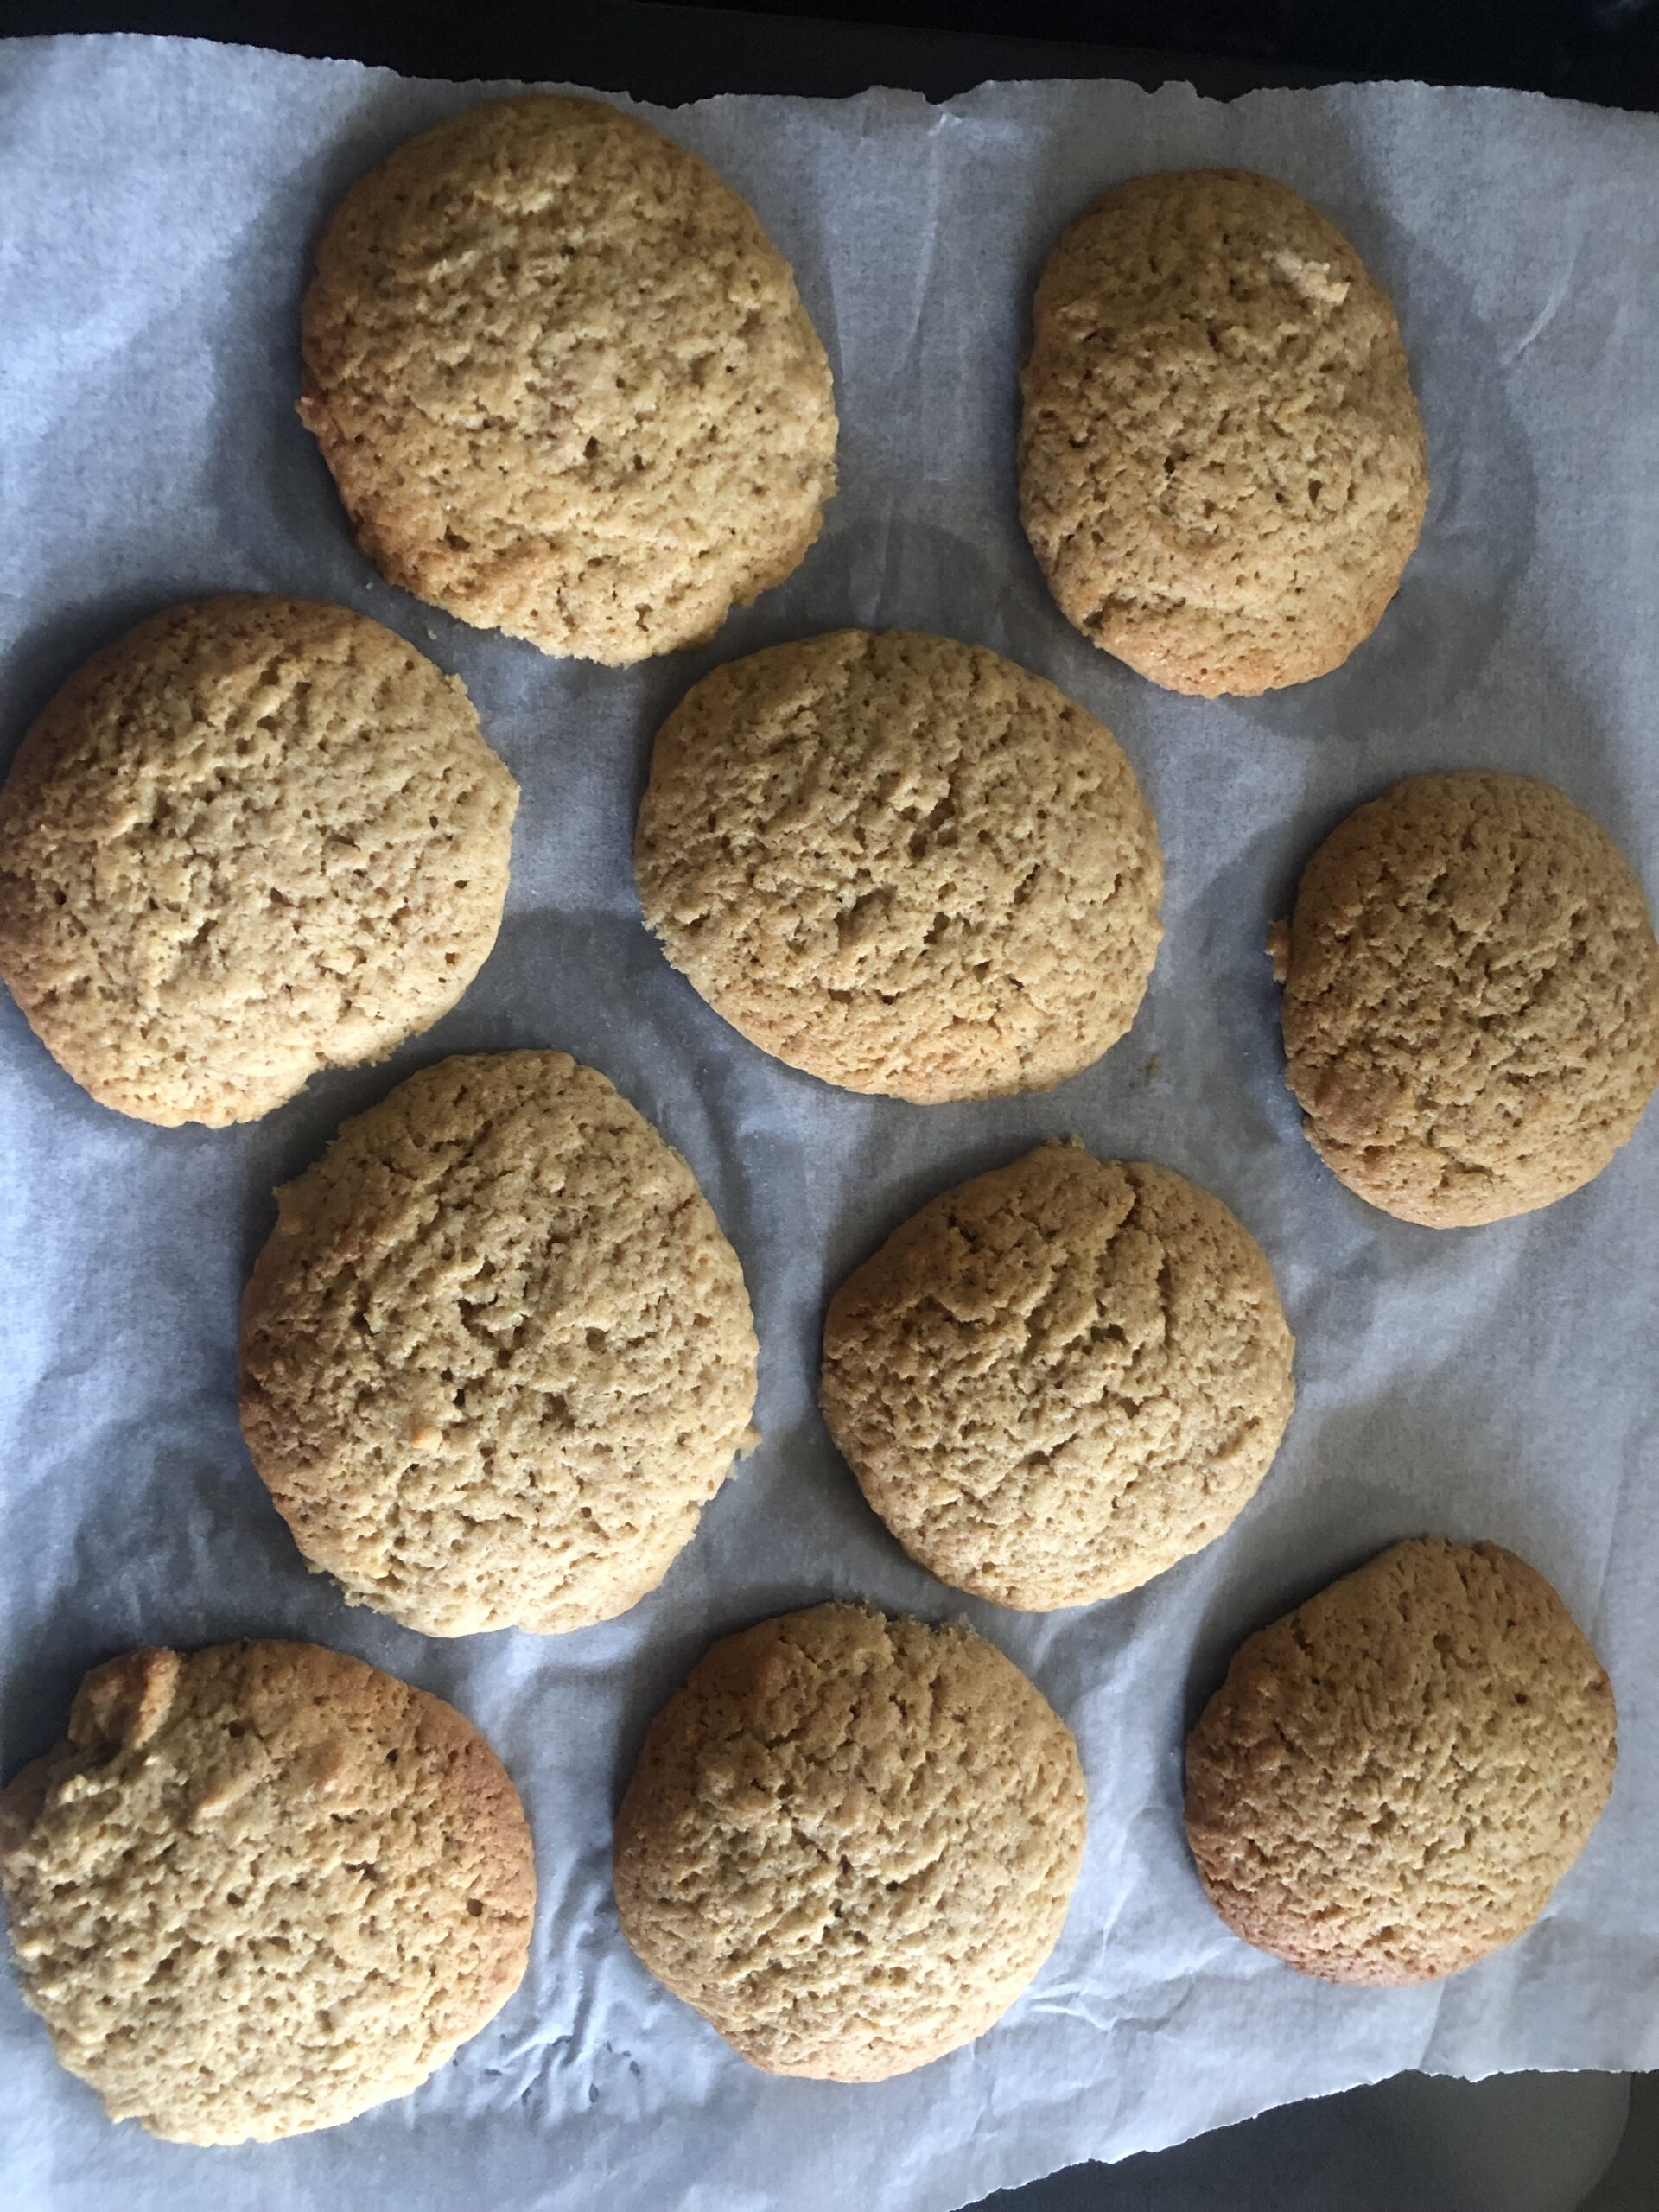
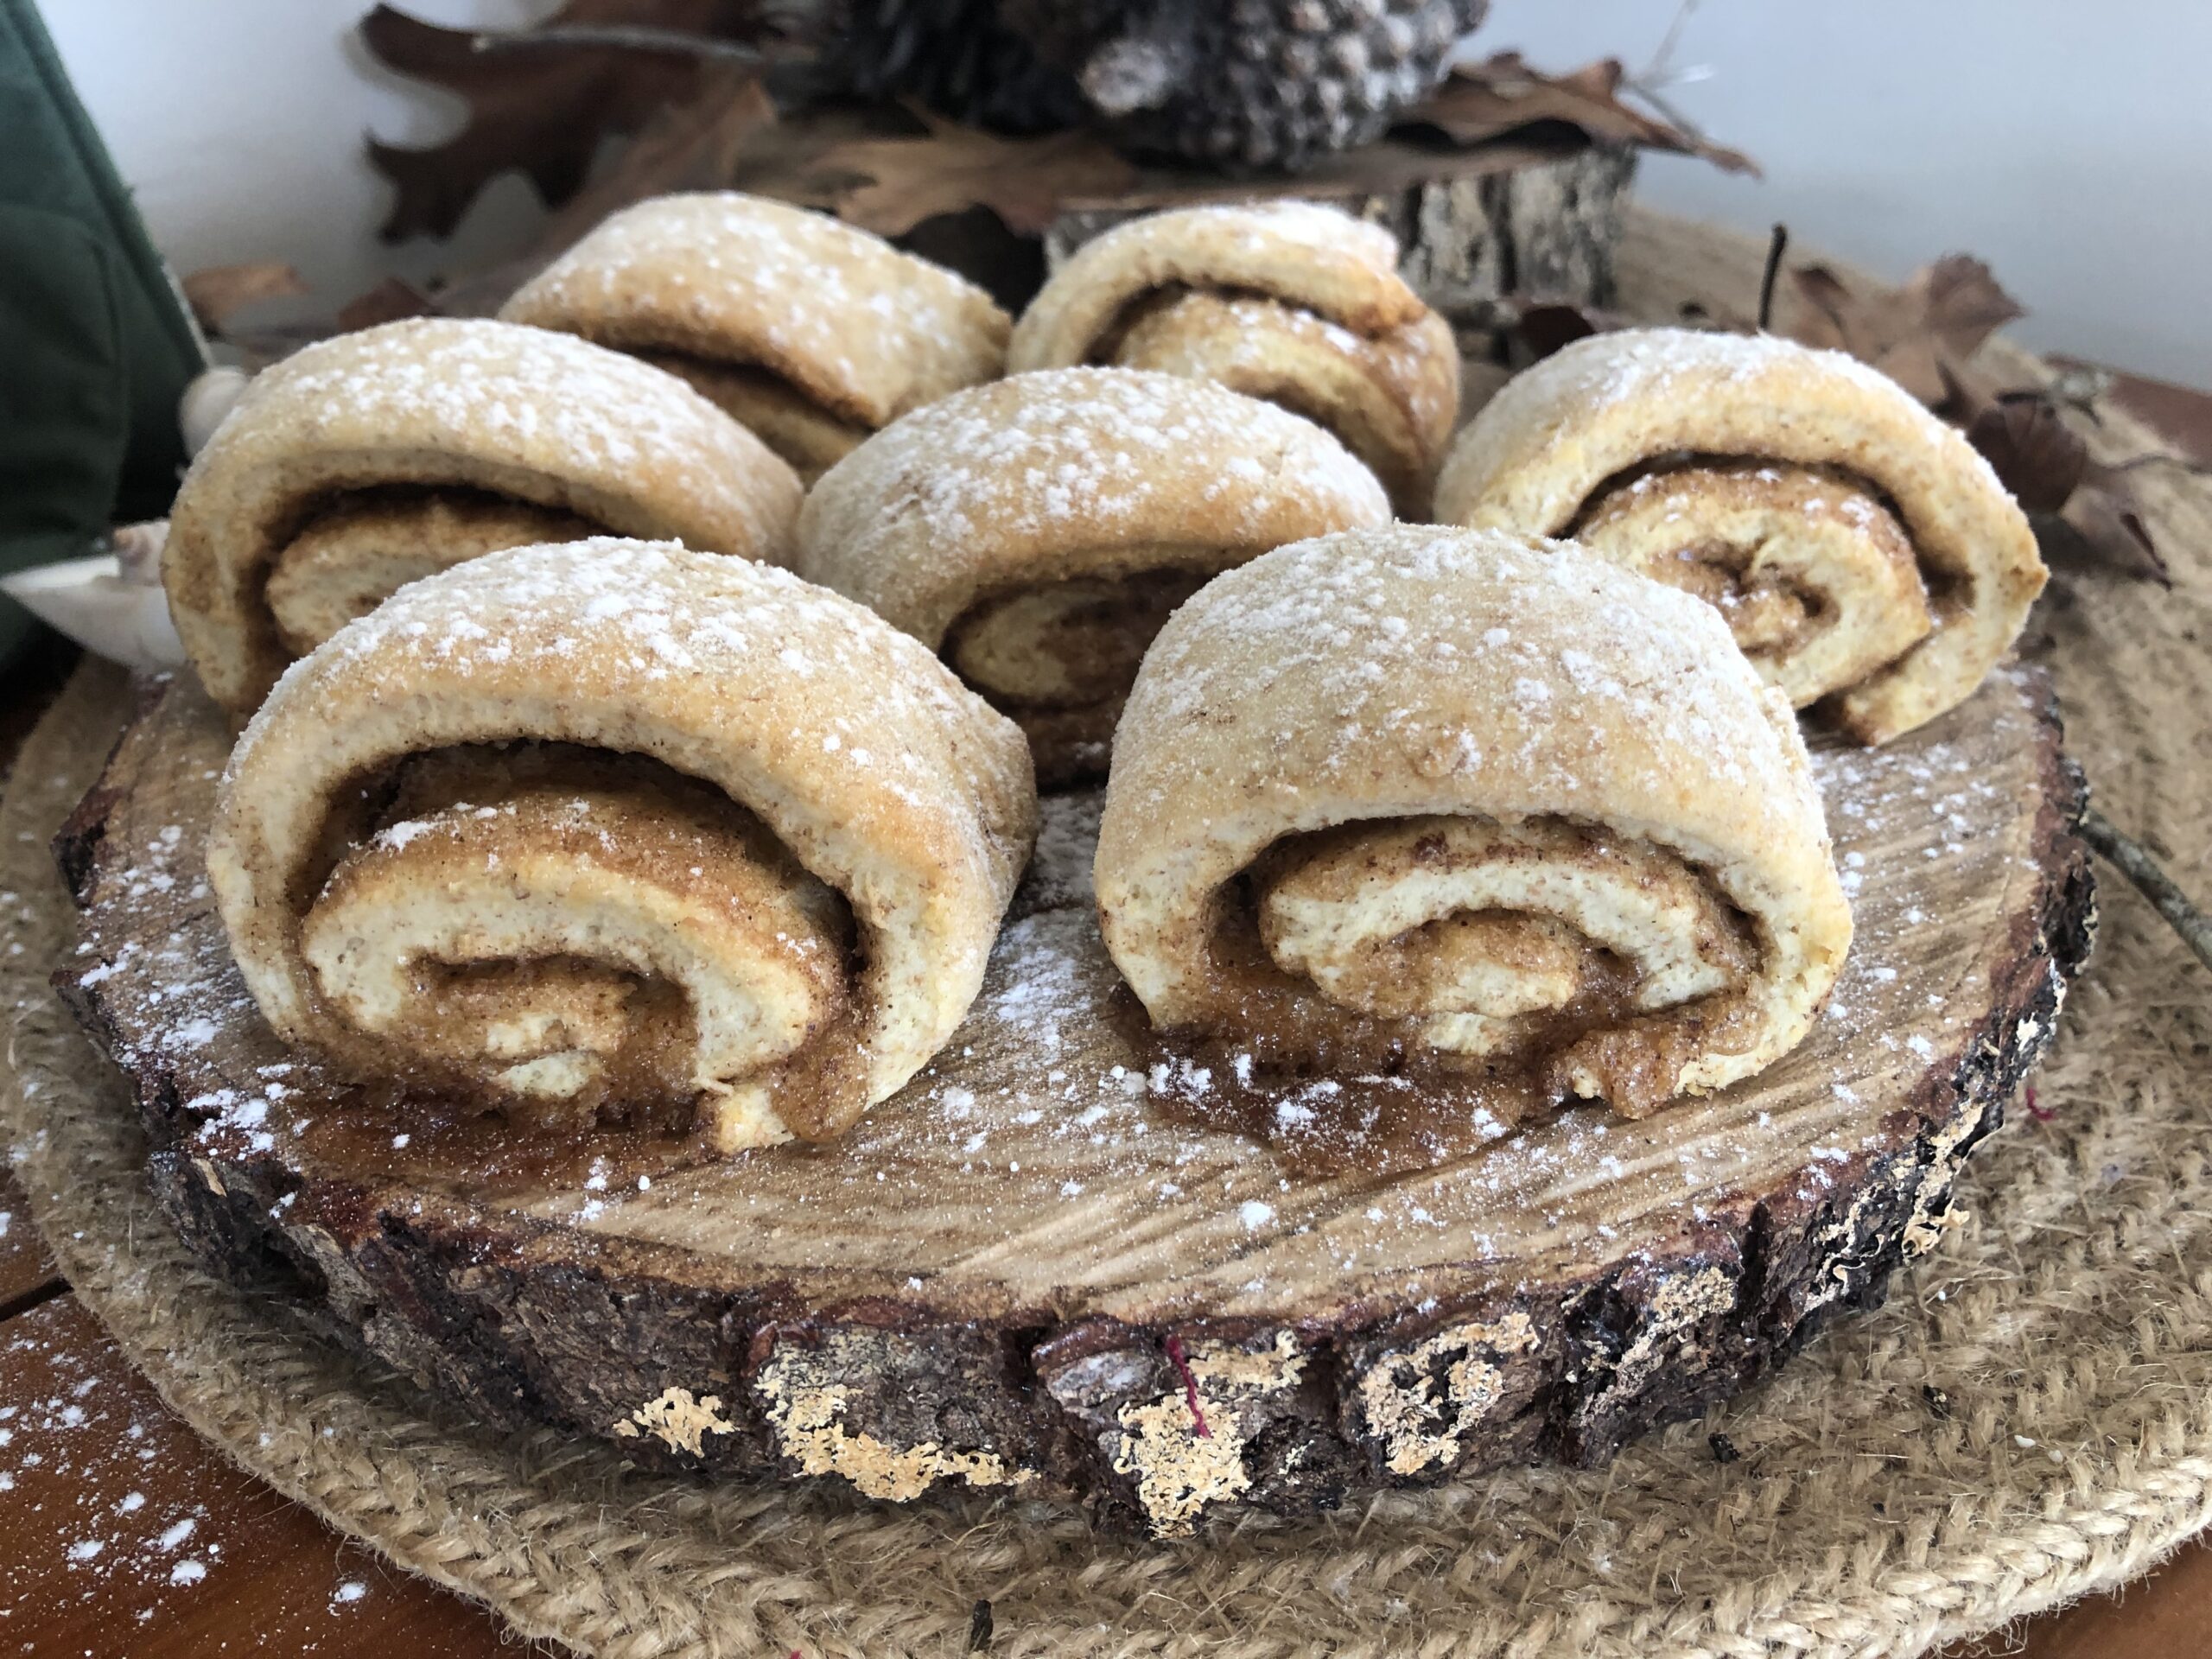
Bake then in your preheated oven, I had to do two trays as I used the smaller size, for 15-20 minutes until they are ‘Clean toothpick’ cooked through.

I urge you to give these a go as they are a great tummy filler, channel your 80s housewife and let me know what you think below. ❤️

See you back here for more retro recipies next time.  Stay rad! ❤️


2023-07-12T13:50:15+12:0012 July 2023|80s cookbook, Bakes, History, Kiwi bakes, Muffins, Readers Digest|0 Comments

Ginger Kisses

If you grew up with these you will know how gorgeous light and warming they are to eat, and you know how hard it is to restrict yourself to just one of these beauties!

Ginger kisses are a traditional kiwi treat and once you bite into that pillowy ginger goodness you won’t want to leave.

Here is the ingredients list for today’s traditional bake:

2 cups/260g plain flour

1 tsp ground cinnamon

3 heaped tsp ground ginger

1 level tsp baking soda

¾ cup/160g caster sugar

110g salted butter, softened

¼ cup/90g golden syrup

1 large egg

¼ cup buttermilk

1 teaspoon vanilla extract


We start by sifting the first 4 ingredients in a bowl and set it aside to cream the next 3 ingredients in another bowl.  Once combining those you will add the rest of the ingredients to the creamed mixture.

Heres were you combine the two to make the magic happen, folding in ever so carefully because you don’t want kisses you can bounce off the floor or knock someone out with. 😄

Your oven goes onto the usual 180 C and line your trays with baking paper – I used two as they spread when they cook.

Drop tablespoonfuls of the mixture onto the sheets spaced a little apart to allow for spreading. It’s best to bake them one sheet at a time to allow for even cooking.

Once you room is filled with the gorgeous smell and they are lovely and golden (10-12 minutes) take them out and cool.

Then comes the magic!
I have chosen a buttercream to sandwich them together but if you are going to eat them all in one day feel free to fill with whipped cream.

Here are the ingredients for the buttercream;

60g salted butter

1 cup icing sugar

2 Tsp golden syrup
(feel free to add ground ginger to this if you want an extra kick)

Milk to mix

Place or pipe (if you’re feeling fancy) as much buttercream as you desire onto the base of one kiss and pop another one on top pushing gently to sandwich them together.

Try baking them for yourself and you will agree homemade is best, you also get the added bonus of filling your house with delicious smells for the day. 😊

Thanks for coming back to my blog and I hope to see you here again soon. 💕

Nut Biscuits

We are travelling back to the 1930’s with the Bestway Cookery Gift Book.

The tagline reads:

“A book that will take you, step by step, through the Everyday Dishes to Delightful Experiments in high class Cookery!”

If that doesn’t inspire you what will?! 😁

This one starts with the filling first, a bit like eating your dessert before dinner, which is something that sounds good to me!

Cream 3/4 oz butter with 2 dessert spoons of caster sugar and stir in a tablespoon of ground Brazil nuts and a few drops of vanilla essence.

Now onto the main event – the dough..

Sieve 3 oz flour, 1 oz cornflour and 1 teaspoon of baking powder. Rub in 1 oz margarine with a mini blender if you’re feeling lazy (like me 😁), add one egg yolk and a spoonful of milk and water mix until it comes together as a dough.

Roll it out on a floured board into a thin oblong shape and spread it evenly with the filling. (Here’s something I prepared earlier moment.) Rolling it up like a Swiss roll and cut it into biscuit sized slices.

Pop them into a ‘fairly hot oven’ (I picked 180C) for ten to fifteen minutes.

They come out lovely and crunchy and a the taste is a lot like biscotti.

Do try it and let me know what you think 😉

Thanks again for visiting my little blog, hope to see you back again soon.


2023-06-17T17:29:21+12:0017 June 2023|Bakes, Bestway Cookbook, Biscuits, Vintage cookbook|0 Comments

Caramel Crunch Fingers

Heading on back to the Girl Guides for the yummiest of treats!

We will start with a foreword from Heather Gunn (Northland Provincial Commissioner):

This book of recipes has been compiled by members of the Northland Girl Guides Association to raise funds for their provincial Camp-site Trefoil Park.

Trefoil park is situated in the centre of Northland. It is being developed to provide camping facilities for Girl Guides and other youth groups.

We hope you will enjoy using “Trefoil Treats” and that it will be a useful addition to your Cookery Book drawer.

Good luck and good eating.


This time I chose a recipe which I hadn’t cooked before, just to see if it would become a favourite in our household…and I’m a bit partial to caramel. 😁

INGREDIENTS INCLUDE:

1 cup flour

1/2 cup cornflakes

1/2 cup walnuts (most nuts would be good though)

1/2 teaspoon of salt

1/2 cup brown sugar

1/2 cup coconut

1tsp baking powder

5oz butter


I did a little bit of improvising in order to avoid going out to the supermarket AGAIN and swapped the walnuts out for some almonds and peanuts which I had in my little pantry, I chopped them up a bit too. I encourage everyone to experiment with different types and see where the wind takes them. 😁

Everything goes into the mixing bowl (my kind of recipe), apart from the butter which gets melted and then added. One bowl! Bliss when it comes to washing up!

Stir the butter in and pop the mixture into a rectangular/square baking pan. I used my pretty pink snowflake Pyrex for this one.

Bake in your oven at 350 F for 20-30 minutes (I went for the maximum on this one) and boom your slice is cooked!

Now for the fun bit – and no waiting around for it to cool either – you can ice it while it’s still warm, yay!

Pop 3oz butter, 2 Tbsp brown sugar and 2 Tbsp milk into a small saucepan and bring to boil for 2 minutes. Mmmmmm, ‘enter caramel smells here’. 🤤 The recipe gives a general “add icing sugar to correct consistency” – I think I added 1 2/3 cup for my liking but here again it’s really up to you.

Pour it over the slice and add some more chopped nuts or coconut and bob’s your uncle. 😁

You will need to wait for this to set so cue dance party while you’re waiting. 🥳

It’s is well worth the wait, leave a note for me if you enjoyed this recipe. I would love to hear from you.

Until next time!

Sweet Sensations NZ 💕

Trefoil Treats

Welcome to a special Girl Guide addition to our trip into the world of vintage cookbooks.

These small fundraising cookbooks are often a goldmine of a variety of different recipies. It’s so much fun to hunt through to find one that takes your fancy. There is nothing that indicates when this one was published but the advertisements inside have phone numbers comprising of 5 numbers, so if anyone has any idea what era this would be please leave a comment. 😊

I decided to pick a recipe I’ve made a few times in the past as a fun twist on a scone recipe, this one has wholemeal flour so that makes it healthy, right? 😊 Let’s just run with that idea I say as I bite into another one.

Today I’m whipping up some super quick Cinnamon Pinwheels.

Our ingredients include:

1/2 cup plain flour, 1/2 cup wholemeal flour

1/4 tsp Salt

2 tsp Baking powder

1 Tbsp Butter

1/3 cup Milk

And For The Filling:

2 Tbsp Brown sugar

1 tsp Cinnamon

1 Tbsp Butter


The oven gets put onto 200 Celsius to warm up and all the dry ingredients are sifted into a bowl. Rub in the butter with your fingertips (or my cheat’s way of whizzing it in my mini Kenwood to mix it in super finely). Then the milk also gets whizzed in to make a dough, or traditionally mixed in with a knife.

Turn out the dough onto a floured board and roll it out into a rectangle.  Melt your butter for your filling in a saucepan (or cheat microwave) and brush over your dough. The sugar and cinnamon get mixed together and sprinkled over the buttered dough.

Roll your dough up from one of the long sides and cut evenly into thick slices. Then pop them into your hot oven for 10-12 minutes, easy as that! So quick to make and a nice rustic version with the wholemeal flour, sooooo good warm from the oven!

I hope you have a go at this recipe for yourself as it’s super yummy as an afternoon treat.

Thanks for reading and hope to see you back here soon!


2022-08-08T19:13:22+12:008 August 2022|Bakes, Fundraising cookbook, Kiwi bakes, Scones, Vintage Kitchen|0 Comments

Coconut Cream Sandwich

Welcome back all you lovely people – It’s been a while but I’m ready to jump back into a new recipe today!

We will be travelling back to 1935 and diving into the world of  ‘Everyday dishes to Experiments in High Class Cookery’ with the Bestway Cookery Gift Book.

The recipe I have chosen is delicious and a fantastic addition to your high tea party. Made similar to a sponge with some lip smacking add ons, is the decadent Coconut Cream Sandwich!

Don’t be confused by the word sandwich, this is very much a cake, this just refers to the creamy filling which sandwiches the two layers together.

The ingredients list is as follows:

2 Tbsp desiccated coconut

1/4 lb Flour

1 Tsp Baking powder

1 Egg + 1 Egg Yolk

3 oz Caster sugar

1 oz Margarine

Milk to mix

Jam & Coconut for the top

Filling:

4 oz Icing sugar

2 oz Butter

Vanilla essence

1 Tbsp Desiccated coconut

The flour and baking powder are sieved into a bowl and the coconut is mixed in.

Whisk the eggs and sugar in a separate bowl until they are thick and creamy (this takes about 3 minutes with a good mixer). Then the warmed melted margarine goes into the egg mixture with around 2 tablespoons of milk and your flour mixture.  I mixed this gently so as not to disturb my frothy egg mixture, and keep the mixture light.

Pour your mixture into a greased and lined cake tin (sandwich size if you have one) and bake at 190C for 10-15 minutes.

Now comes the patience test…make sure it is cooled on a rack before cutting horizontally in half through the middle and spread it with the creamy coconut filling.

The filling is super easy, just beat the butter and icing sugar into a creamy mix and add the coconut and few drops of vanilla essence  (I love coconut so much I doubled the amount of this in the filling).

Pop your top half back on (the cake that is 😉) and spread the top with your favourite jam and go wild again with the desiccated coconut over the top.

This is such a lovely take on the traditional sponge and, if you are a lover of coconut like I am, you are in for a treat!

Enjoy this recipe lovely readers and I hope to see you back real soon for more delicious traditional recipes.

2022-06-07T17:54:27+12:007 June 2022|Bakes, Cakes, Kenwood, Vintage Kitchen|0 Comments

Kenwood Cookbook – Coconut Macaroons

This bake is a well loved goodie in our family, it can be found in many cookbooks and the vintage recipes are definitely the best.

Going back to my Kenwood Recipe Book c1960 I will be baking something both my grandmothers made time and time again.

Todays recipe is Coconut Macaroons, and if you are looking for something simple with minimal washing up then this recipe is for you.

Laid out on my bench is: 3 egg whites, 2 teaspoons flour, 8oz sugar, 8oz desiccated coconut, vanilla essence (approx 1/2tsp).

Starting off with separating my eggs I beat the whites in my Kenwood mixer until stiff, (don’t throw the yolks away as I have the most delicious recipe using only the yolks – Let me know below if you would like this), lowered the speed to 2/3 and put in my flour. Next to go in was the sugar and I whisked that until it was glossy. Lastly I folded in the vanilla essence and coconut with a spatula.

You will have a lovely bowl of coconut gloss now, I used a paper lined tray for my baking so that I didn’t risk any sticking. I will need to head down to invest in some silicone sheets soon, with all this baking going on.

Drop spoonfuls onto your baking sheet and bake in a fan bake oven at around 160C or just below 180C if you are not using the fan, for around 25 minutes.

I got two trays of pretty decent sized golden macaroons, they have the right amount of crunch on the outside with a lovely chewy coconutty centre.

Hope you enjoyed this quick and easy bake, don’t forget to like and leave a comment if you would like my egg yolk only cake recipe.

2022-04-01T12:32:39+13:001 April 2022|Bakes, Biscuits, Coconut, Kenwood|0 Comments

Mrs Beeton’s Adventures – Breads

Welcome back to my lovely readers, I thought I might go in a different direction this week, from my usual sweet bakes.

I don’t think you could find many out there that don’t love one of these delicious beauties heated with butter and lashings of golden syrup. Yes today I’m heading into the wonderful world of the golden crumpet!

The glorious crumpet is said to have originated in Wales and the earliest recipe was written way back in 1769. Originally cooked on a iron griddle pan over an open fire, which you will be relieved to know I won’t be attempting today. 😁 No need to ring the fire brigade, lol.

I started out with a quart of milk warmed, this is rather a lot so make sure you have plenty left over for your accompanying cuppa. A quart is equal to 4 cups or 1 litre of liquid. I then added 1/2tsp of salt and 1 1/2 ounces of yeast and stirred that up to froth. This recipe doesn’t actually give any quantities other than the milk so I used a bit of previous knowledge of breads and a bit of good luck.

When adding the flour you need to make sure the dough is more like a batter than a dough, so more on the pouring scale. Then I exercised a bit of patience, yes I know, I’m learning. 😁 Leaving it to sit for at least half an hour to rise and get all ‘bubbly’ (the technical term).

Now make sure you have more than one crumpet ring or you will be stood at the cooktop until your legs give way (gained from experience 😁). Spray oil is a fantastic invention to grease the rings before filling with batter, making them much easier to remove.

I cooked them in a hot pan until they were golden on both sides. When you flip over with a spatula you may get some oosing of batter, no problem, just push the ring down and this gets chopped off so they are all evenly round.

If you manage to wait until they are all cooked you can heat or toast them, or you can eat them deliciously hot off the stovetop with a cute little butter pat and some golden or maple syrup.

Please don’t forget to let me know how you get on with your crumpet adventure and don’t forget to tune in for more Mrs Beeton’s adventures!


2022-03-23T13:13:38+13:0023 March 2022|Bakes, Breads, History, Mrs Beeton's Cookbook, Vintage Kitchen|0 Comments

Mrs Beeton’s Preserves – Part 1

Summer Preserving

While away on our much needed summer holiday early this year we discovered an amazing little secondhand bookshop in Whitianga, where I stumbled upon an updated copy of Mrs Beeton’s Preserves.

I was excited to get this home and try something out and it just happened to be the time for a bumper season of sweetcorn from our very own backyard vege patch.

Going straight to the pickles and relish section of the book I found the perfect recipe for Sweetcorn Relish. One of my favourite things to eat is cheese and relish so I was really looking forward to sampling it.

This is a two day process so keep this in mind when setting aside some time to make this at home.

Bear with me while I list the ingredients for you as there are a few, but all are readily available summer veges which, if you make them at the right time of year, won’t cost you much for the amount that the recipe makes.

2 Green peppers, seeded and diced (I used red)

2 Large Carrots diced

2 Large Onions diced

6 Celery Sticks diced

2 Garlic cloves crushed

1tsp Mustard powder

1tsp Turmeric

1Tbsp Cornflour

1 Pint white vinegar

900g Sweetcorn kernels (I cut these straight off the cobs)

100g Sugar

All of the veges go into a large bowl (minus the corn) in layers, with salt sprinkled over each layer. Sprinkle some more salt over the top  and cover the bowl to stand overnight.

Before you start making the relish the next day make sure you bring your clean jars to boil on the stovetop in a large pot of water and dry them out in a moderate oven to sterilise. You don’t want to put hot relish into cold jars, or the other way around as this will cause them to crack.

The next day you will need to start with draining and rinsing the veges twice before putting them into a large saucepan with most of the white vinegar (keep aside a tablespoon to mix with the spices).  White vinegar is not expensive and it is great to have extra in the cupboard for cleaning purposes too. A pretty handy ingredient to have on hand that’s for sure.

The mustard, turmeric and cornflour are mixed in a cup with the extra bit of vinegar you put aside. Don’t add this to the pan just now as it doesn’t go in until later.

Everything is heated in 5 minute sections so it’s pretty simple to remember. Firstly bring the veges to the boil and simmer for your first 5 minutes. Add the 900g (!) of sweetcorn and cook for another 5 minutes. Stir in your sugar and cook for….you guessed it..another 5 minutes.

Lastly add the spice paste you made earlier and 1tsp Salt and stir well, this comes to the boil and simmers for your last 5 minute blast.

Take your jars out of the oven and pour the relish evenly into them and seal (with a clean towel over the lid, so you don’t burn your hands). Once they cool a bit make sure you label them with the date, these babies will keep for 6-9 months so that’s plenty of time to demolish the lot 😄. I got 7 decent sized jars out of this mixture so if you are feeling generous, there are even some to gift to friends and family.

It’s a fairly straight forward recipe to try which doesn’t require any fiddly setting temperatures as does Jam, so I would recommend this one for beginners who want to get into making their own preserves.

I hope you enjoy making this as much as I did and come back again for my delicious vintage cooking!

Baking with Kids – Valentines Cookies

Here’s something for you romantics out there, a quick and easy piped shortcake biscuit for Valentines Day.

I chose this one as I had my two helpers joining in today and it was a simple little recipe with only…..3 ingredients!  How does that work I hear you ask? Easy as pie, and the result is delicious (I have that on good authority from my two favourite helpers).

We start out with our trusty Kenwood recipe book, circa 1960 and our 3 ingredients; 4 oz Margarine/Butter, 4 oz Plain Flour and 1 oz of icing sugar.


My trusty helper number 1 put the butter into our warmed Kenwood mixer bowl and set it to speed 2 until it was pale and soft. Then helper number 2 stepped up and sifted the icing sugar and flour into the bowl (because he makes the least mess, lol).

When the mixture was combined to a soft dough we put it all into a piping bag with a large star nozzle. I took over at this stage as it needed quite a bit of power to squeeze out onto the tray and I had been working out just for this purpose, kidding.

(more…)

Go to Top