Lamingtons

With the school holidays in full swing it felt like a great time to whip up a kiwi classic!

This is something I don’t make that often due to the fact that it can get pretty messy in the kitchen when the kiddoes get involved.

You will find these in every good bakery in NZ, some even filled with cream too. A good lamington is light and soft, soaked in chocolate or strawberry icing and thoroughly covered in delicious coconut.

This recipe makes them from scratch but if you want a cheats version you can buy a plain sponge and do the icing yourself. Just a heads up though, that’s the messy bit. 😊

This recipe requires:

6 eggs

2/3 cup caster sugar

1/3 cup cornflour

1/2 cup plain flour

2/3 cup self raising flour

3 cups icing sugar

1/2 cup cocoa powder

15g butter melted

2/3 cup milk

Desiccated coconut for rolling in.


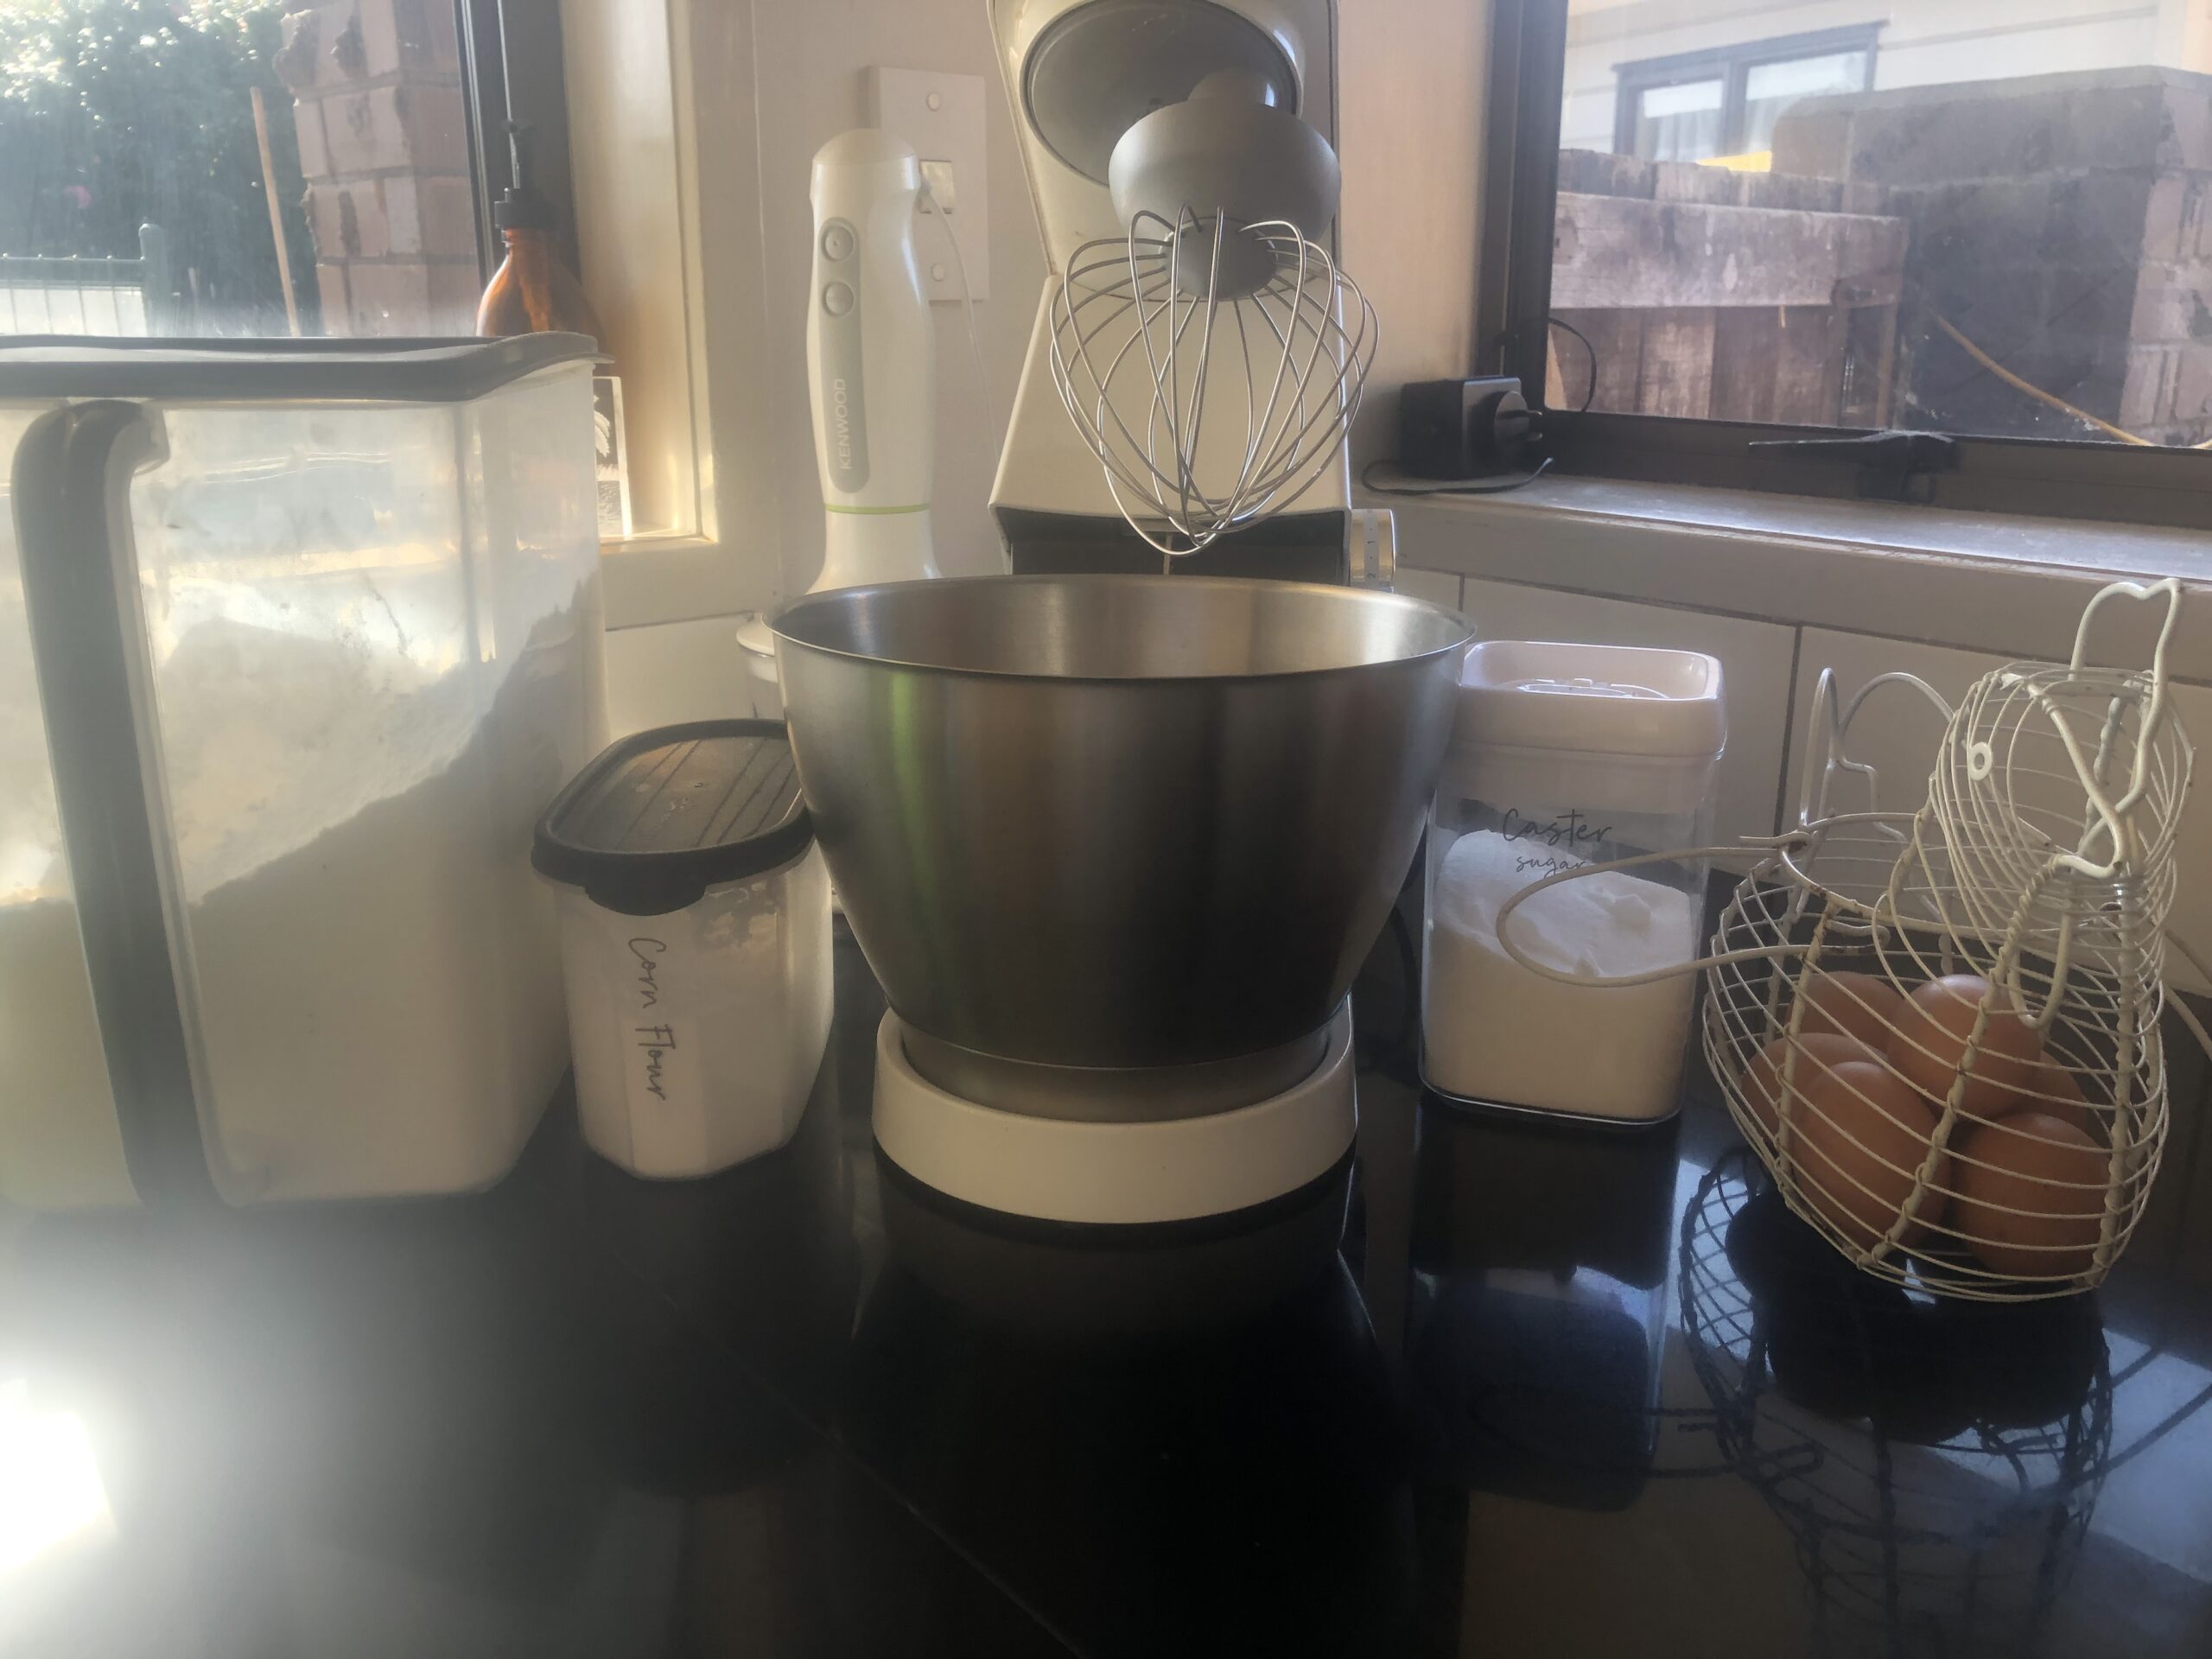
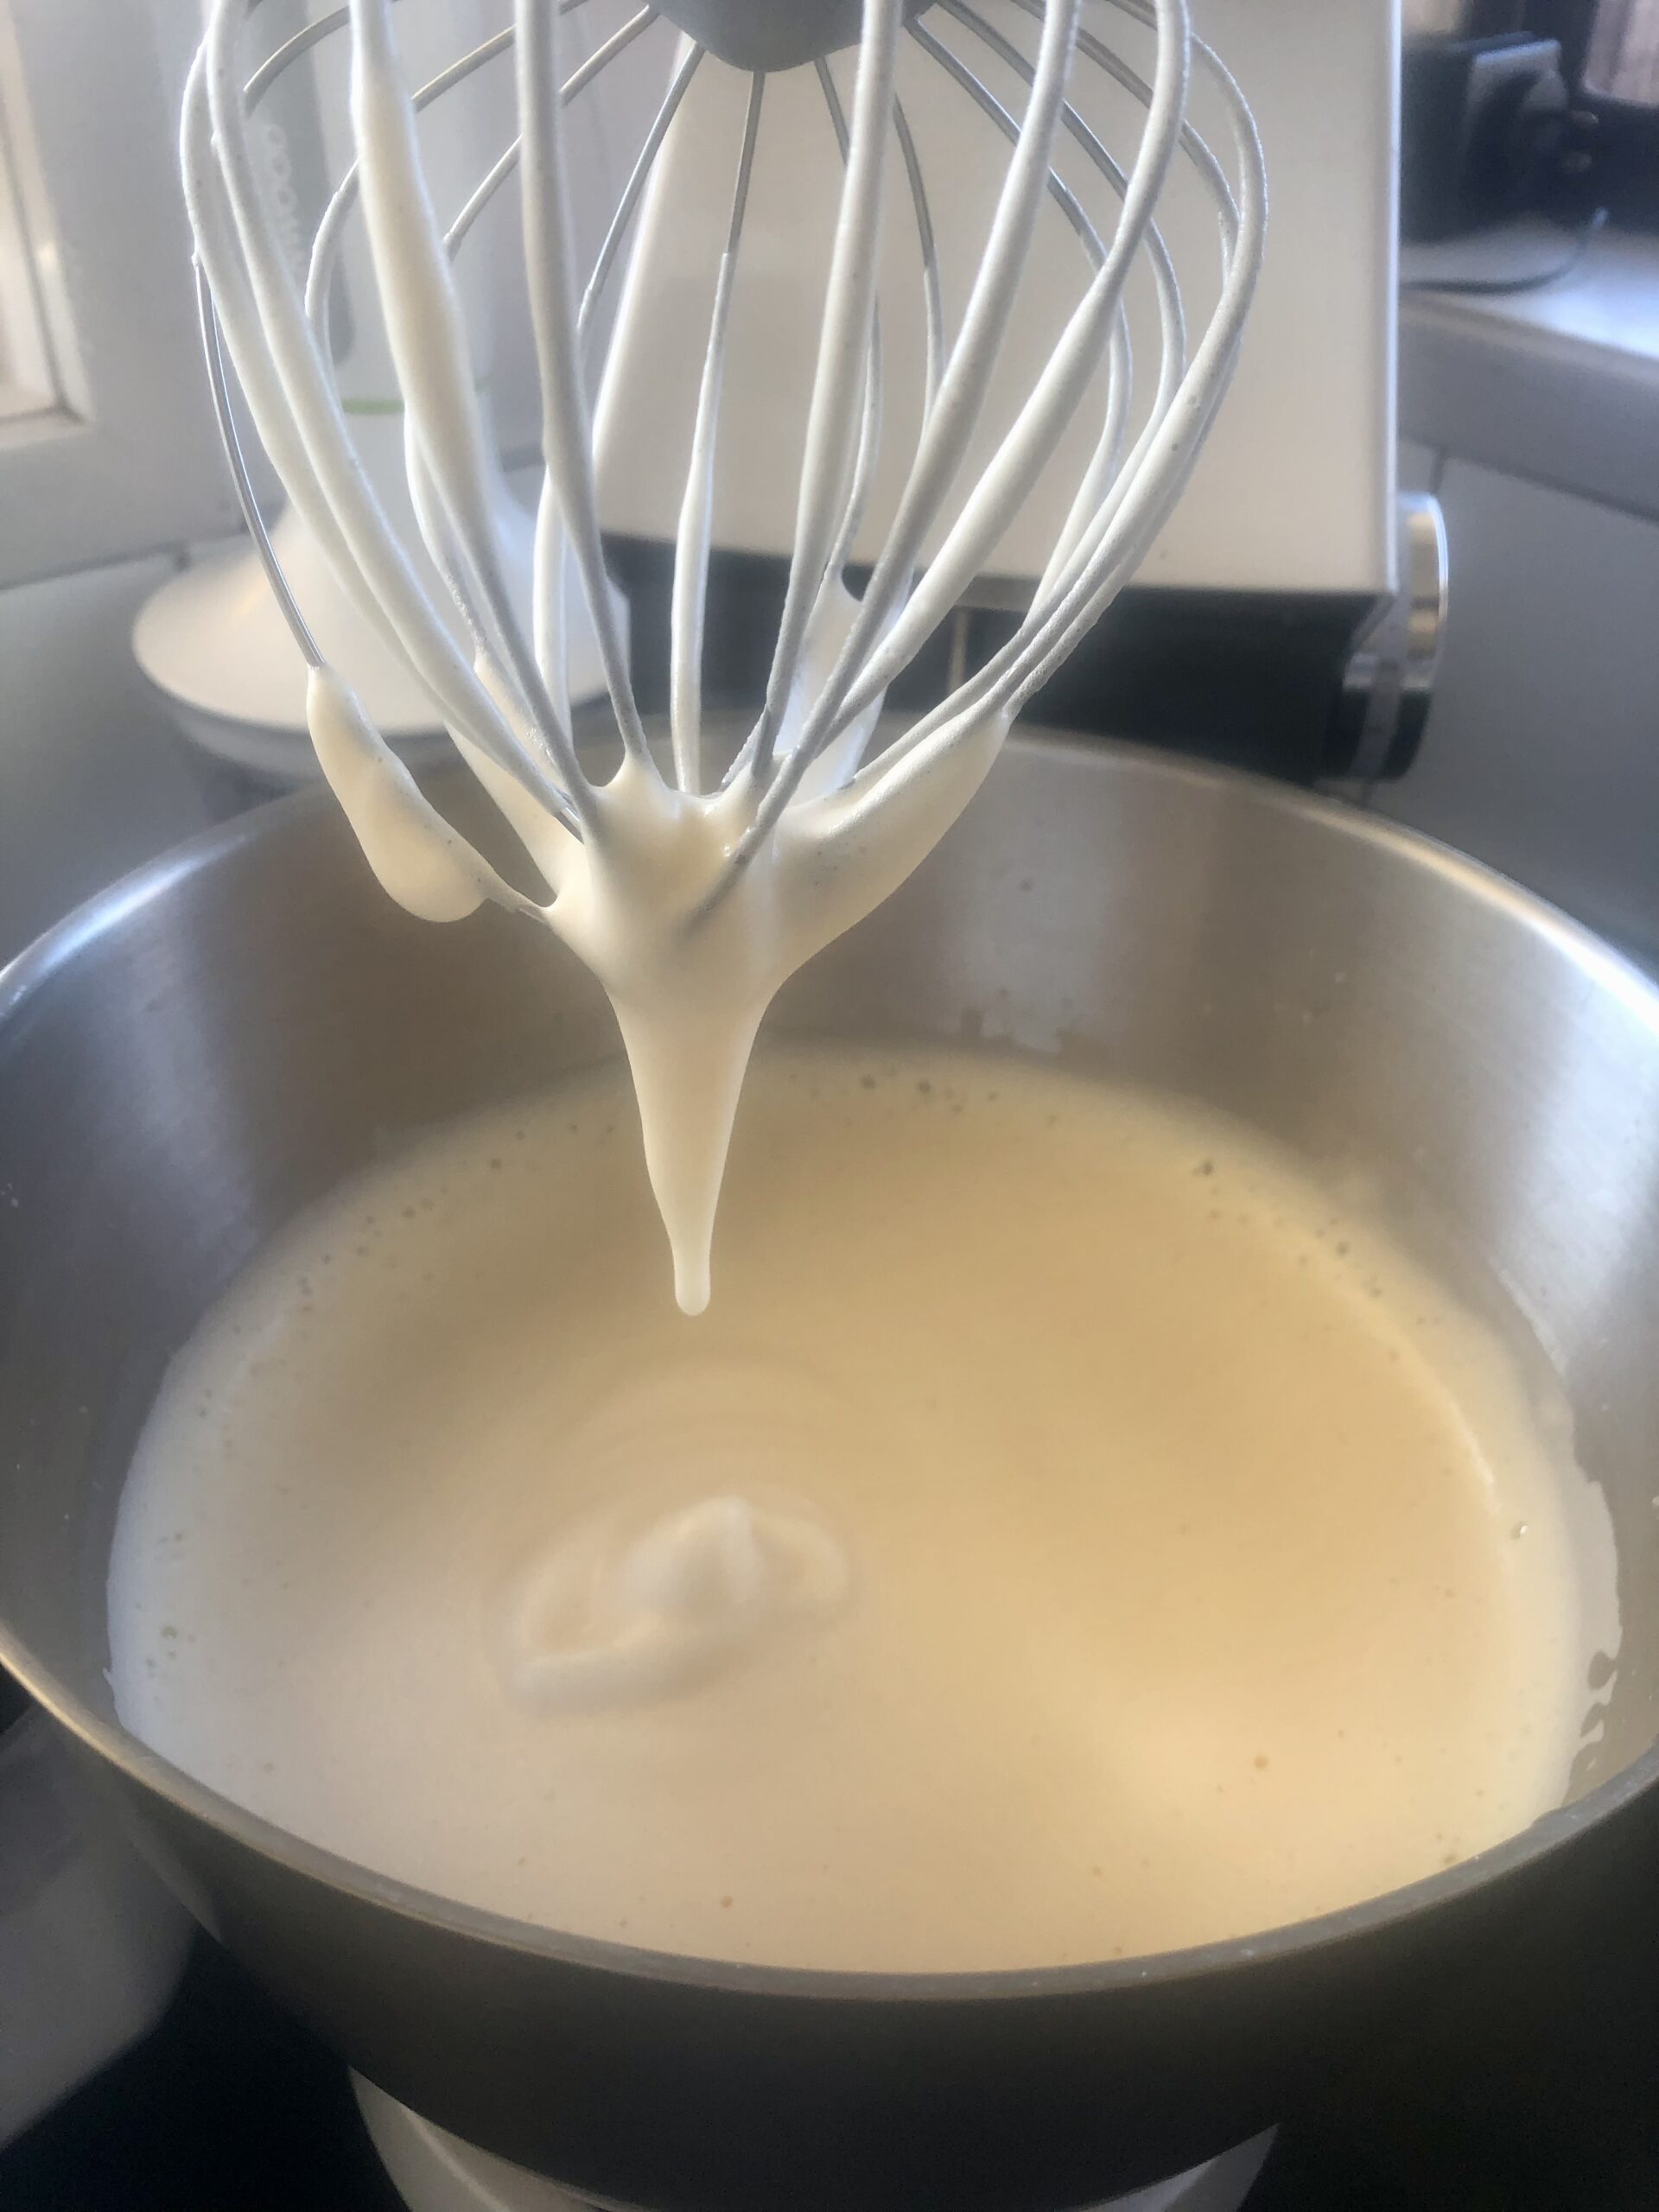
First we put all the eggs in our electric mixer to beat for 10 minutes until they are thick and creamy.  It’s  best to preheat the oven to 180 degrees Celsius and grease and line a square cake tin while you are waiting unless you fancy a quick dance party instead.

The sugar gets put into the egg mixture gradually until dissolved and then make sure you triple fold your combo of flours as this makes for a lovely light sponge. Add this to the mix.

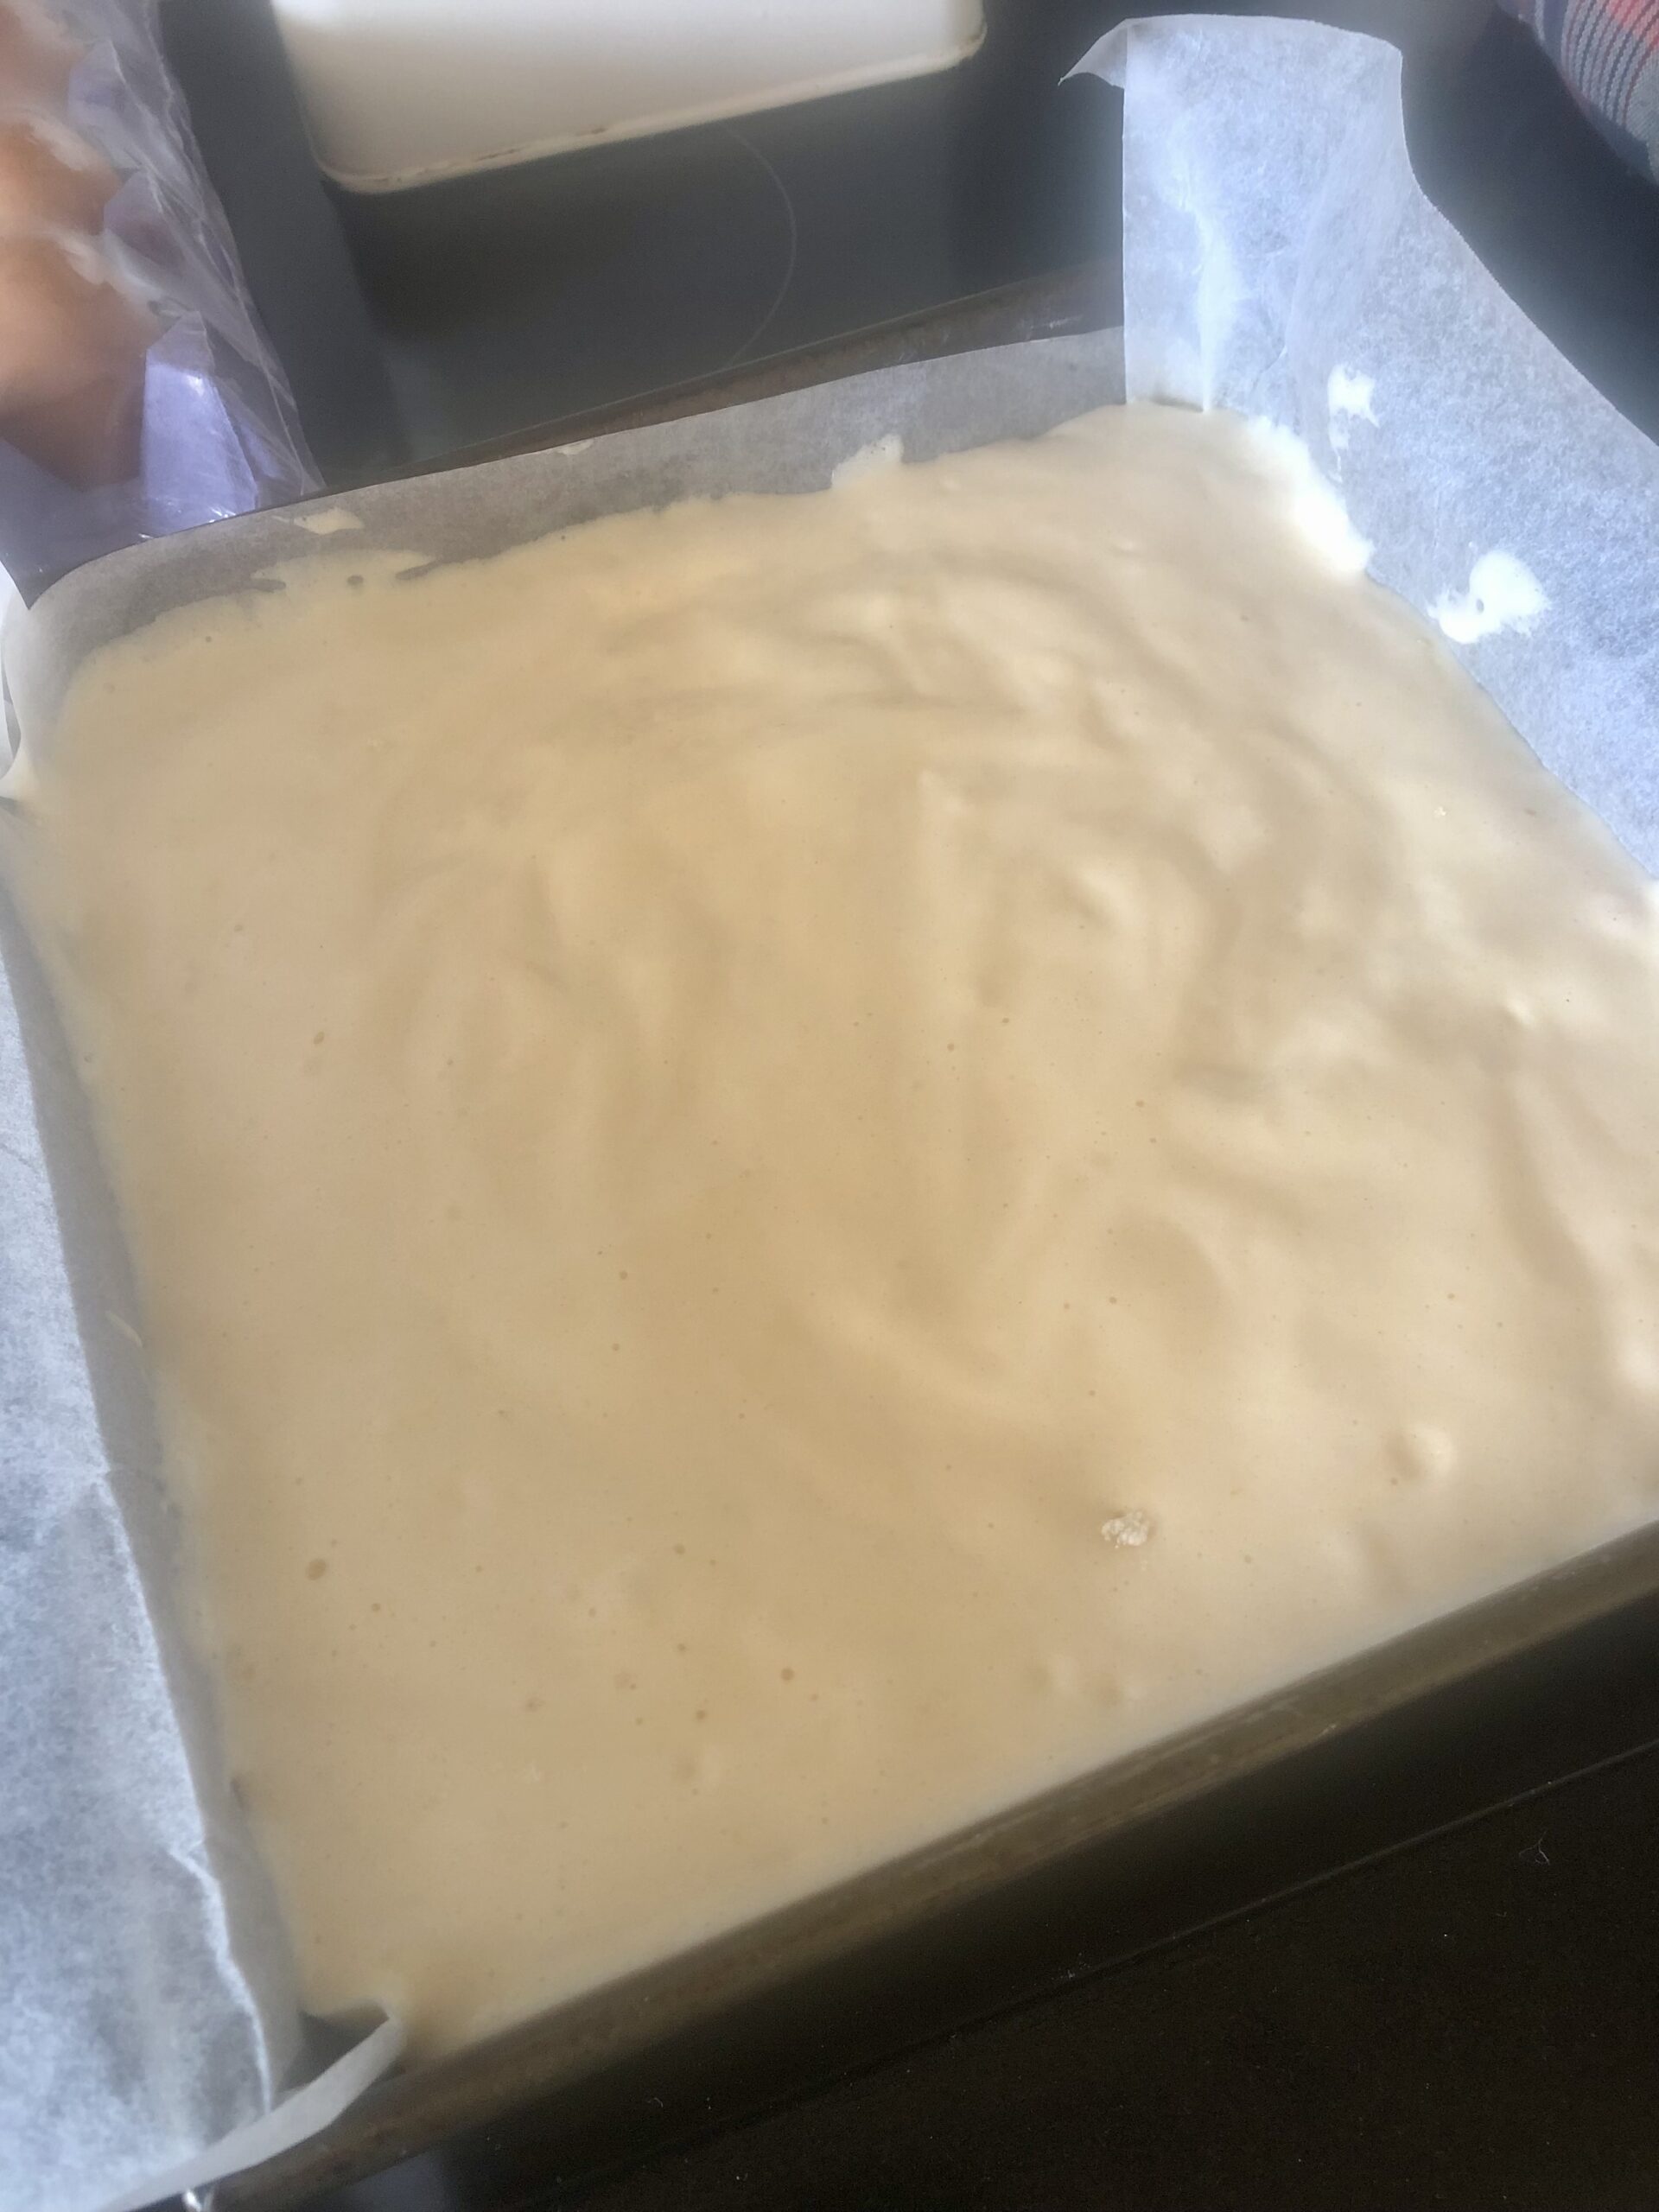
Super simple right! This mixture goes into your prepared cake tin to bake for 30 minutes. When it’s done it gets cooled upside down on a cake rack. A good tip that makes the cake easier to dip in the icing, is to make it a day ahead.

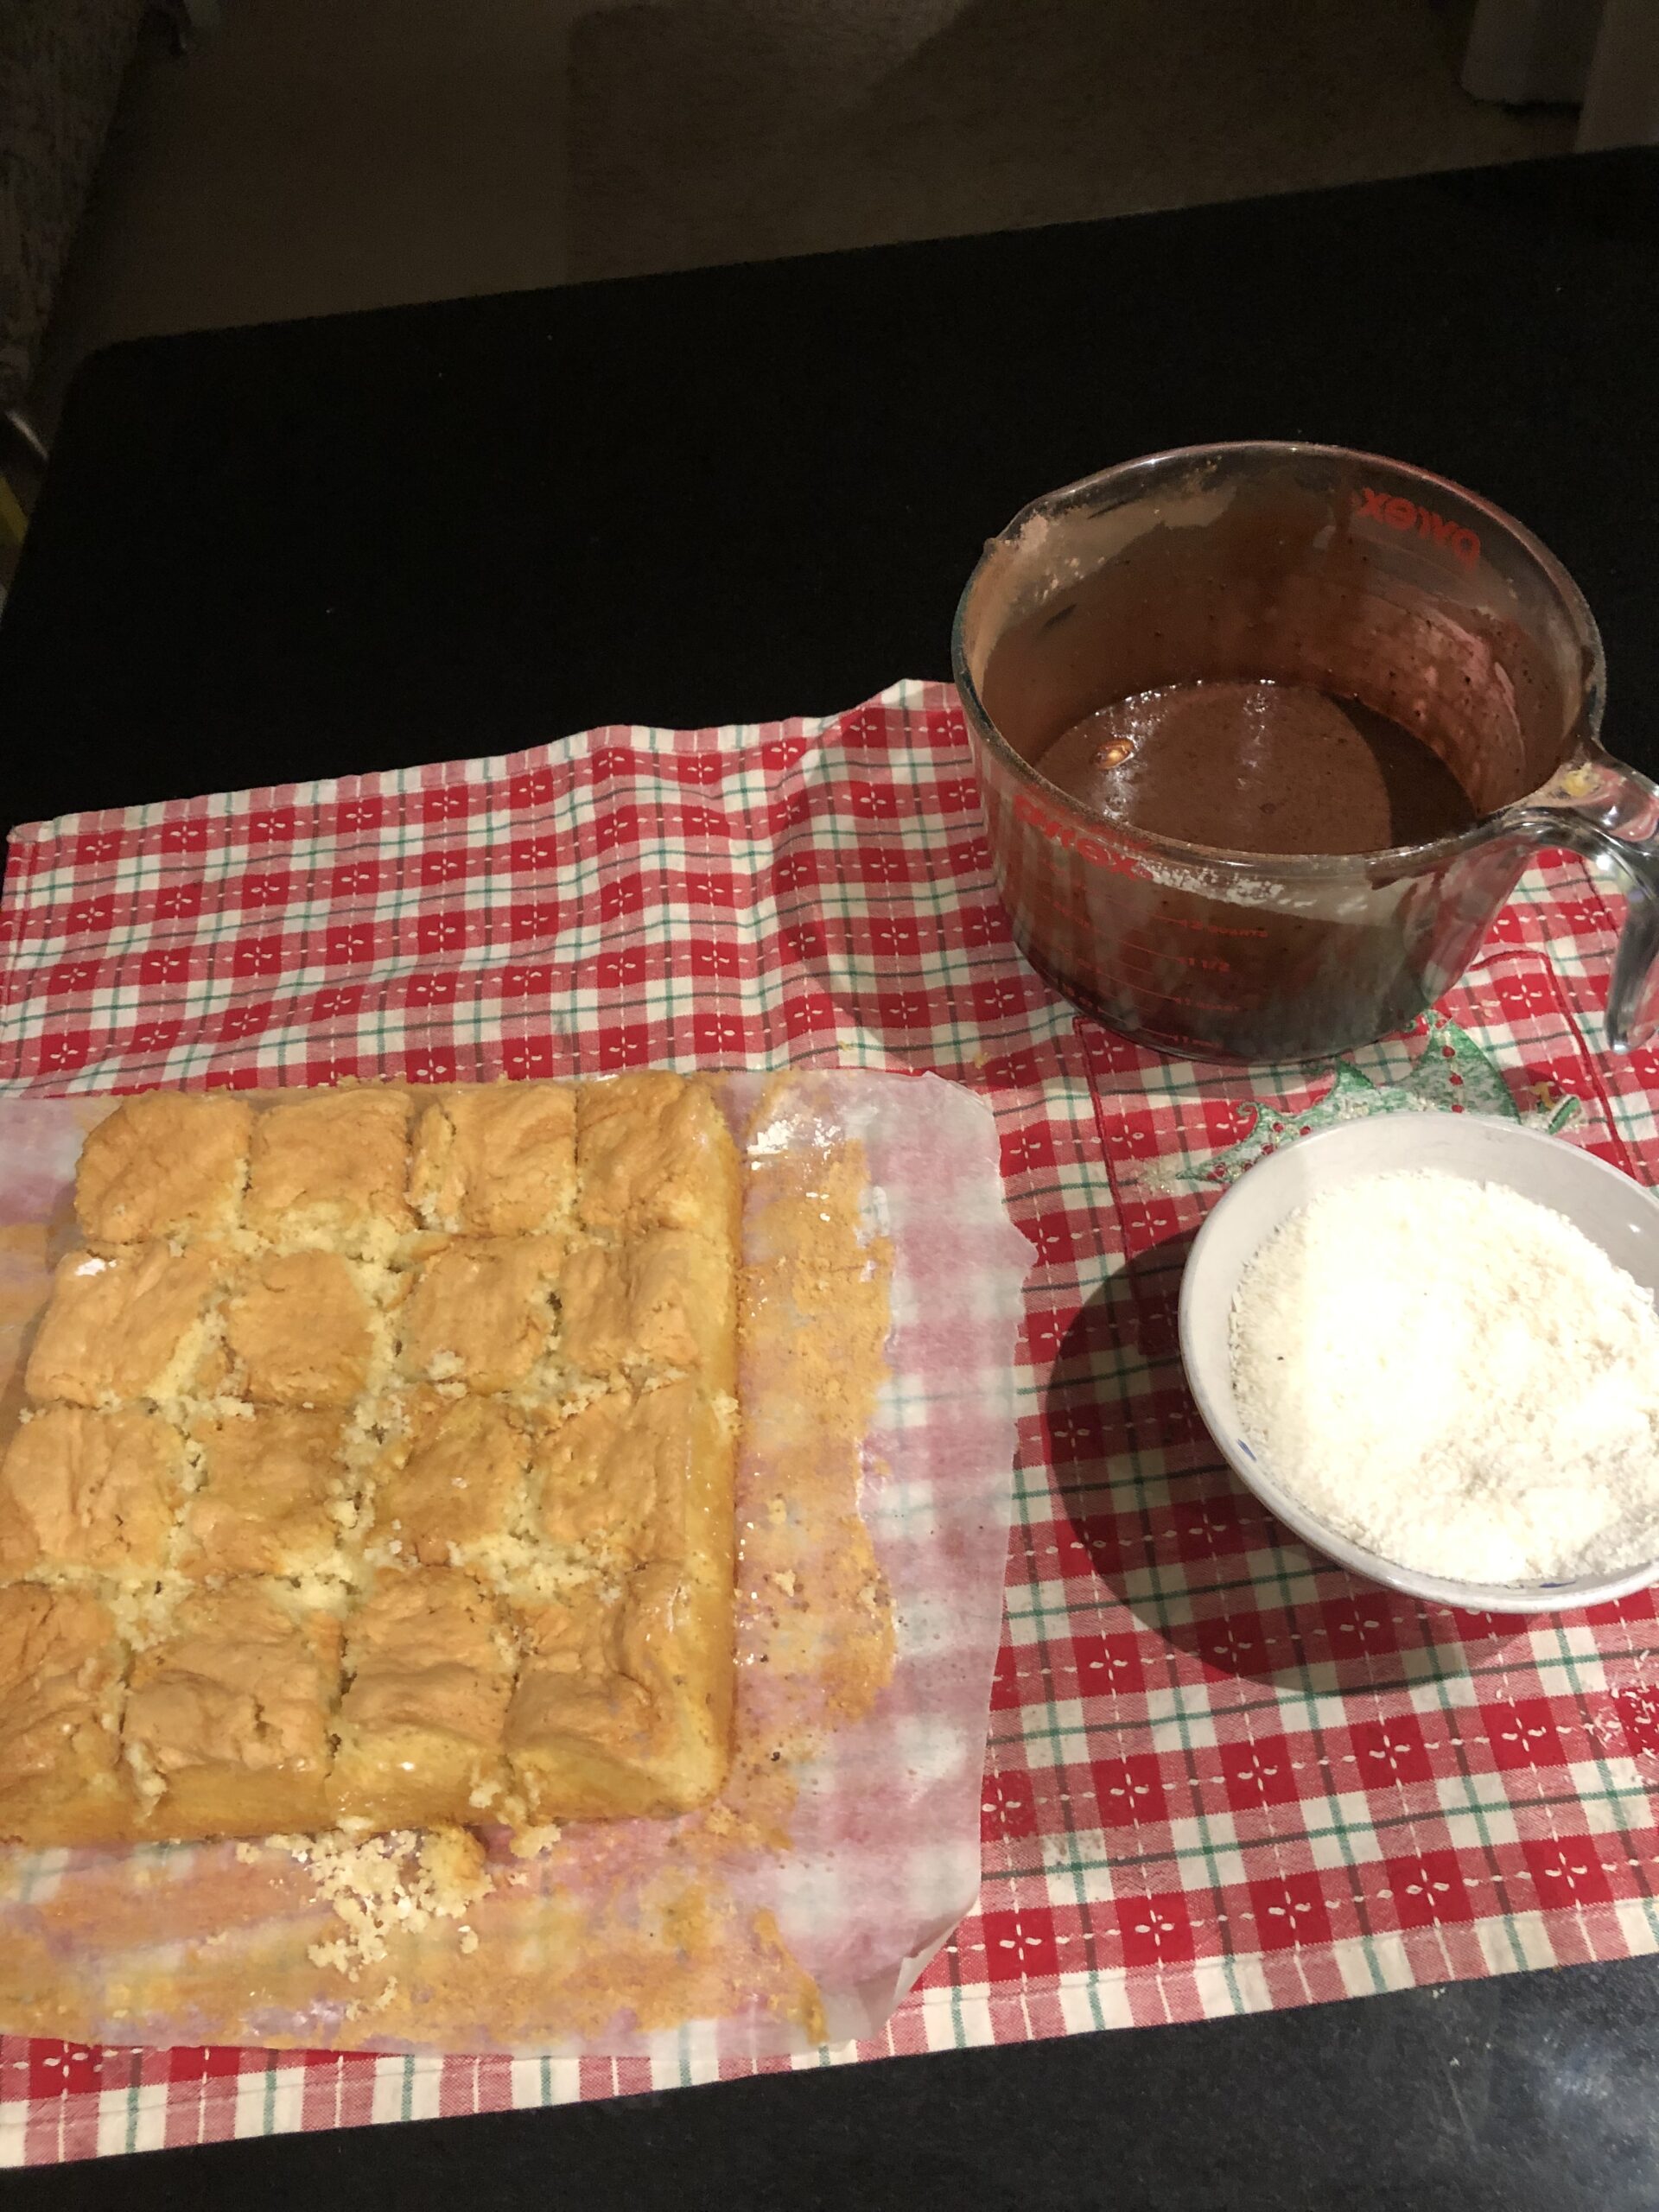
Mix all the remaining ingredients together until it is nice and runny and cut your sponge into squares.  This is where you need to ignore the clean freak part of you and throw caution to the wind. Your hands will be covered in icing as you coat each piece, then roll over in a low tray full of coconut, making sure you have them all covered.

Exercising all of your control leave them to set for a while to make eating them a bit easier.

They are delicious filled with cream and jam too, if you like to treat yourself. 😊

I hope you enjoy these as much as we do, thanks for reading and please come back again soon.


School Lunches

Where on earth did the summer holidays go? I hear you wondering.

School is back and if you are anything like me, you will start off school lunches with a hiss and a roar, preparing and presenting your kiddoes with a perfect healthy lunch each day.  Then all the activities start back up and work and home life get mega busy again and things start to slide……..

I set aside some time on a Sunday to do a wee bit of baking for the school lunches and it always makes me feel better if they are going to school with something without hundreds of added preservatives in them.

If you simply don’t have the time for hours in the kitchen then I have found a couple of quick yummy recipies which always go down well with my lot.  You might recognise them as a couple of classics, one is taken straight from the good old Edmonds cookbook.

The first recipe is ‘Cheese Biscuits’, which are a delicious light little fluffy bite and the cheese gives them added calcium and protein, perfect for eliminating that soggy mid-day lunch cheese that has been sitting in their lunchbox in the heat.  And if you cut them into cute little shapes they will fit into their containers nicely and make the perfect little snack.

For this recipe we gathered together 1 cup plain flour, 1 tablespoon icing sugar, 1 teaspoon baking powder, a pinch of salt, 25g butter, 1/2 cup grated cheese (cheats tip: buy the ready grated cheese for an even quicker bake) and 3-4 tablespoons of milk.  If you like a little bite add a pinch of cayenne pepper to the mixture before mixing.

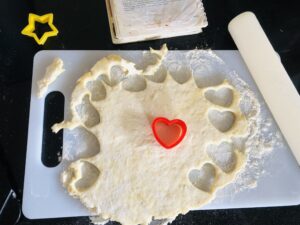
We sifted all of the dry ingredients into our bowl and cut the butter in (if you have a food processor, chucking it all in this to blend the butter in quickly is a fantastic speedy solution).  Then you just need to mix in the cheese and milk to form a stiff dough, this can also be done in the food processor or by hand.  Pop it out onto your floured board, roll out to around a couple of cms thick and get your coolest cutters out until you have used up the whole mixture.  They then go on a greased or lined tray, prick each with a fork to look like biscuits, then pop into a 200 C oven for 10 minutes until lightly golden.

If you use small cutters these can make quite a few, trust me, your kids will love them!

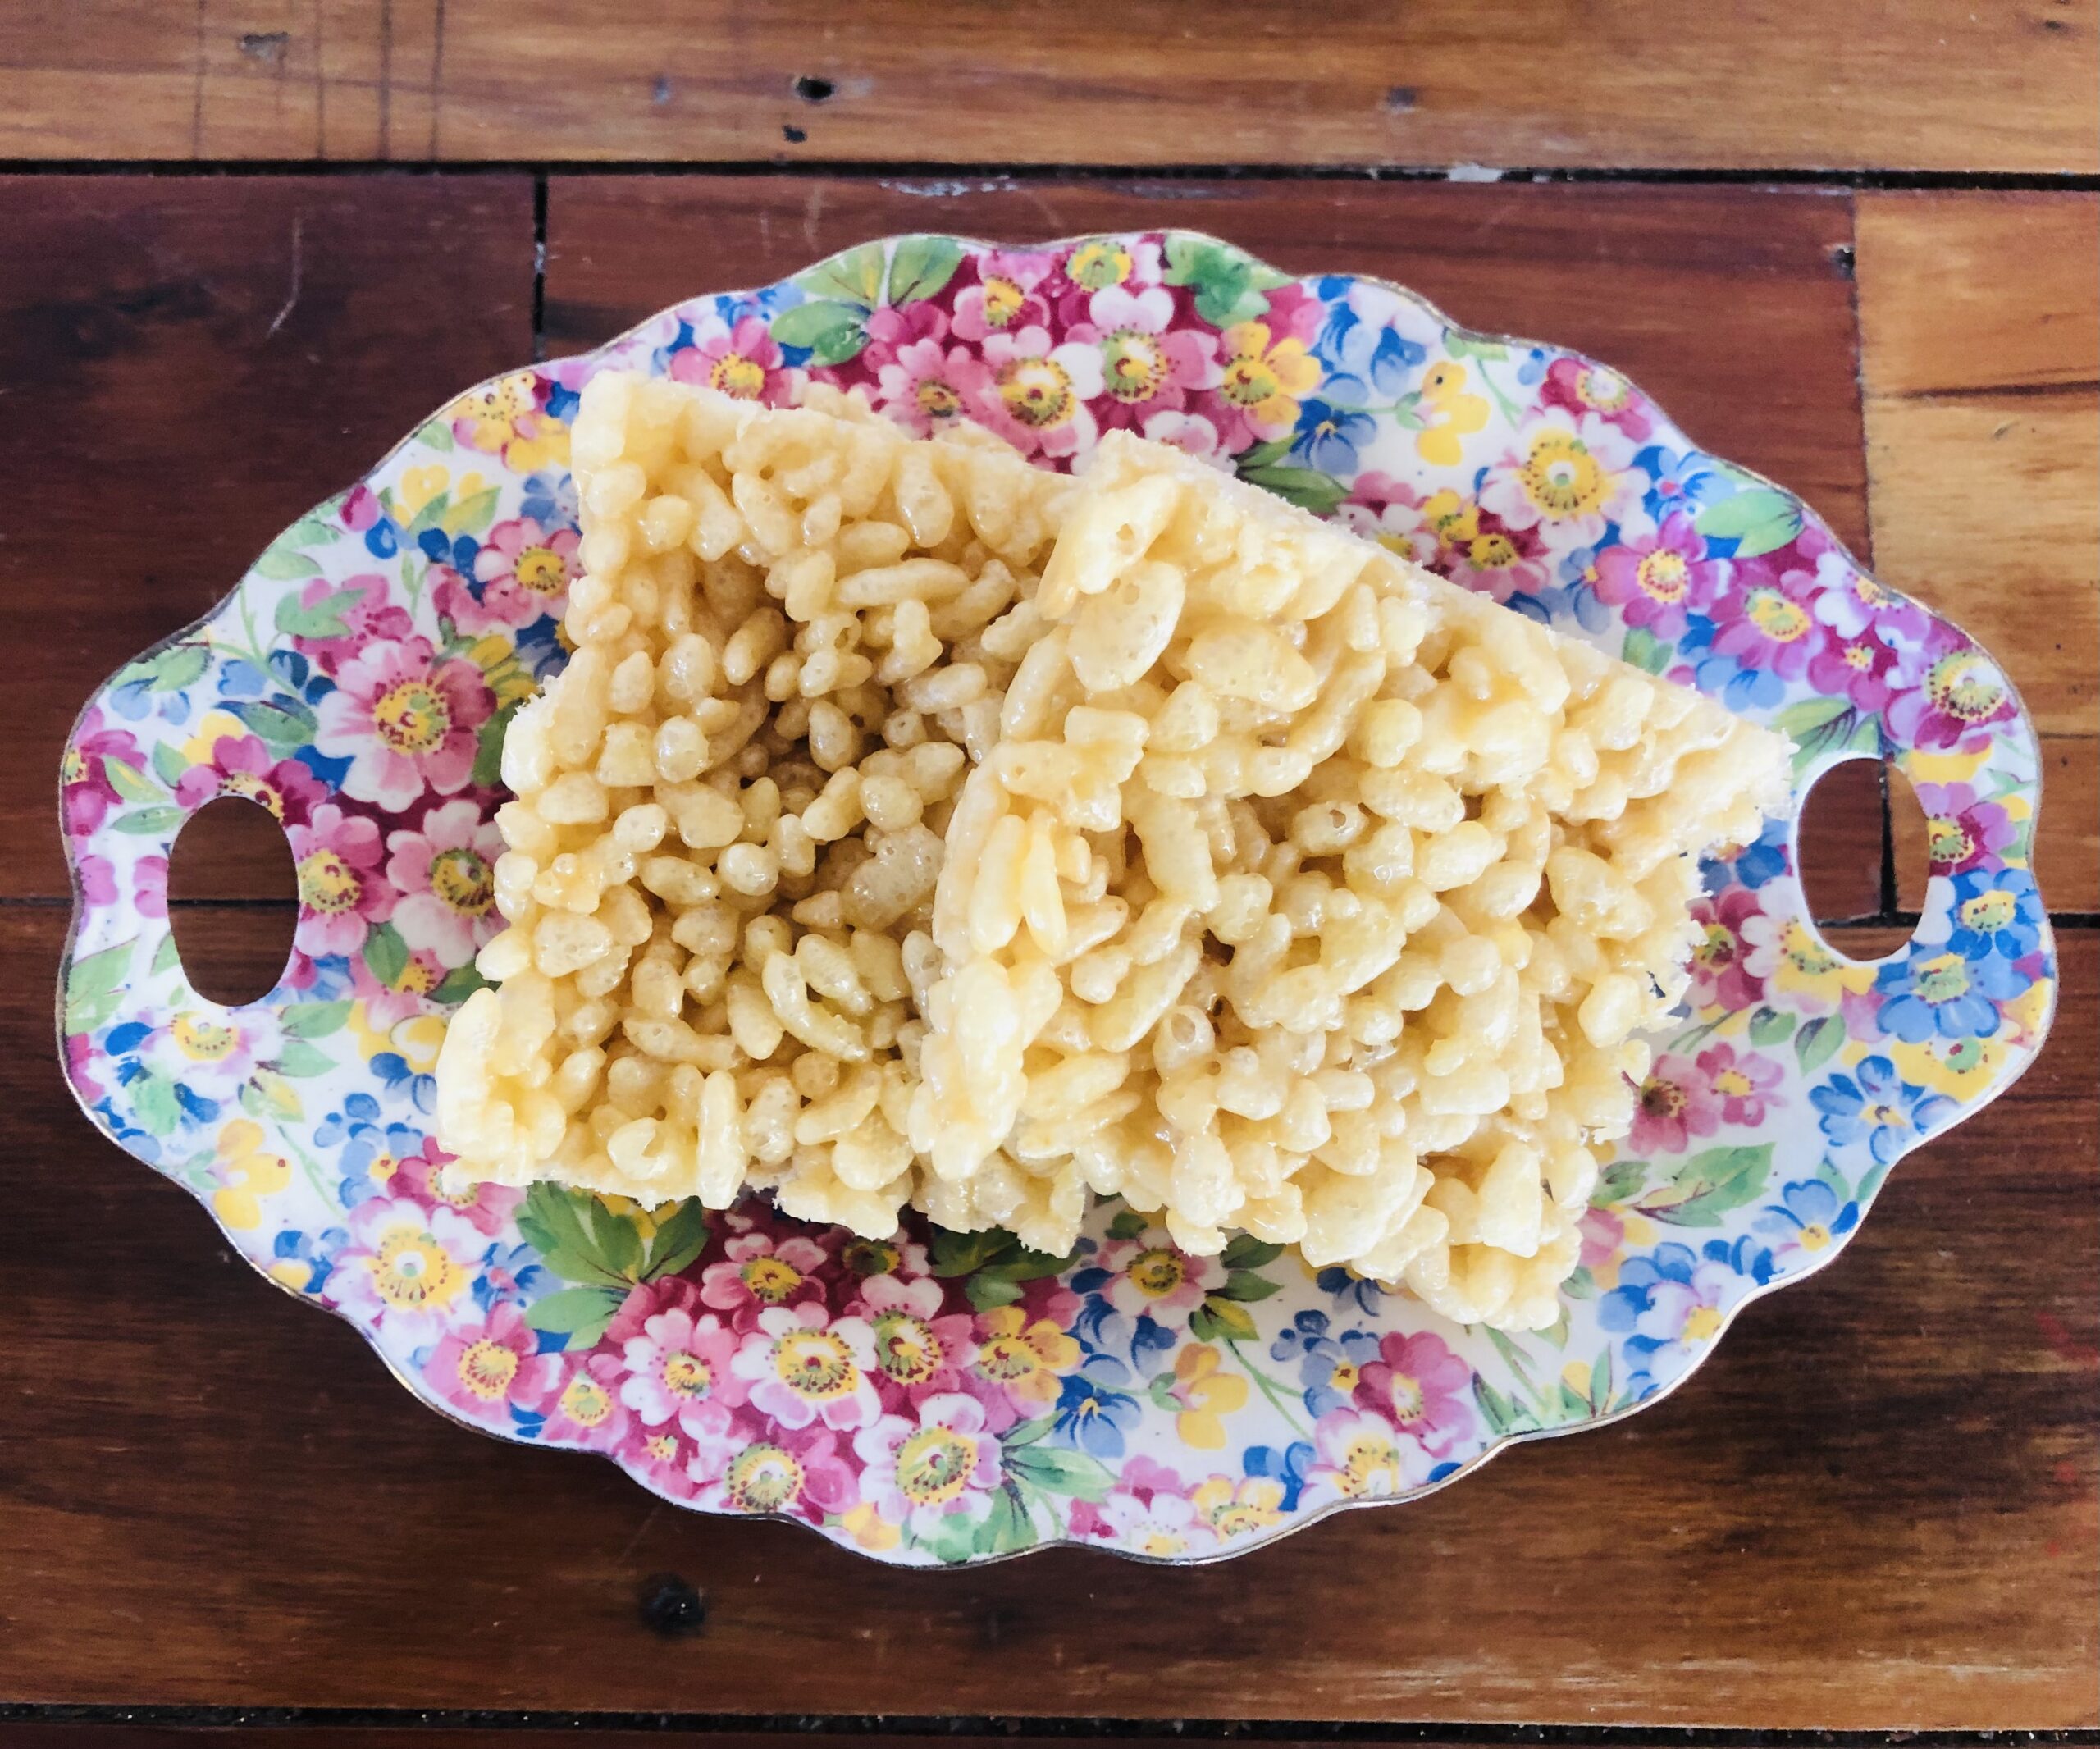
Our second recipe I’m sure all of you will be familiar with, is Rice Bubble Slice.

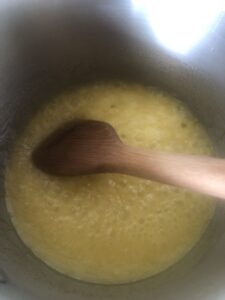
The ingredients for this are all placed into a medium size saucepan, making sure you leave room for the rice bubbles to be stirred in at the end.  They are 115g butter, 4 tablespoons of sugar and 2 tablespoons of honey.  If you don’t fancy taking out a mortgage at this stage for the honey you can substitute for golden syrup and it works just as well, just maybe reduce the amount of sugar to around 3 tablespoons to avoid it being too sweet.

We just melt these ingredients until they are golden and bubbly and take off the heat and stir in 4 cups of rice bubbles.  Pat the mixture flat into a rectangular brownie tray which is lined with baking paper, makes it much easier to remove later when it’s ready to eat.  Pop the tray into the fridge until it is set and all you need to do is slice it into squares to eat.  Easy as that!

I hope your family enjoys these little treats and I would love to hear your suggestions for some quick lunchbox bakes.  Thank you for joining me again and please come back again to visit soon.

Baking with Kids – Valentines Cookies

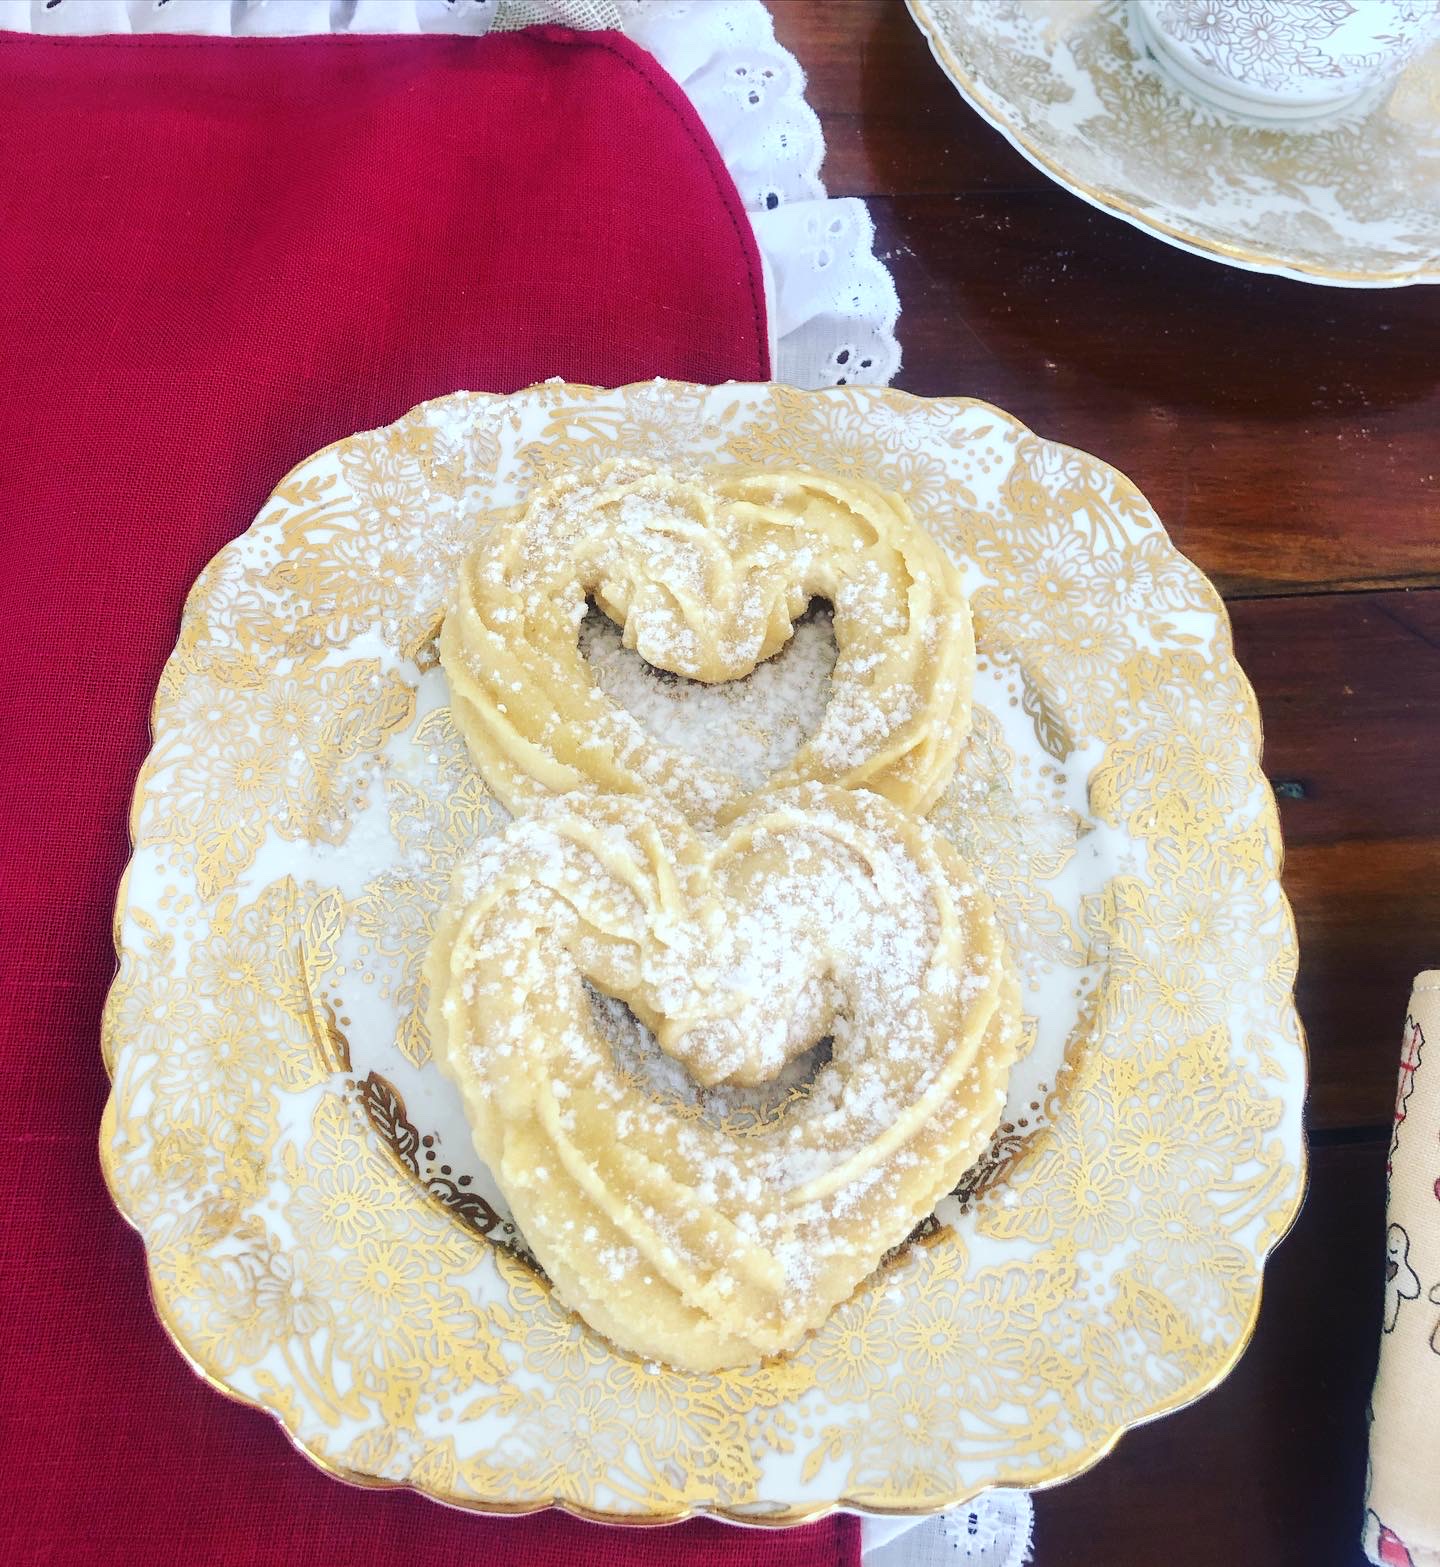
Here’s something for you romantics out there, a quick and easy piped shortcake biscuit for Valentines Day.

I chose this one as I had my two helpers joining in today and it was a simple little recipe with only…..3 ingredients!  How does that work I hear you ask? Easy as pie, and the result is delicious (I have that on good authority from my two favourite helpers).

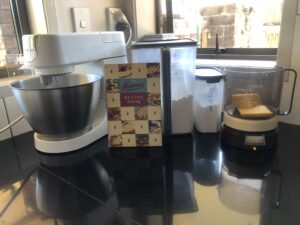
We start out with our trusty Kenwood recipe book, circa 1960 and our 3 ingredients; 4 oz Margarine/Butter, 4 oz Plain Flour and 1 oz of icing sugar.


My trusty helper number 1 put the butter into our warmed Kenwood mixer bowl and set it to speed 2 until it was pale and soft. Then helper number 2 stepped up and sifted the icing sugar and flour into the bowl (because he makes the least mess, lol).

When the mixture was combined to a soft dough we put it all into a piping bag with a large star nozzle. I took over at this stage as it needed quite a bit of power to squeeze out onto the tray and I had been working out just for this purpose, kidding.

(more…)

Go to Top