Ginger Kisses

If you grew up with these you will know how gorgeous light and warming they are to eat, and you know how hard it is to restrict yourself to just one of these beauties!

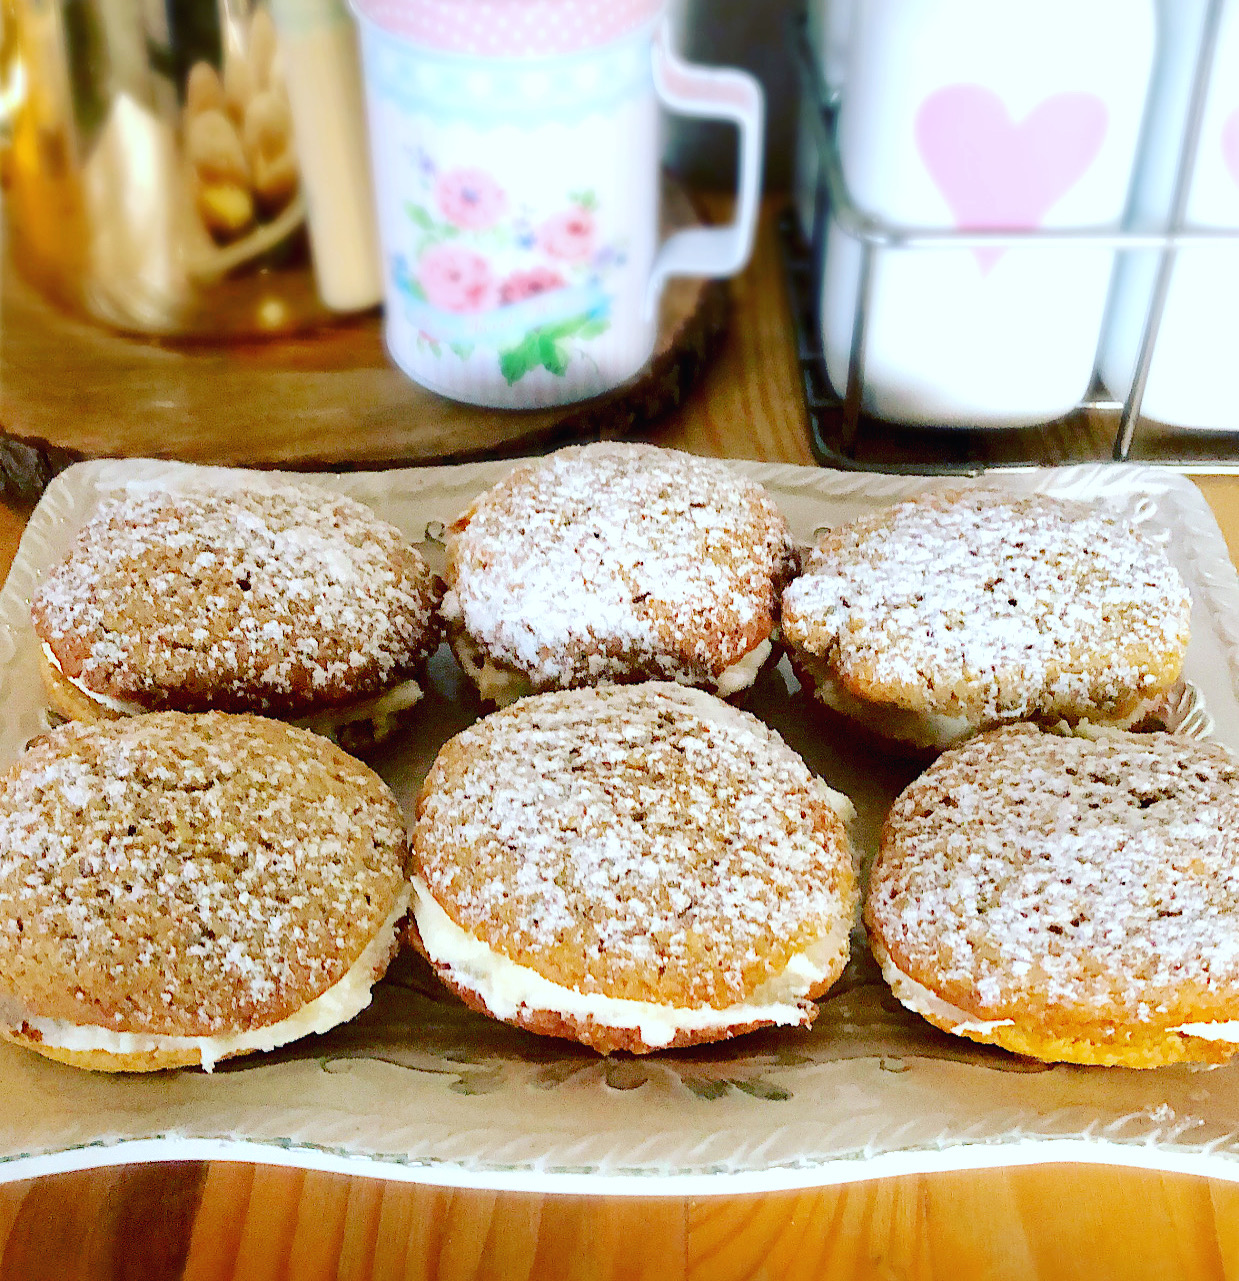
Ginger kisses are a traditional kiwi treat and once you bite into that pillowy ginger goodness you won’t want to leave.

Here is the ingredients list for today’s traditional bake:

2 cups/260g plain flour

1 tsp ground cinnamon

3 heaped tsp ground ginger

1 level tsp baking soda

¾ cup/160g caster sugar

110g salted butter, softened

¼ cup/90g golden syrup

1 large egg

¼ cup buttermilk

1 teaspoon vanilla extract


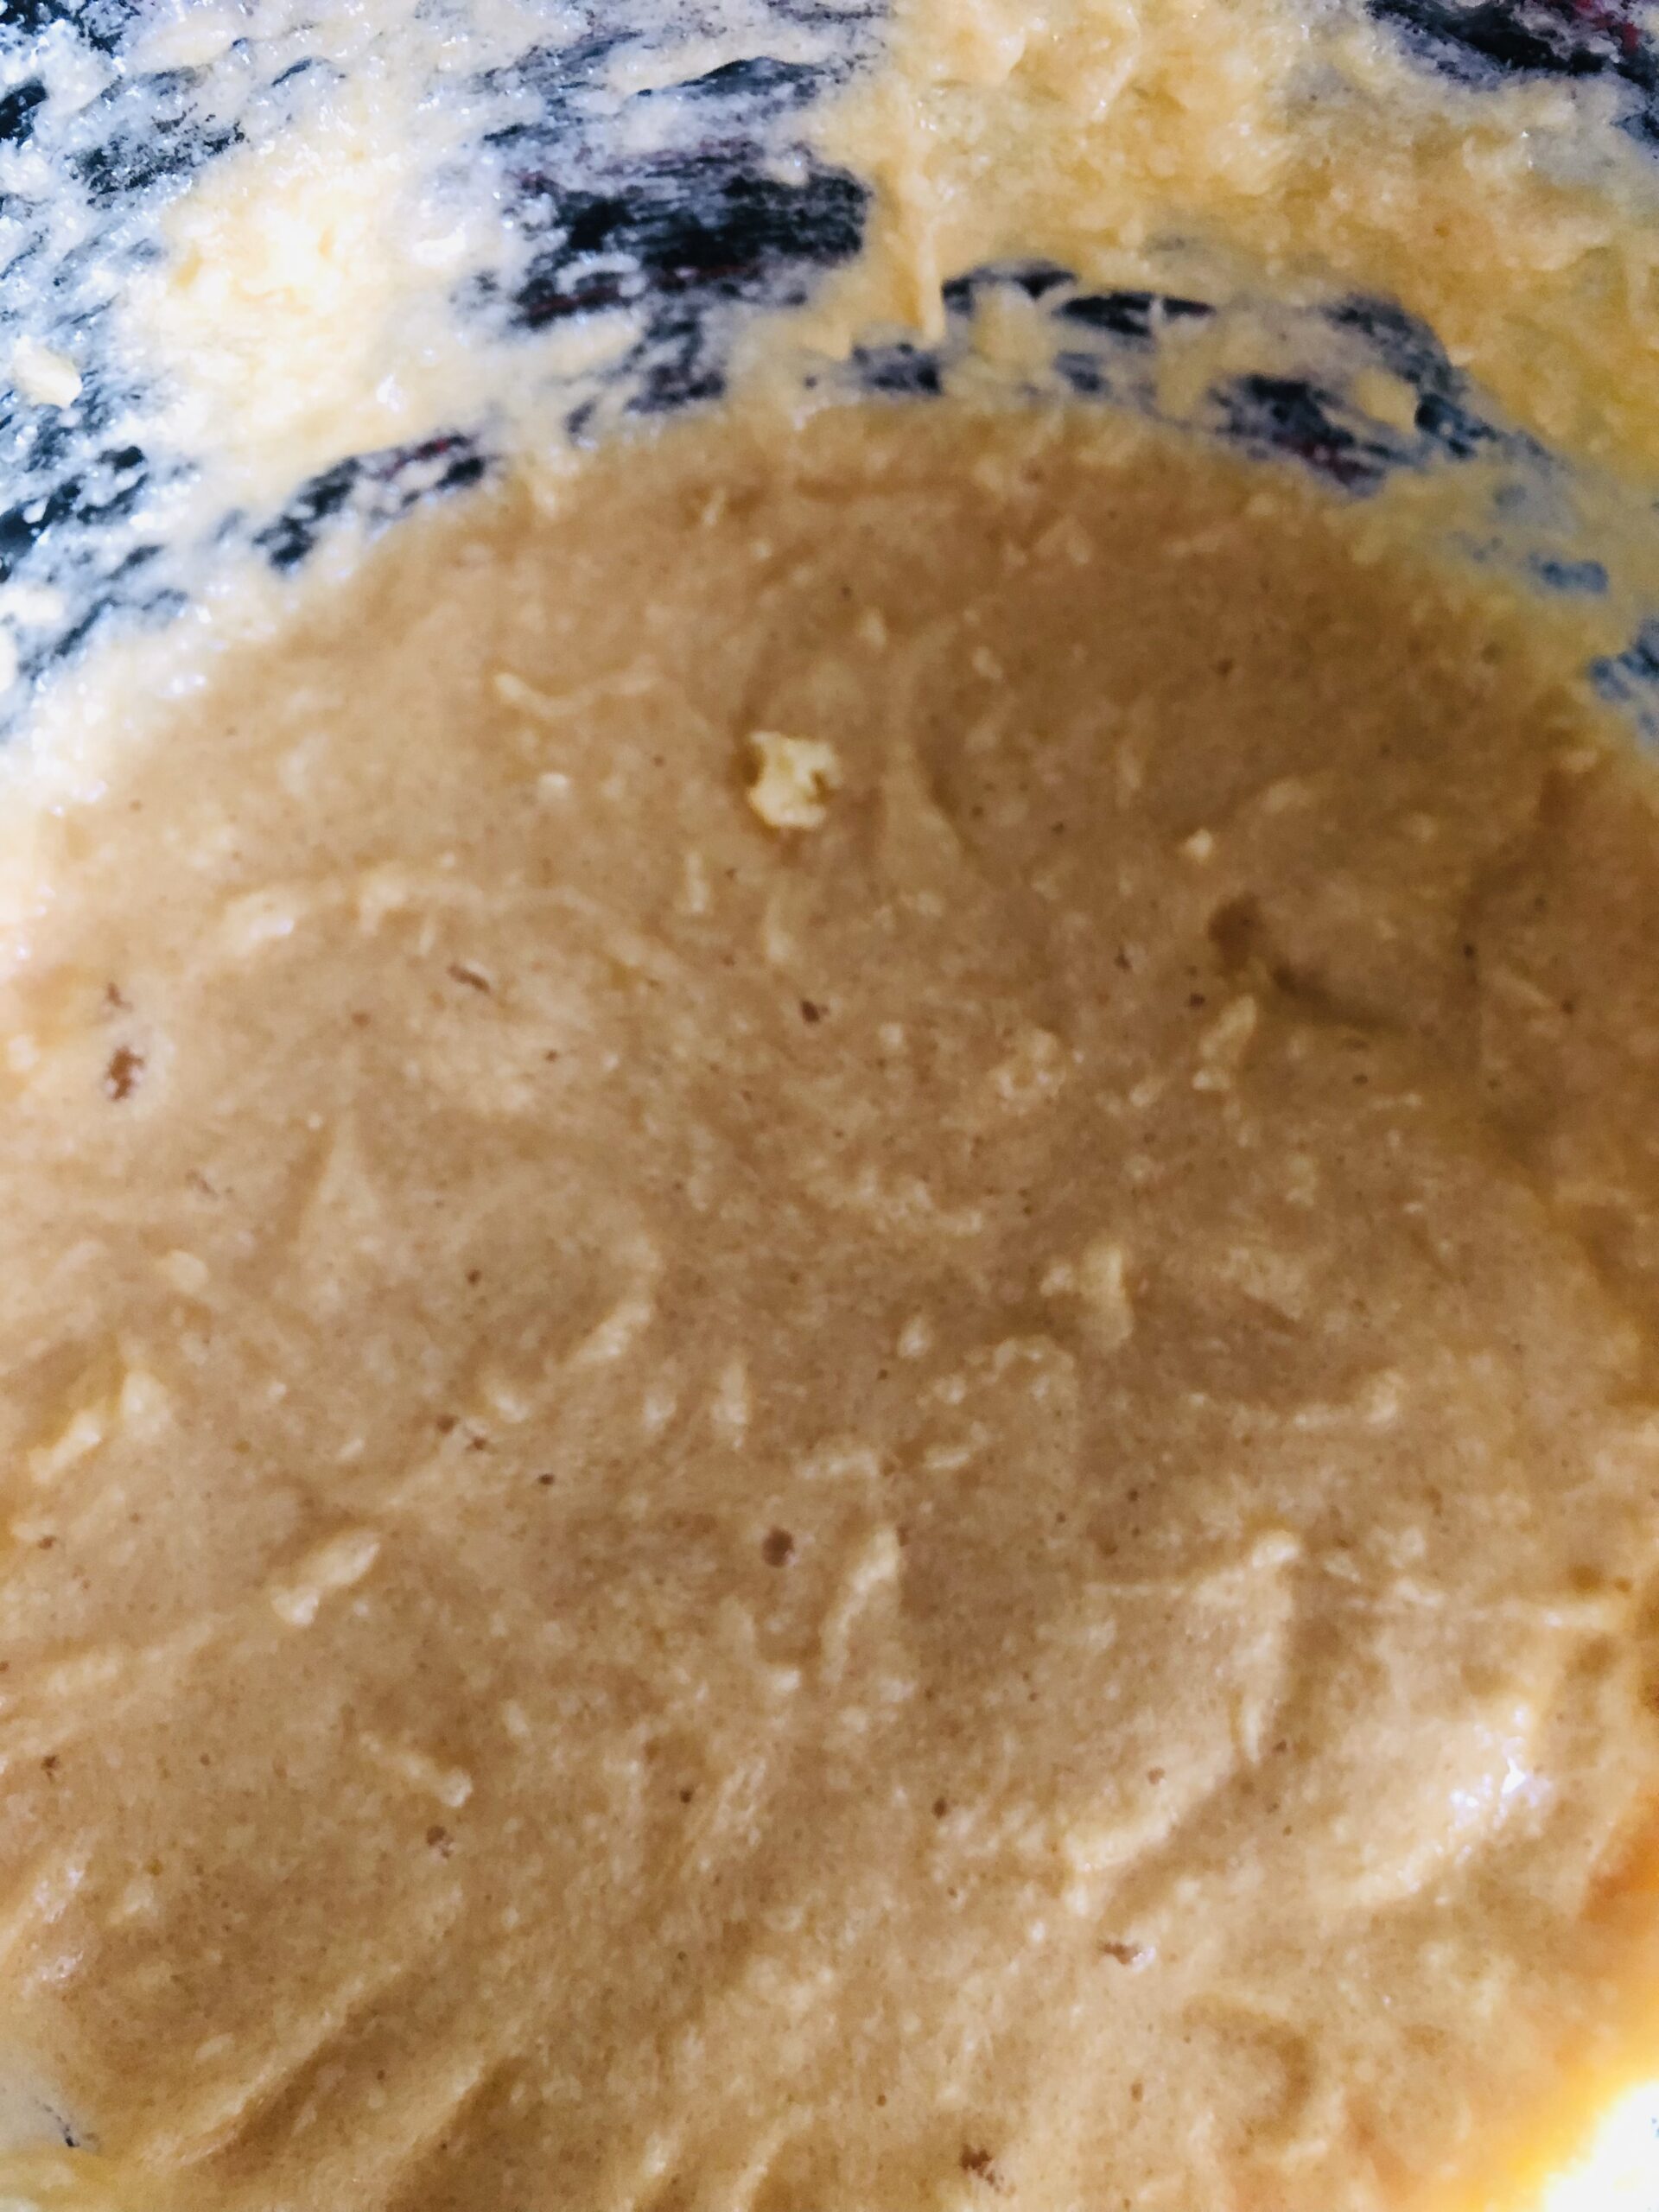
We start by sifting the first 4 ingredients in a bowl and set it aside to cream the next 3 ingredients in another bowl.  Once combining those you will add the rest of the ingredients to the creamed mixture.

Heres were you combine the two to make the magic happen, folding in ever so carefully because you don’t want kisses you can bounce off the floor or knock someone out with. 😄

Your oven goes onto the usual 180 C and line your trays with baking paper – I used two as they spread when they cook.

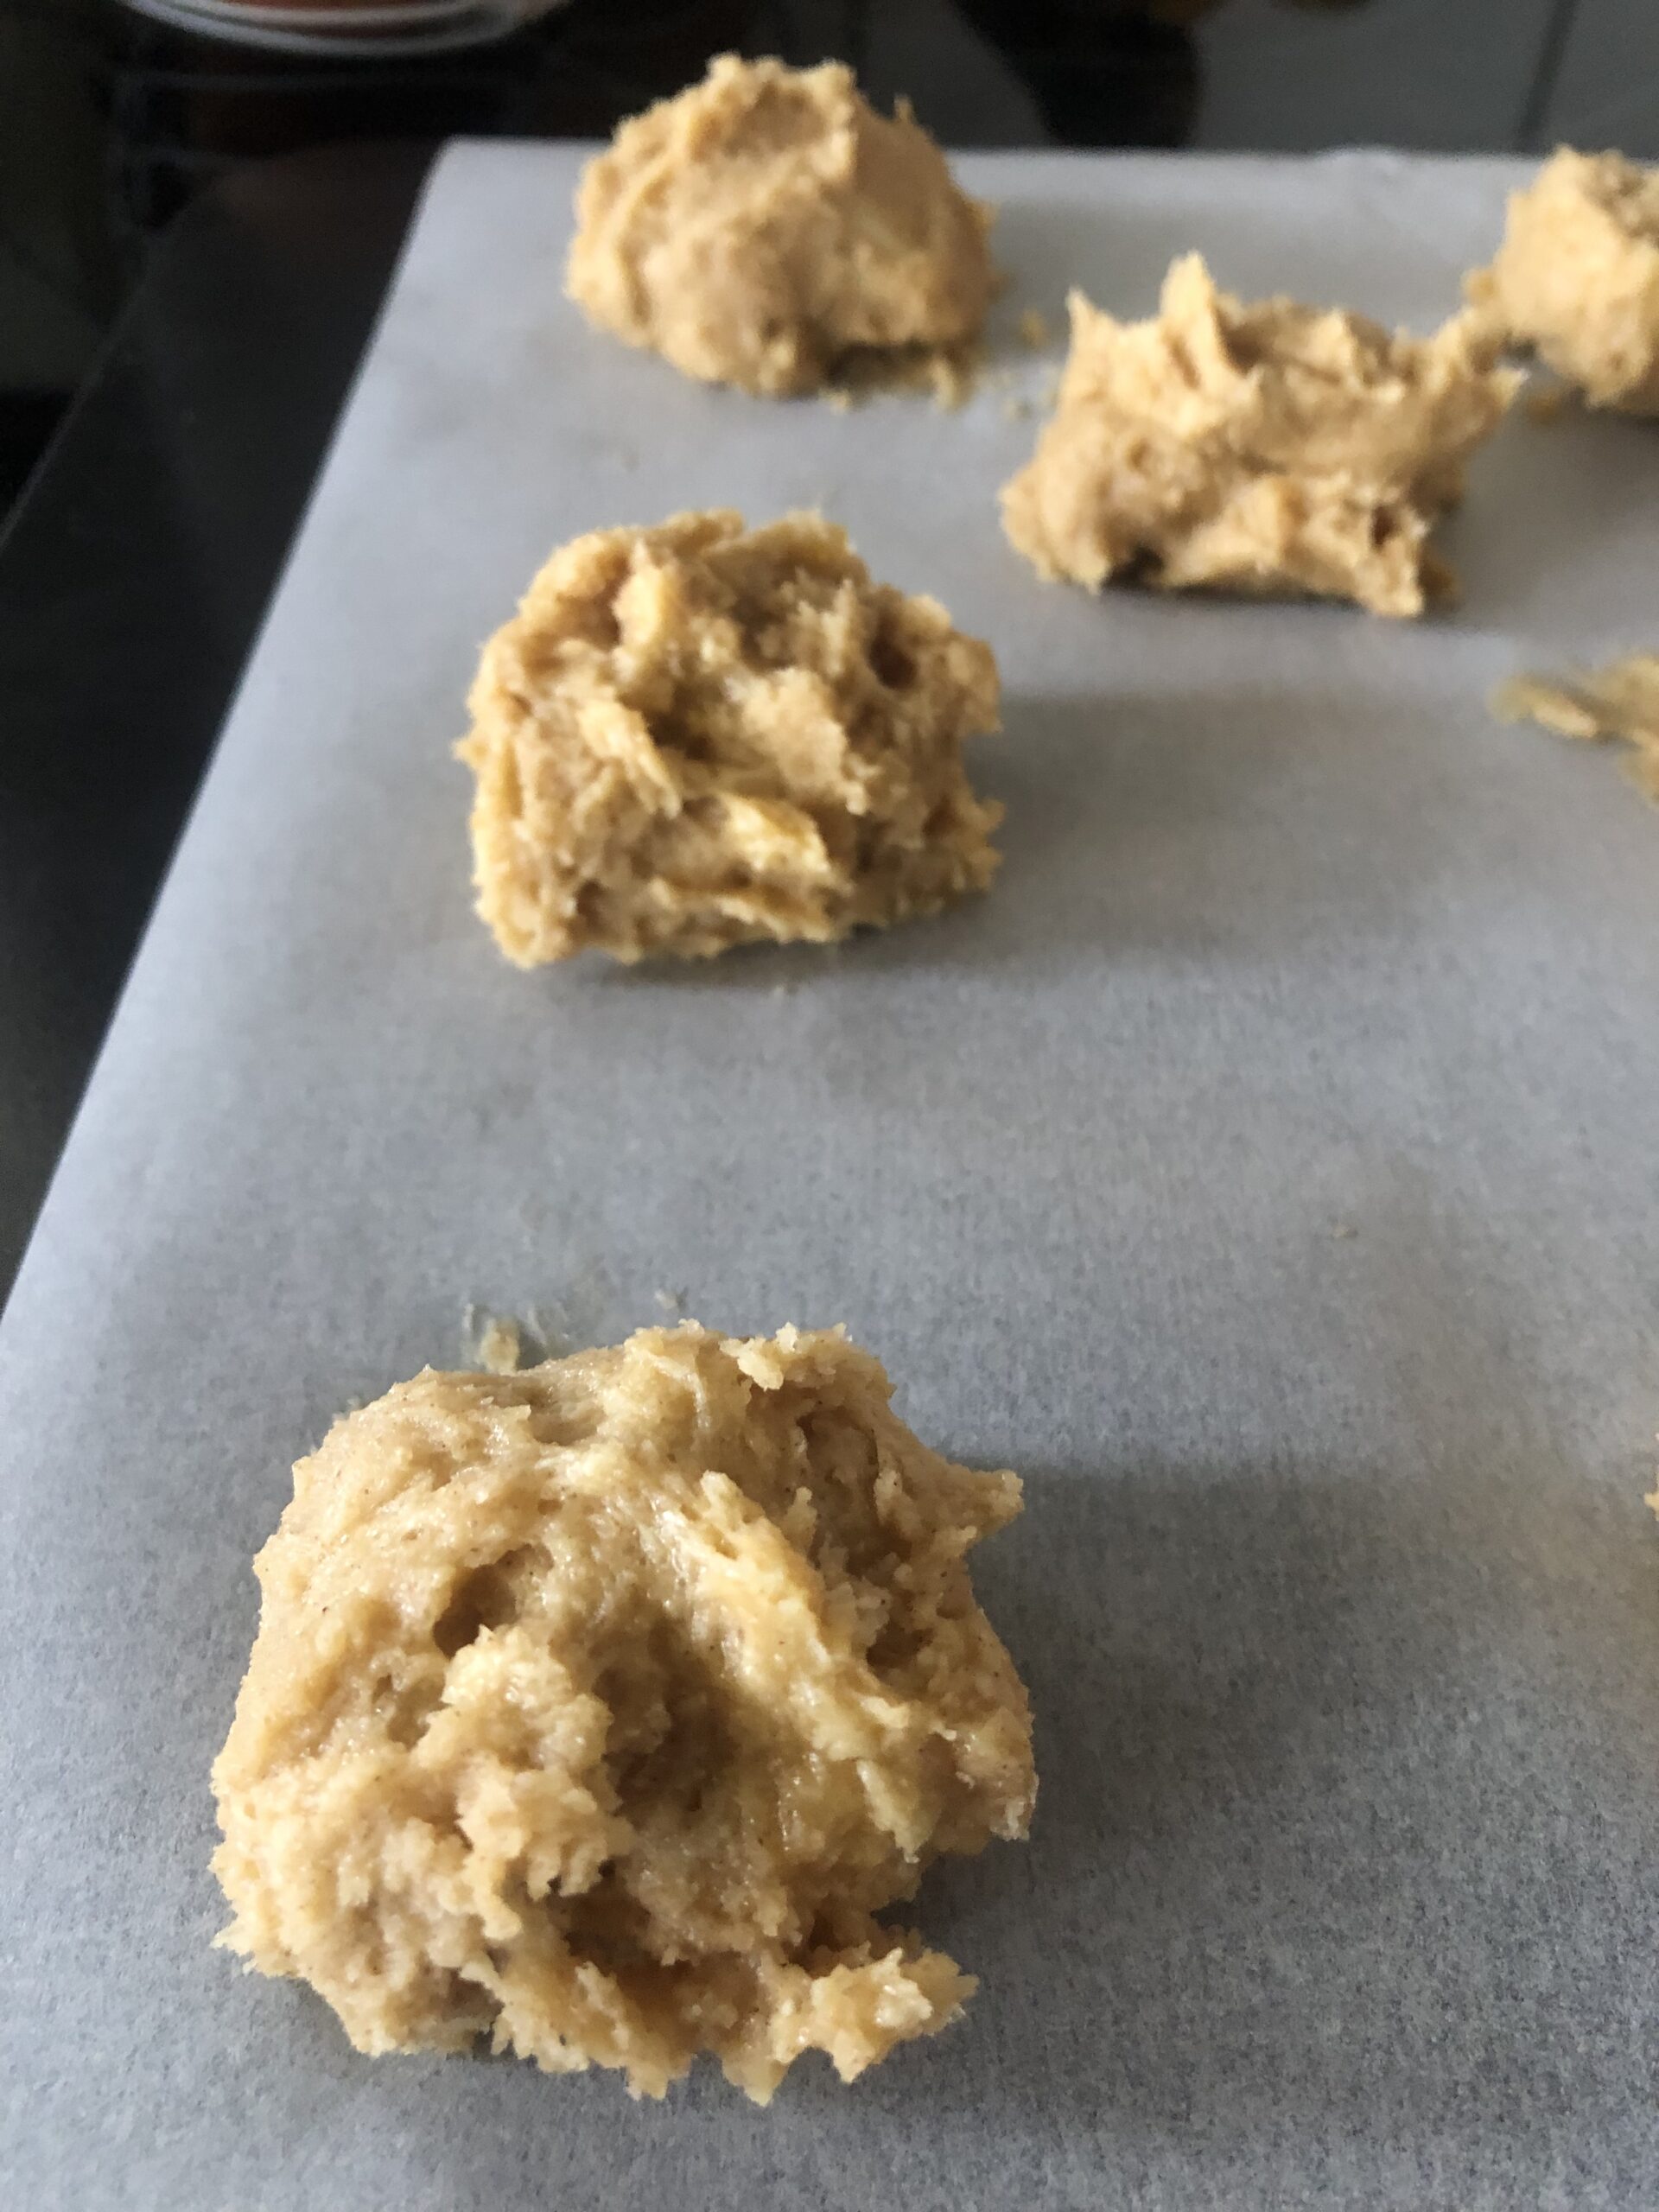
Drop tablespoonfuls of the mixture onto the sheets spaced a little apart to allow for spreading. It’s best to bake them one sheet at a time to allow for even cooking.

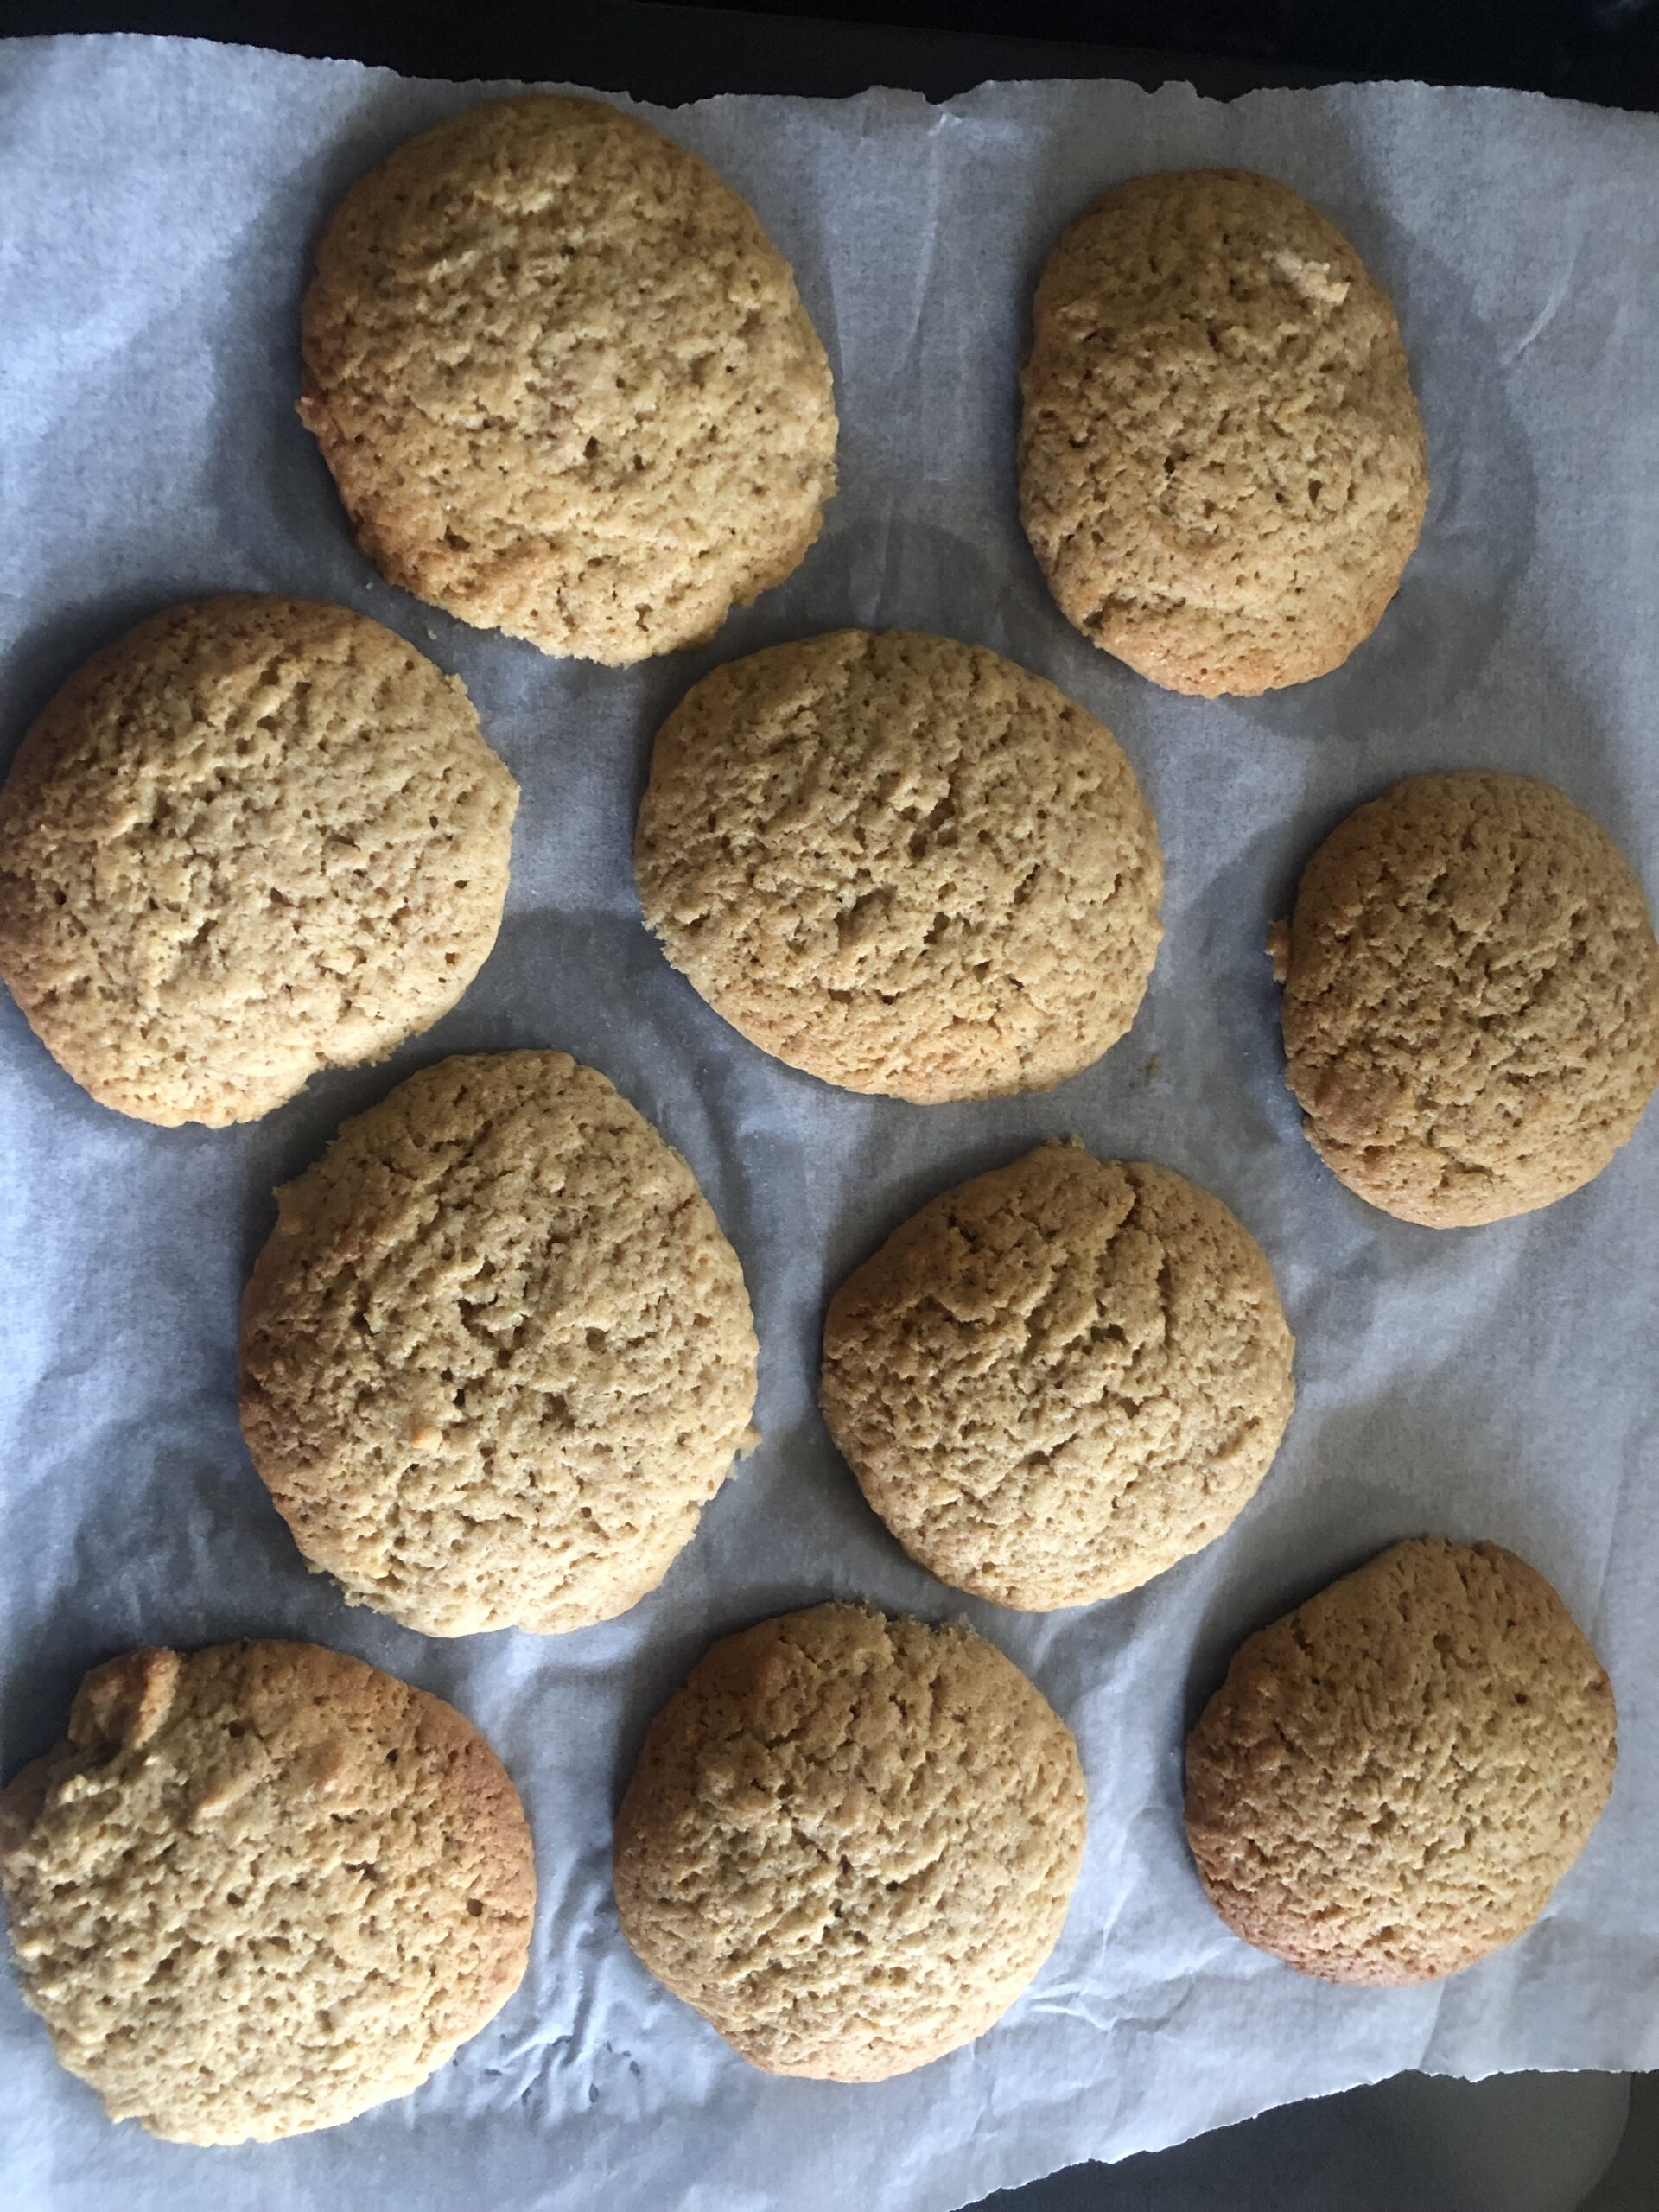
Once you room is filled with the gorgeous smell and they are lovely and golden (10-12 minutes) take them out and cool.

Then comes the magic!
I have chosen a buttercream to sandwich them together but if you are going to eat them all in one day feel free to fill with whipped cream.

Here are the ingredients for the buttercream;

60g salted butter

1 cup icing sugar

2 Tsp golden syrup
(feel free to add ground ginger to this if you want an extra kick)

Milk to mix

Place or pipe (if you’re feeling fancy) as much buttercream as you desire onto the base of one kiss and pop another one on top pushing gently to sandwich them together.

Try baking them for yourself and you will agree homemade is best, you also get the added bonus of filling your house with delicious smells for the day. 😊

Thanks for coming back to my blog and I hope to see you here again soon. 💕
Nut Biscuits

We are travelling back to the 1930’s with the Bestway Cookery Gift Book.

The tagline reads:

“A book that will take you, step by step, through the Everyday Dishes to Delightful Experiments in high class Cookery!”

If that doesn’t inspire you what will?! 😁

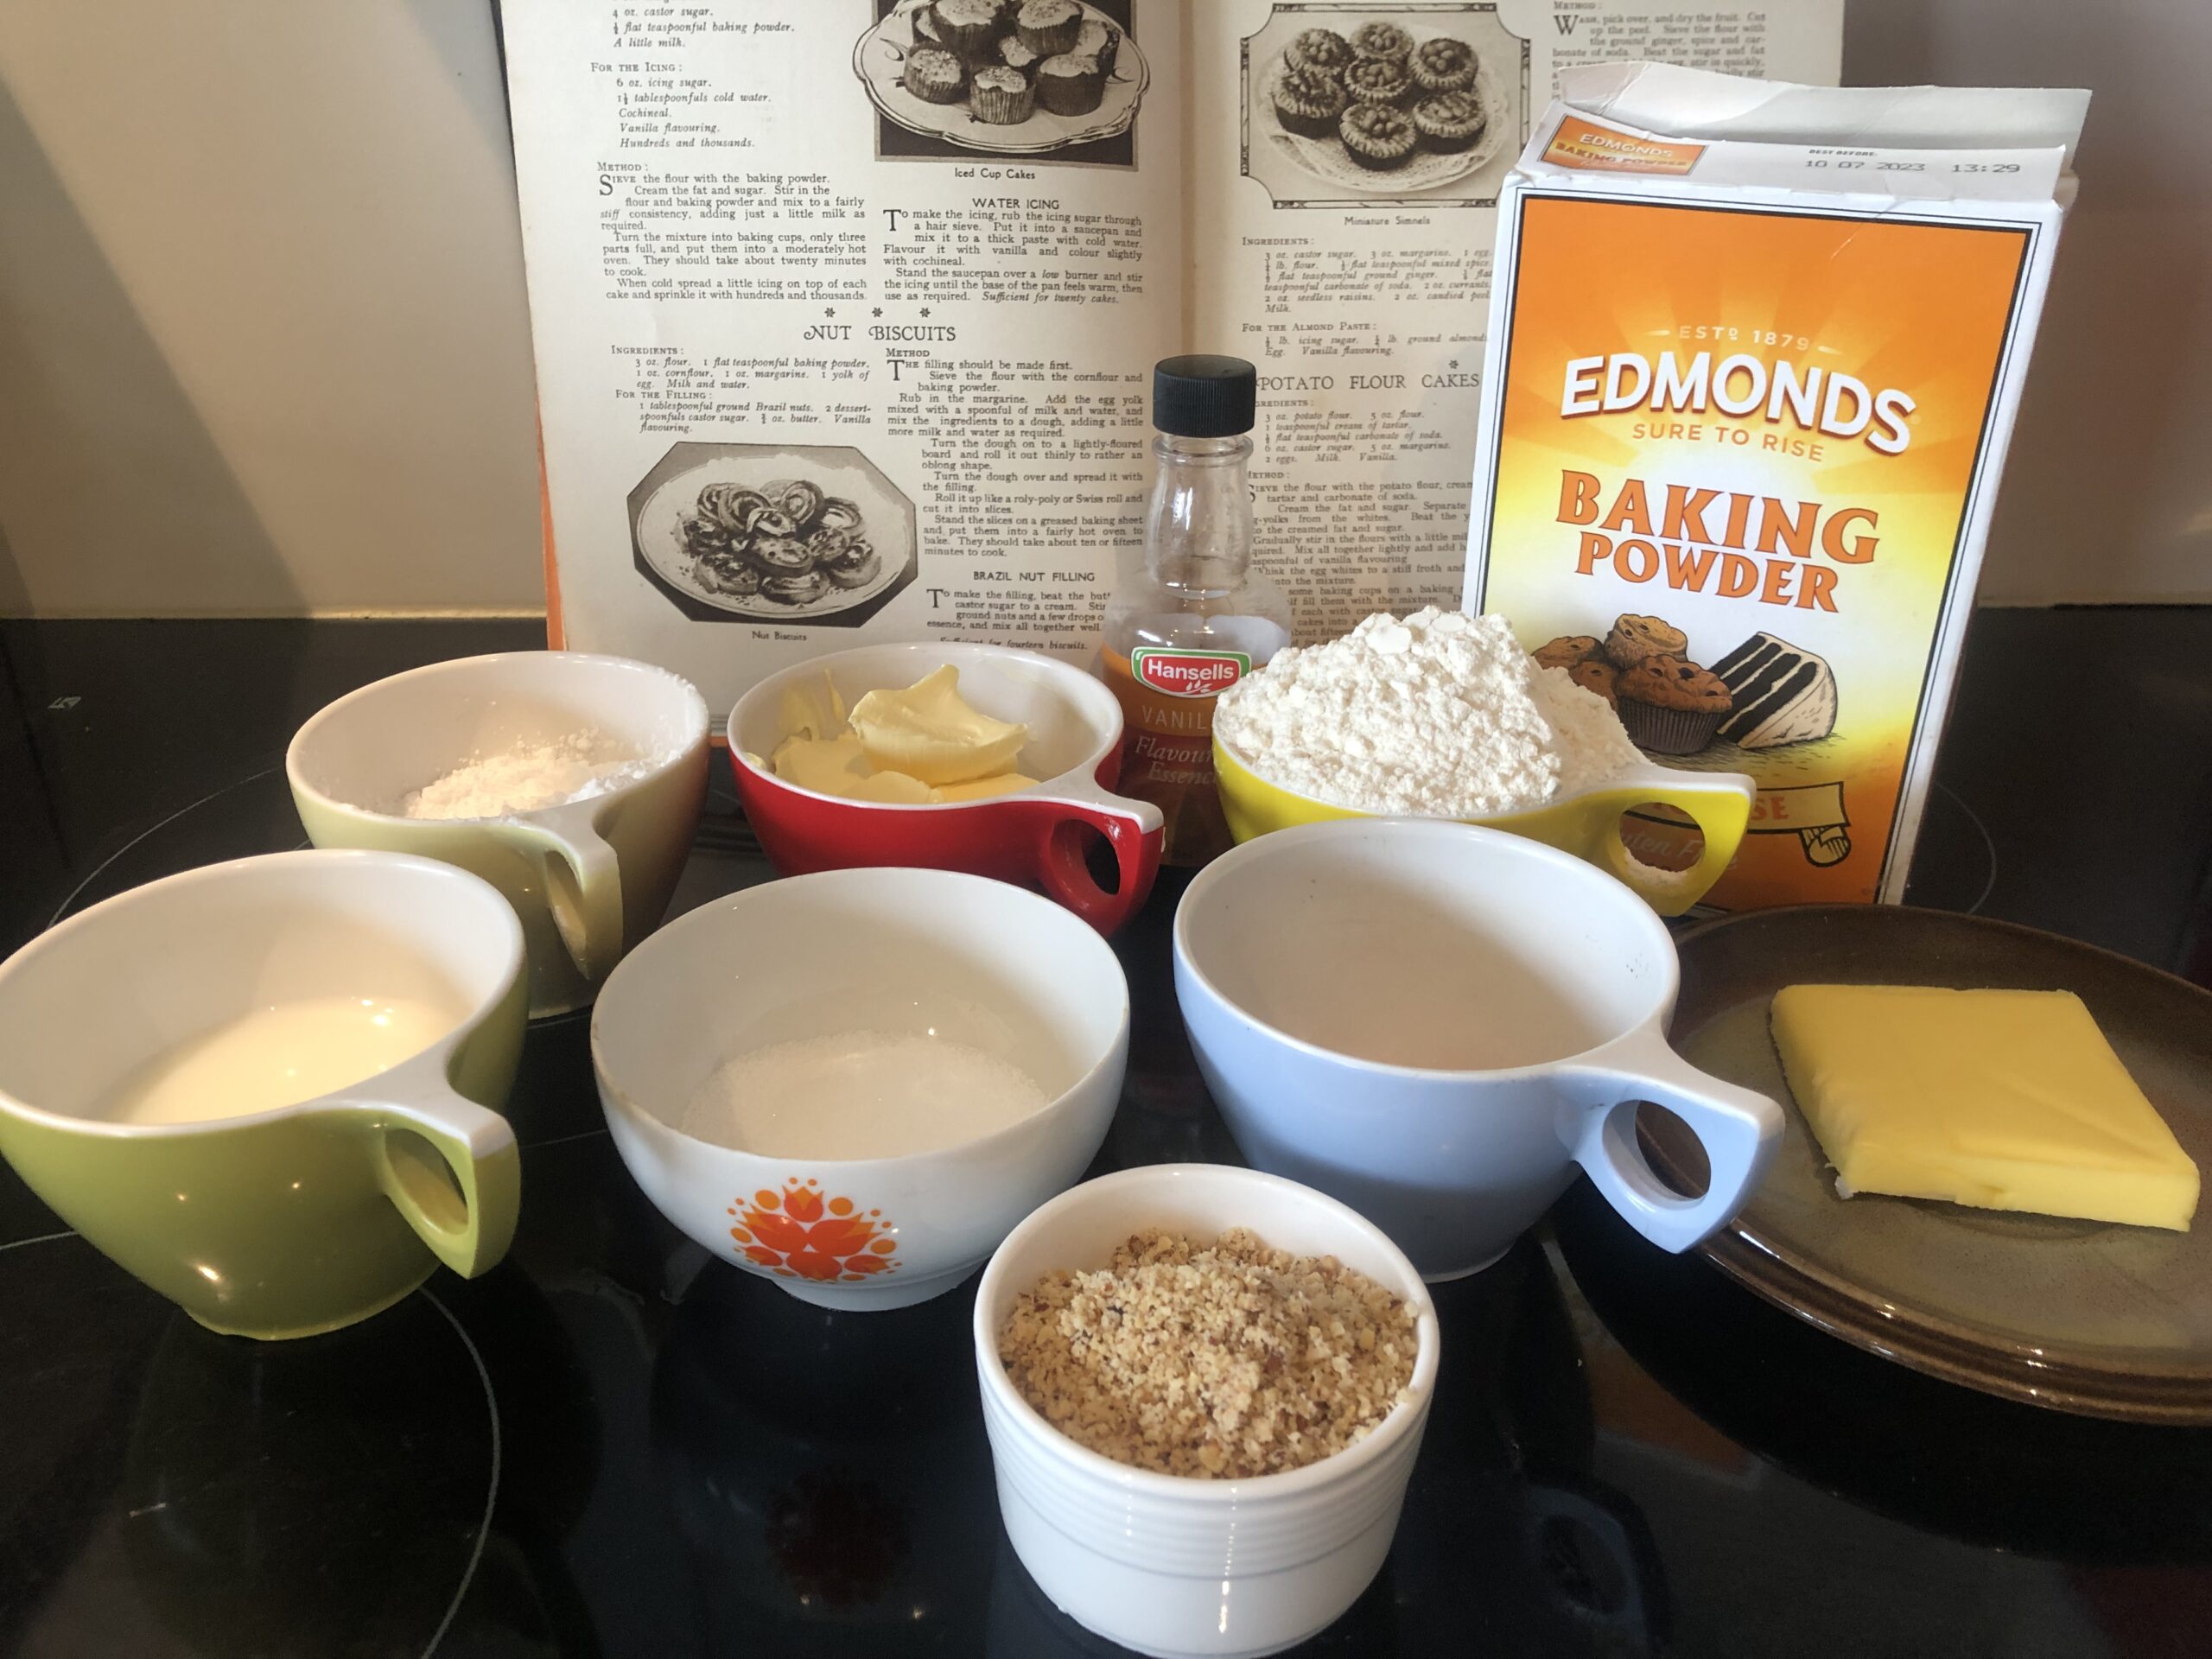
This one starts with the filling first, a bit like eating your dessert before dinner, which is something that sounds good to me!

Cream 3/4 oz butter with 2 dessert spoons of caster sugar and stir in a tablespoon of ground Brazil nuts and a few drops of vanilla essence.

Now onto the main event – the dough..

Sieve 3 oz flour, 1 oz cornflour and 1 teaspoon of baking powder. Rub in 1 oz margarine with a mini blender if you’re feeling lazy (like me 😁), add one egg yolk and a spoonful of milk and water mix until it comes together as a dough.

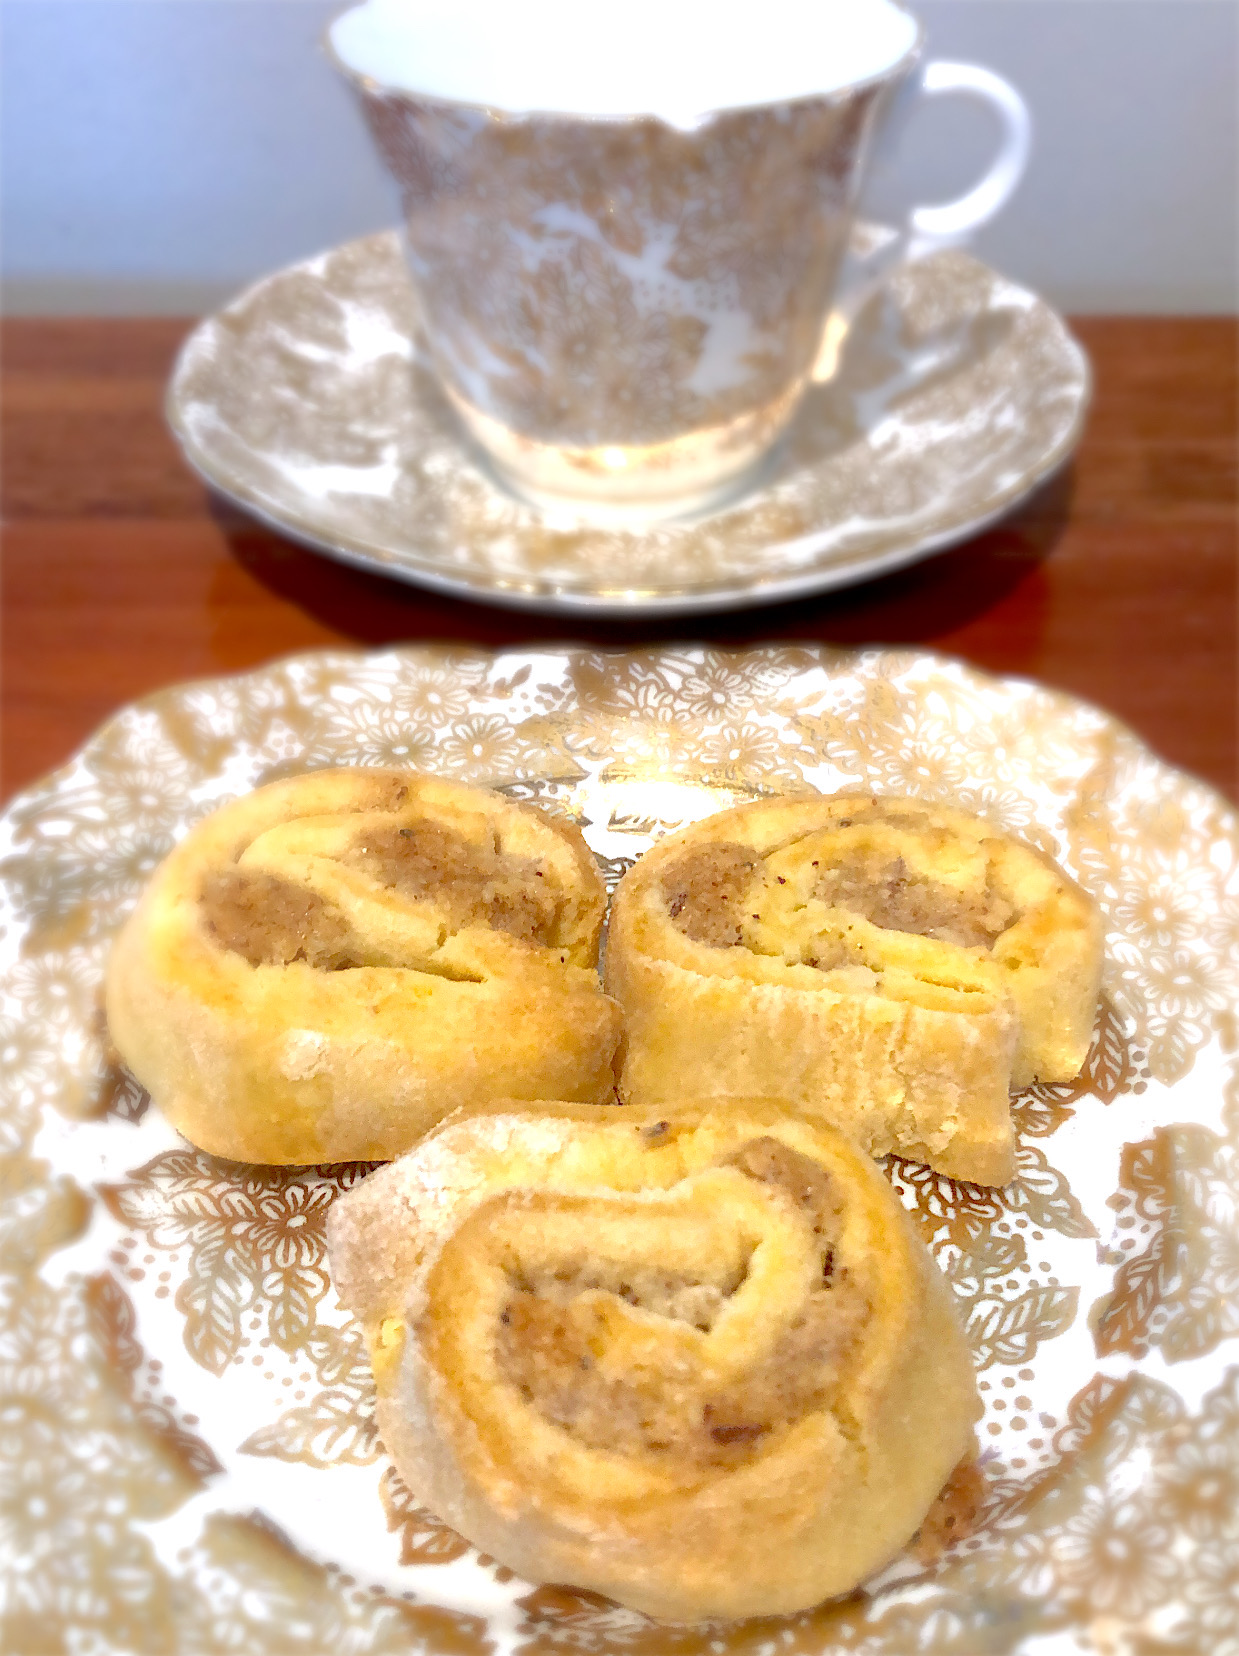
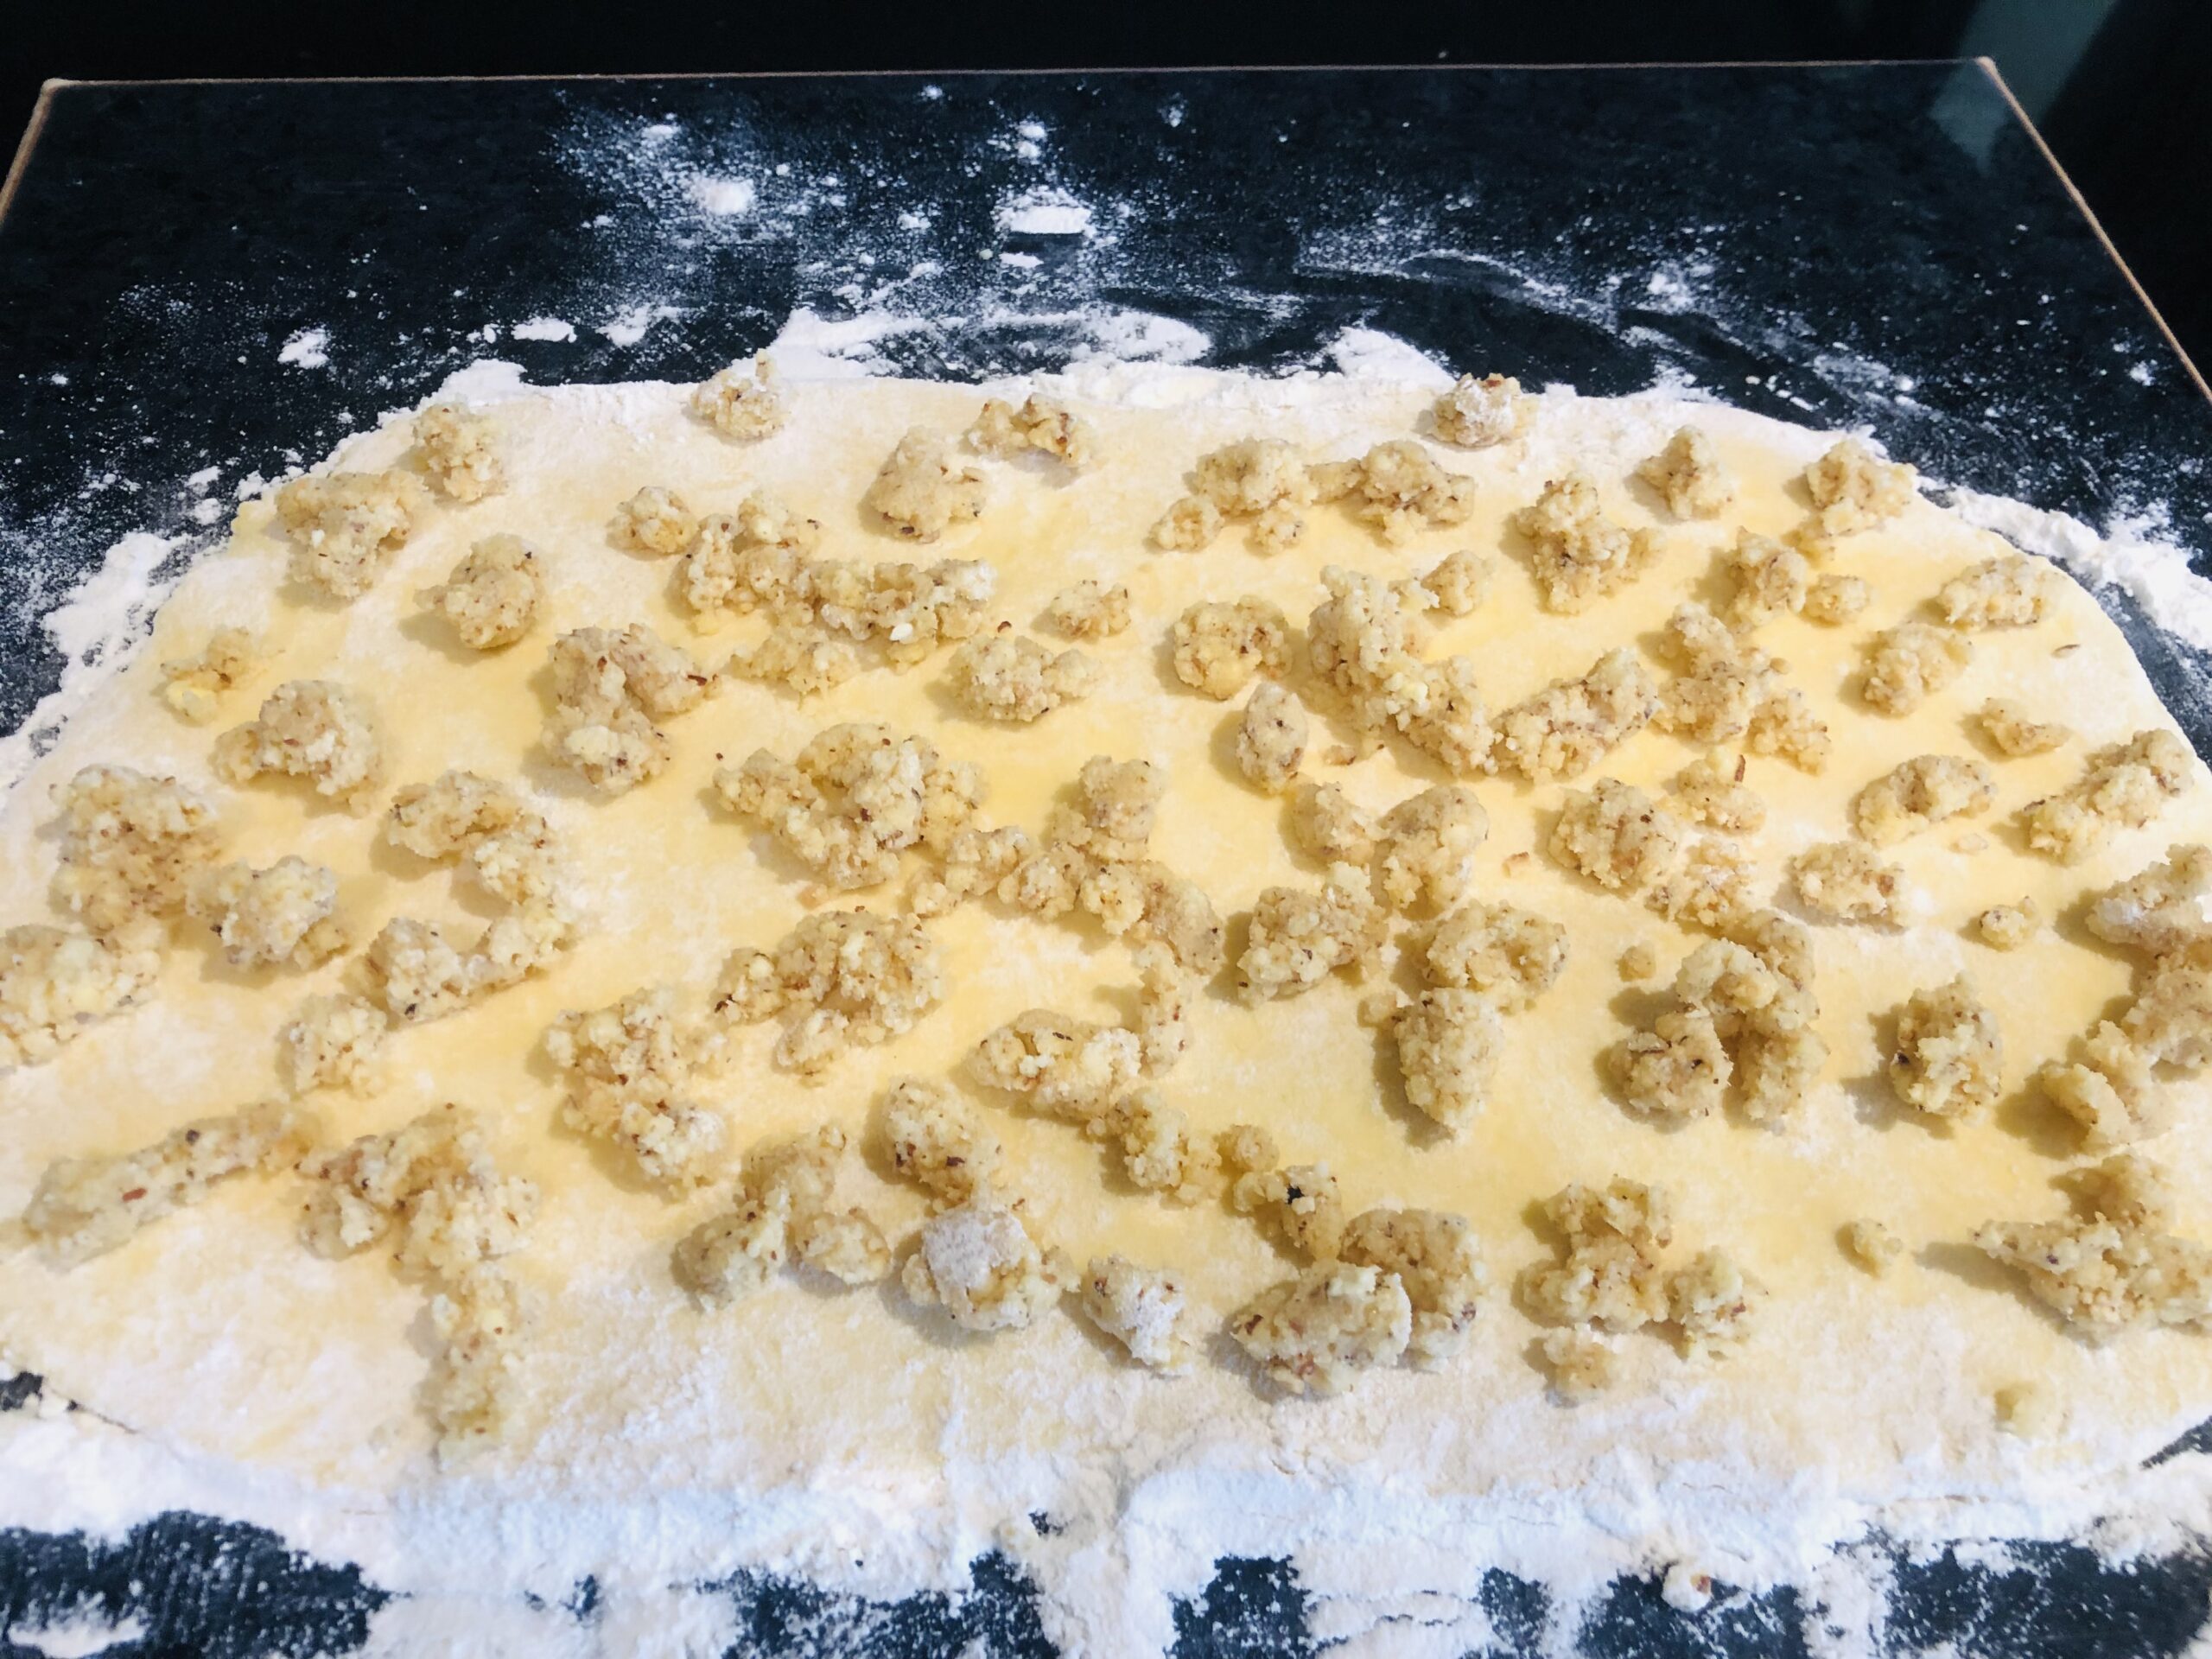
Roll it out on a floured board into a thin oblong shape and spread it evenly with the filling. (Here’s something I prepared earlier moment.) Rolling it up like a Swiss roll and cut it into biscuit sized slices.

Pop them into a ‘fairly hot oven’ (I picked 180C) for ten to fifteen minutes.

They come out lovely and crunchy and a the taste is a lot like biscotti.

Do try it and let me know what you think 😉

Thanks again for visiting my little blog, hope to see you back again soon.


2023-06-17T17:29:21+12:0017 June 2023|Bakes, Bestway Cookbook, Biscuits, Vintage cookbook|0 Comments

Caramel Crunch Fingers

Heading on back to the Girl Guides for the yummiest of treats!

We will start with a foreword from Heather Gunn (Northland Provincial Commissioner):

This book of recipes has been compiled by members of the Northland Girl Guides Association to raise funds for their provincial Camp-site Trefoil Park.

Trefoil park is situated in the centre of Northland. It is being developed to provide camping facilities for Girl Guides and other youth groups.

We hope you will enjoy using “Trefoil Treats” and that it will be a useful addition to your Cookery Book drawer.

Good luck and good eating.


This time I chose a recipe which I hadn’t cooked before, just to see if it would become a favourite in our household…and I’m a bit partial to caramel. 😁

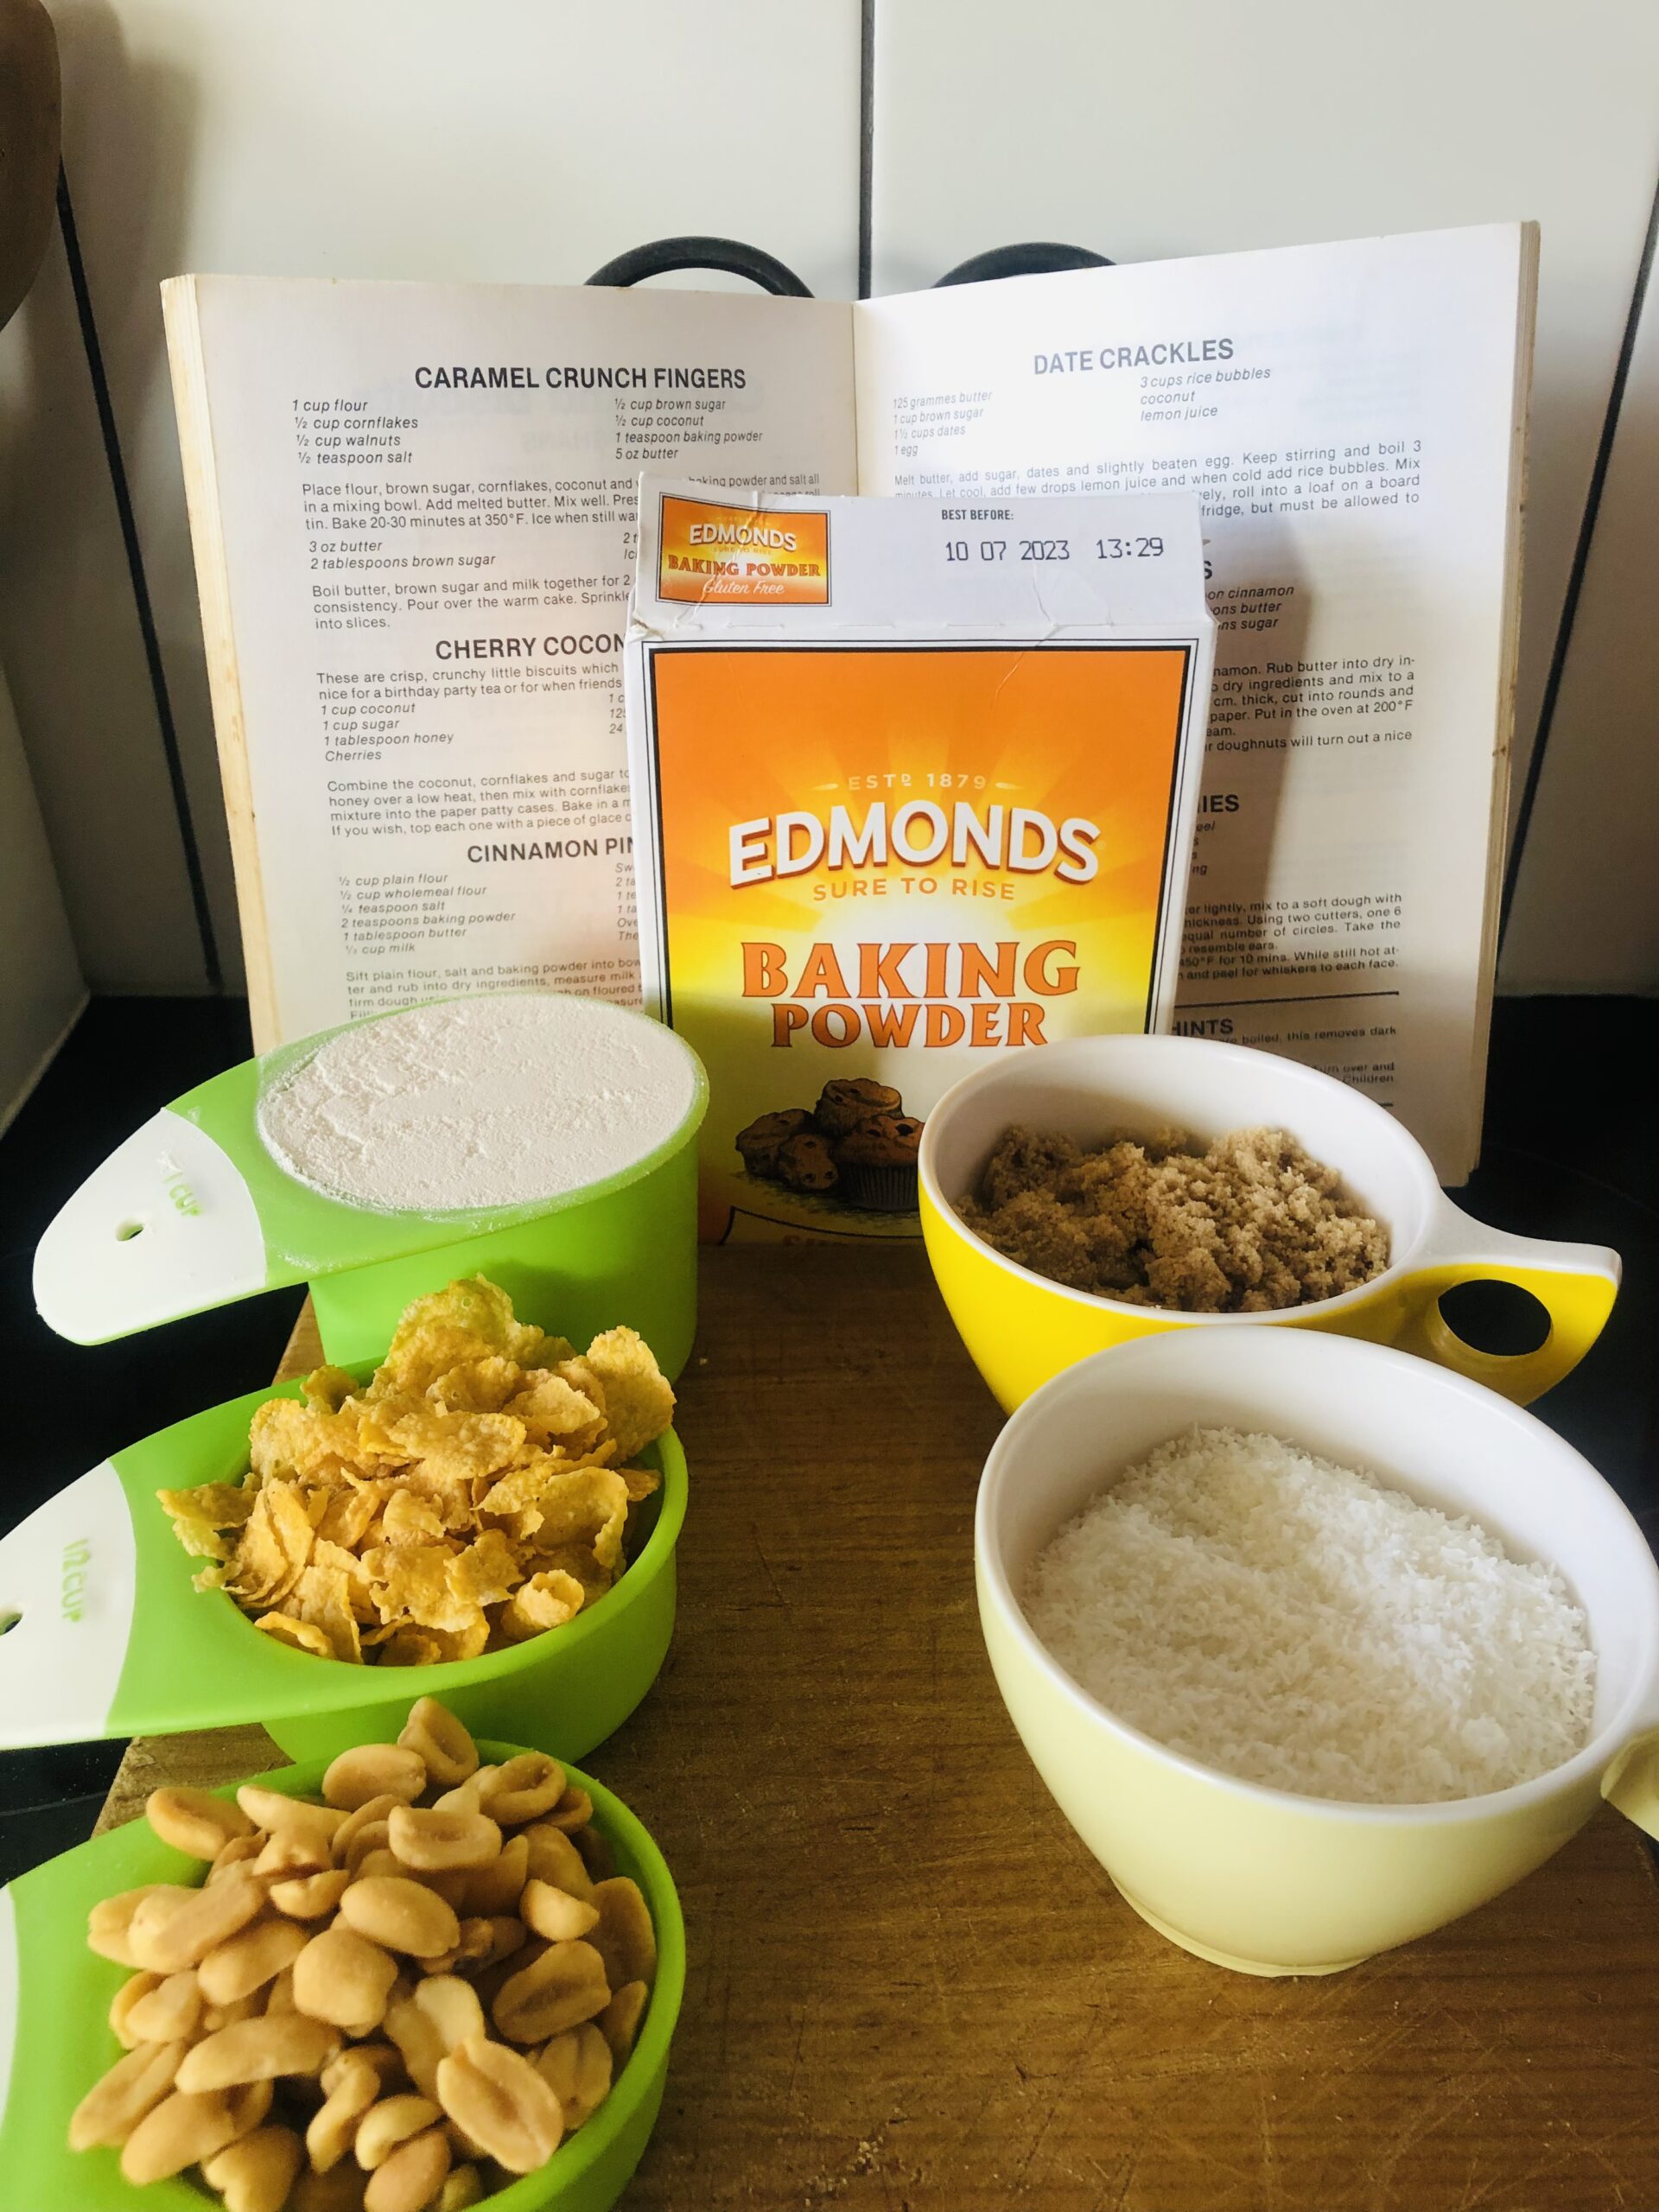
INGREDIENTS INCLUDE:

1 cup flour

1/2 cup cornflakes

1/2 cup walnuts (most nuts would be good though)

1/2 teaspoon of salt

1/2 cup brown sugar

1/2 cup coconut

1tsp baking powder

5oz butter


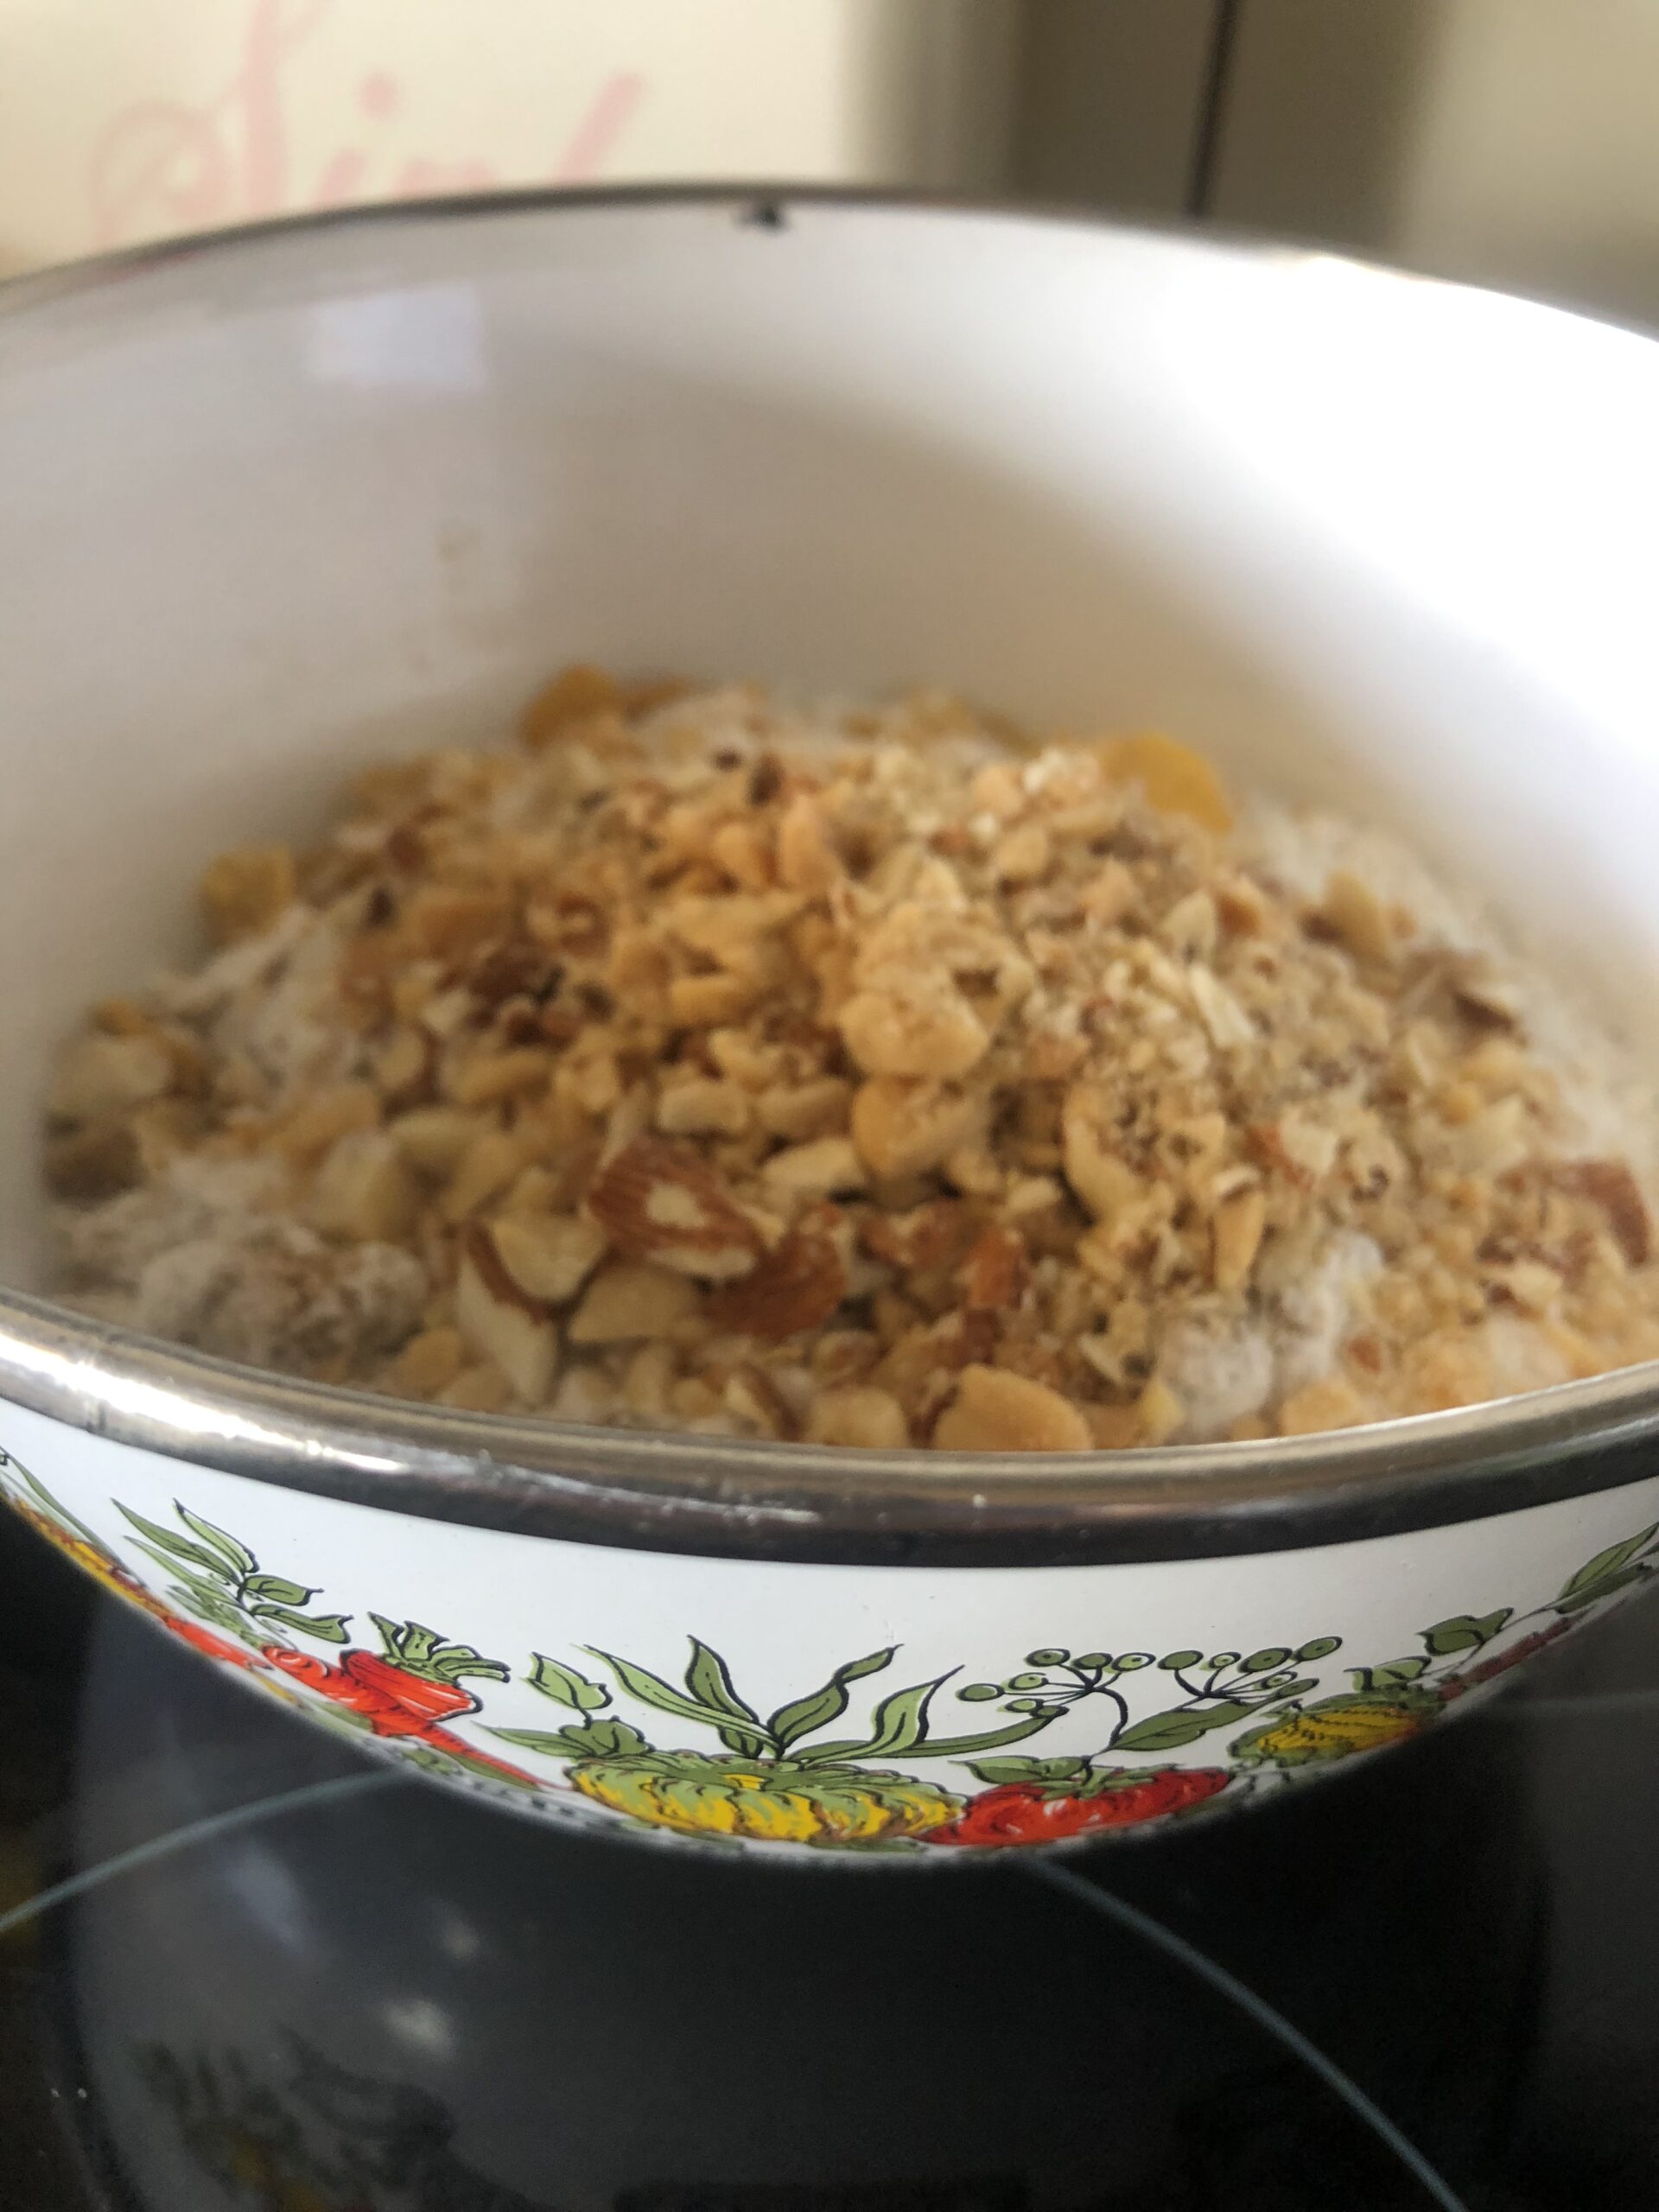
I did a little bit of improvising in order to avoid going out to the supermarket AGAIN and swapped the walnuts out for some almonds and peanuts which I had in my little pantry, I chopped them up a bit too. I encourage everyone to experiment with different types and see where the wind takes them. 😁

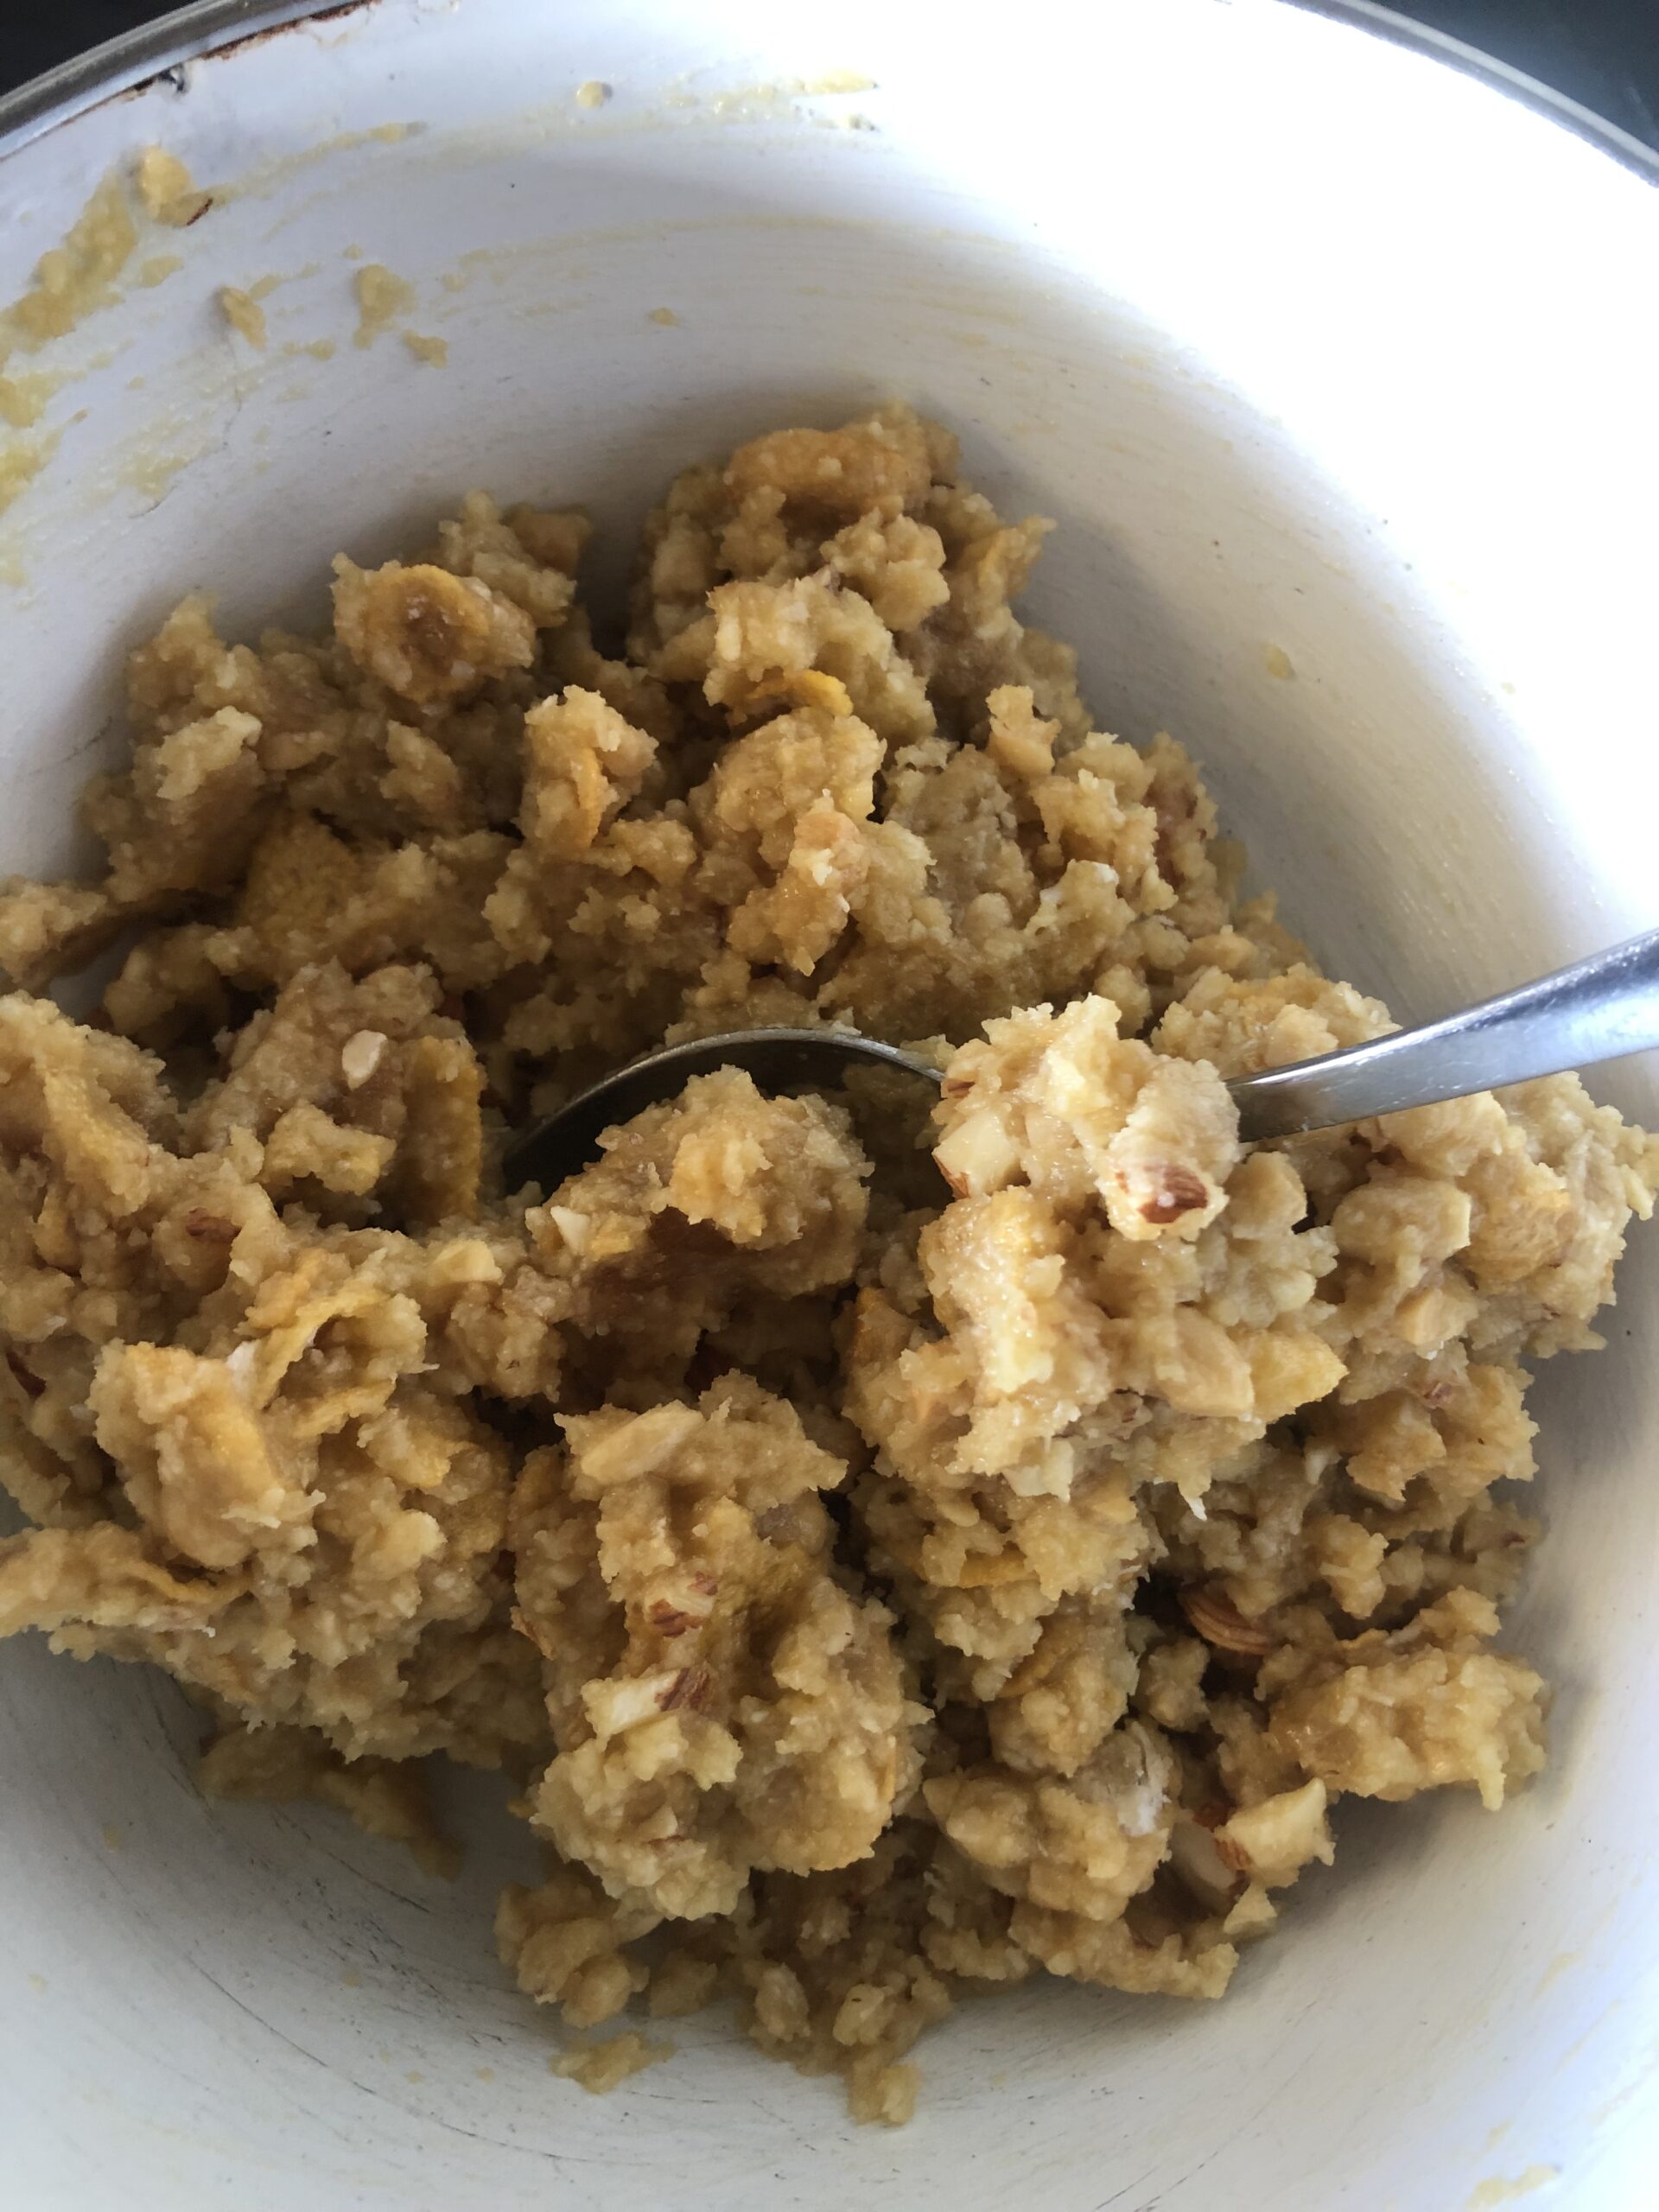
Everything goes into the mixing bowl (my kind of recipe), apart from the butter which gets melted and then added. One bowl! Bliss when it comes to washing up!

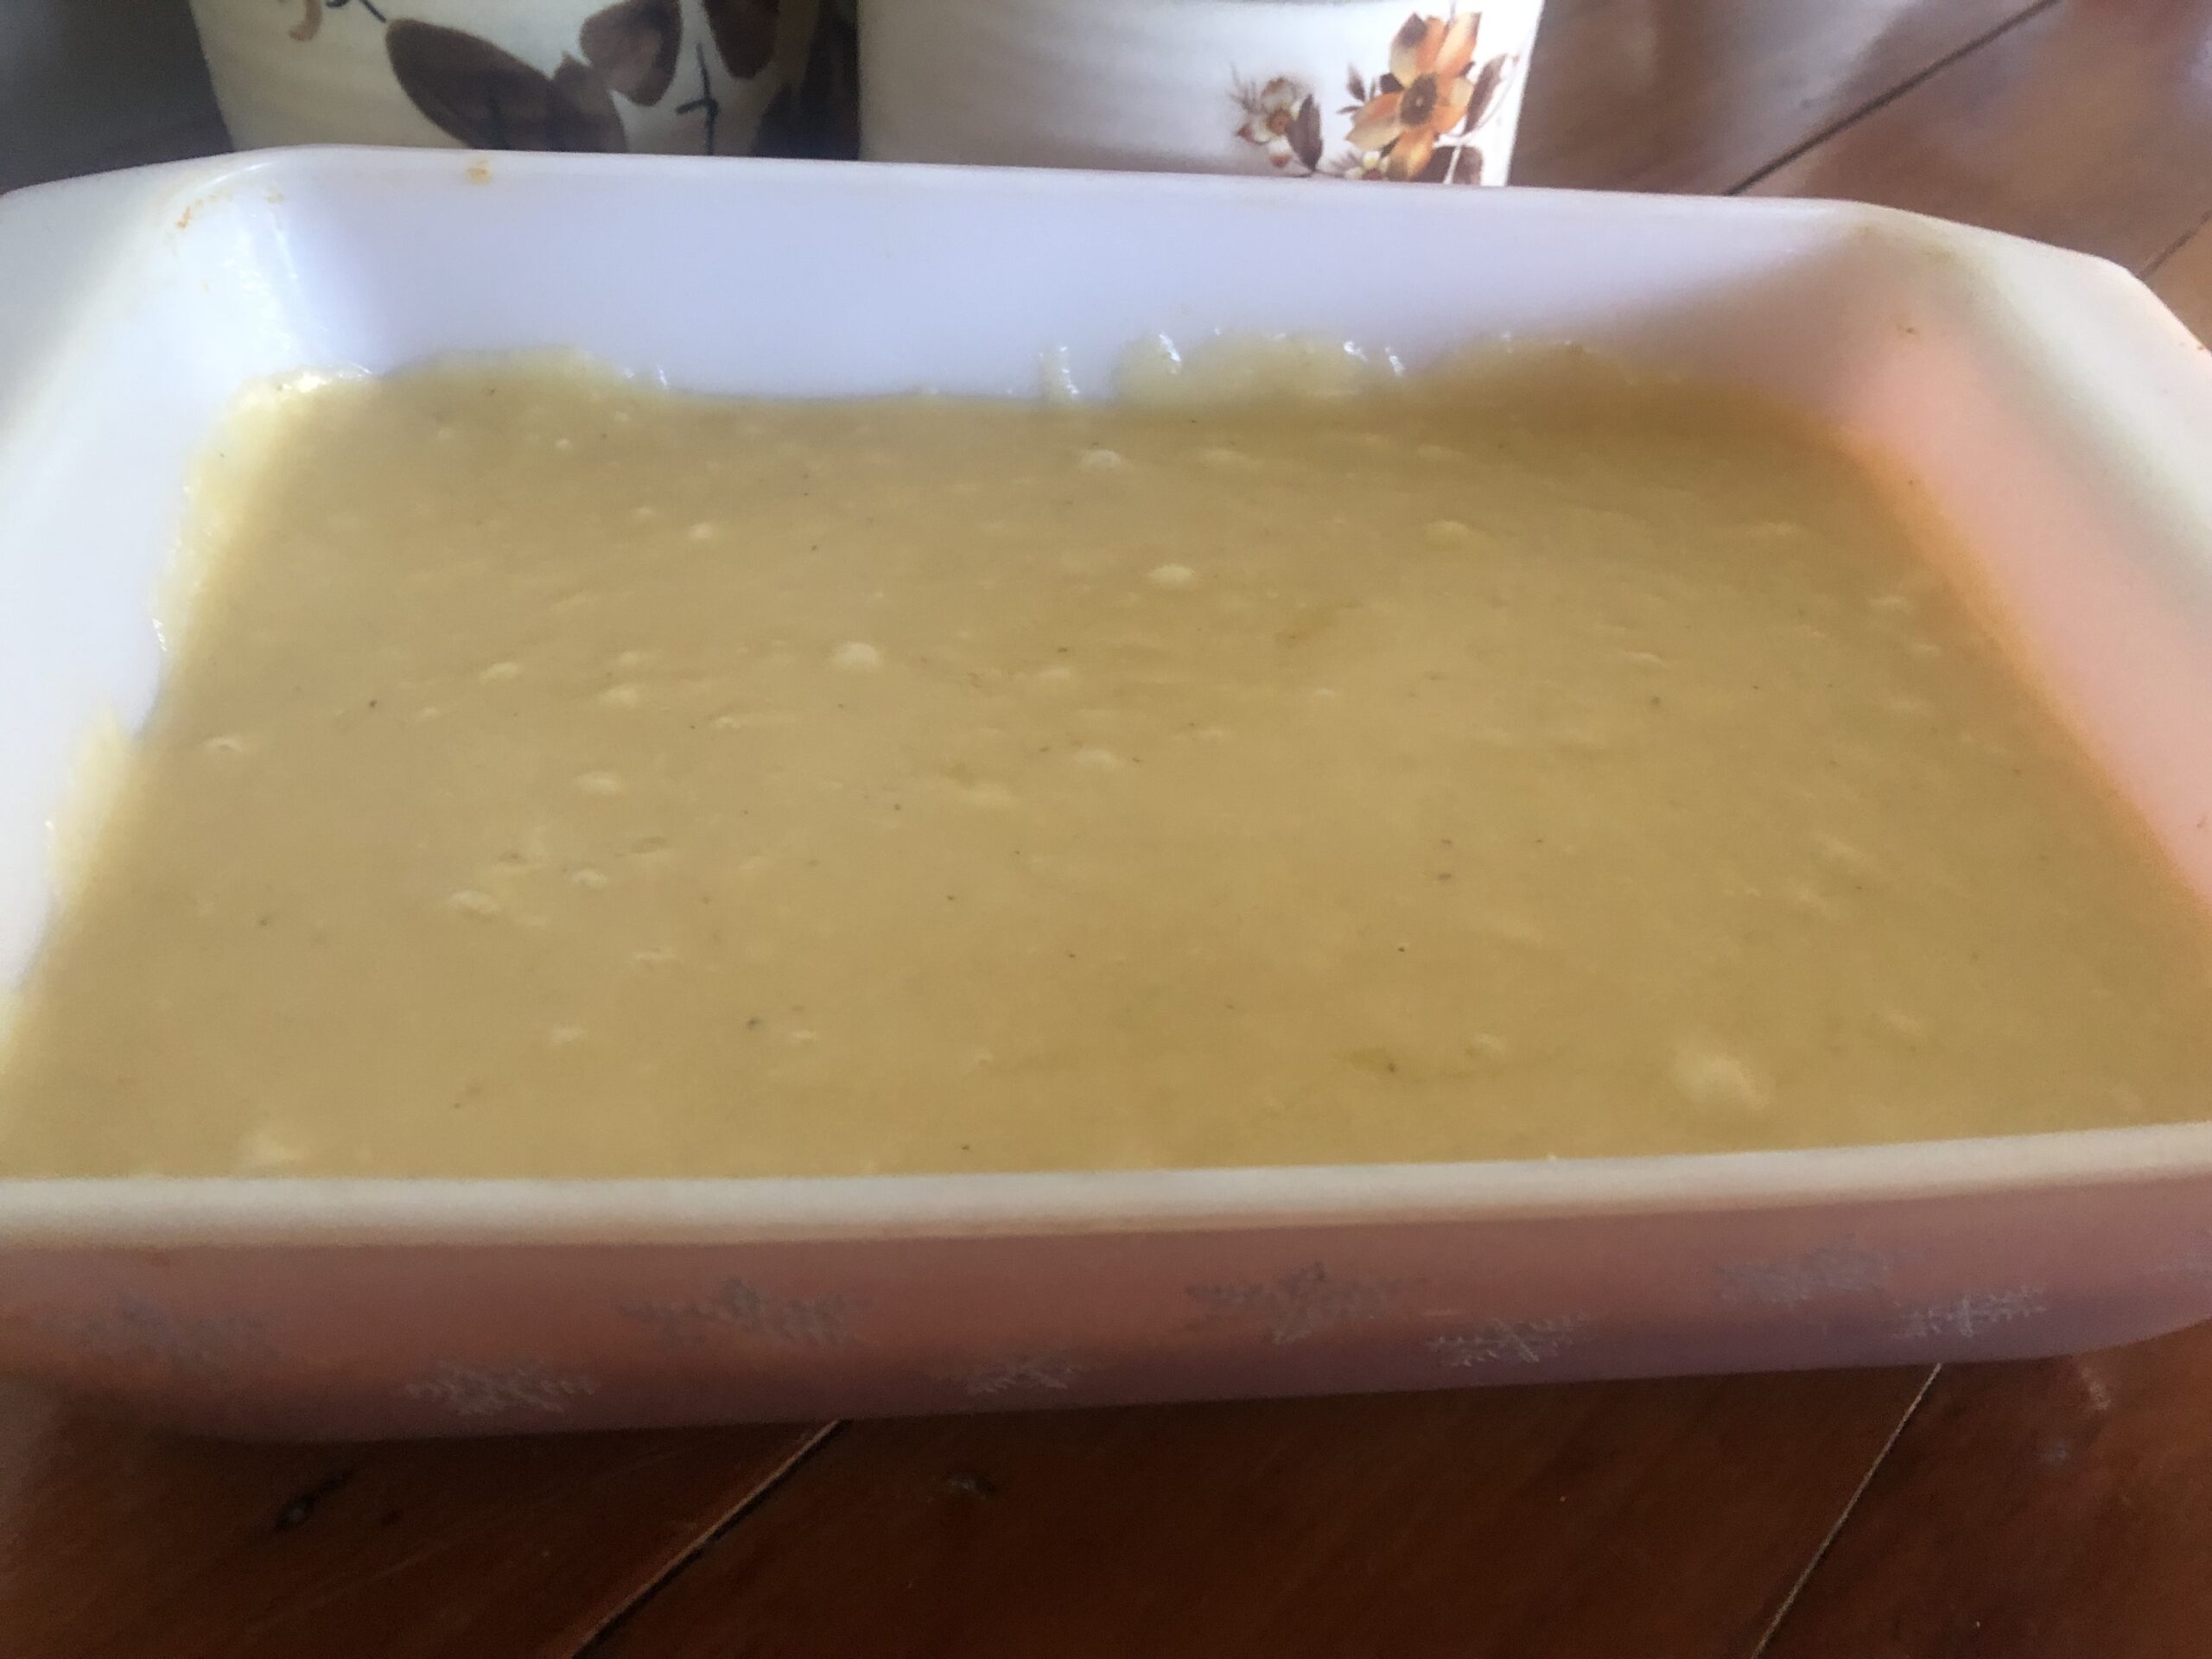
Stir the butter in and pop the mixture into a rectangular/square baking pan. I used my pretty pink snowflake Pyrex for this one.

Bake in your oven at 350 F for 20-30 minutes (I went for the maximum on this one) and boom your slice is cooked!

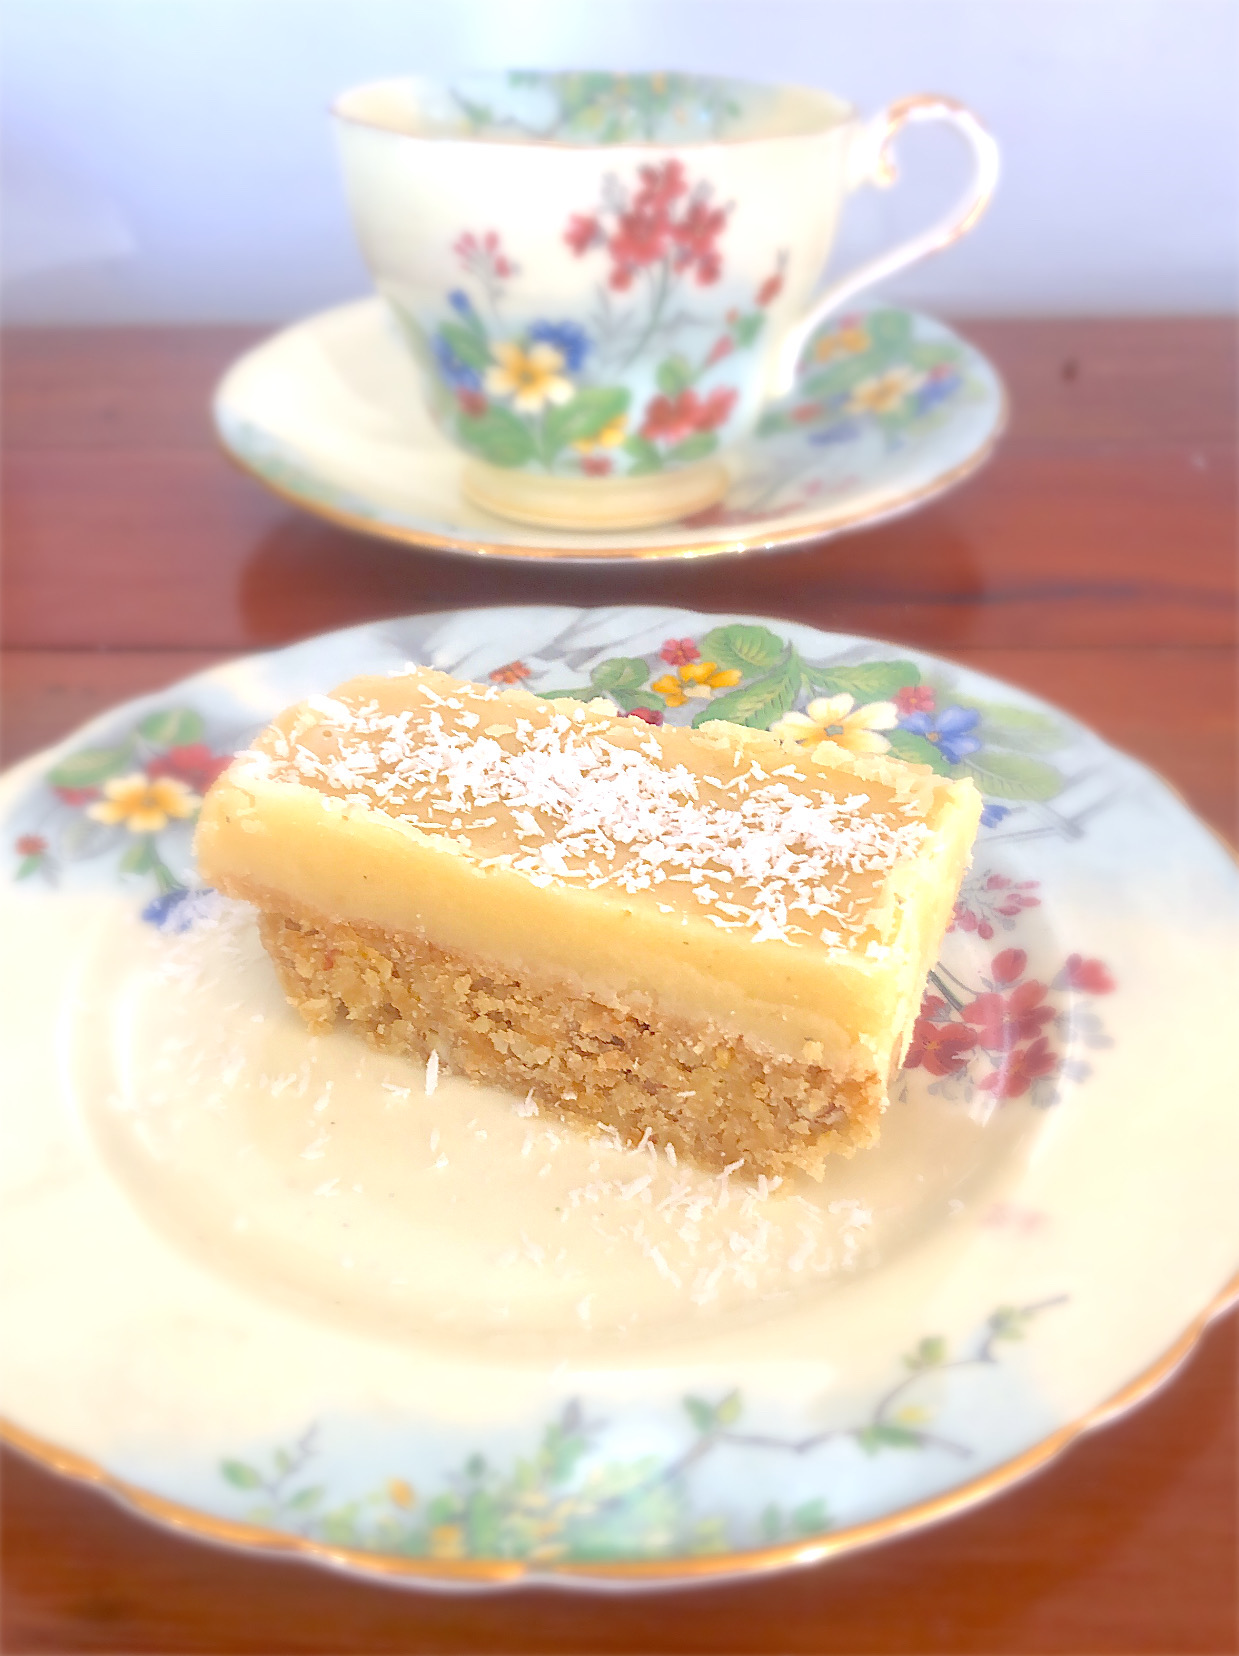
Now for the fun bit – and no waiting around for it to cool either – you can ice it while it’s still warm, yay!

Pop 3oz butter, 2 Tbsp brown sugar and 2 Tbsp milk into a small saucepan and bring to boil for 2 minutes. Mmmmmm, ‘enter caramel smells here’. 🤤 The recipe gives a general “add icing sugar to correct consistency” – I think I added 1 2/3 cup for my liking but here again it’s really up to you.

Pour it over the slice and add some more chopped nuts or coconut and bob’s your uncle. 😁

You will need to wait for this to set so cue dance party while you’re waiting. 🥳

It’s is well worth the wait, leave a note for me if you enjoyed this recipe. I would love to hear from you.

Until next time!

Sweet Sensations NZ 💕

Go to Top