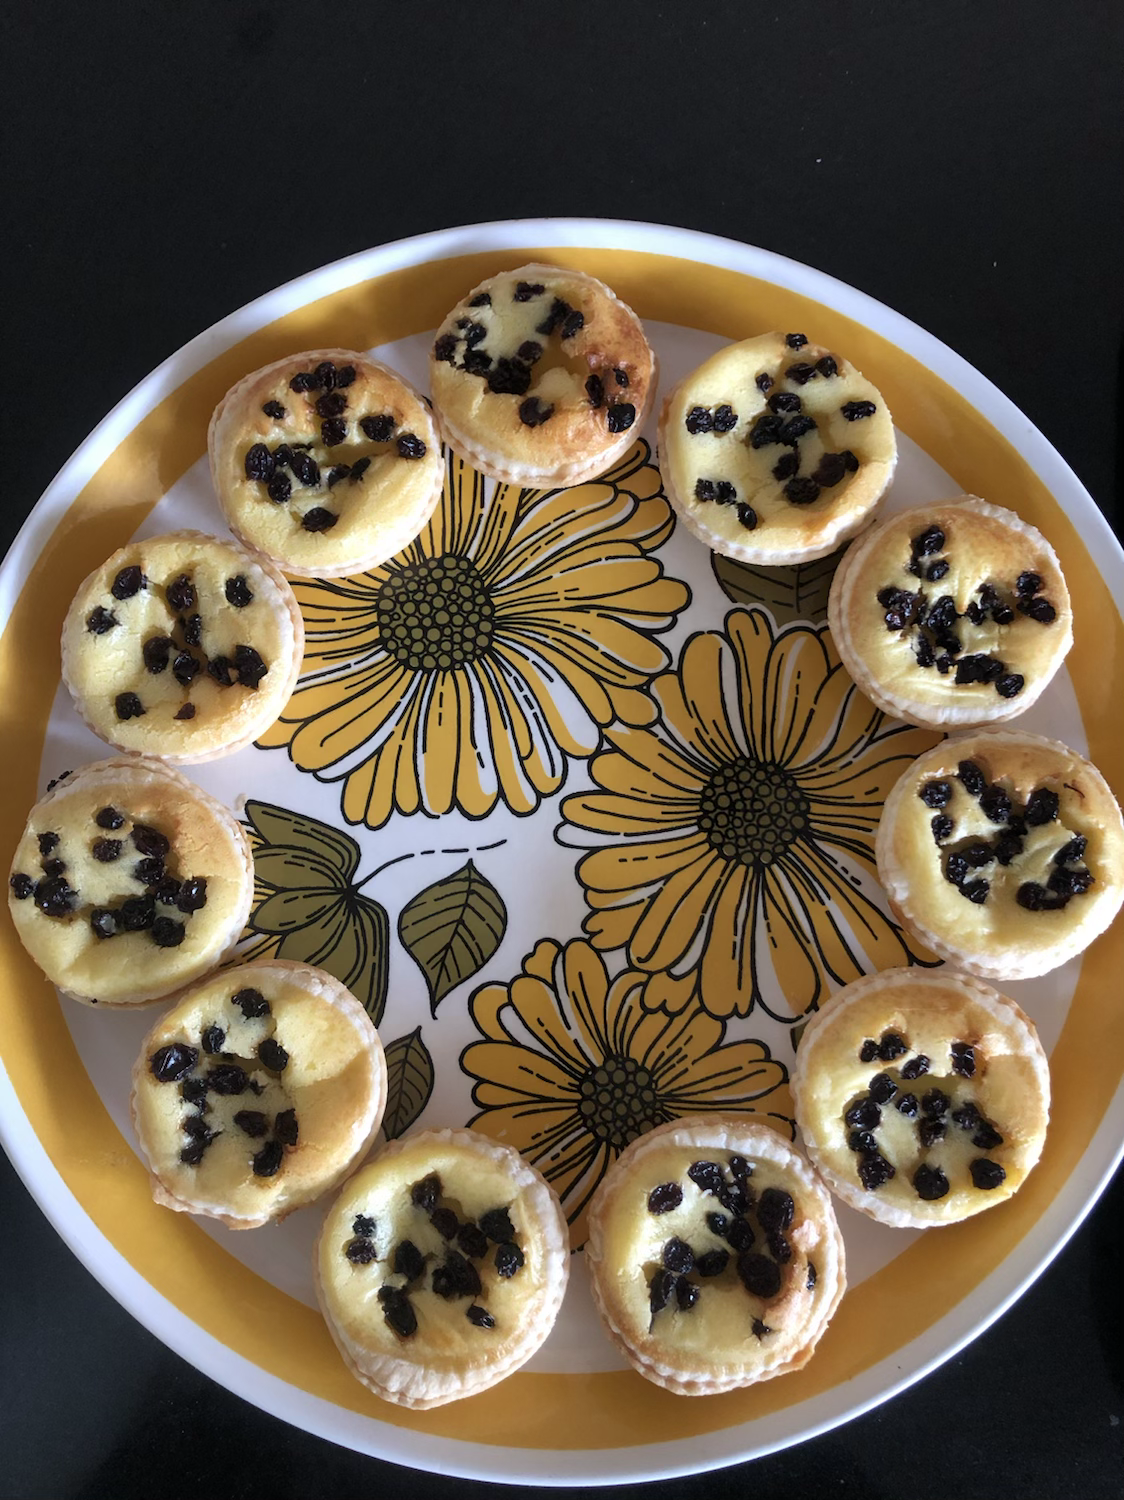
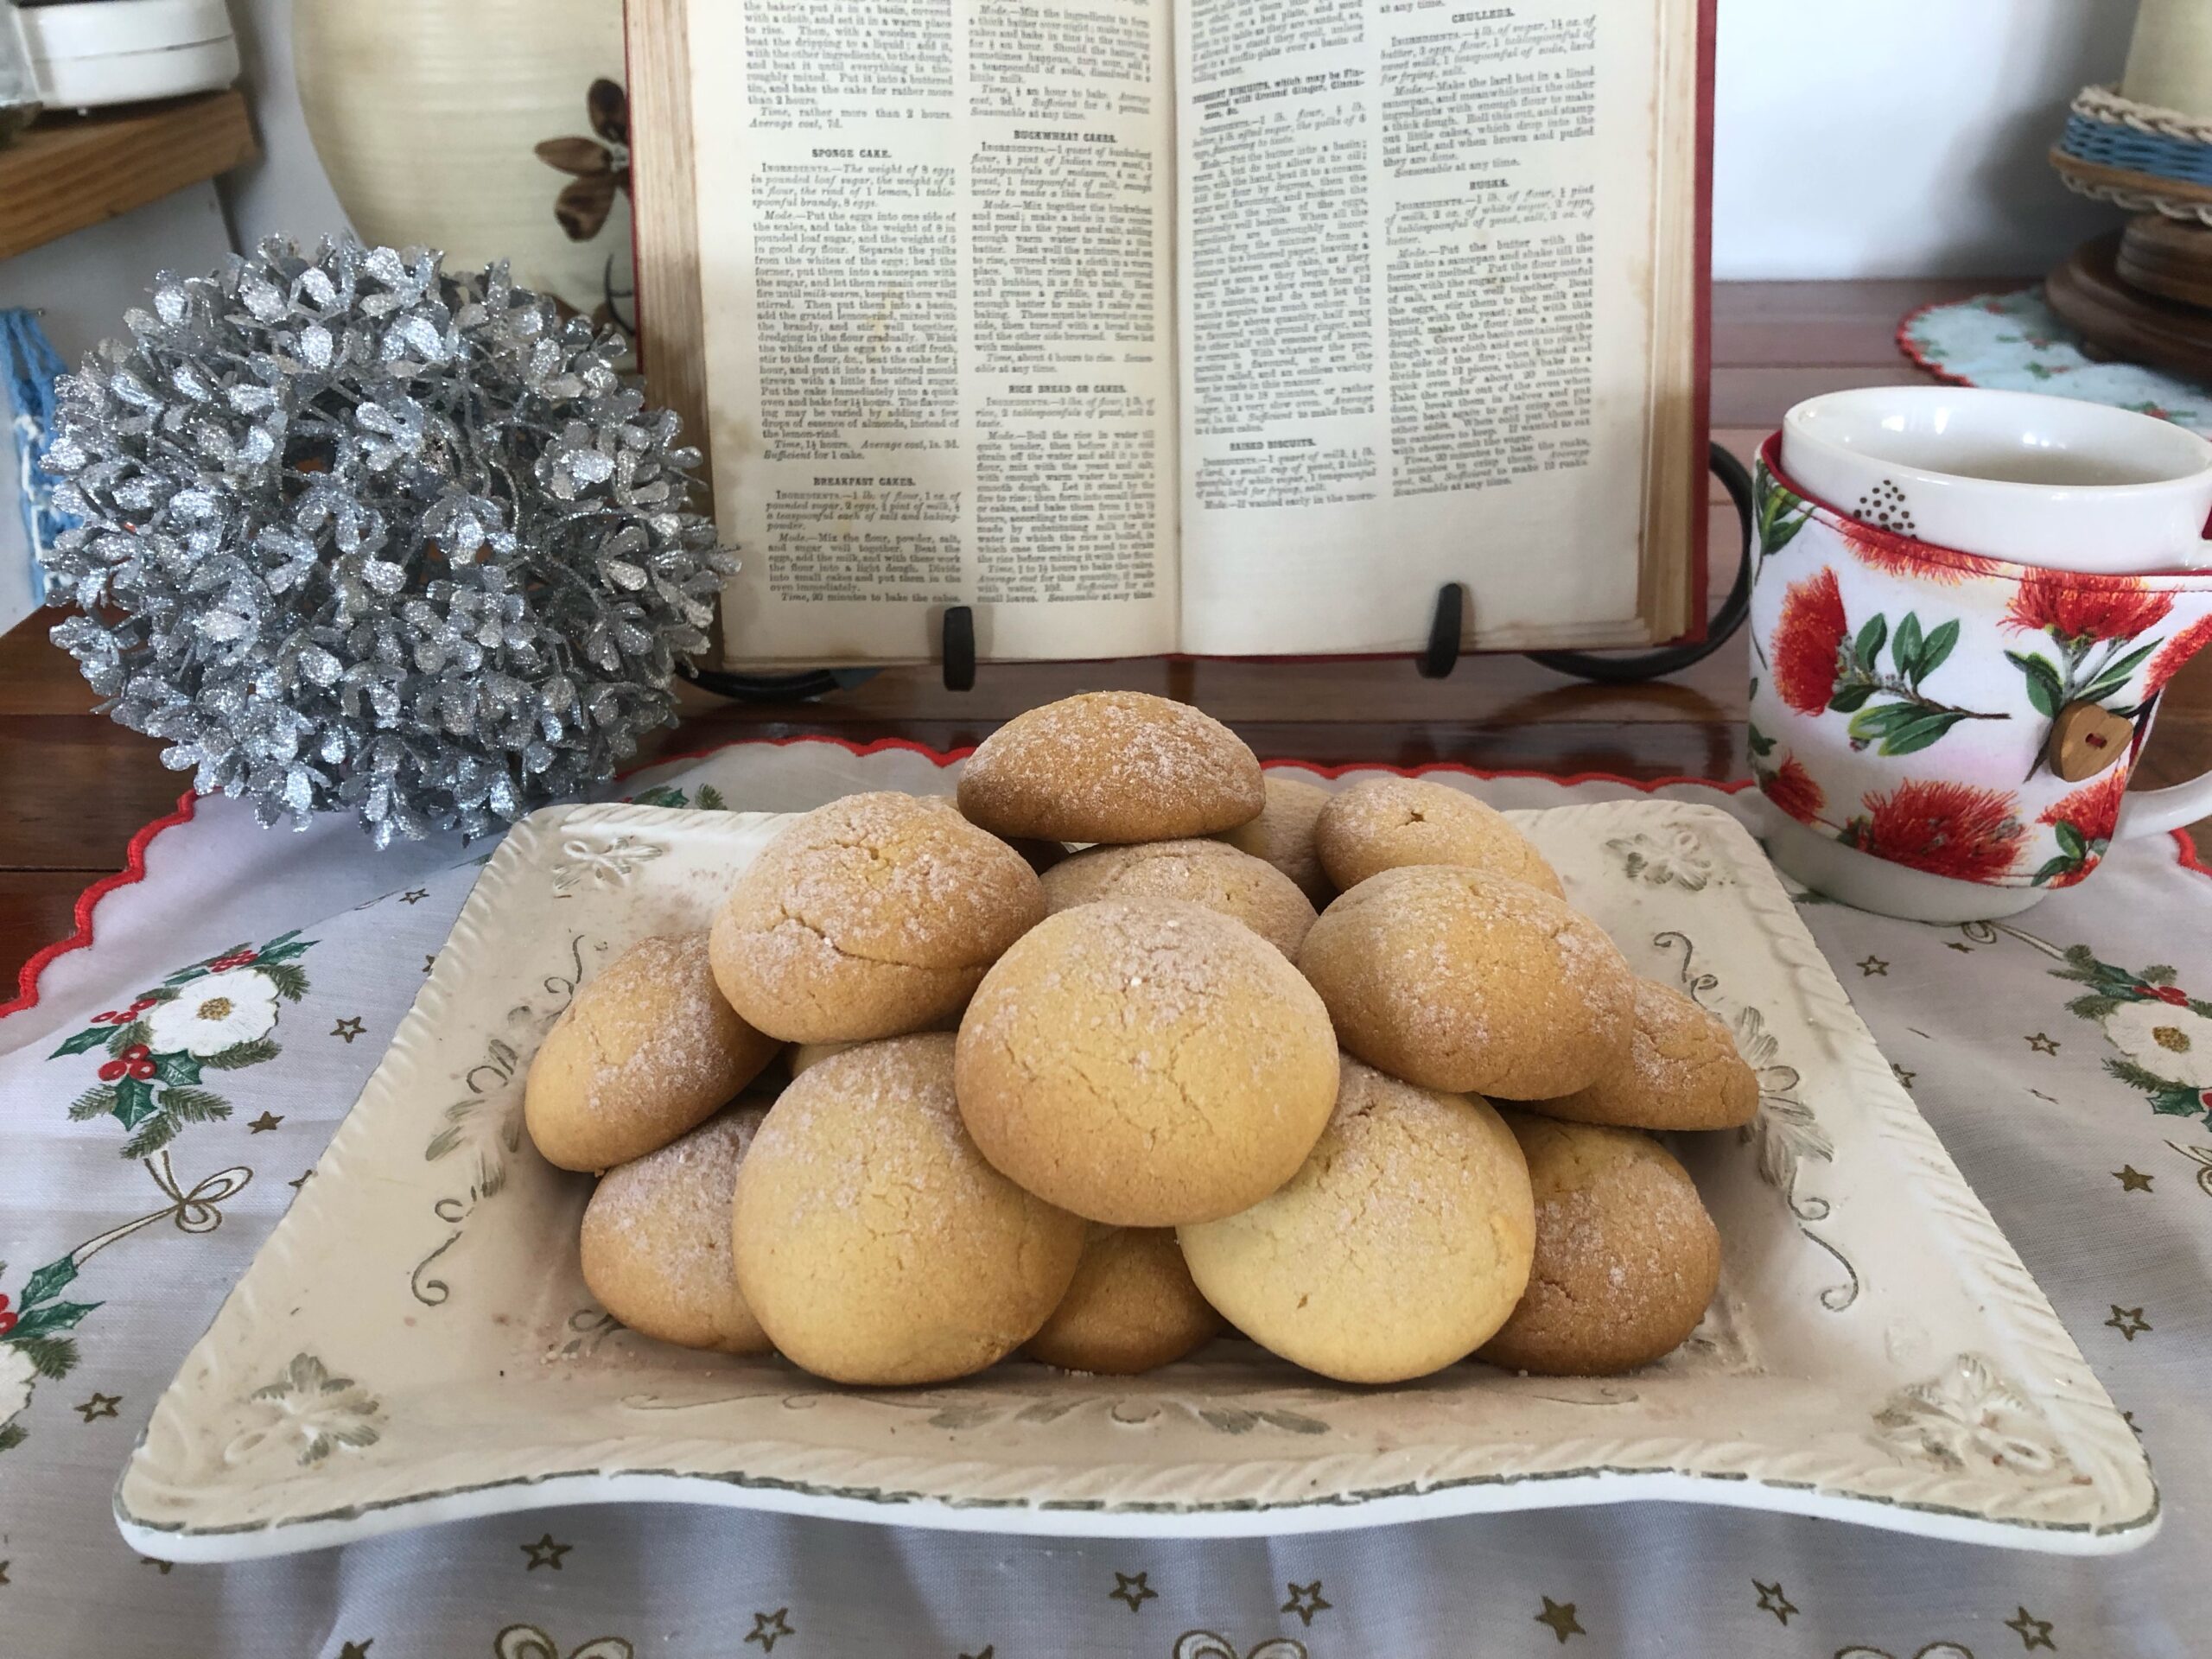
Ginger Kisses

If you grew up with these you will know how gorgeous light and warming they are to eat, and you know how hard it is to restrict yourself to just one of these beauties!

Ginger kisses are a traditional kiwi treat and once you bite into that pillowy ginger goodness you won’t want to leave.

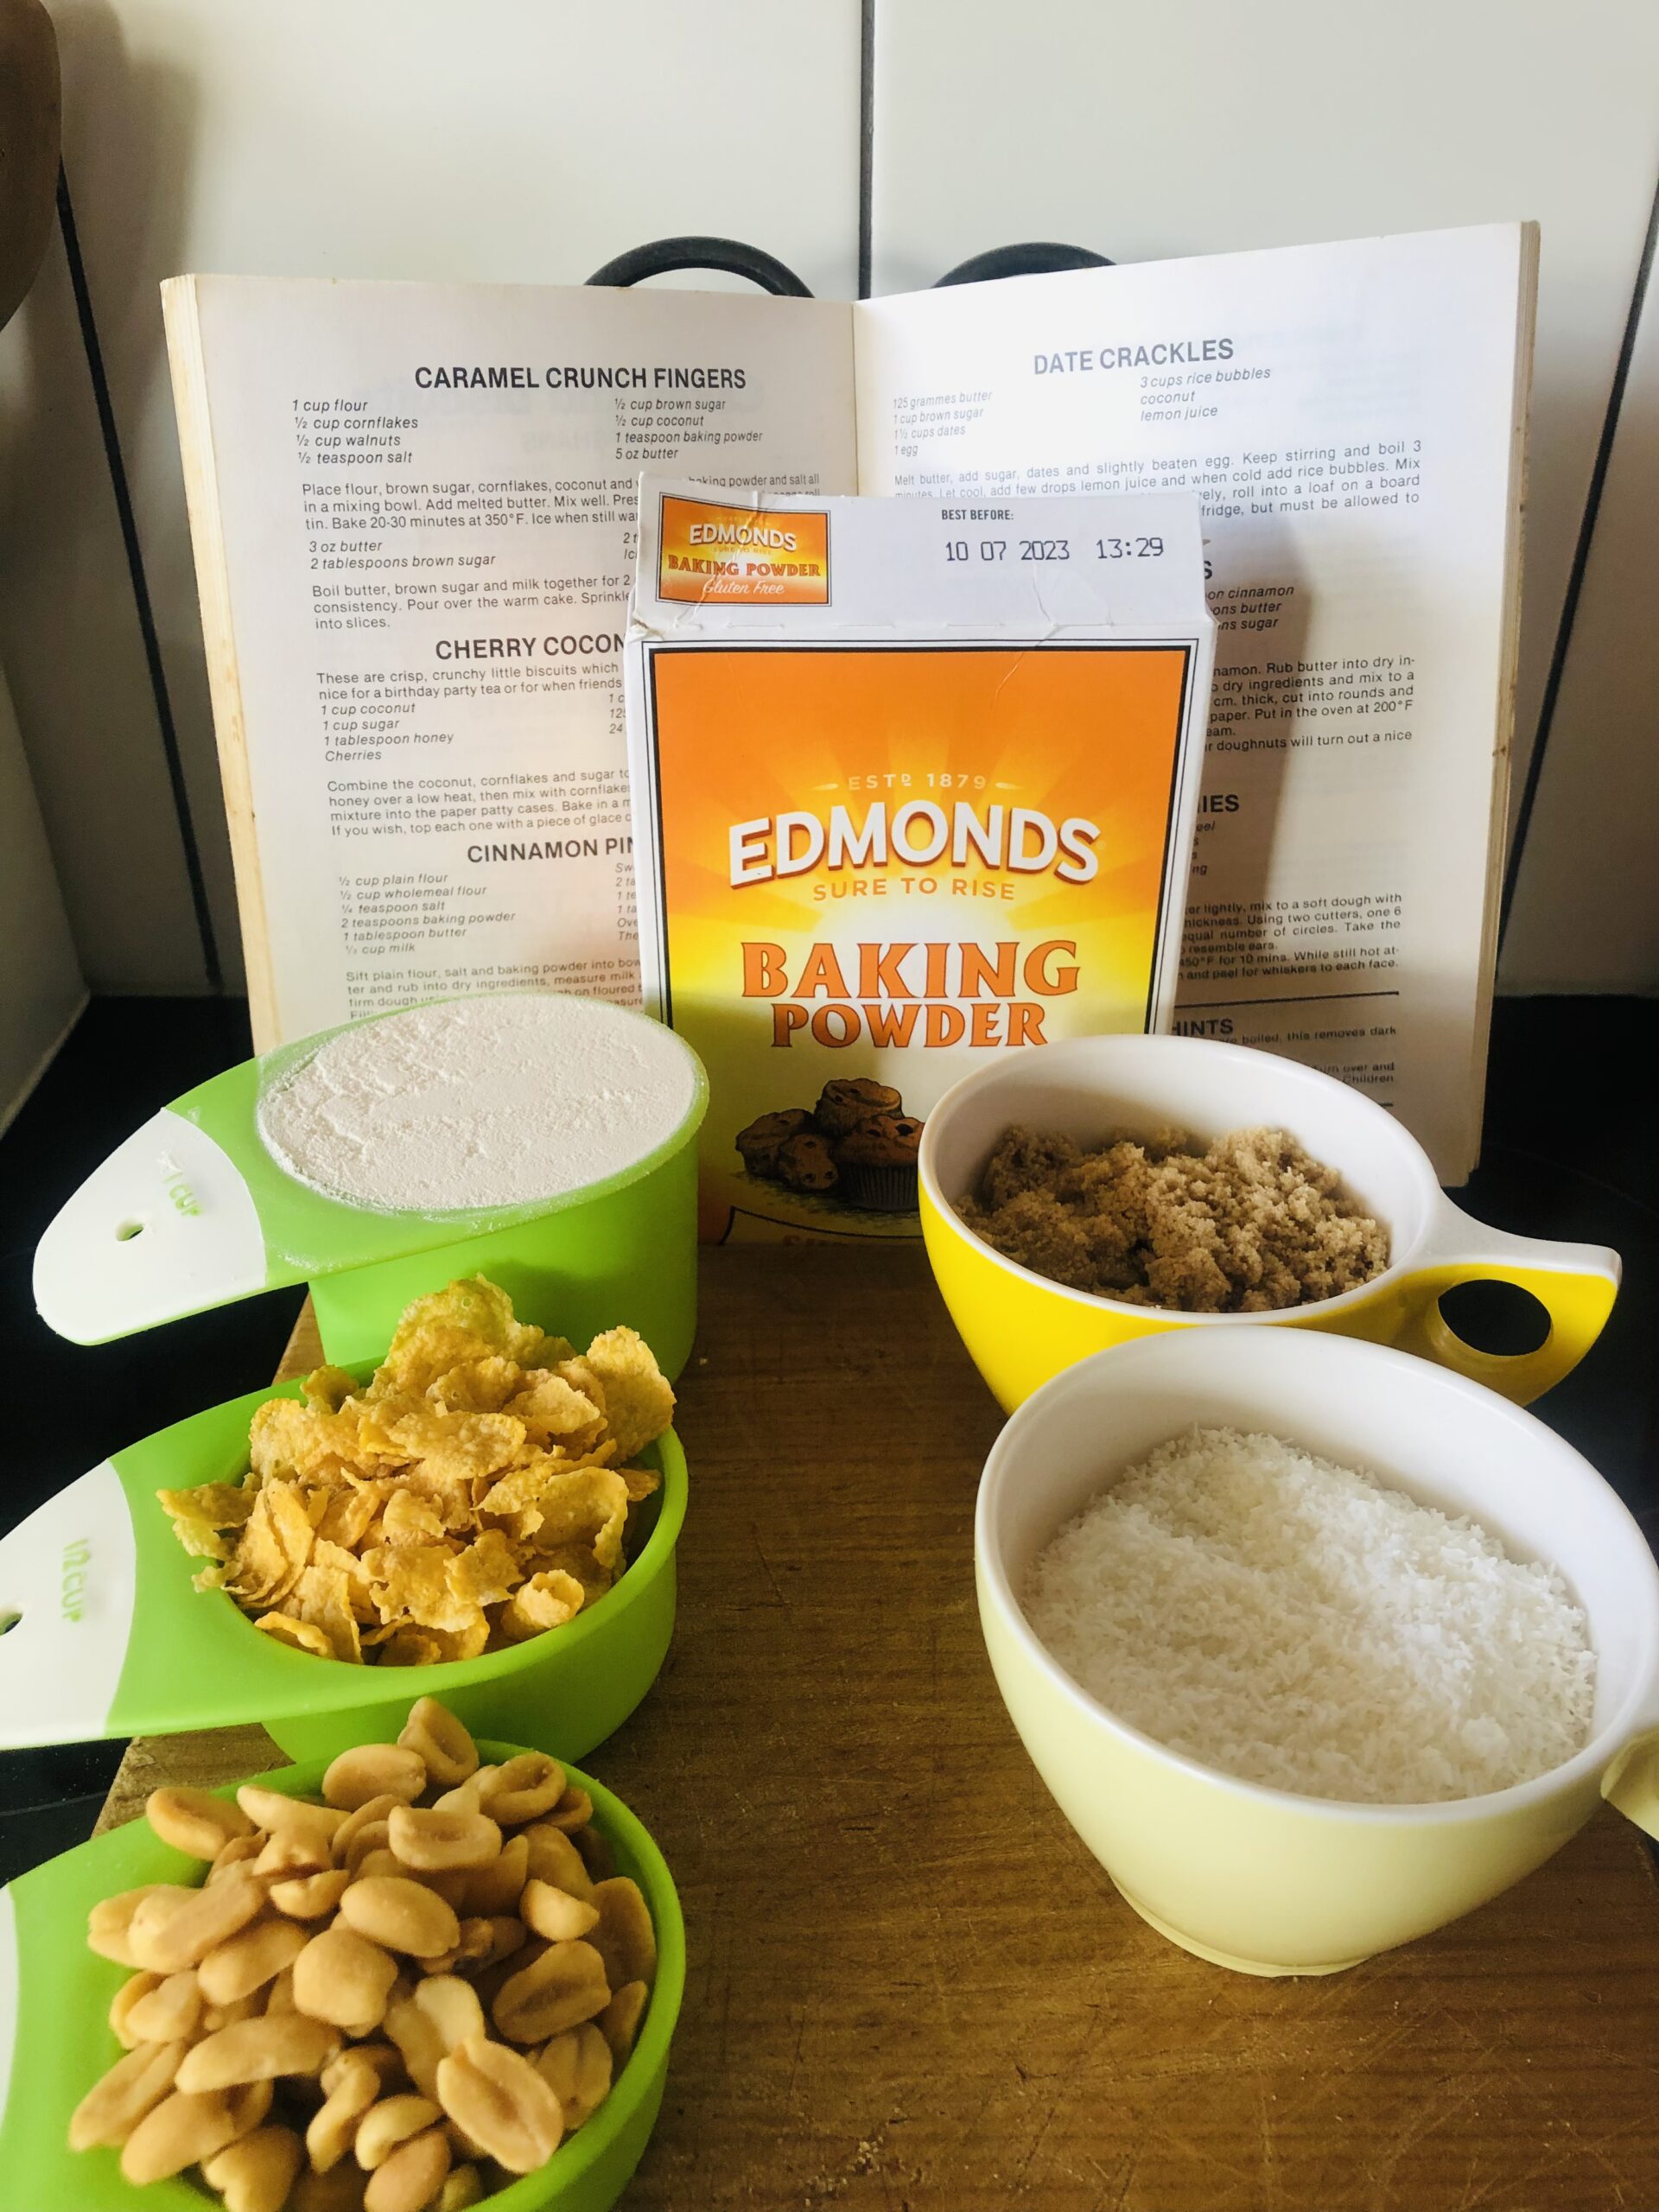
Here is the ingredients list for today’s traditional bake:

2 cups/260g plain flour

1 tsp ground cinnamon

3 heaped tsp ground ginger

1 level tsp baking soda

¾ cup/160g caster sugar

110g salted butter, softened

¼ cup/90g golden syrup

1 large egg

¼ cup buttermilk

1 teaspoon vanilla extract


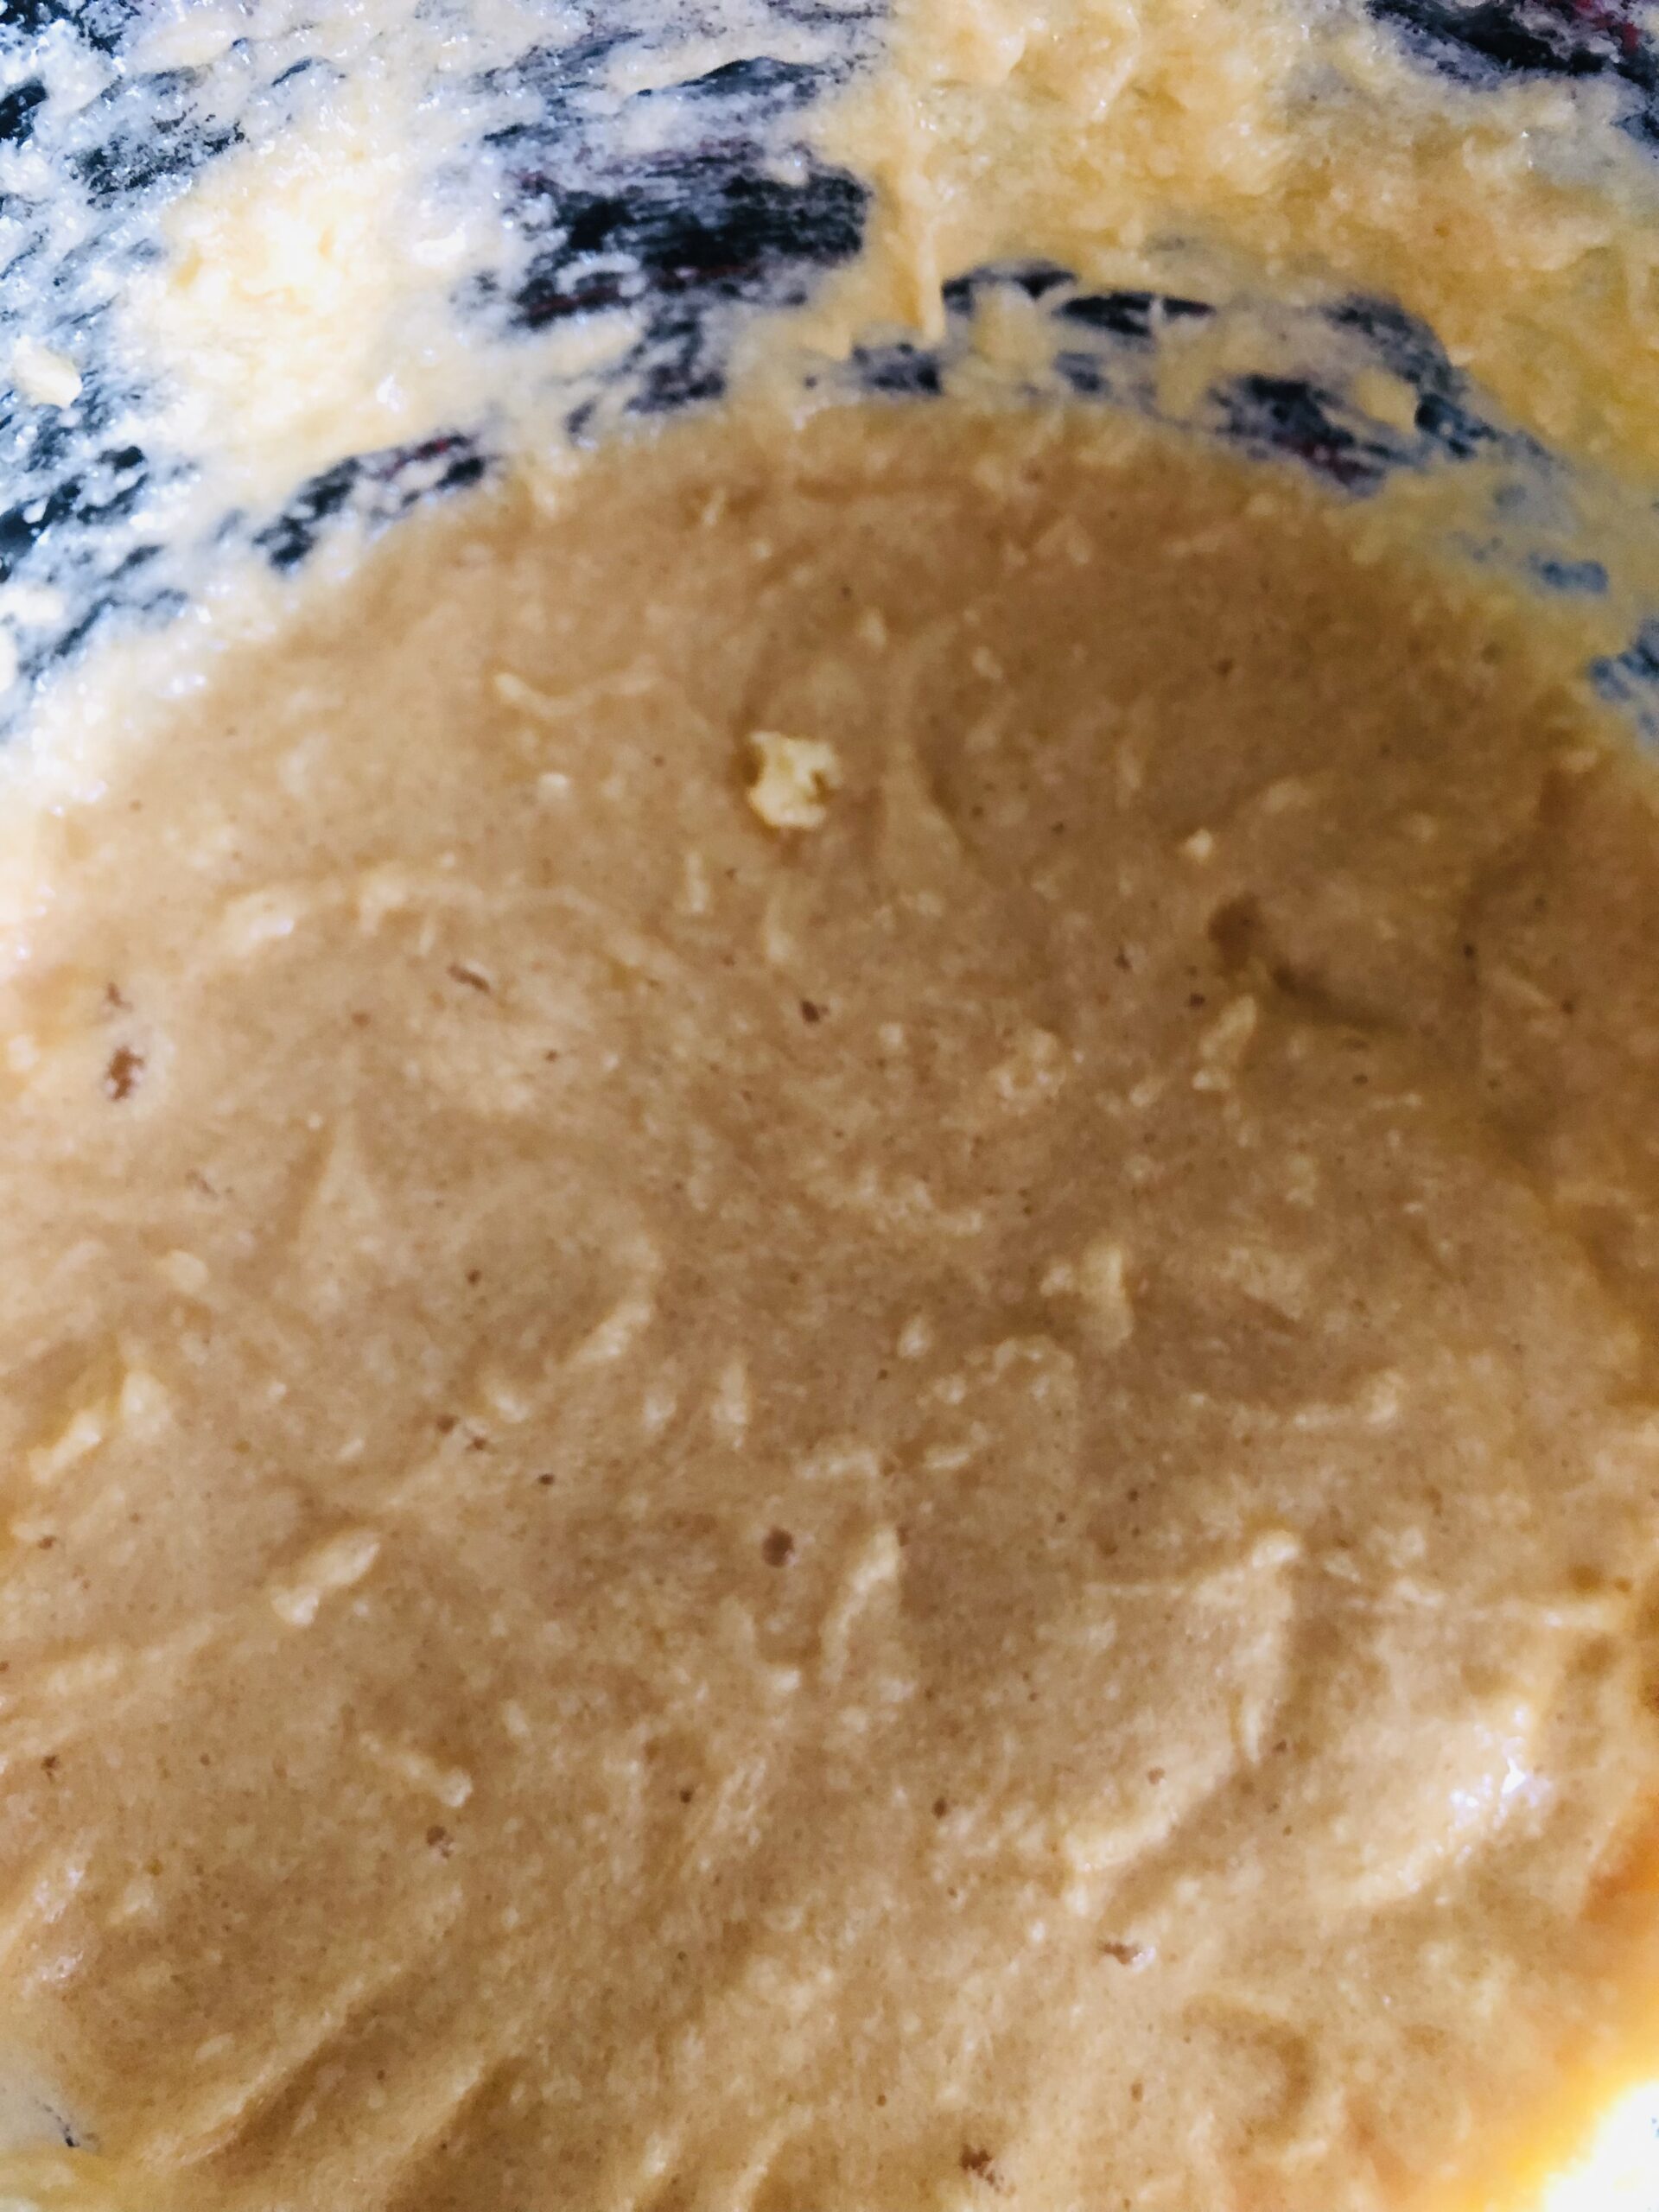
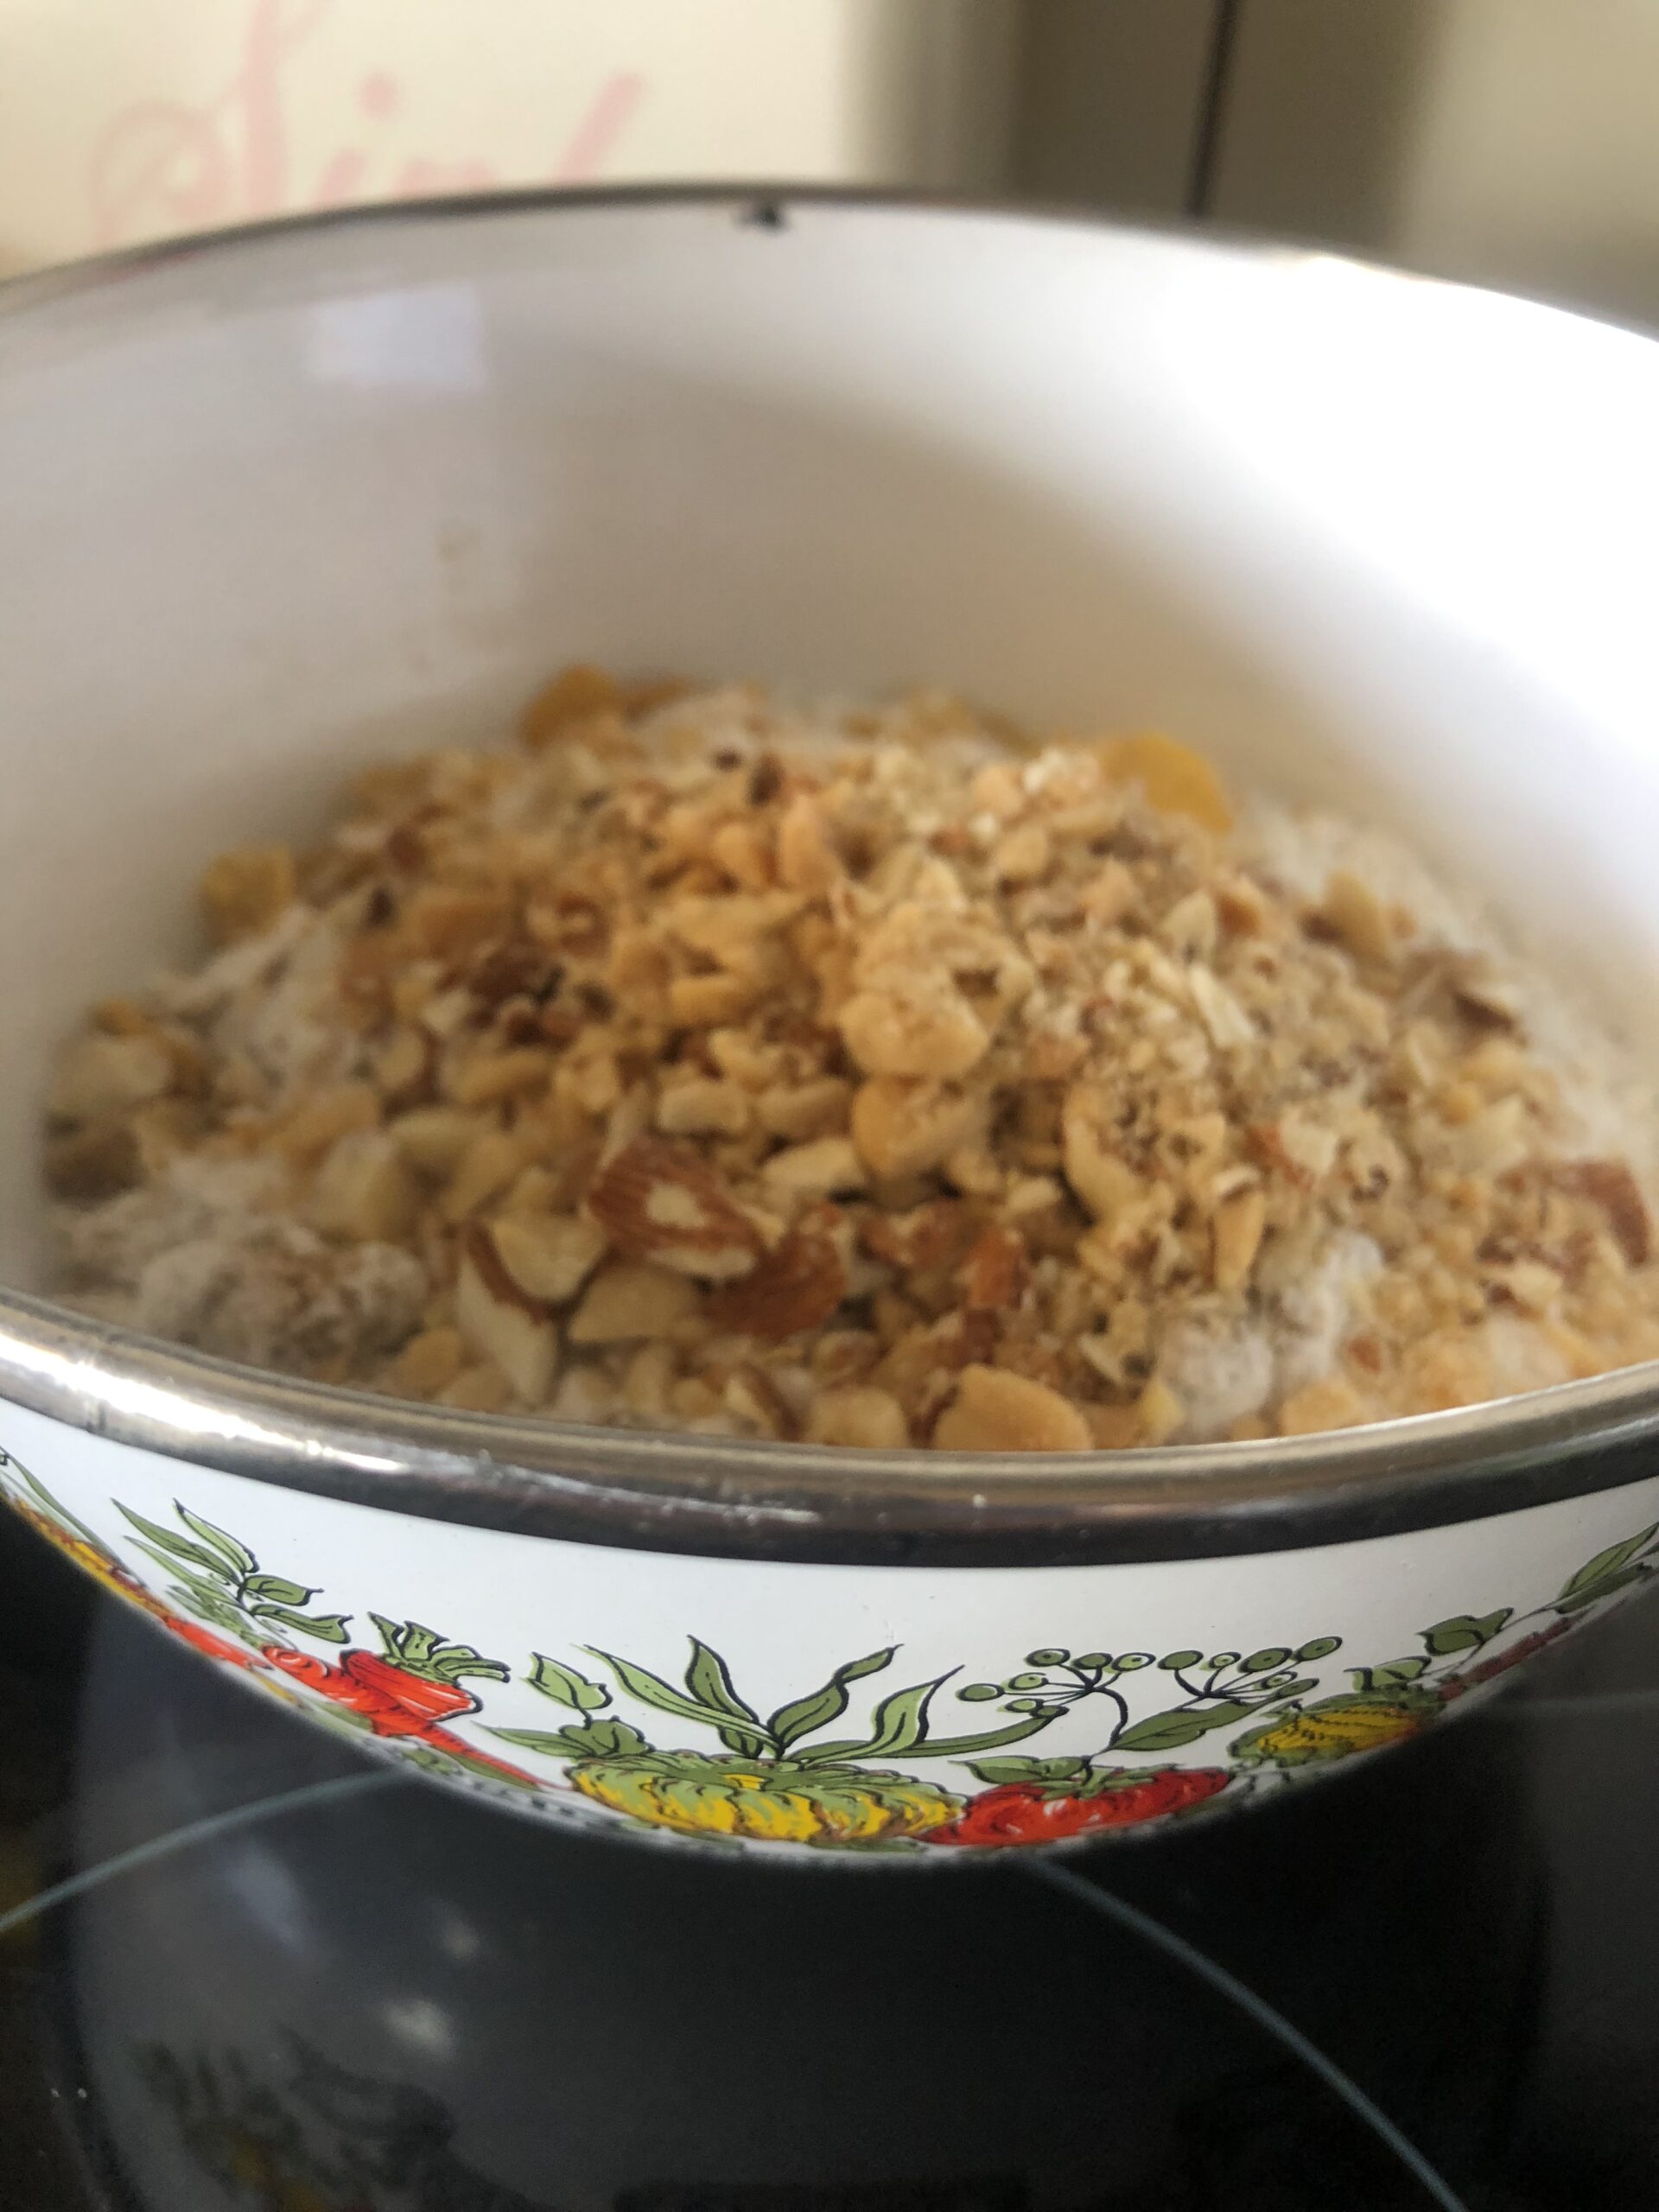
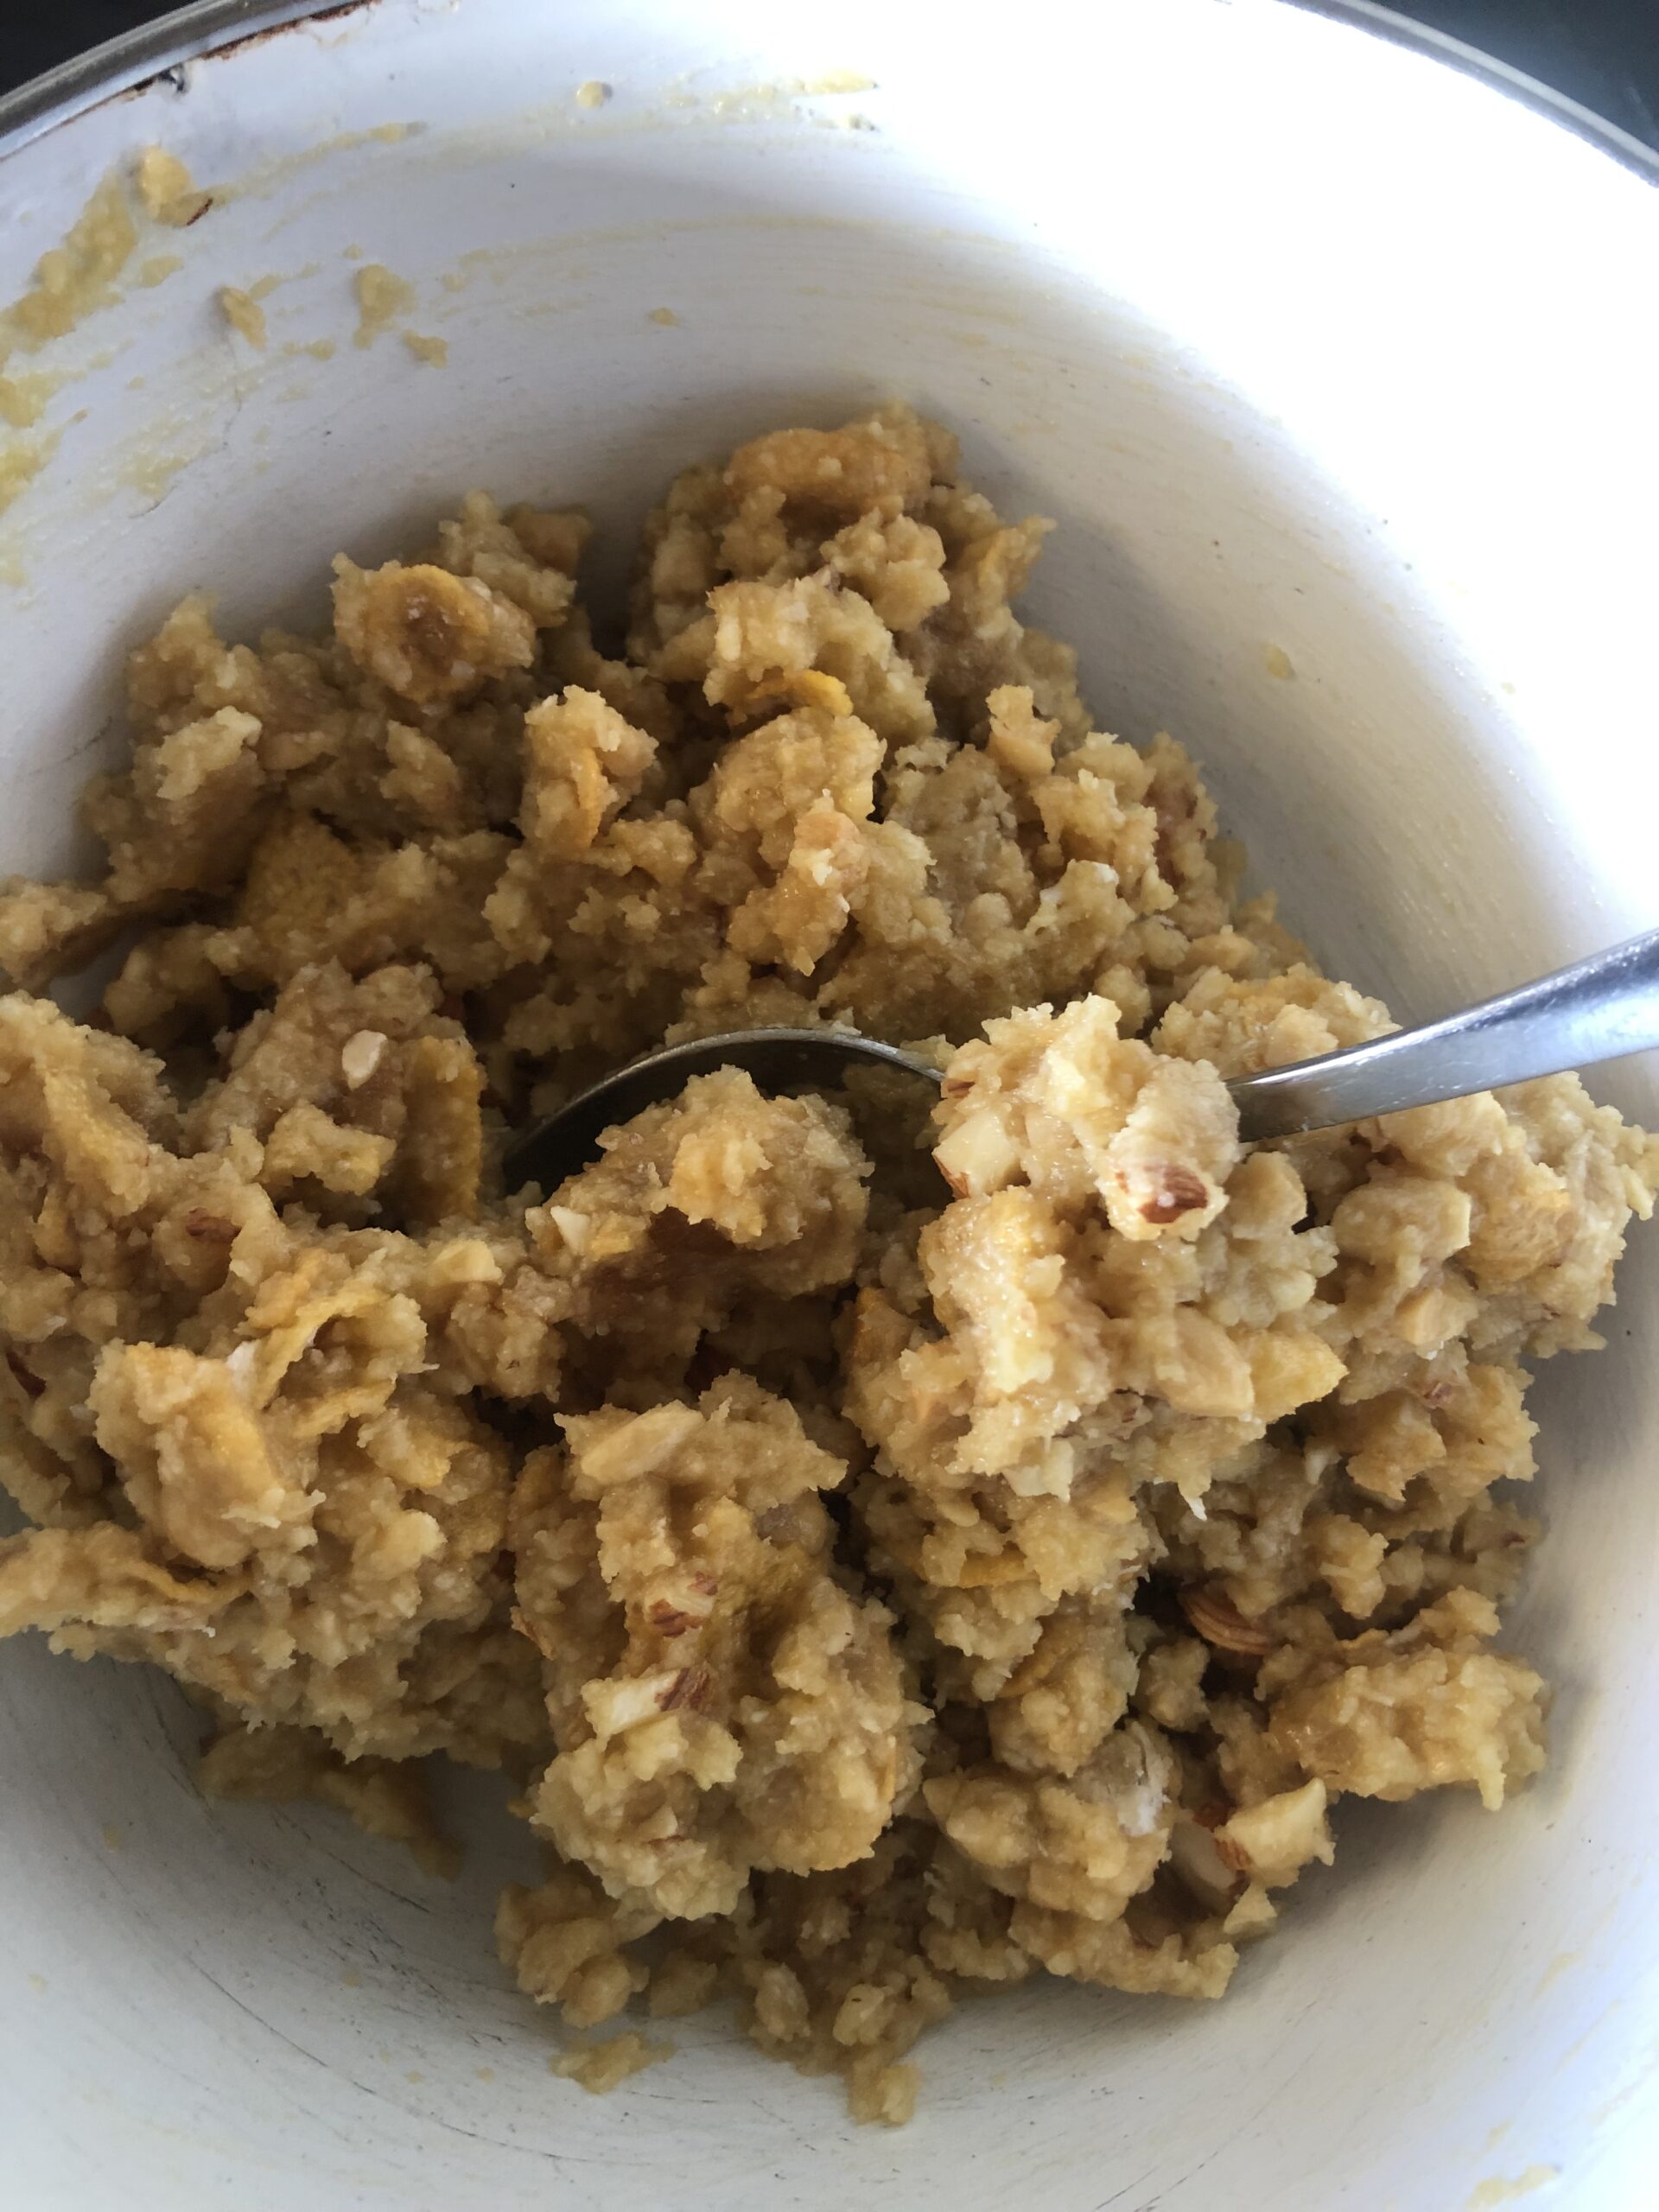
We start by sifting the first 4 ingredients in a bowl and set it aside to cream the next 3 ingredients in another bowl.  Once combining those you will add the rest of the ingredients to the creamed mixture.

Heres were you combine the two to make the magic happen, folding in ever so carefully because you don’t want kisses you can bounce off the floor or knock someone out with. 😄

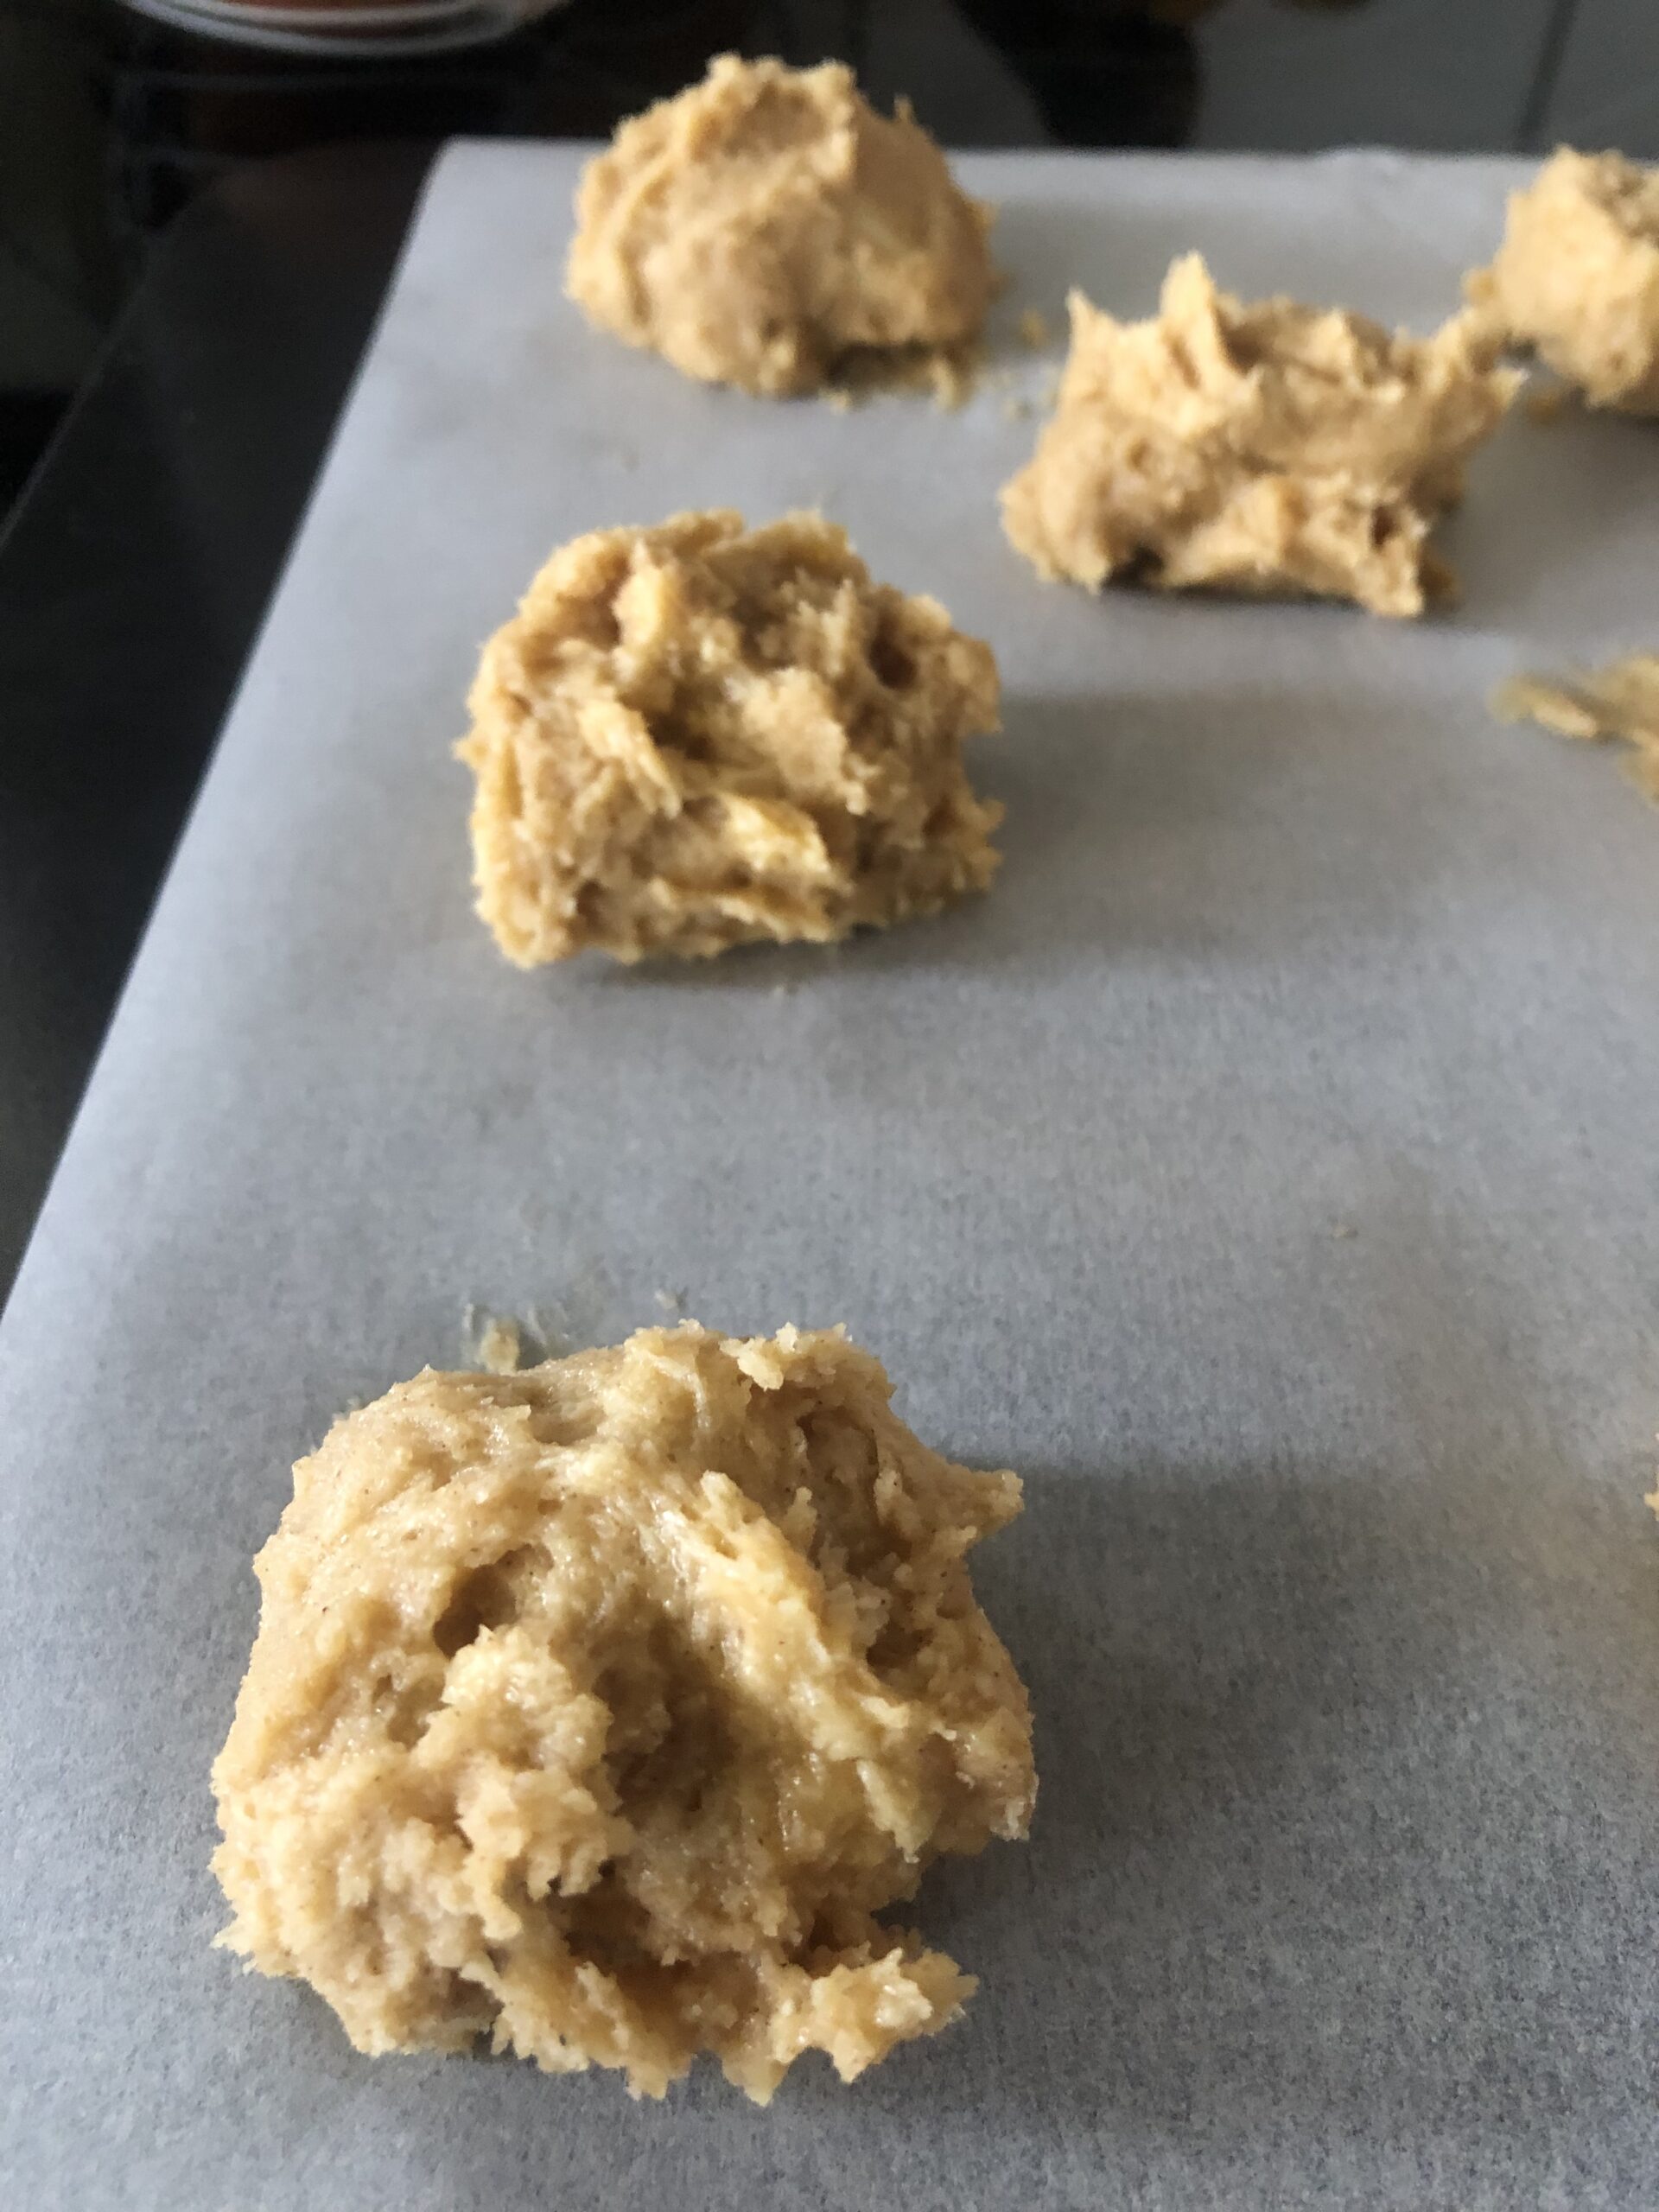
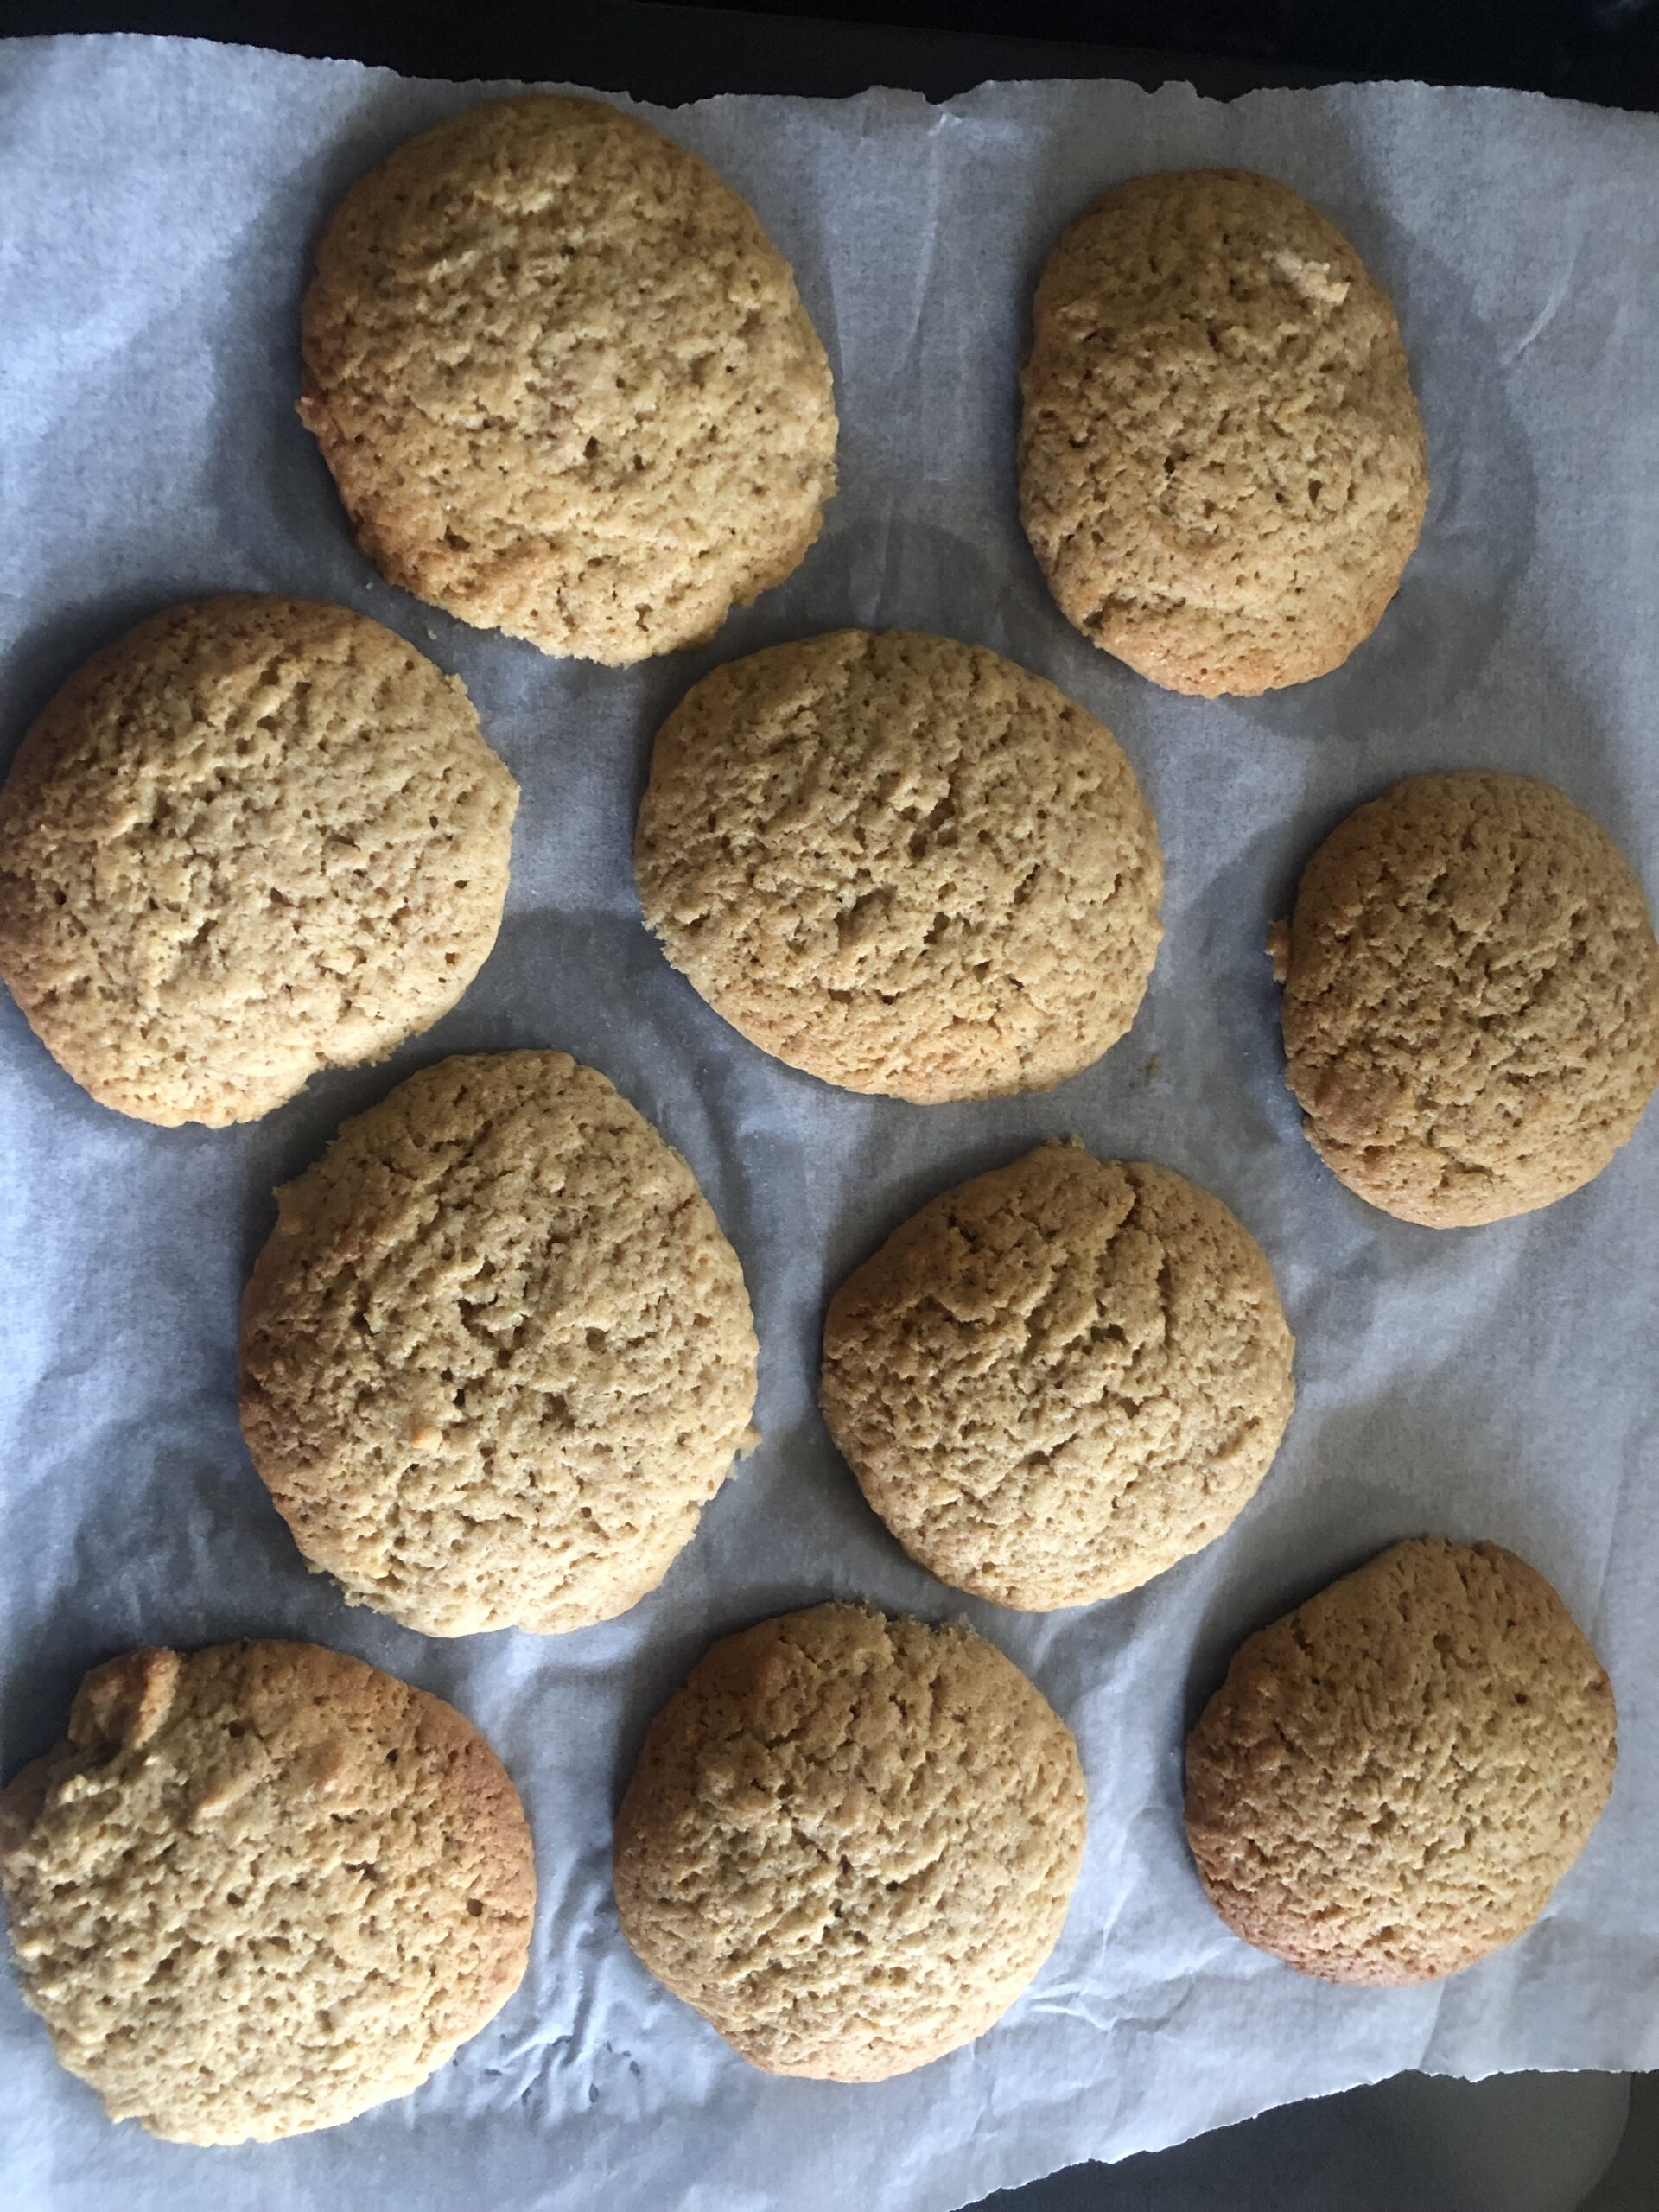
Your oven goes onto the usual 180 C and line your trays with baking paper – I used two as they spread when they cook.

Drop tablespoonfuls of the mixture onto the sheets spaced a little apart to allow for spreading. It’s best to bake them one sheet at a time to allow for even cooking.

Once you room is filled with the gorgeous smell and they are lovely and golden (10-12 minutes) take them out and cool.

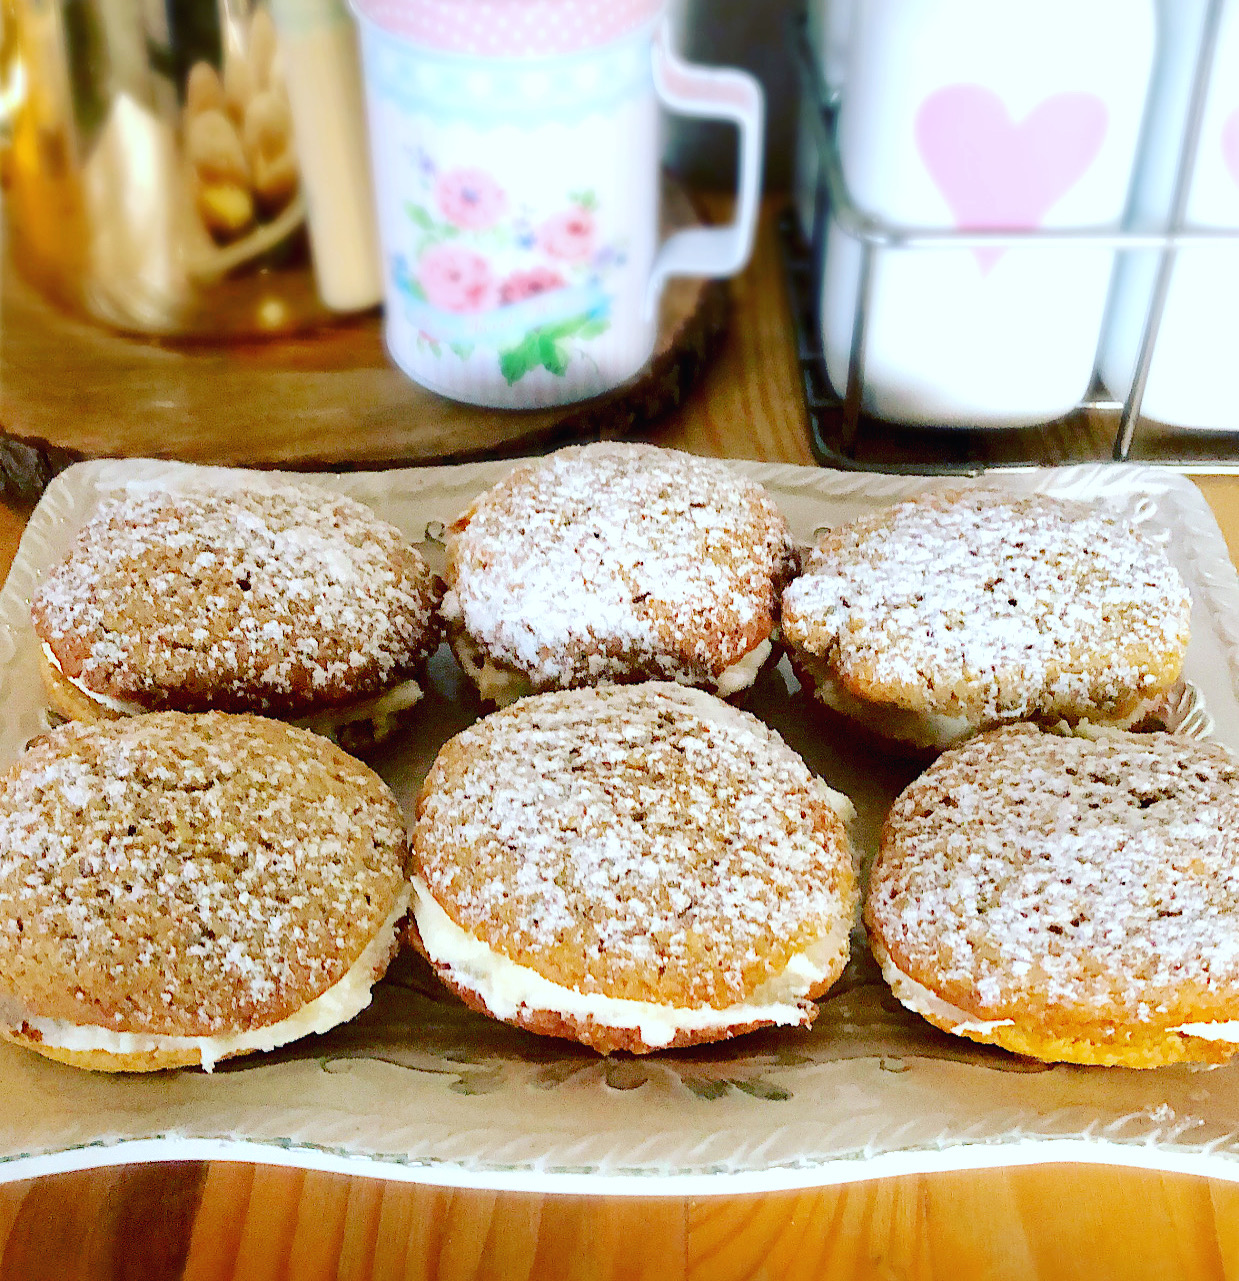
Then comes the magic!
I have chosen a buttercream to sandwich them together but if you are going to eat them all in one day feel free to fill with whipped cream.

Here are the ingredients for the buttercream;

60g salted butter

1 cup icing sugar

2 Tsp golden syrup
(feel free to add ground ginger to this if you want an extra kick)

Milk to mix

Place or pipe (if you’re feeling fancy) as much buttercream as you desire onto the base of one kiss and pop another one on top pushing gently to sandwich them together.

Try baking them for yourself and you will agree homemade is best, you also get the added bonus of filling your house with delicious smells for the day. 😊

Thanks for coming back to my blog and I hope to see you here again soon. 💕

Nut Biscuits

We are travelling back to the 1930’s with the Bestway Cookery Gift Book.

The tagline reads:

“A book that will take you, step by step, through the Everyday Dishes to Delightful Experiments in high class Cookery!”

If that doesn’t inspire you what will?! 😁

This one starts with the filling first, a bit like eating your dessert before dinner, which is something that sounds good to me!

Cream 3/4 oz butter with 2 dessert spoons of caster sugar and stir in a tablespoon of ground Brazil nuts and a few drops of vanilla essence.

Now onto the main event – the dough..

Sieve 3 oz flour, 1 oz cornflour and 1 teaspoon of baking powder. Rub in 1 oz margarine with a mini blender if you’re feeling lazy (like me 😁), add one egg yolk and a spoonful of milk and water mix until it comes together as a dough.

Roll it out on a floured board into a thin oblong shape and spread it evenly with the filling. (Here’s something I prepared earlier moment.) Rolling it up like a Swiss roll and cut it into biscuit sized slices.

Pop them into a ‘fairly hot oven’ (I picked 180C) for ten to fifteen minutes.

They come out lovely and crunchy and a the taste is a lot like biscotti.

Do try it and let me know what you think 😉

Thanks again for visiting my little blog, hope to see you back again soon.


2023-06-17T17:29:21+12:0017 June 2023|Bakes, Bestway Cookbook, Biscuits, Vintage cookbook|0 Comments

Caramel Crunch Fingers

Heading on back to the Girl Guides for the yummiest of treats!

We will start with a foreword from Heather Gunn (Northland Provincial Commissioner):

This book of recipes has been compiled by members of the Northland Girl Guides Association to raise funds for their provincial Camp-site Trefoil Park.

Trefoil park is situated in the centre of Northland. It is being developed to provide camping facilities for Girl Guides and other youth groups.

We hope you will enjoy using “Trefoil Treats” and that it will be a useful addition to your Cookery Book drawer.

Good luck and good eating.


This time I chose a recipe which I hadn’t cooked before, just to see if it would become a favourite in our household…and I’m a bit partial to caramel. 😁

INGREDIENTS INCLUDE:

1 cup flour

1/2 cup cornflakes

1/2 cup walnuts (most nuts would be good though)

1/2 teaspoon of salt

1/2 cup brown sugar

1/2 cup coconut

1tsp baking powder

5oz butter


I did a little bit of improvising in order to avoid going out to the supermarket AGAIN and swapped the walnuts out for some almonds and peanuts which I had in my little pantry, I chopped them up a bit too. I encourage everyone to experiment with different types and see where the wind takes them. 😁

Everything goes into the mixing bowl (my kind of recipe), apart from the butter which gets melted and then added. One bowl! Bliss when it comes to washing up!

Stir the butter in and pop the mixture into a rectangular/square baking pan. I used my pretty pink snowflake Pyrex for this one.

Bake in your oven at 350 F for 20-30 minutes (I went for the maximum on this one) and boom your slice is cooked!

Now for the fun bit – and no waiting around for it to cool either – you can ice it while it’s still warm, yay!

Pop 3oz butter, 2 Tbsp brown sugar and 2 Tbsp milk into a small saucepan and bring to boil for 2 minutes. Mmmmmm, ‘enter caramel smells here’. 🤤 The recipe gives a general “add icing sugar to correct consistency” – I think I added 1 2/3 cup for my liking but here again it’s really up to you.

Pour it over the slice and add some more chopped nuts or coconut and bob’s your uncle. 😁

You will need to wait for this to set so cue dance party while you’re waiting. 🥳

It’s is well worth the wait, leave a note for me if you enjoyed this recipe. I would love to hear from you.

Until next time!

Sweet Sensations NZ 💕

Mrs Beeton’s Adventure Dessert Biscuits

These dessert biscuits are fantastic for Holiday treats in the lead up to Christmas!


Halloween is over and I am definitely one of those Christmas fanatics – so bear with me here.

My latest bake is a lovely soft biscuit with a outside crunch and as Mrs Beeton says “With whatever the preparation is flavoured, so are the biscuits called, and an endless variety can be made in this manner”.  So go with whatever flavour your little heart desires – today I chose ground ginger to add to my biscuit batter to get everyone in the Christmas spirit.

As per the usual routine I started off with my ingredients set out ready to go.  The recipe needs; 1 lb Flour, 1/2lb Butter, 1/2lb Sifted Sugar, the Yolks of 6 eggs and flavouring to taste.  If your mind is blank as to options for flavouring here are some ideas – Cinnamon, Lemon zest, Currants, Ground ginger, Cocoa powder…let your imagination soar.  If you are feeling fancy, make half and half different flavours!

Soften your 225g (Yeah I know, it’s a lot!) of Butter and beat it vigorously until it resembles cream instead of butter.  I used my mixer for this so as not to wear out my arms this early in the bake, haha.  Then I added in the flour “by degrees”, which is just really a posh way of saying ‘a bit at a time’ until it is mixed in.  Then in went the icing sugar and the flavouring, and followed up by your lovely egg yolks (previously beaten until light and frothy).


Your mixture will end up a soft dough, but still be able to be moulded with your hands into tablespoonful balls.  This mixture made 5 trays of cookies, but you can reuse your trays after removing the cooked biscuits if you don’t have a neverending supply of cookie trays.  Grease and flour, or line them with baking paper – the reusable type is a fantastic save for the environment, it may be more expensive to start with, but in the long run it is worth it.

The cookies need to go into a ‘slow oven’ for around 15 minutes, making sure they don’t gain too much colour (don’t burn them – it does not add to the flavour, haha).  I put my oven at around 160 degrees Celsius and this worked well.

The average cost back in the day was apparently 1s, 6d to make these and you will get around 4 dozen biscuits out of the one dough.  This is why it is such a fantastic recipe to make and gift for Christmas, or pop it on the table to let the gannets help themselves as my family did.  I started out with 52 and now have one plateful left, that’s how moreish they are.  I think they would look super cool decorated with some red or white royal icing and a cherry on top.

I hope you enjoyed this bake and I hope you come back to visit me again soon.  I am over the moon with this fabulous new website and have to credit Yellow Banana Design for all their hard work.  Remember if you are a fan of YouTube also this recipe will be up to view on there very soon under Sweet Sensations NZ.


2021-11-10T09:04:39+13:009 November 2021|Bakes, Biscuits, Makes, Mrs Beeton's Cookbook, Vintage Kitchen, Xmas|0 Comments

Mrs Beeton’s Adventure – Strawberry Drops

After a break from our regularly scheduled programme, I am back again with another adventure into the great Mrs Beeton’s cookbook. 😄

As a celebration for retaining our sanity through a very loooooooooong lockdown, I thought it was time for a special treat! I think we all deserve one, so here goes….

I guide you to the very sweet section of ‘Confectionery and Ices’ of this lovely old cookbook and very summery sounding (and smelling, it turns out) Sweet drop. Now this recipe is called Strawberry drops but the caption says that you could use any fruit you desire. Let your imagination run wild people!

I decided to stick to the original plan and make these with my family’s favourite summer fruit – Strawberries. 🍓

The recipe ingredients are pretty concise and you will only need 1/2lb of finely powdered sugar (icing sugar), 1/2 pint of the juice of your chosen fruit (pulp) and 2 egg whites. Should be a super quick treat right? Sounds perfect!

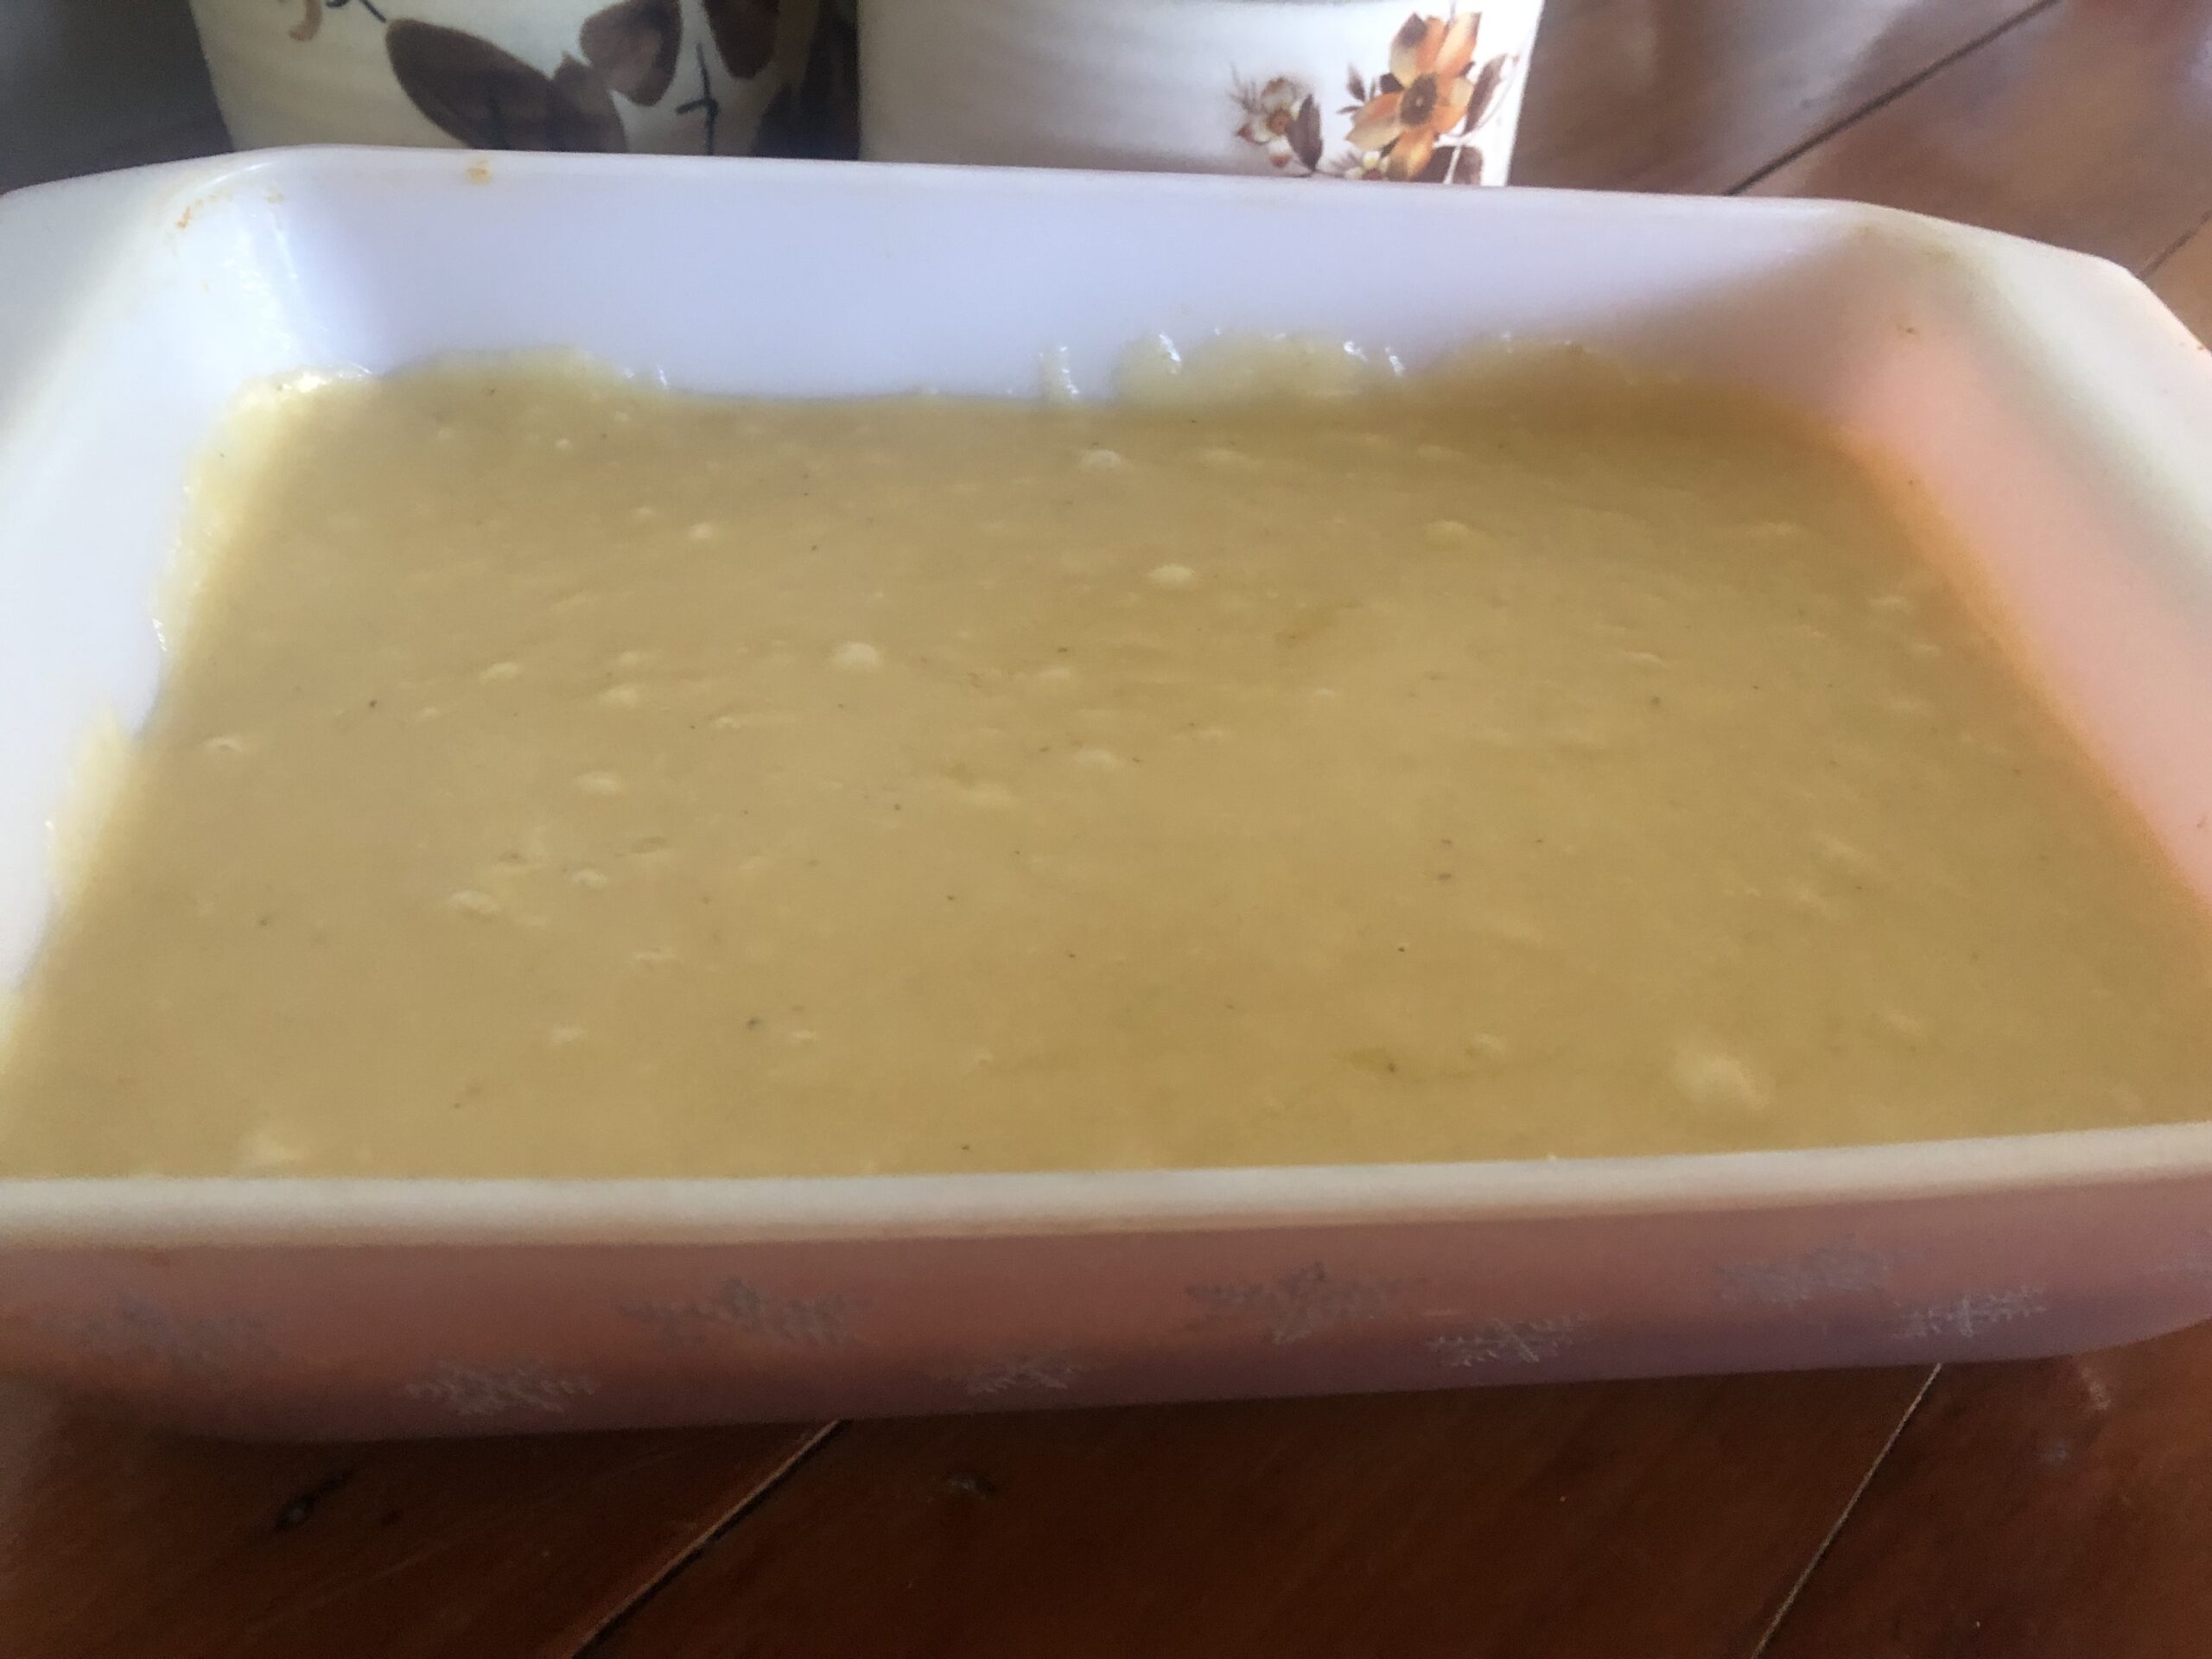
I started by whizzing my fresh strawbs in the food processor and straining then again through a sieve so that I had a smooth as silk ‘juice’. Then all you need to do is whip the egg whites into stiff peaks and fold the three ingredients together. If you are no stranger to cooking you may be taking a look at your mixture right now and thinking it’s pretty much like a flavoured meringue, right?!

It pretty much is, and the smell of the fresh fruit is divine! You may want to make these in all different flavours just to have this smell in your house 24/7. 😄

So I got my lovely piping bag out and fitted it with a pretty nozzle and spooned the mixture into my bag ready to pipe some teeny drops onto my baking tray. Making sure I had lined multiple baking trays with paper (cause it makes heeaps!) I went ahead and piped them out.

Now the recipe only says to ‘bake in a very cool oven’, so I needed to call on my previous meringue knowledge for this one. I set my oven to 120 degrees Celsius and baked them for around an hour, It ended up a very long dance party time today as it made 4 trays of mini ‘drops’

All that was left now was to plate up a dainty plate of drops and ration myself to a few at a time. 😄 These are great for decorating cakes and desserts and the natural fruit flavour is better than a processed sweet any day. Don’t be scared to try making homemade sweets and candies, they will be so much better for you than the store bought kind.

In my YouTube video I include an excerpt from Mrs Beeton encouraging you to do just this. 😁

I hope you enjoyed this quick bake, let me know below if you would like to read about more sweets from this cookbook. Check out my YouTube video below for a follow along tutorial.

Hope to see you back again with my next instalment. 💕

2021-11-10T08:55:03+13:006 October 2021|Bakes, History, Mrs Beeton's Cookbook|0 Comments

Mrs Beeton’s Adventure – Roly-Poly Jam Pudding

Welcome back to my next instalment of Mrs Beeton’s adventures, and here in NZ right now I thought everyone could do with a comfort food bake. ❤. Lets be swept away, come join me on my next adventure into the vintage baking world…..

Many of you may have made or eaten versions of this bake during your childhood and I think it’s lovely to bring back those memories by baking something with love. Today’s journey takes us into the world of pastry and puddings where we are going to be making a Roly-Poly Jam Pudding. 😁

Now this one is a three parter as I could not leave out the thing which makes this pudding extra nostalgic, but first things first I gathered the ingredients together for the pastry and jam pudding on my benchtop and set to work.

There are only two ingredients in Jam Roly poly but the first is suet crust which I needed to make from scratch beforehand. Suet crust includes flour, beef suet and water, now I couldn’t get hold of beef suet, so after consulting Mr google I decided to use shortening instead. If using beef suet the instructions are to ‘free the suet from the skin and shred, then chopping up extremely fine, rub into your flour‘. As I was using fridge cold shortening I used my old trick and grated it into the flour to give a fine consistency when rubbing in. For every pound of flour you will need 5/6 ounces of suet (or shortening) and then mix in 1/2 pint of water.

After mixing it by hand or in my case, my trusty Kenwood mixer it should look something like this…

Mrs Beeton explains that if you would like to go for a richer pasty you can use 1/2 to 3/4 pound of suet to every pound of flour. And if you are feeling extra energetic on the day, why not pound the suet in a mortar with a little butter and lay it on the pastry in small pieces as you would do for a puff pastry.

My workout today was the rolling of the pastry on my baking board, to around 1/2 inch thick. I think that’s plenty for one day, don’tcha think. 😁 Then the fun part was lathering the pastry with my homemade rhubarb and strawberry jam, the recipe calls for 3/4 pound but I say why not go wild!

Then you know what to do….roll it all up into a big sausage. I laid it on some floured calico I had, rolled that up around it and tied the ends up like a Christmas cracker. 😁

Mrs Beeton says to put the pudding into boiling water and boil for 2 hours. As I didn’t have any pot big enough for that feat I made a makeshift water bath and put my trusty oven to the test, at 180 degrees Celsius. Because the water evaporates you will need to keep an eye on it and top up when necessary.

Here are my Macgyver skills in action. 😂

While that was cooking happily away I got to thinking….What jam Roly poly is complete without the addition of some glorious custard. Why not go the whole hog people, it wouldn’t be the same without it. ❤️

Waddya know, there was a recipe for Boiled custard just a few pages along. This custard needed a pint of milk, 3 eggs, 3 oz sugar and flavouring of whatever your hearts desire. Mrs Beeton suggests bay leaves, lemons rind or vanilla extract, and a cheeky tablespoon of brandy to finish it off.

The milk gets popped into the saucepan with the sugar and flavouring and ‘steeped by the side of the fire until well flavoured’. I chose a low setting on my stovetop for this. The flavourings get taken out with straining the milk and then you will need to cook down the milk a little before stirring in the whisked eggs (you don’t want scrambled eggs in your custard, trust me).

There is a very lengthy description of what to do if you would like a richer custard, of which some are using 2 duck eggs, cream instead of milk, and doubling the eggs using only the yolks. The pot goes back on the heat and stir it ‘only one direction’ until it thickens. A very important point in italics is on no account allow it to reach boiling point, in other words have patience (if you can). The brandy is added after it is taken off the stovetop if you so desire and nutmeg grated on top. 😁

Violà! Delicious custard! 🤤

All that was left to do was remove the pudding from my oven and wait patiently for it to cool a little to avoid burning my fingers.

Cutting it into slices and putting 2 in my bowl (no judgment please 😁), I poured a healthy amount of custard and sat down to enjoy.

I hope you enjoyed this bake as much as I did, don’t forget to let me know if you’ve tried it by commenting below. Remember if you would like a follow-along video that will be up on my YouTube channel soon.

Til next time lovely readers ❤️ Bon Apetit!

2021-11-10T09:04:25+13:0027 August 2021|Bakes, Cakes, History, Makes, Mrs Beeton's Cookbook|0 Comments

A different kind of vintage bake 💕

Hi all you lovely people, and welcome to my baking blog for those of you who are new 🙂

Having recently celebrated my *cough* (we won’t say exactly what number) birthday and getting the most exciting present of a stack of rather lovely vintage cookbooks, I decided to change tack for this blog post and segue into the 60’s.

The beautiful area of Devonport here in good old NZ is home to an extensively stocked 2ndhand/vintage bookshop called, funnily enough, Book-Mark. ❤️ They always come up trumps when we visit looking for goodies and this time was no exception! Among the stack my parents bought me was a cookbook which they recognised as one my Scottish grandmother had cooked from (hopefully she will get to read this). The Kenwood recipe book is the title and this one hails from 1960. I thought this was pretty darn cool and as I have a Kenwood mixer just like my Gran did, I thought it would be perfect to give the recipes a try.

I wanted something to impress the fam and this cookbook didn’t disappoint…with the rather grand title of (putting on a perfect French accent, not 😂) “Genoise” Gateau à la Vanille, I felt this bake was perfect! There is even a byline telling the reader that this recipe was published by kind permission of Mr Trompeto, of the Grosvenor Hotel in London. How posh is that!

Scanning through I saw that even though the recipe was two-thirds of the page instruction wise, it doesn’t contain too many ingredients. You will need eggs, castor sugar, flour, butter, milk and water. The recipe is divided into two sections, the cake and the icing, and it pays to read through before starting. There is a variation note which suggests you could make this up as one Gateau or multiple petite fours, I thought why not grease and flour a few more pans and go for the smaller cakes. If you’re going to put in the work why not go the whole hog. 😁

For both parts of this recipe, you are required to warm the bowl, so I went for the old fashioned way and filled it with warm water and let it sit for a bit before drying clean again to start.

The eggs and first measure of castor sugar go into the bowl and are vigorously beaten for a good 8-10 minutes, which is where a standing mixer is fantastic if you would like to keep the feeling in your arms. 😁 It ends up looking like a fluffy vanilla cloud in the bowl..very satisfying.

The next step is a very careful folding in of the flour and the first measure of butter (melted, but not hot). Pour this mixture into your tin or tins and into the oven it goes at a moderate 375F (190C). For……minutes, it doesn’t actually say here but my little cakes took 20 minutes cosily all in together.
And voila your cake part is done. 👏

Onwards and upwards to the icing and your warmed bowl. Now, this states that you need to attach the ‘Juice extractor & Oil dropper’ to your mixer, which is a pretty cool looking attachment. Sadly I did not own this myself so I Macgyvered it and stood slowly squeezing a dropper bottle into my mixing bowl. Tedious but not very taxing on the body. 😁 The Kenwood mixer, with attachment, shown below.

The second amount of softened butter gets popped into the mixer with the second lot of castor sugar and while mixing you need to drip in the combined water and milk into the bowl slowly, taking about 5 minutes in total. Don’t forget to flavour with your vanilla essence and you should get a mixture that looks pretty similar to a mock cream.

Then the fun part…we get to ice and decorate! Woop!

Cutting the cakes in half I sandwiched the two layers together with my icing and then spread the rest thinly around each cake (Top and sides). I like to pipe so added a few fancy do-dad’s to the top of each cake and some cute sprinkles. The recipe suggests toasted almonds, and chocolate powder added to the centre icing to pipe, but it’s really up to you to go where the creative juices take you. ❤️

Here is one of my finished creations….

I hope you have fun with this bake and if you are looking for a detailed ingredient list, please check out my YouTube video at Sweet Sensations NZ. I really look forward to hearing from you and seeing you back here soon. ❤️

YouTube video link: https://youtu.be/tdLSkLtBZWY


2021-11-10T08:55:03+13:0012 August 2021|Advice|0 Comments

Mrs Beeton’s Adventure – Folkestone Pudding Pies

I hope everyone is ready for an afternoon tea treat with this recipe, as my next adventure was in the ‘Pastry and Puddings’ section of my Mrs Beeton’s cookbook.

As you will know I love to bake, so this one was pretty exciting for me. I searched for a recipe which had an ‘olde worldly‘ feel to it and after poring through the recipe goodies I decided on ‘Folkestone Pudding Pies’. I know what you’re thinking – that sounds interesting!
I’ll keep you in suspense no longer, here we go…

The ingredients I gathered on my bench were; milk, ground rice (rice flour), butter, sugar (white), 6 eggs, puff-paste (puff pastry sheets – to save time), currants and my chosen flavouring. The recipe suggests lemon peel or bay leaves, you can use whichever one takes your fancy. 🙂

The most exciting part was having it all in pounds and ounces so that I got to use my very cool op shop buy of my brown retro salter scales. Groovy baby! 😄

The flavouring is used to infuse your pint of milk with and needs to sit in the milk for at least a half an hour, minimum, for this to happen, then we take these out of the milk and add the rice flour (3oz).

I then ‘set it on the fire’ (which is really just my stovetop, but the fire sounds so much cooler) for 1/4 hour. I had to really watch it and stir the whole time in order to not end up with a gluggy, lumpy mess.

You are really just making a super light custard by using the rice flour, and as an added bonus it is gluten-free if you have anyone in the household who is also gluten-free.

After my 15 minutes was up I took it off the heat and added my 3oz butter (chopped for easy melting), 1/4 lb sugar and my eggs (these need to be beaten well before adding). This mixture has to be left to cool, so again the need for a dance party for one while I was waiting. 😄 You could totally put it in your fridge to help speed up the process if you’re pushed for time or don’t feel like dancing.

I used a standard-sized ‘patty-pan’ tray to make my pudding pies in, but you could use any size you wanted, Go muffin size for a good-sized dessert or mini for some delicious bite-sized ones. I chose a circular cutter to cut out the bases for my pies and greased and floured the tray before placing the pastry in them. This was just to make sure that I could get them out easily without any brute strength involved.

Greasing and flouring creates a non-stick base if you don’t have any baking paper or the time to cut it out.

Each circle was placed in each patty mould and these were filled up to the top of the pastry with the cooled custard. I went wild sprinkling currants onto each one (cause I love them), and then put them on to bake at 180 degrees Celsius for 20-25 minutes. The recipe just states that the need to be cooked in ‘a moderate oven’, so I used my baking experience to determine how hot my oven needed to be.

Now I managed to fill 3 dozen patty pans with my mixture, as I chose the standard size, but this would change depending on the size of your trays. She does say ‘sufficient to fill a dozen patty pans’, so I’m thinking she went for the larger size. Back then, Mrs Beeton let us know, the average cost was 1s 6d.

Now I’m kind of glad that it made so many as they didn’t last long in my house, everyone that tried them loved them. I likened them to the flavour of a very light bread and butter pudding and would love to know if you try them too!


Every baking day is a happy day!

Don’t forget to subscribe for further updates everyone ❤️


Video link on You Tube for this bake at:

#vintagecooking, #vintagecookbook, #mrsbeeton, #cookingblog, #bakingblog, #vintagebaking, #retrobake, #retrobaking,

2021-11-10T09:03:50+13:0031 May 2021|Bakes, Cakes, History, Mrs Beeton's Cookbook|0 Comments
Go to Top