
Welcome back to my next instalment of Mrs Beeton’s adventures, and here in NZ right now I thought everyone could do with a comfort food bake. ❤. Lets be swept away, come join me on my next adventure into the vintage baking world…..

Many of you may have made or eaten versions of this bake during your childhood and I think it’s lovely to bring back those memories by baking something with love. Today’s journey takes us into the world of pastry and puddings where we are going to be making a Roly-Poly Jam Pudding. 😁
Now this one is a three parter as I could not leave out the thing which makes this pudding extra nostalgic, but first things first I gathered the ingredients together for the pastry and jam pudding on my benchtop and set to work.
There are only two ingredients in Jam Roly poly but the first is suet crust which I needed to make from scratch beforehand. Suet crust includes flour, beef suet and water, now I couldn’t get hold of beef suet, so after consulting Mr google I decided to use shortening instead. If using beef suet the instructions are to ‘free the suet from the skin and shred, then chopping up extremely fine, rub into your flour‘. As I was using fridge cold shortening I used my old trick and grated it into the flour to give a fine consistency when rubbing in. For every pound of flour you will need 5/6 ounces of suet (or shortening) and then mix in 1/2 pint of water.
After mixing it by hand or in my case, my trusty Kenwood mixer it should look something like this…
Mrs Beeton explains that if you would like to go for a richer pasty you can use 1/2 to 3/4 pound of suet to every pound of flour. And if you are feeling extra energetic on the day, why not pound the suet in a mortar with a little butter and lay it on the pastry in small pieces as you would do for a puff pastry.
My workout today was the rolling of the pastry on my baking board, to around 1/2 inch thick. I think that’s plenty for one day, don’tcha think. 😁 Then the fun part was lathering the pastry with my homemade rhubarb and strawberry jam, the recipe calls for 3/4 pound but I say why not go wild!
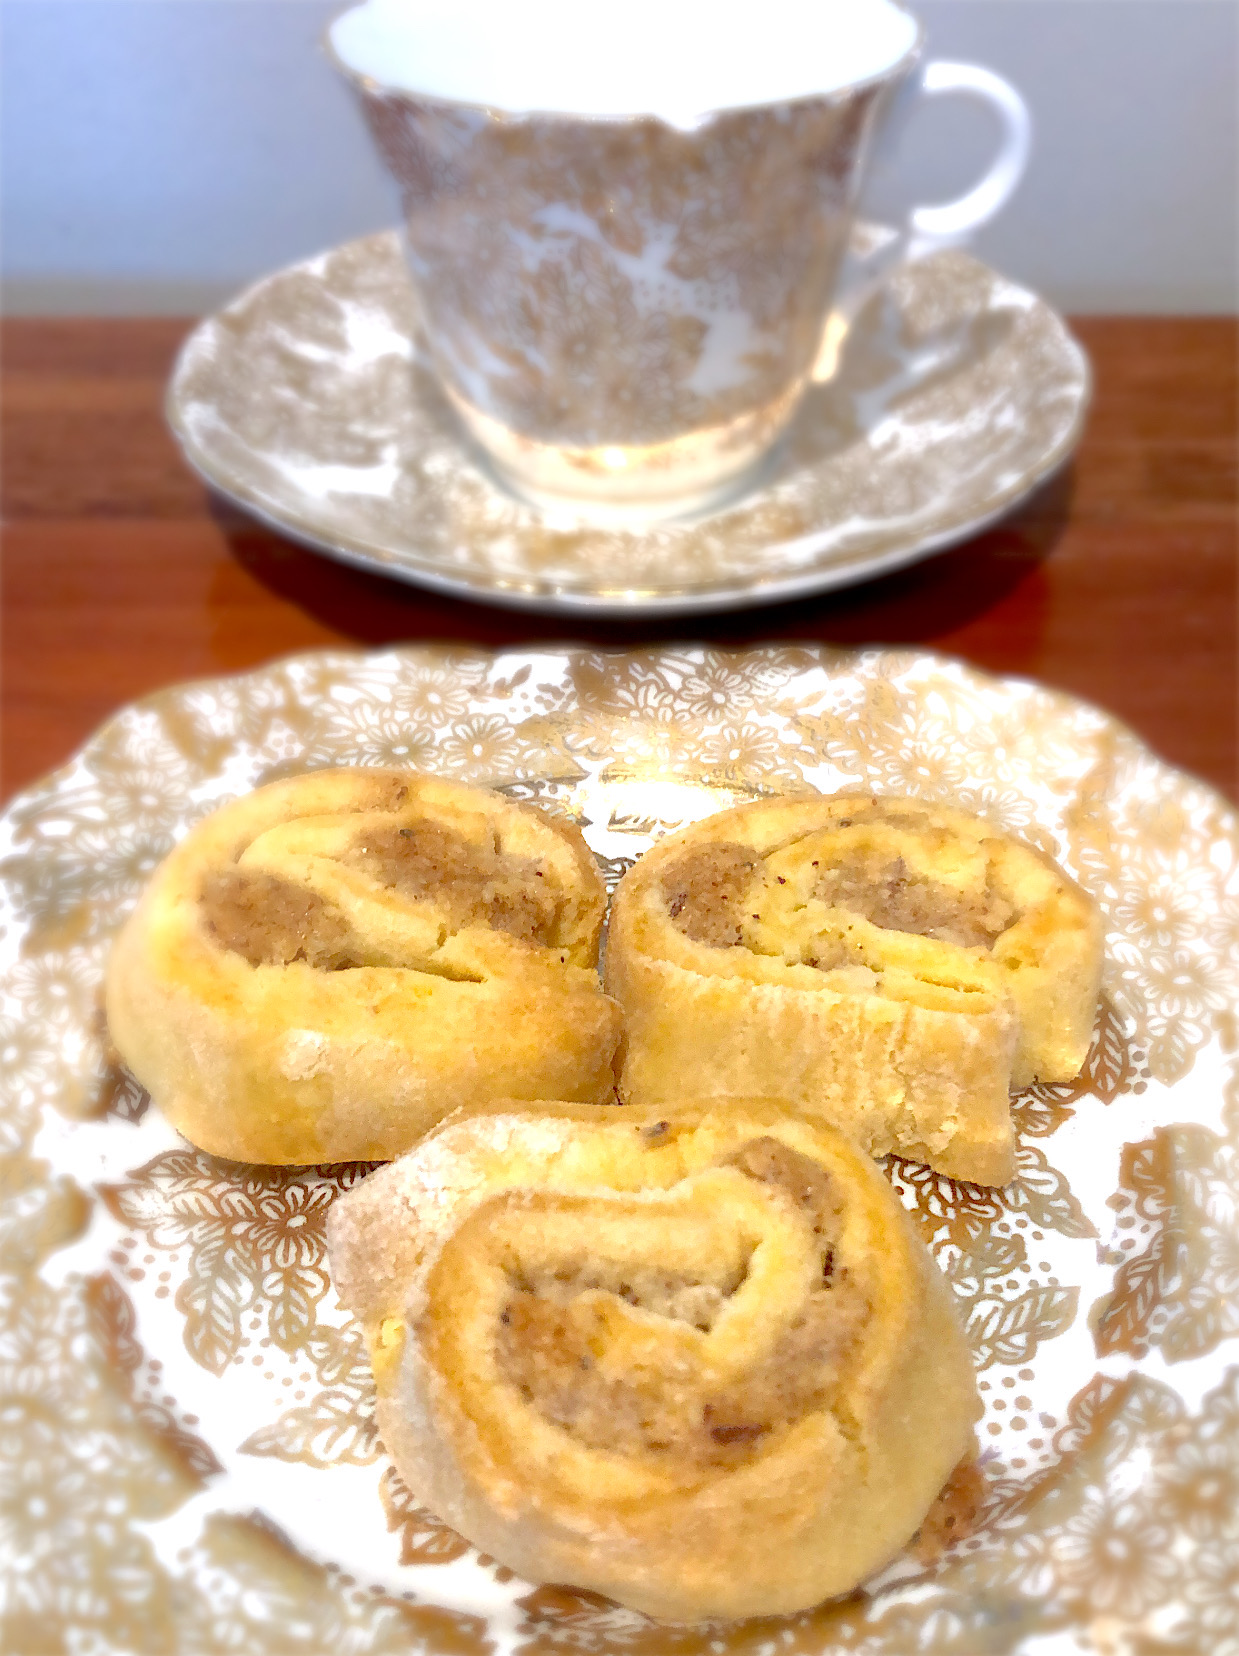
Then you know what to do….roll it all up into a big sausage. I laid it on some floured calico I had, rolled that up around it and tied the ends up like a Christmas cracker. 😁
Mrs Beeton says to put the pudding into boiling water and boil for 2 hours. As I didn’t have any pot big enough for that feat I made a makeshift water bath and put my trusty oven to the test, at 180 degrees Celsius. Because the water evaporates you will need to keep an eye on it and top up when necessary.
Here are my Macgyver skills in action. 😂
While that was cooking happily away I got to thinking….What jam Roly poly is complete without the addition of some glorious custard. Why not go the whole hog people, it wouldn’t be the same without it. ❤️
Waddya know, there was a recipe for Boiled custard just a few pages along. This custard needed a pint of milk, 3 eggs, 3 oz sugar and flavouring of whatever your hearts desire. Mrs Beeton suggests bay leaves, lemons rind or vanilla extract, and a cheeky tablespoon of brandy to finish it off.
The milk gets popped into the saucepan with the sugar and flavouring and ‘steeped by the side of the fire until well flavoured’. I chose a low setting on my stovetop for this. The flavourings get taken out with straining the milk and then you will need to cook down the milk a little before stirring in the whisked eggs (you don’t want scrambled eggs in your custard, trust me).
There is a very lengthy description of what to do if you would like a richer custard, of which some are using 2 duck eggs, cream instead of milk, and doubling the eggs using only the yolks. The pot goes back on the heat and stir it ‘only one direction’ until it thickens. A very important point in italics is on no account allow it to reach boiling point, in other words have patience (if you can). The brandy is added after it is taken off the stovetop if you so desire and nutmeg grated on top. 😁
Violà! Delicious custard! 🤤
All that was left to do was remove the pudding from my oven and wait patiently for it to cool a little to avoid burning my fingers.
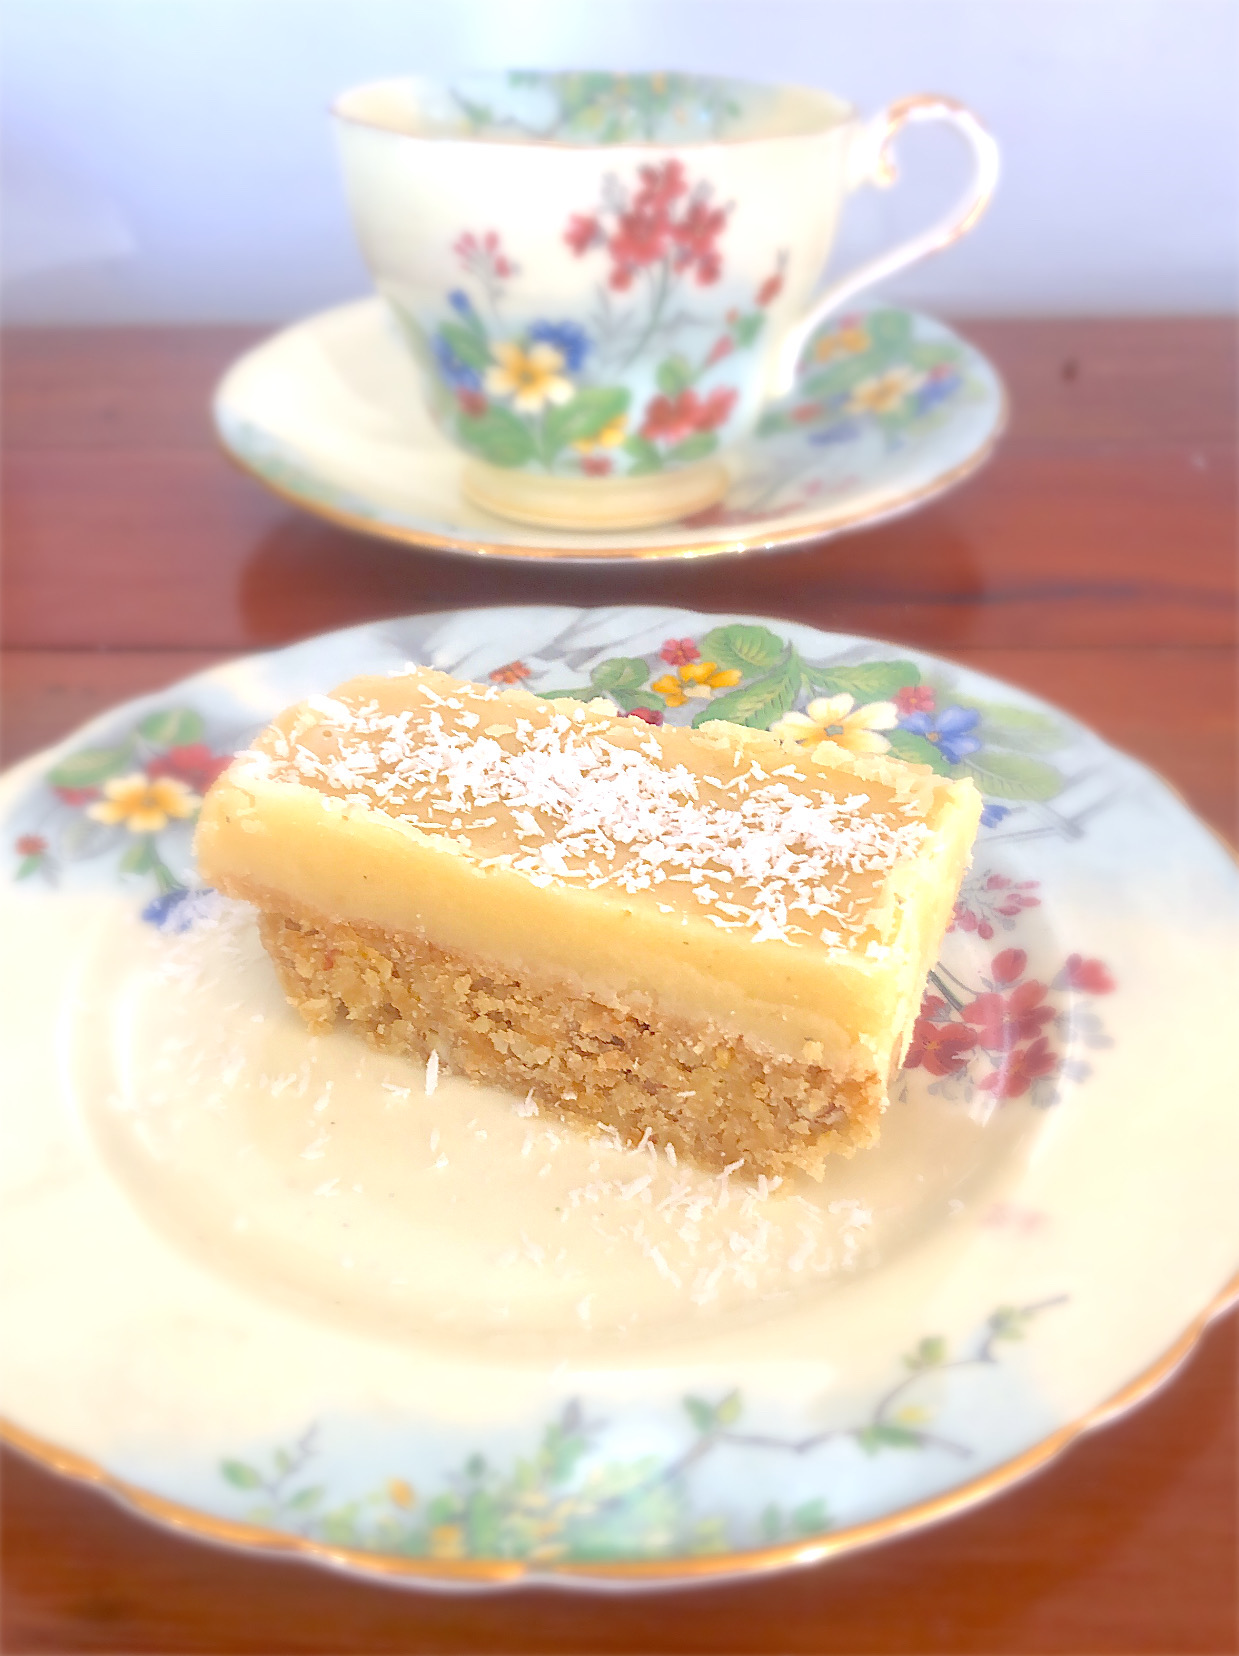
Cutting it into slices and putting 2 in my bowl (no judgment please 😁), I poured a healthy amount of custard and sat down to enjoy.

I hope you enjoyed this bake as much as I did, don’t forget to let me know if you’ve tried it by commenting below. Remember if you would like a follow-along video that will be up on my YouTube channel soon.
Til next time lovely readers ❤️ Bon Apetit!
Leave A Comment
You must be logged in to post a comment.