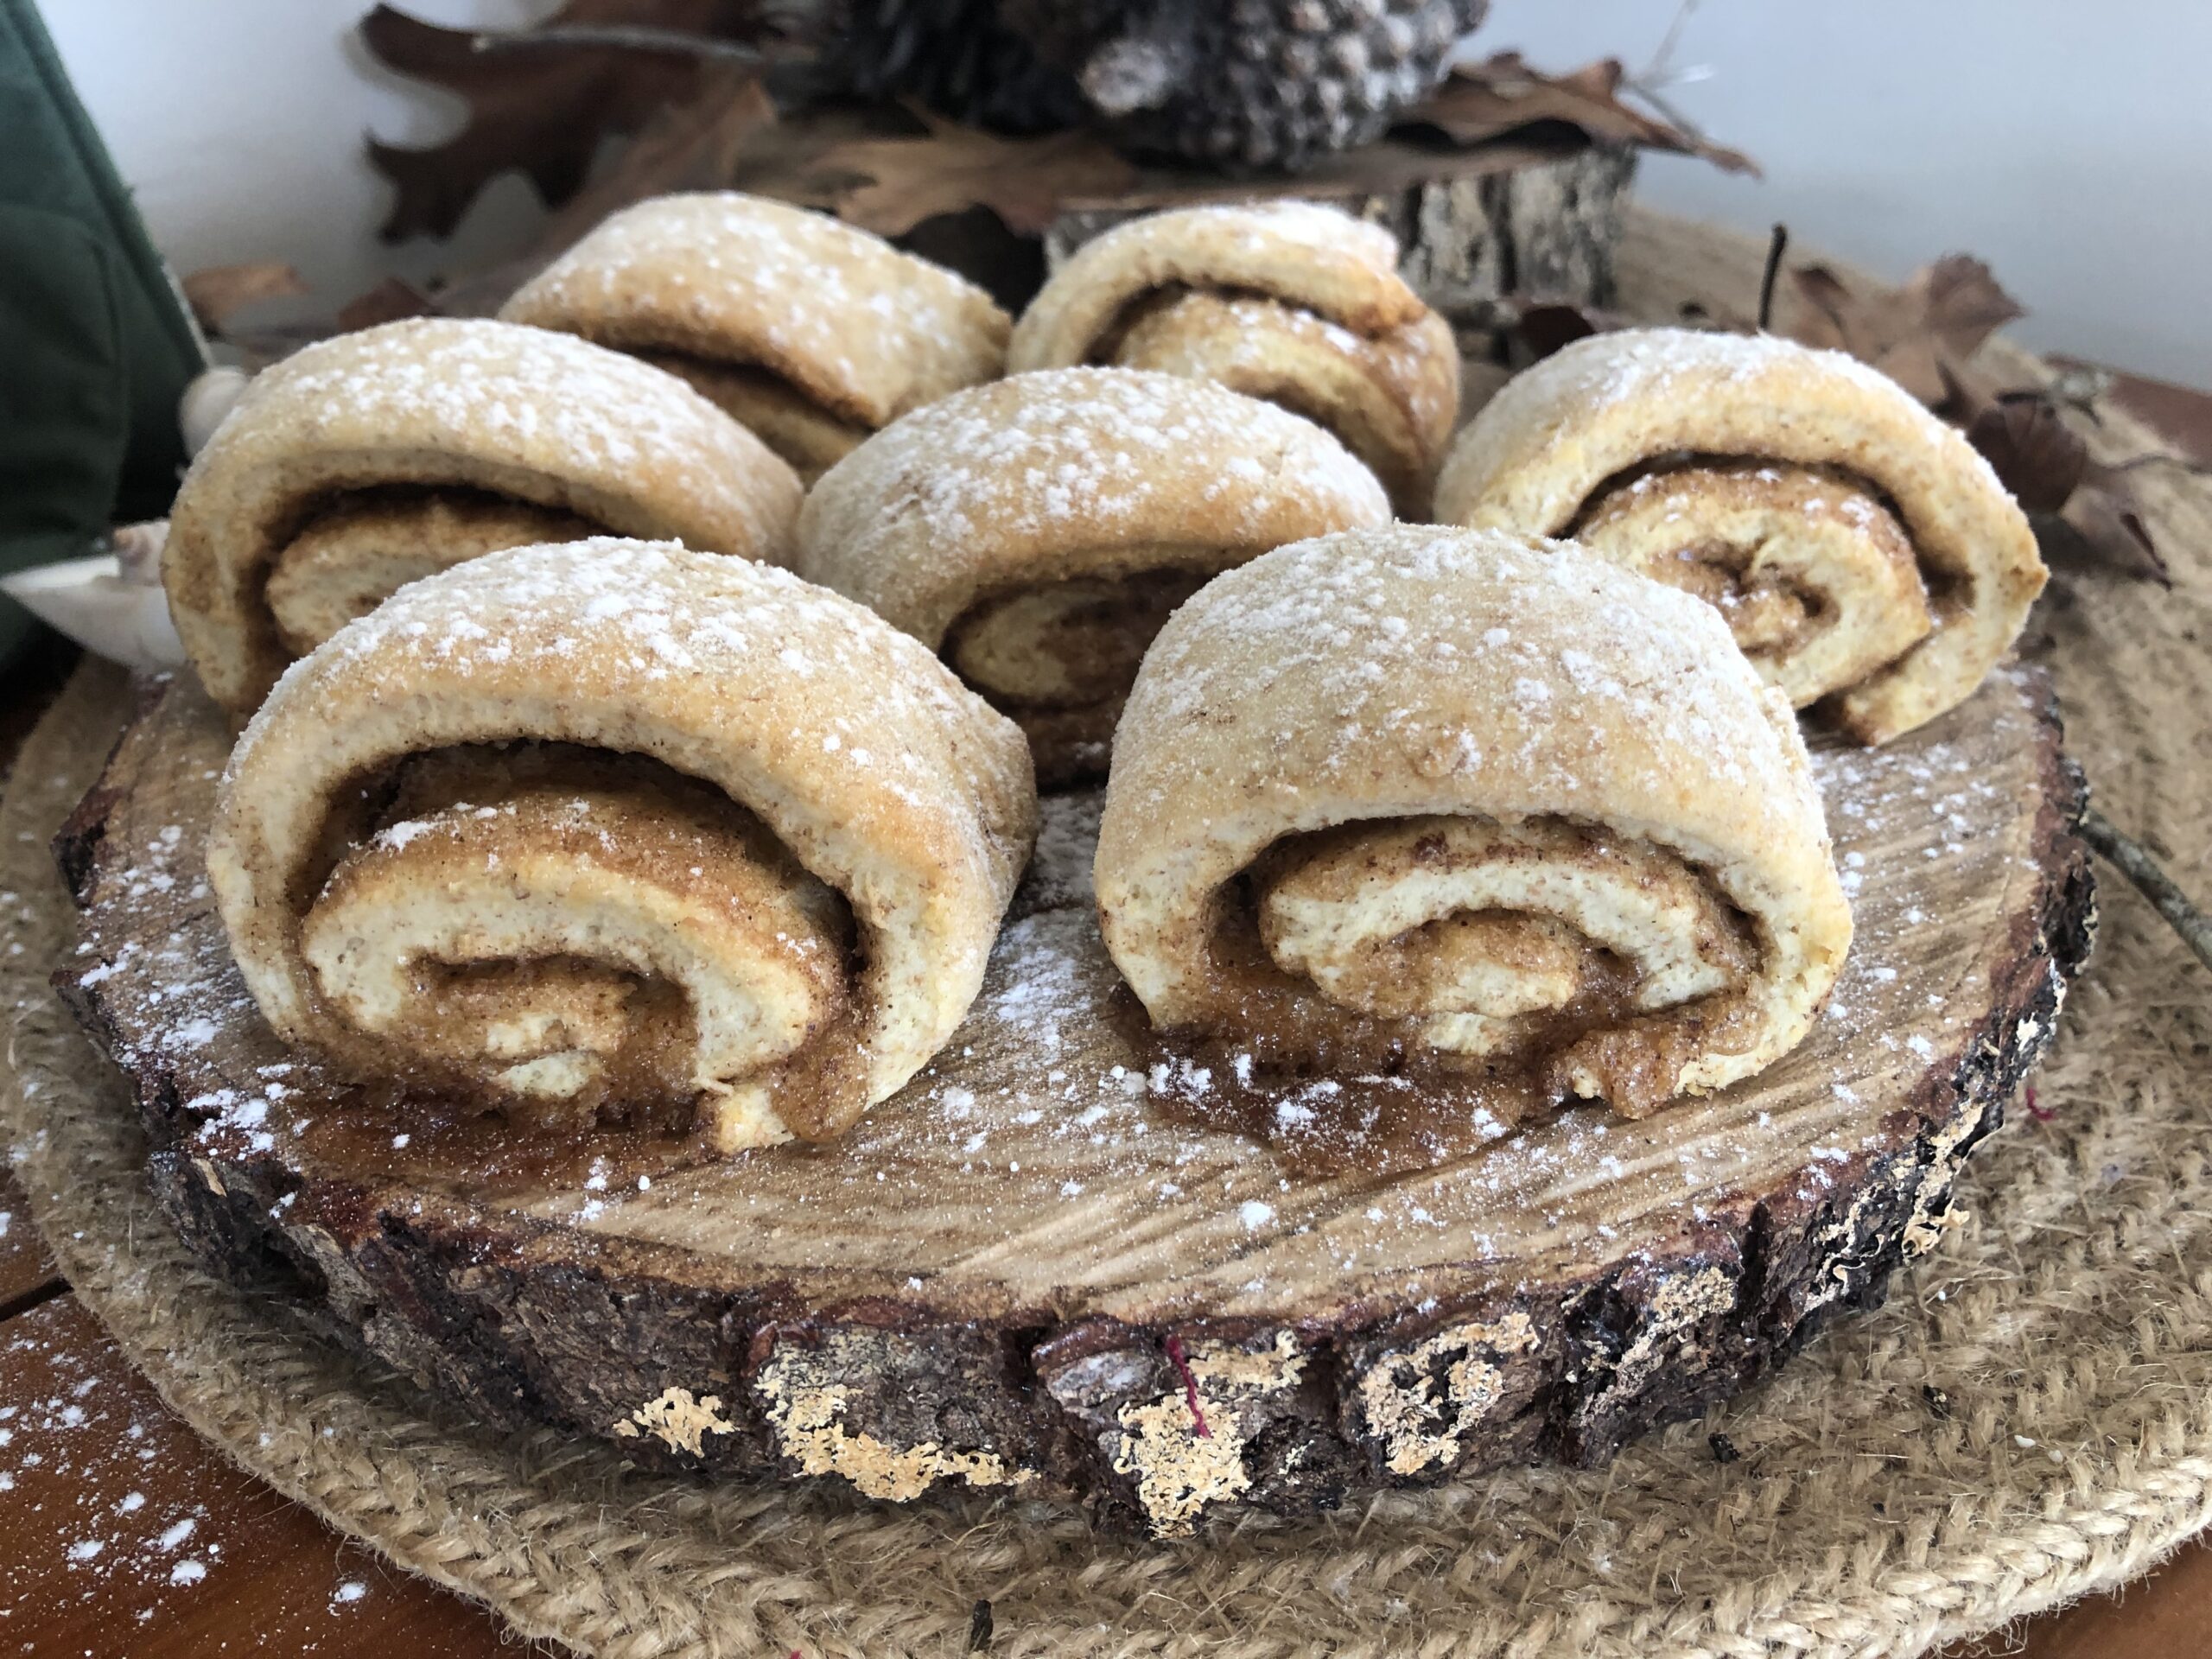
Trefoil Treats

Welcome to a special Girl Guide addition to our trip into the world of vintage cookbooks.

These small fundraising cookbooks are often a goldmine of a variety of different recipies. It’s so much fun to hunt through to find one that takes your fancy. There is nothing that indicates when this one was published but the advertisements inside have phone numbers comprising of 5 numbers, so if anyone has any idea what era this would be please leave a comment. 😊

I decided to pick a recipe I’ve made a few times in the past as a fun twist on a scone recipe, this one has wholemeal flour so that makes it healthy, right? 😊 Let’s just run with that idea I say as I bite into another one.

Today I’m whipping up some super quick Cinnamon Pinwheels.

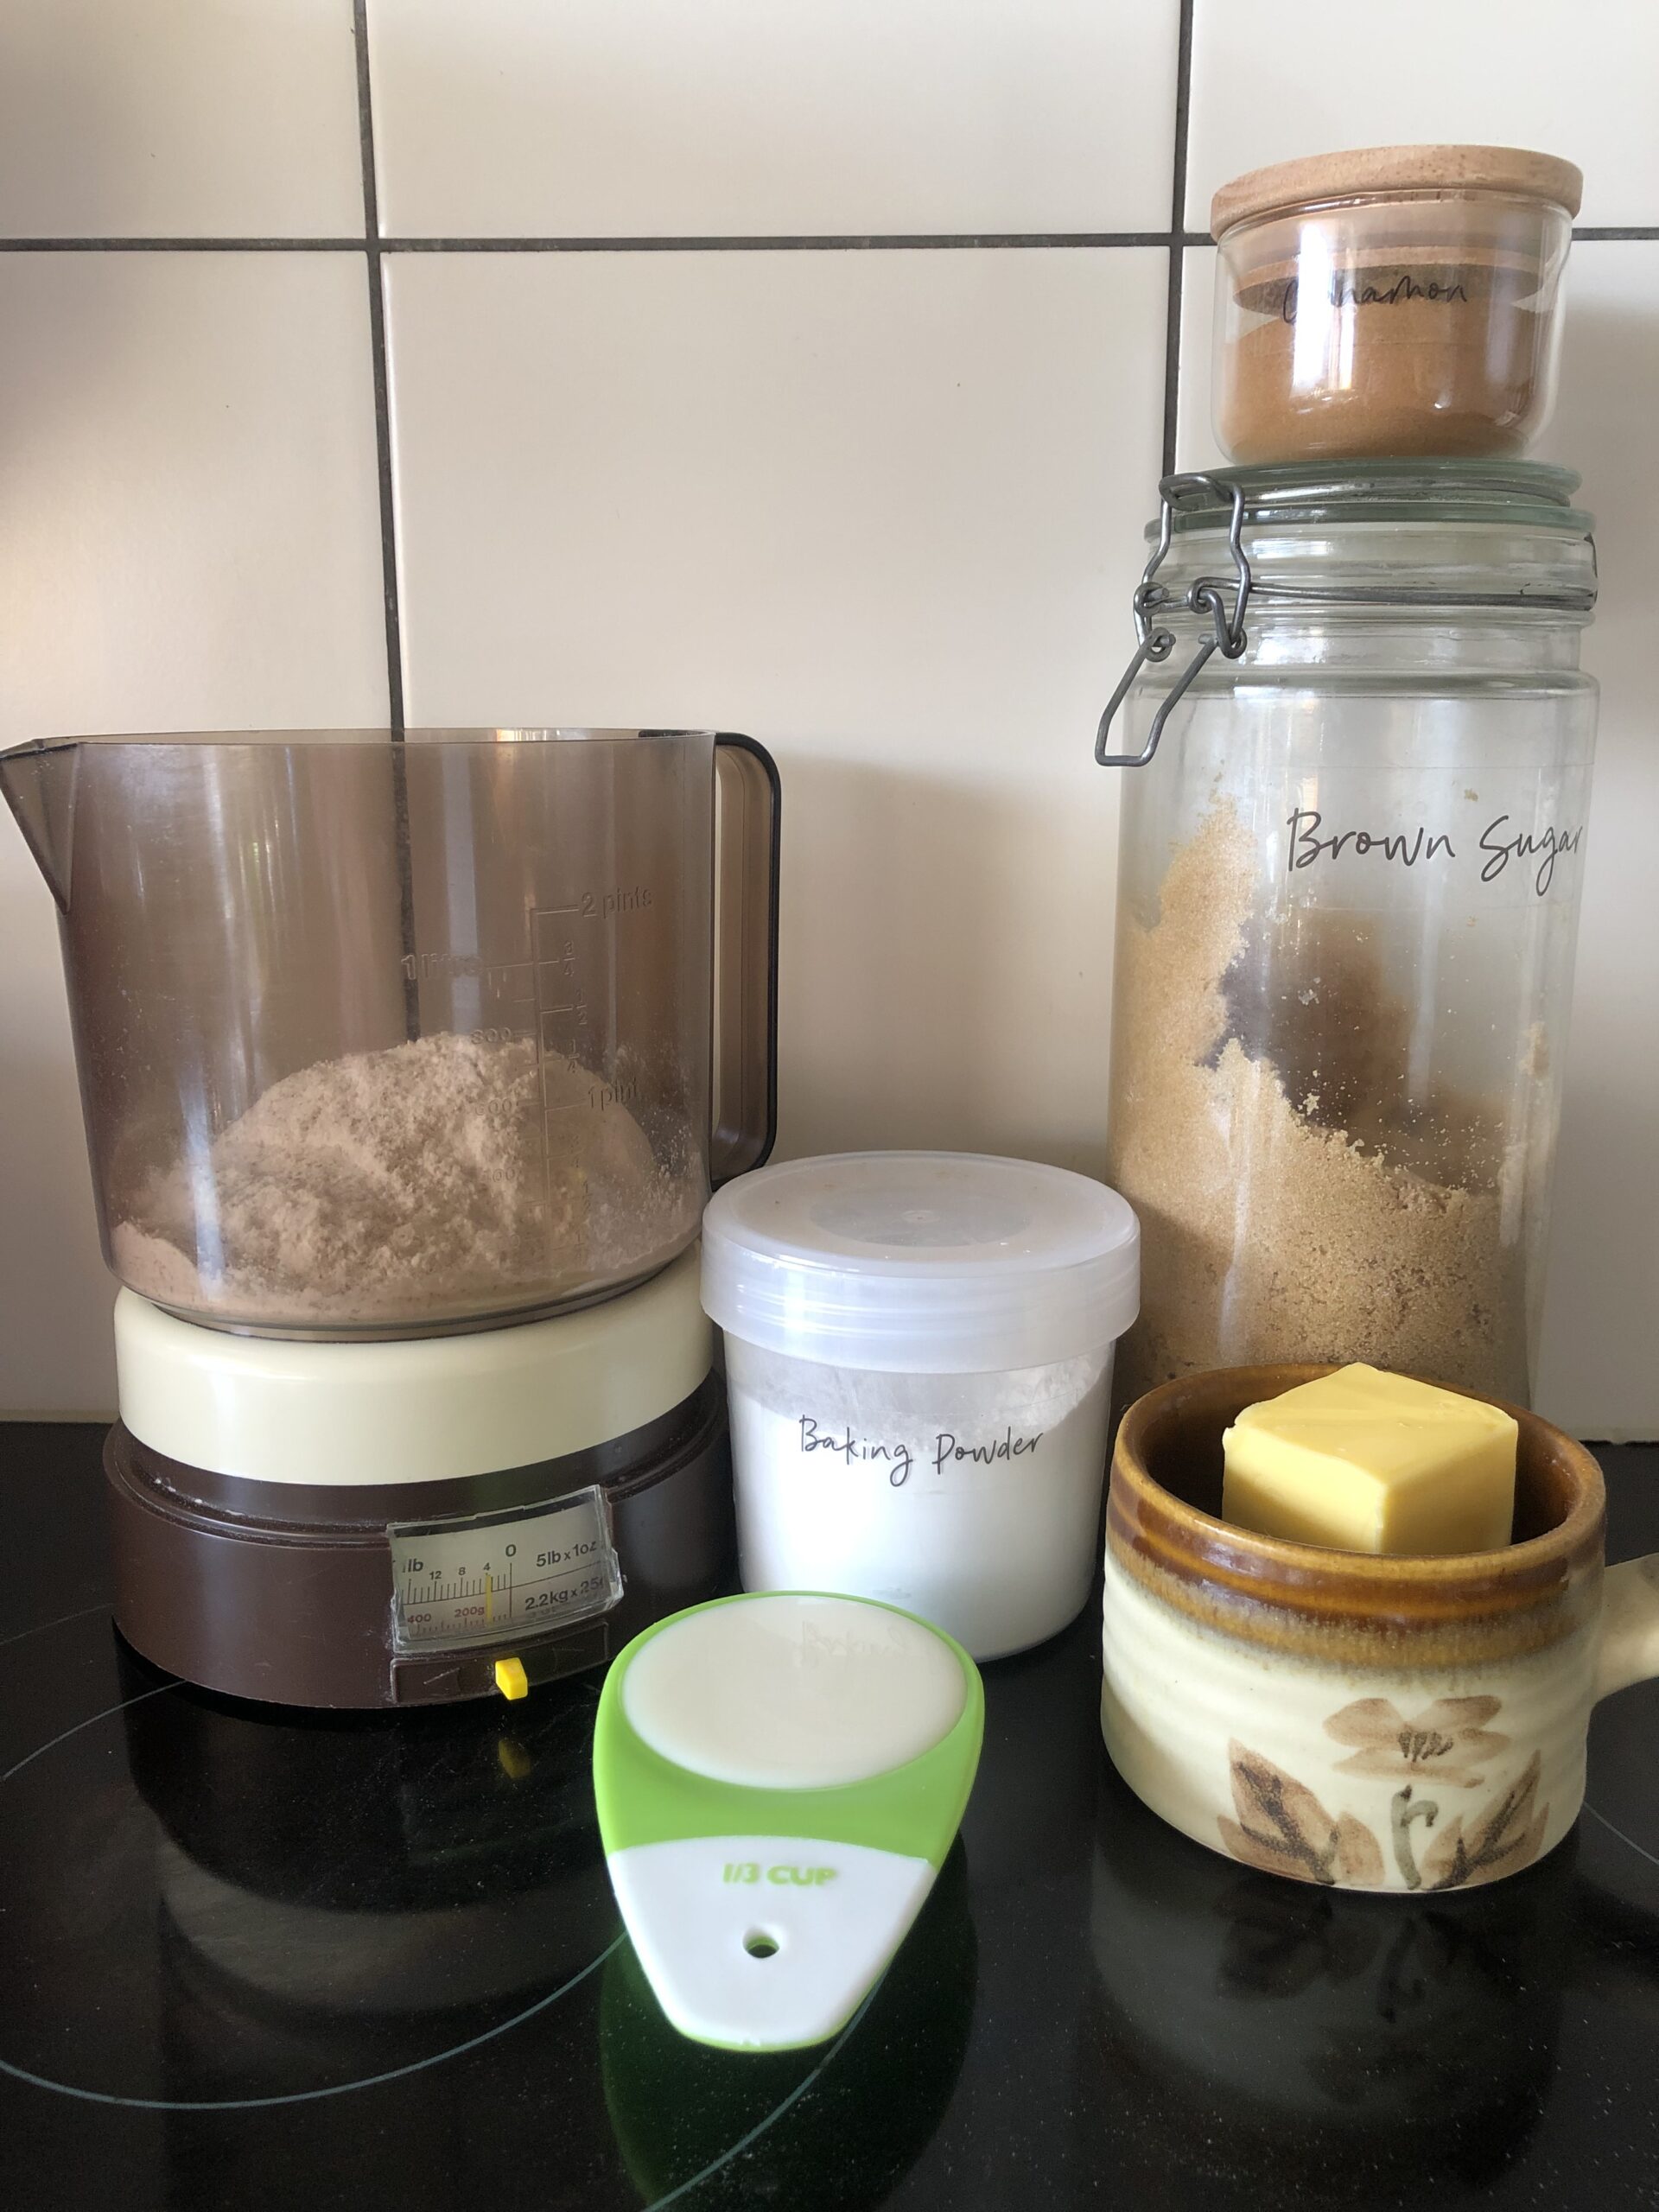
Our ingredients include:

1/2 cup plain flour, 1/2 cup wholemeal flour

1/4 tsp Salt

2 tsp Baking powder

1 Tbsp Butter

1/3 cup Milk

And For The Filling:

2 Tbsp Brown sugar

1 tsp Cinnamon

1 Tbsp Butter


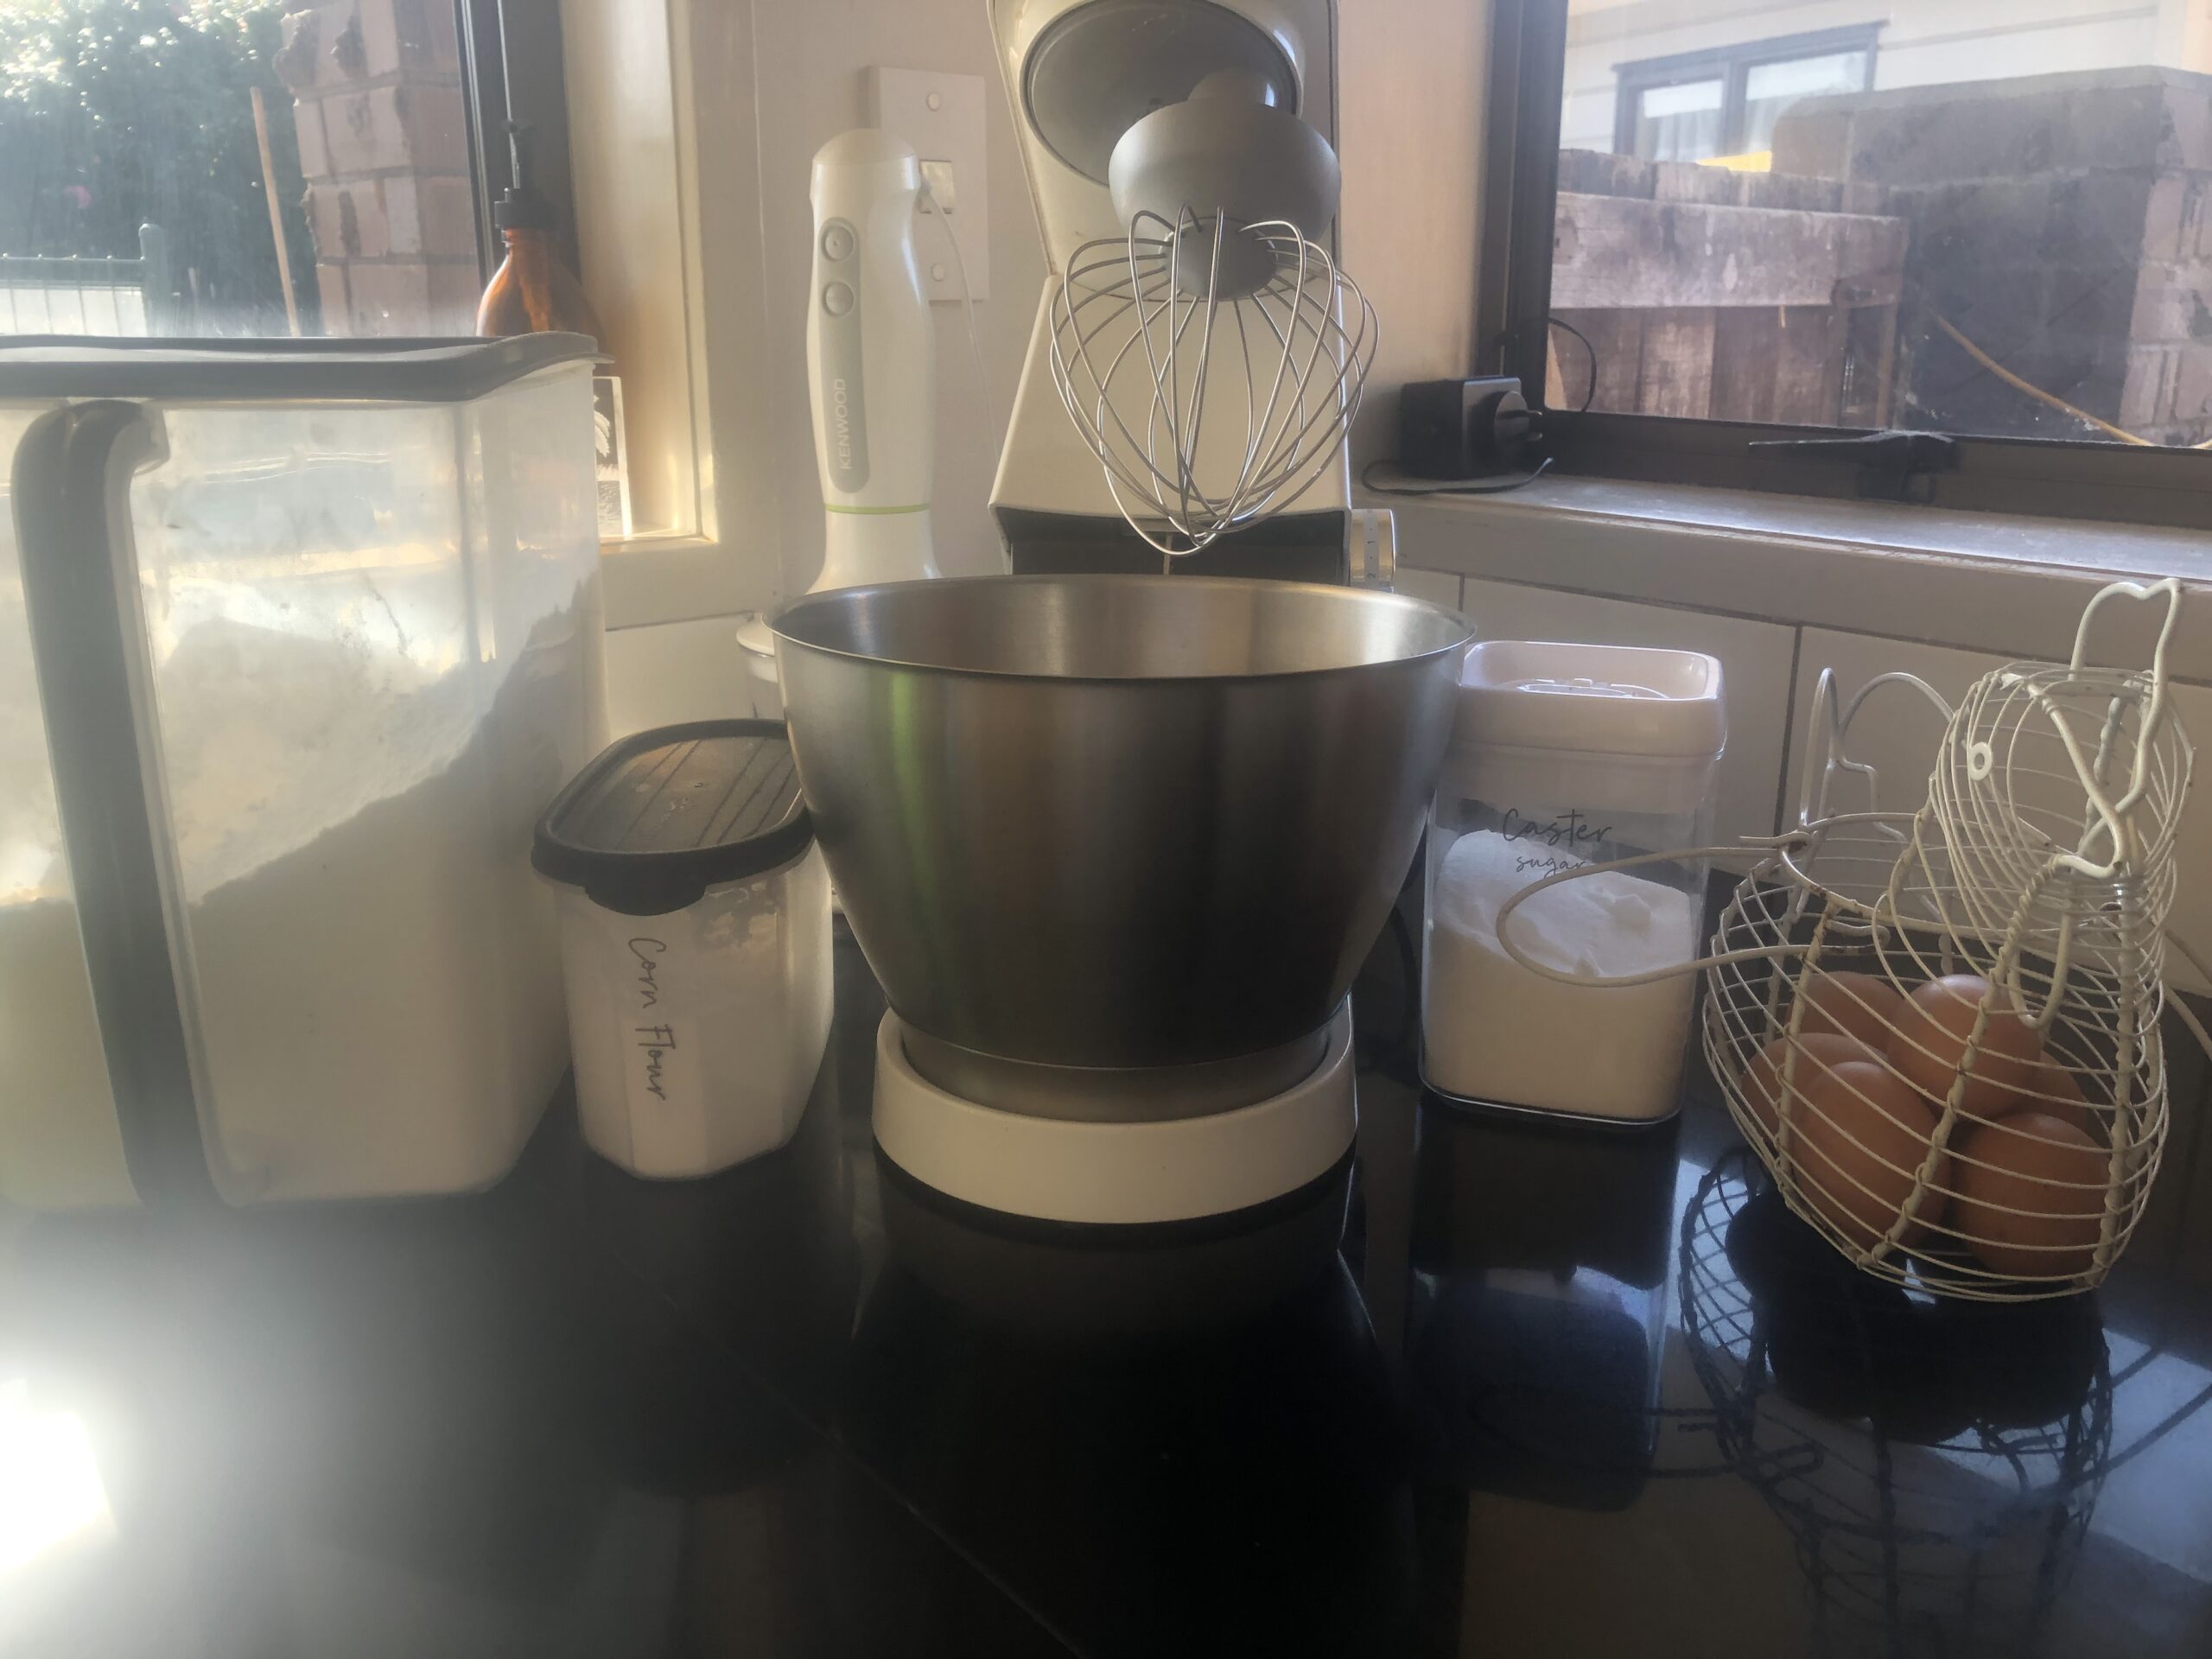
The oven gets put onto 200 Celsius to warm up and all the dry ingredients are sifted into a bowl. Rub in the butter with your fingertips (or my cheat’s way of whizzing it in my mini Kenwood to mix it in super finely). Then the milk also gets whizzed in to make a dough, or traditionally mixed in with a knife.

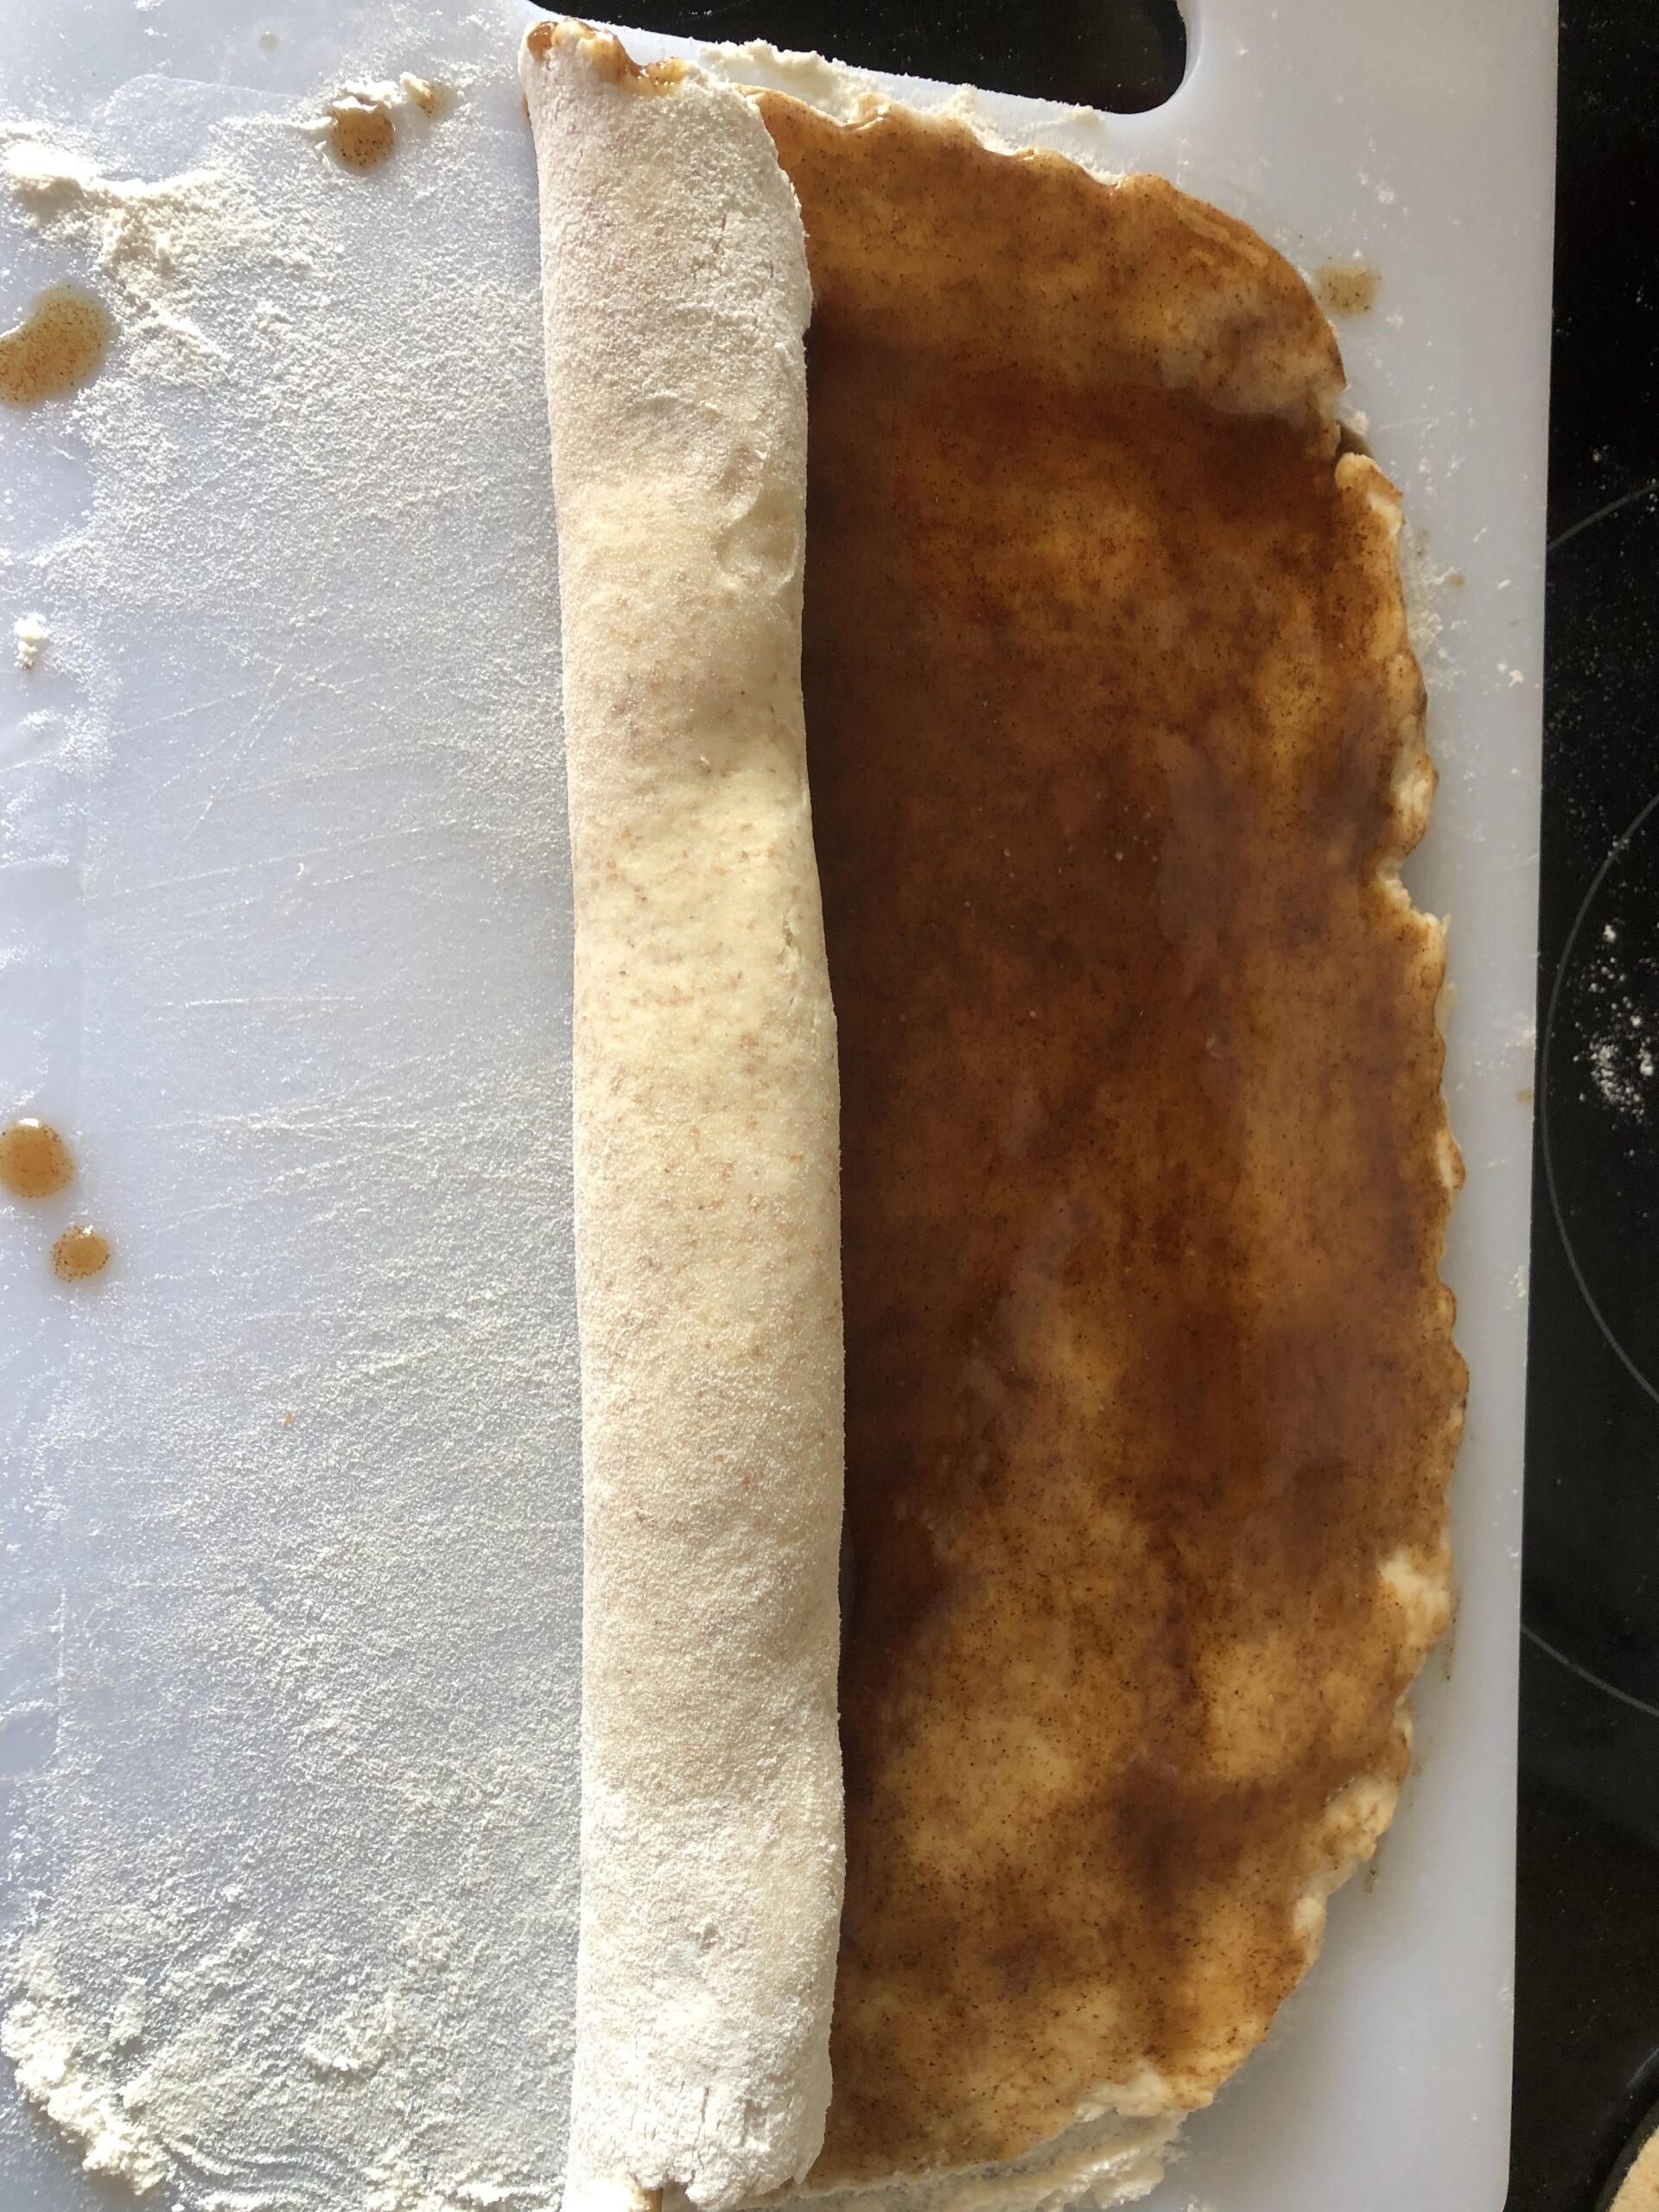
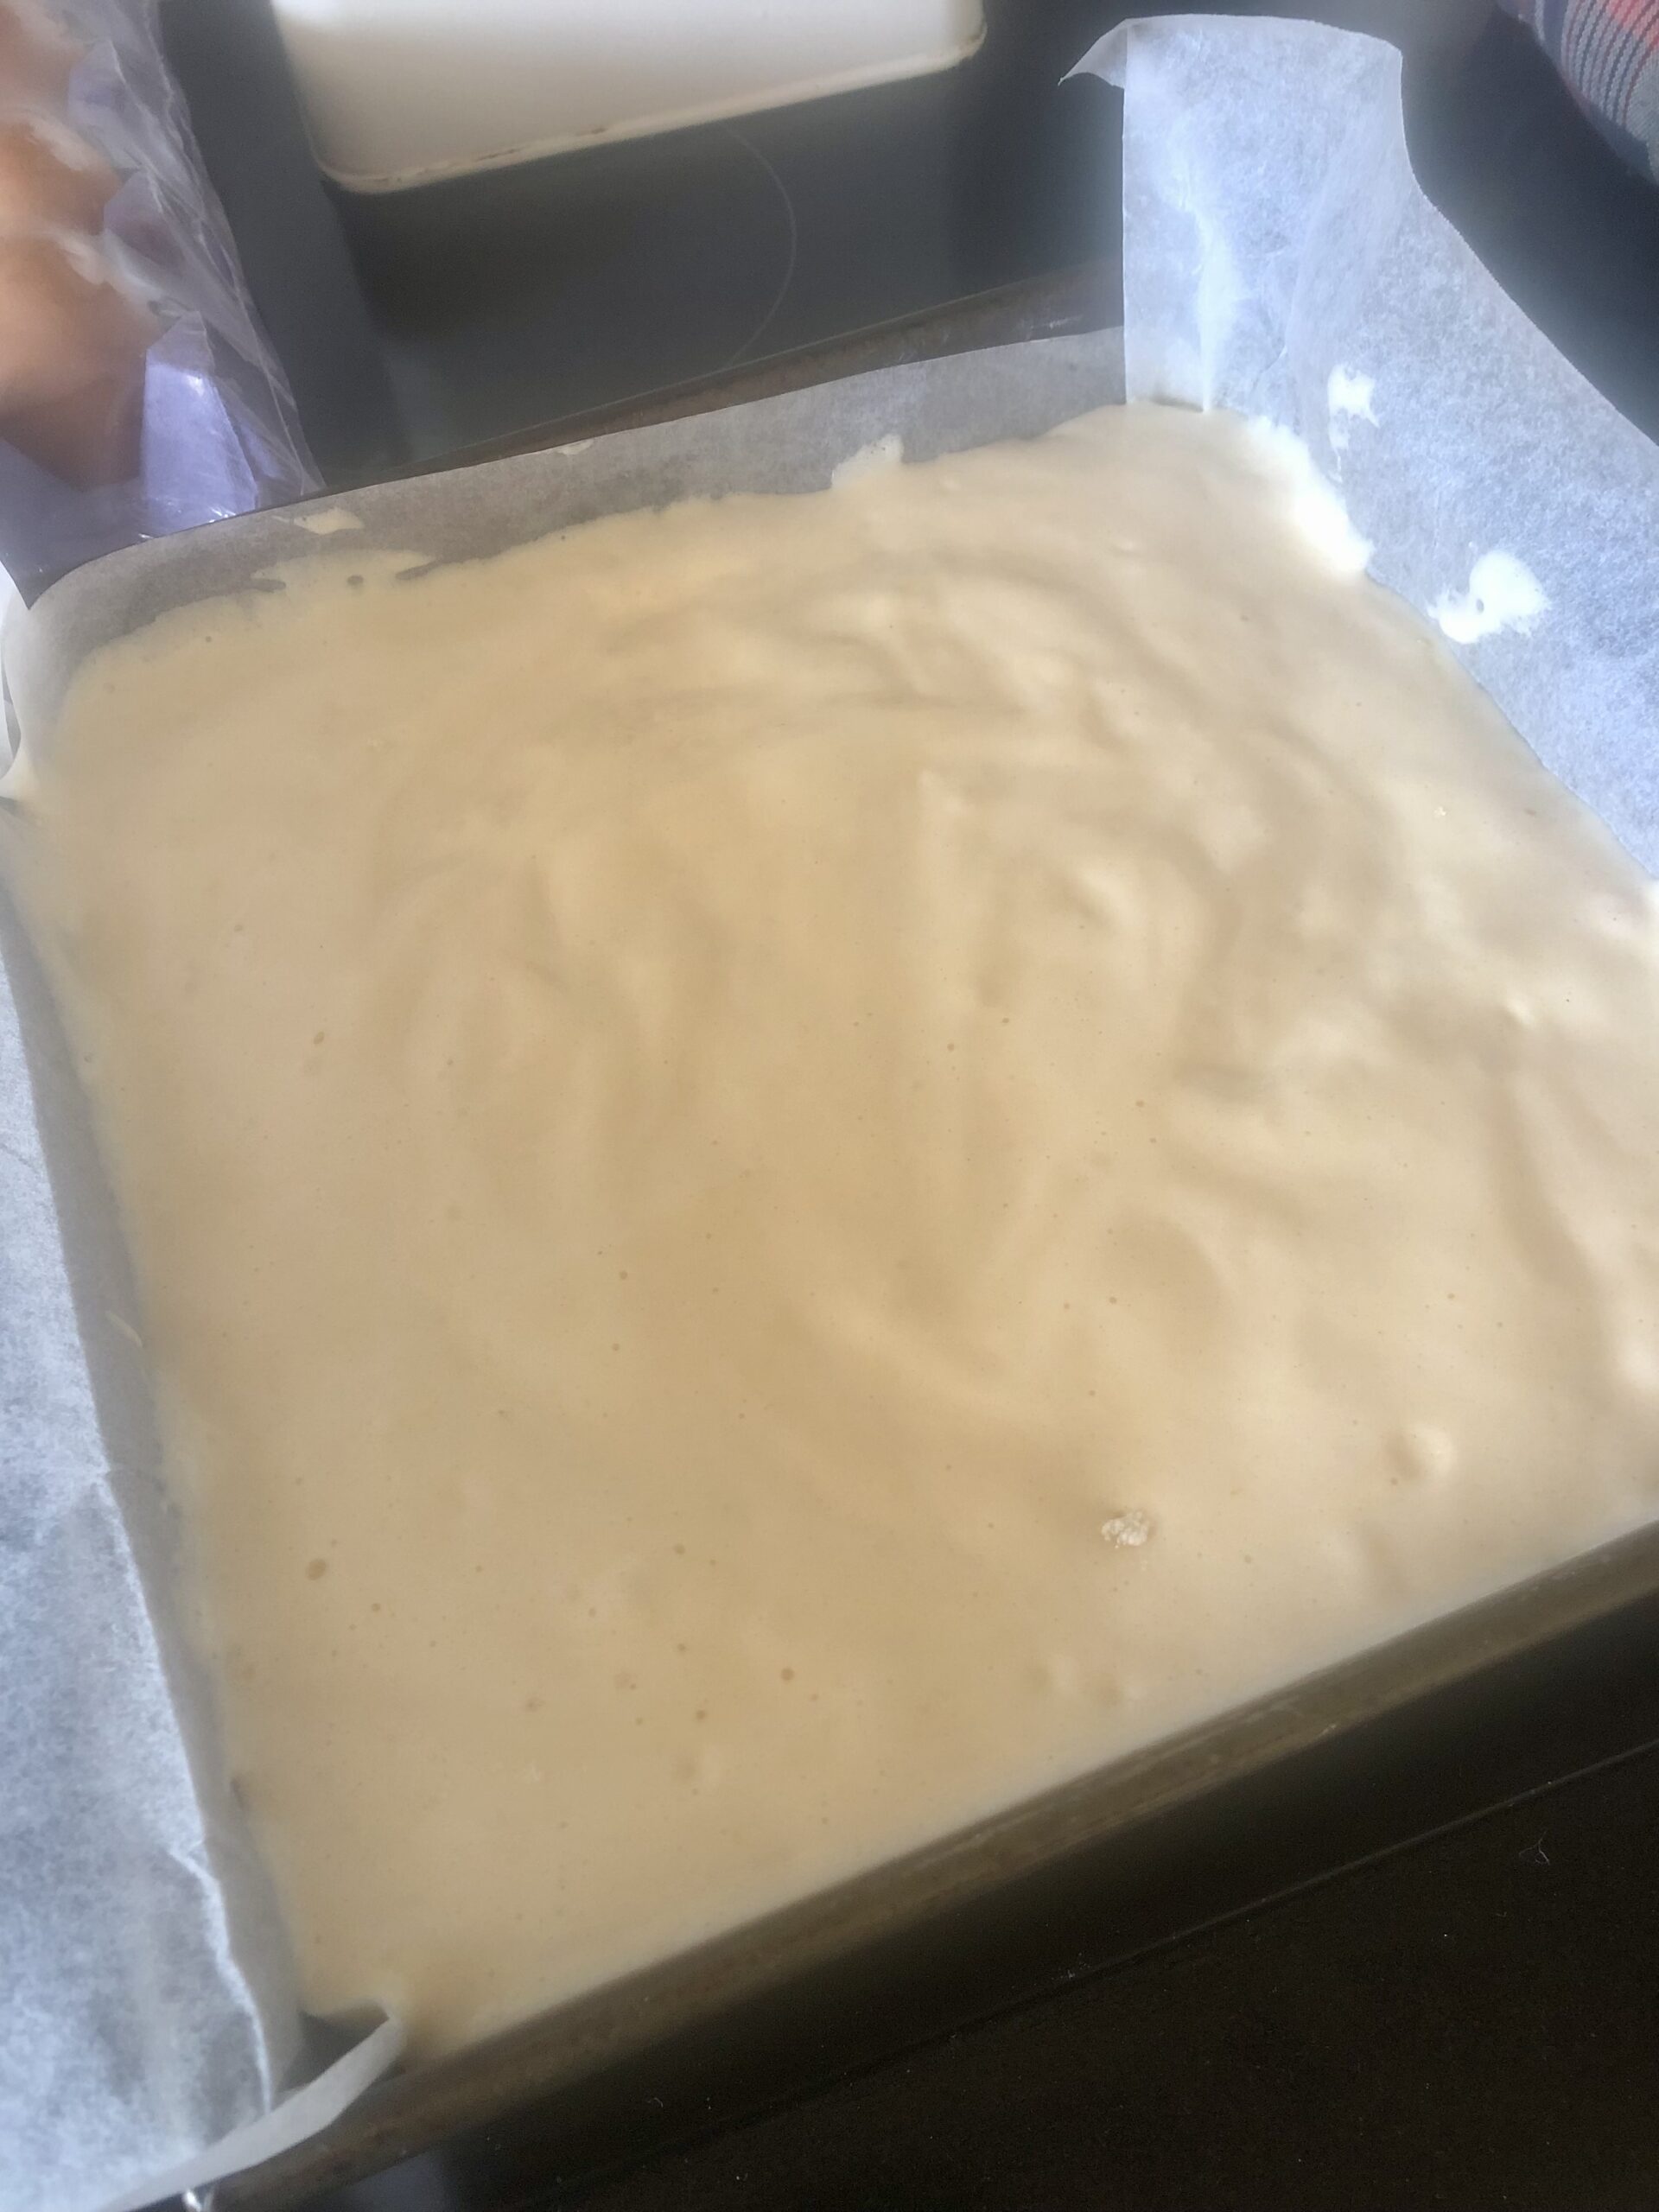
Turn out the dough onto a floured board and roll it out into a rectangle.  Melt your butter for your filling in a saucepan (or cheat microwave) and brush over your dough. The sugar and cinnamon get mixed together and sprinkled over the buttered dough.

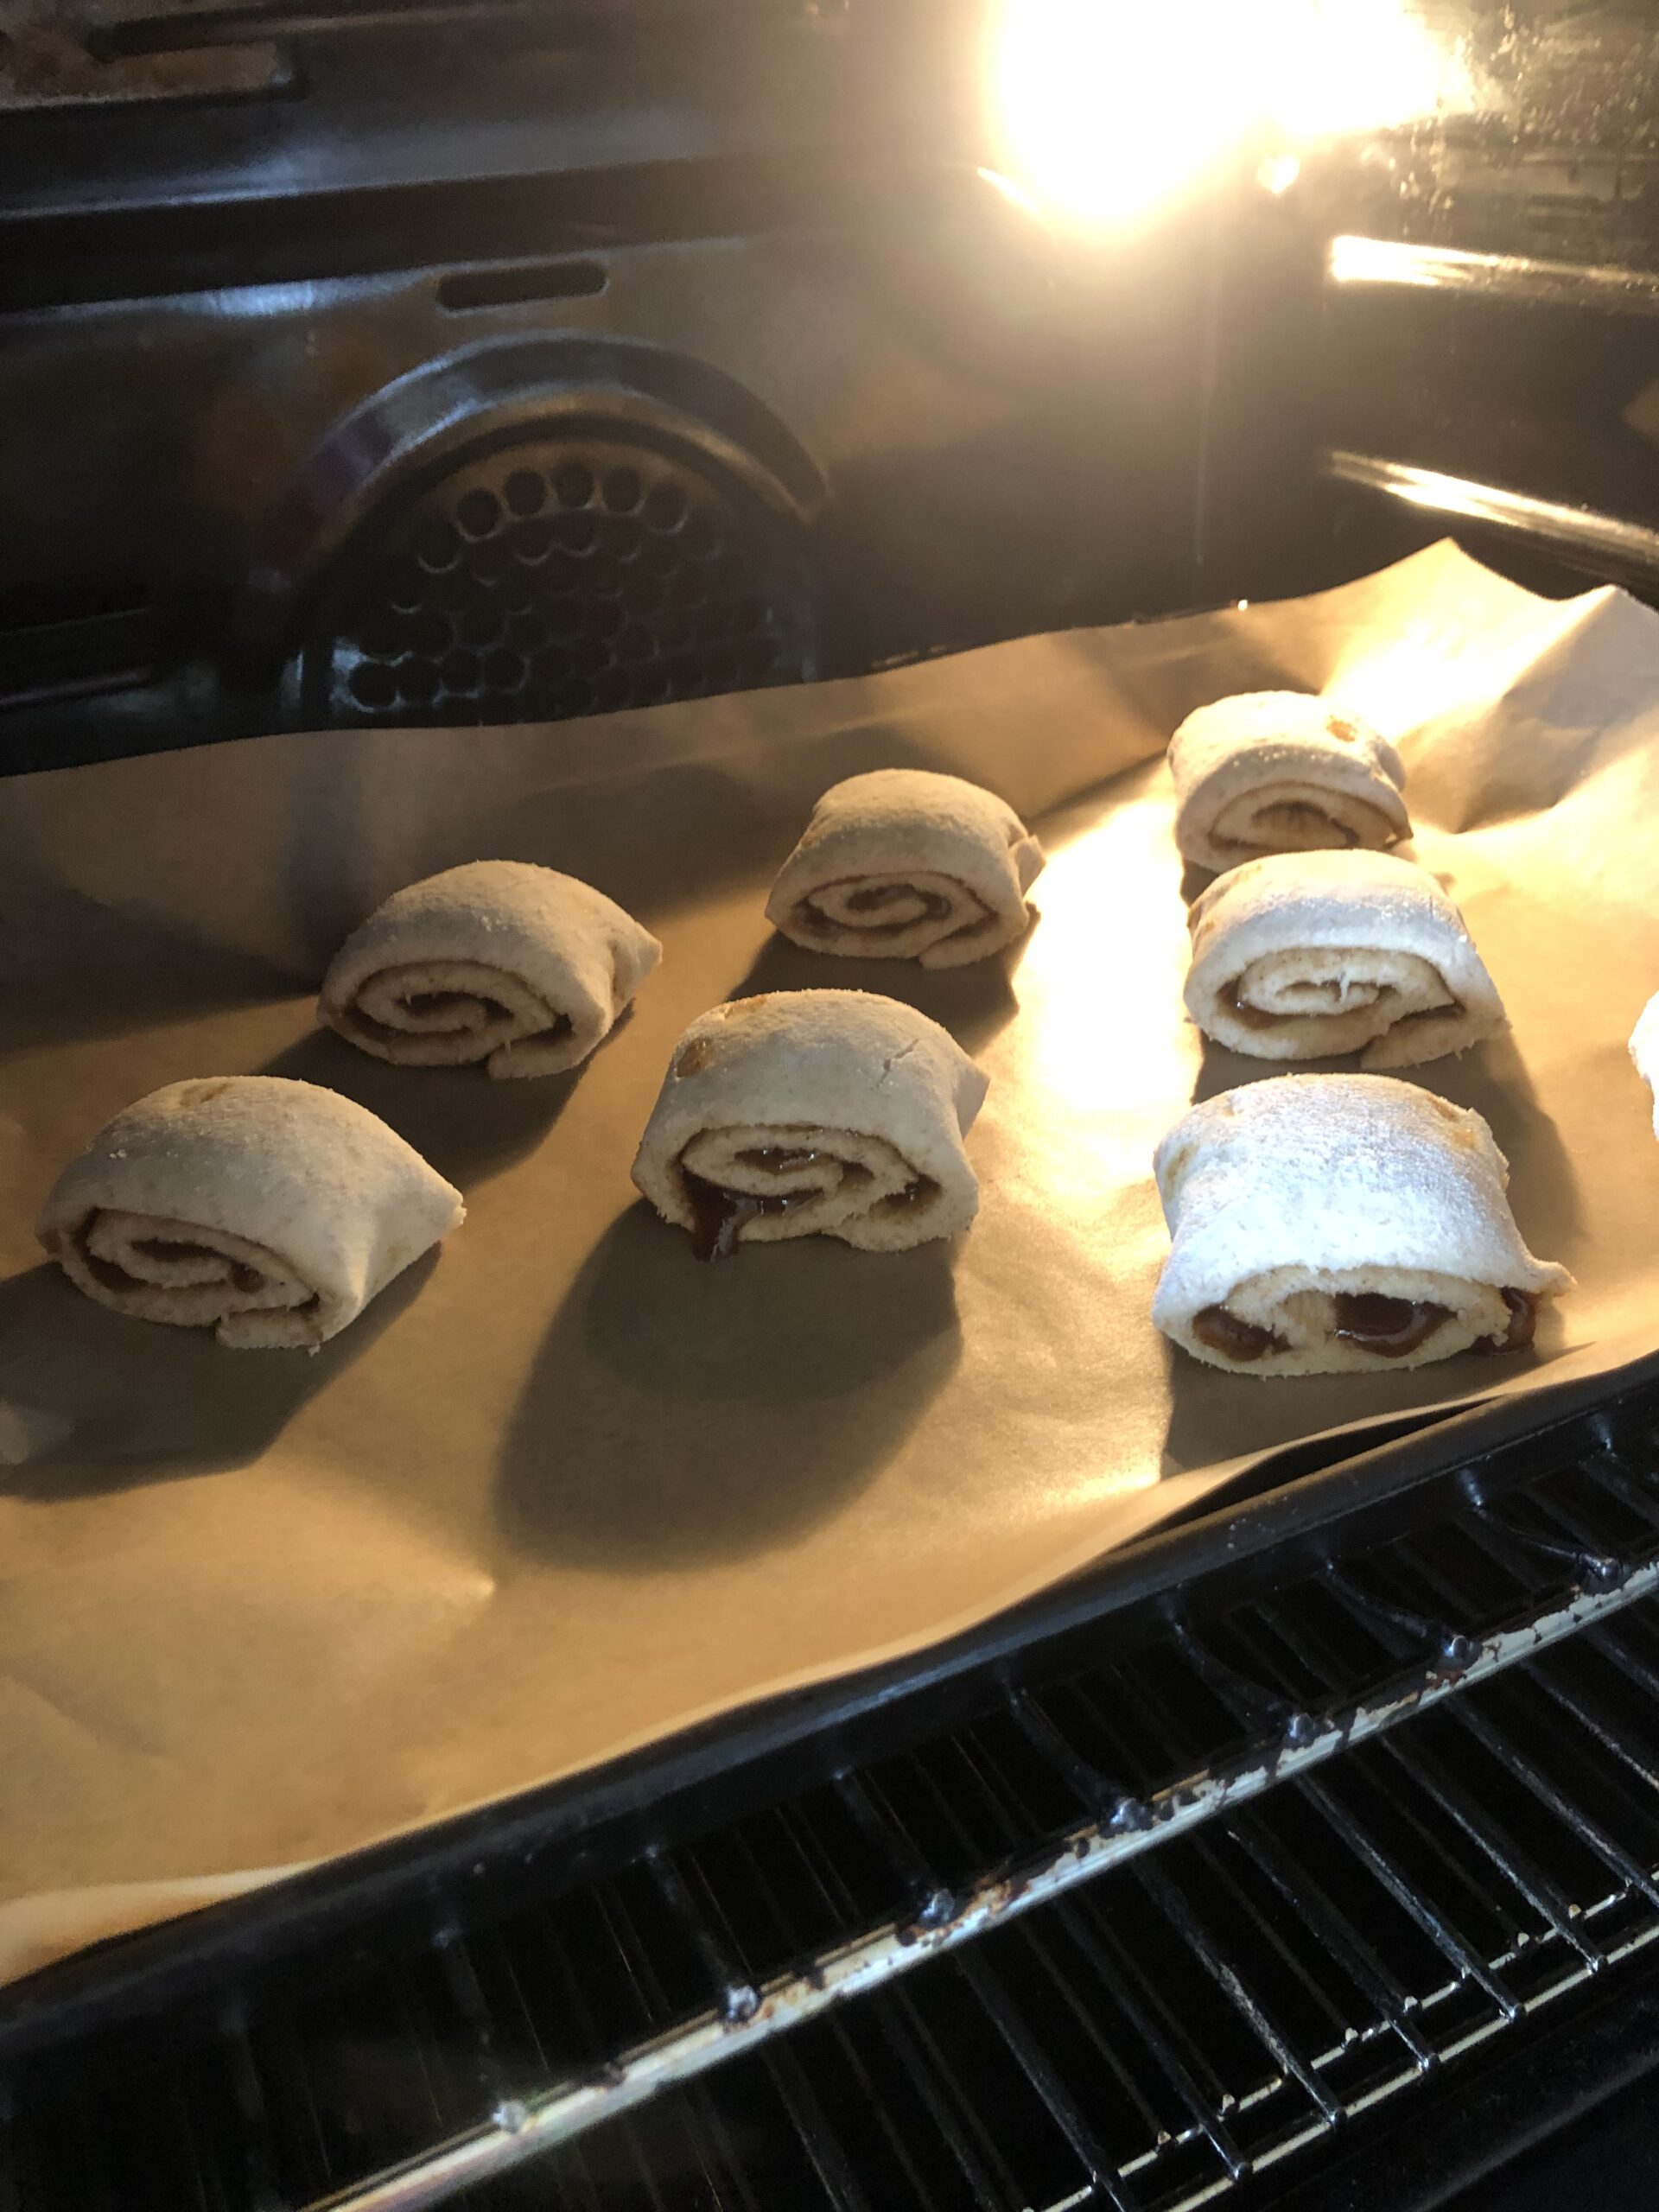
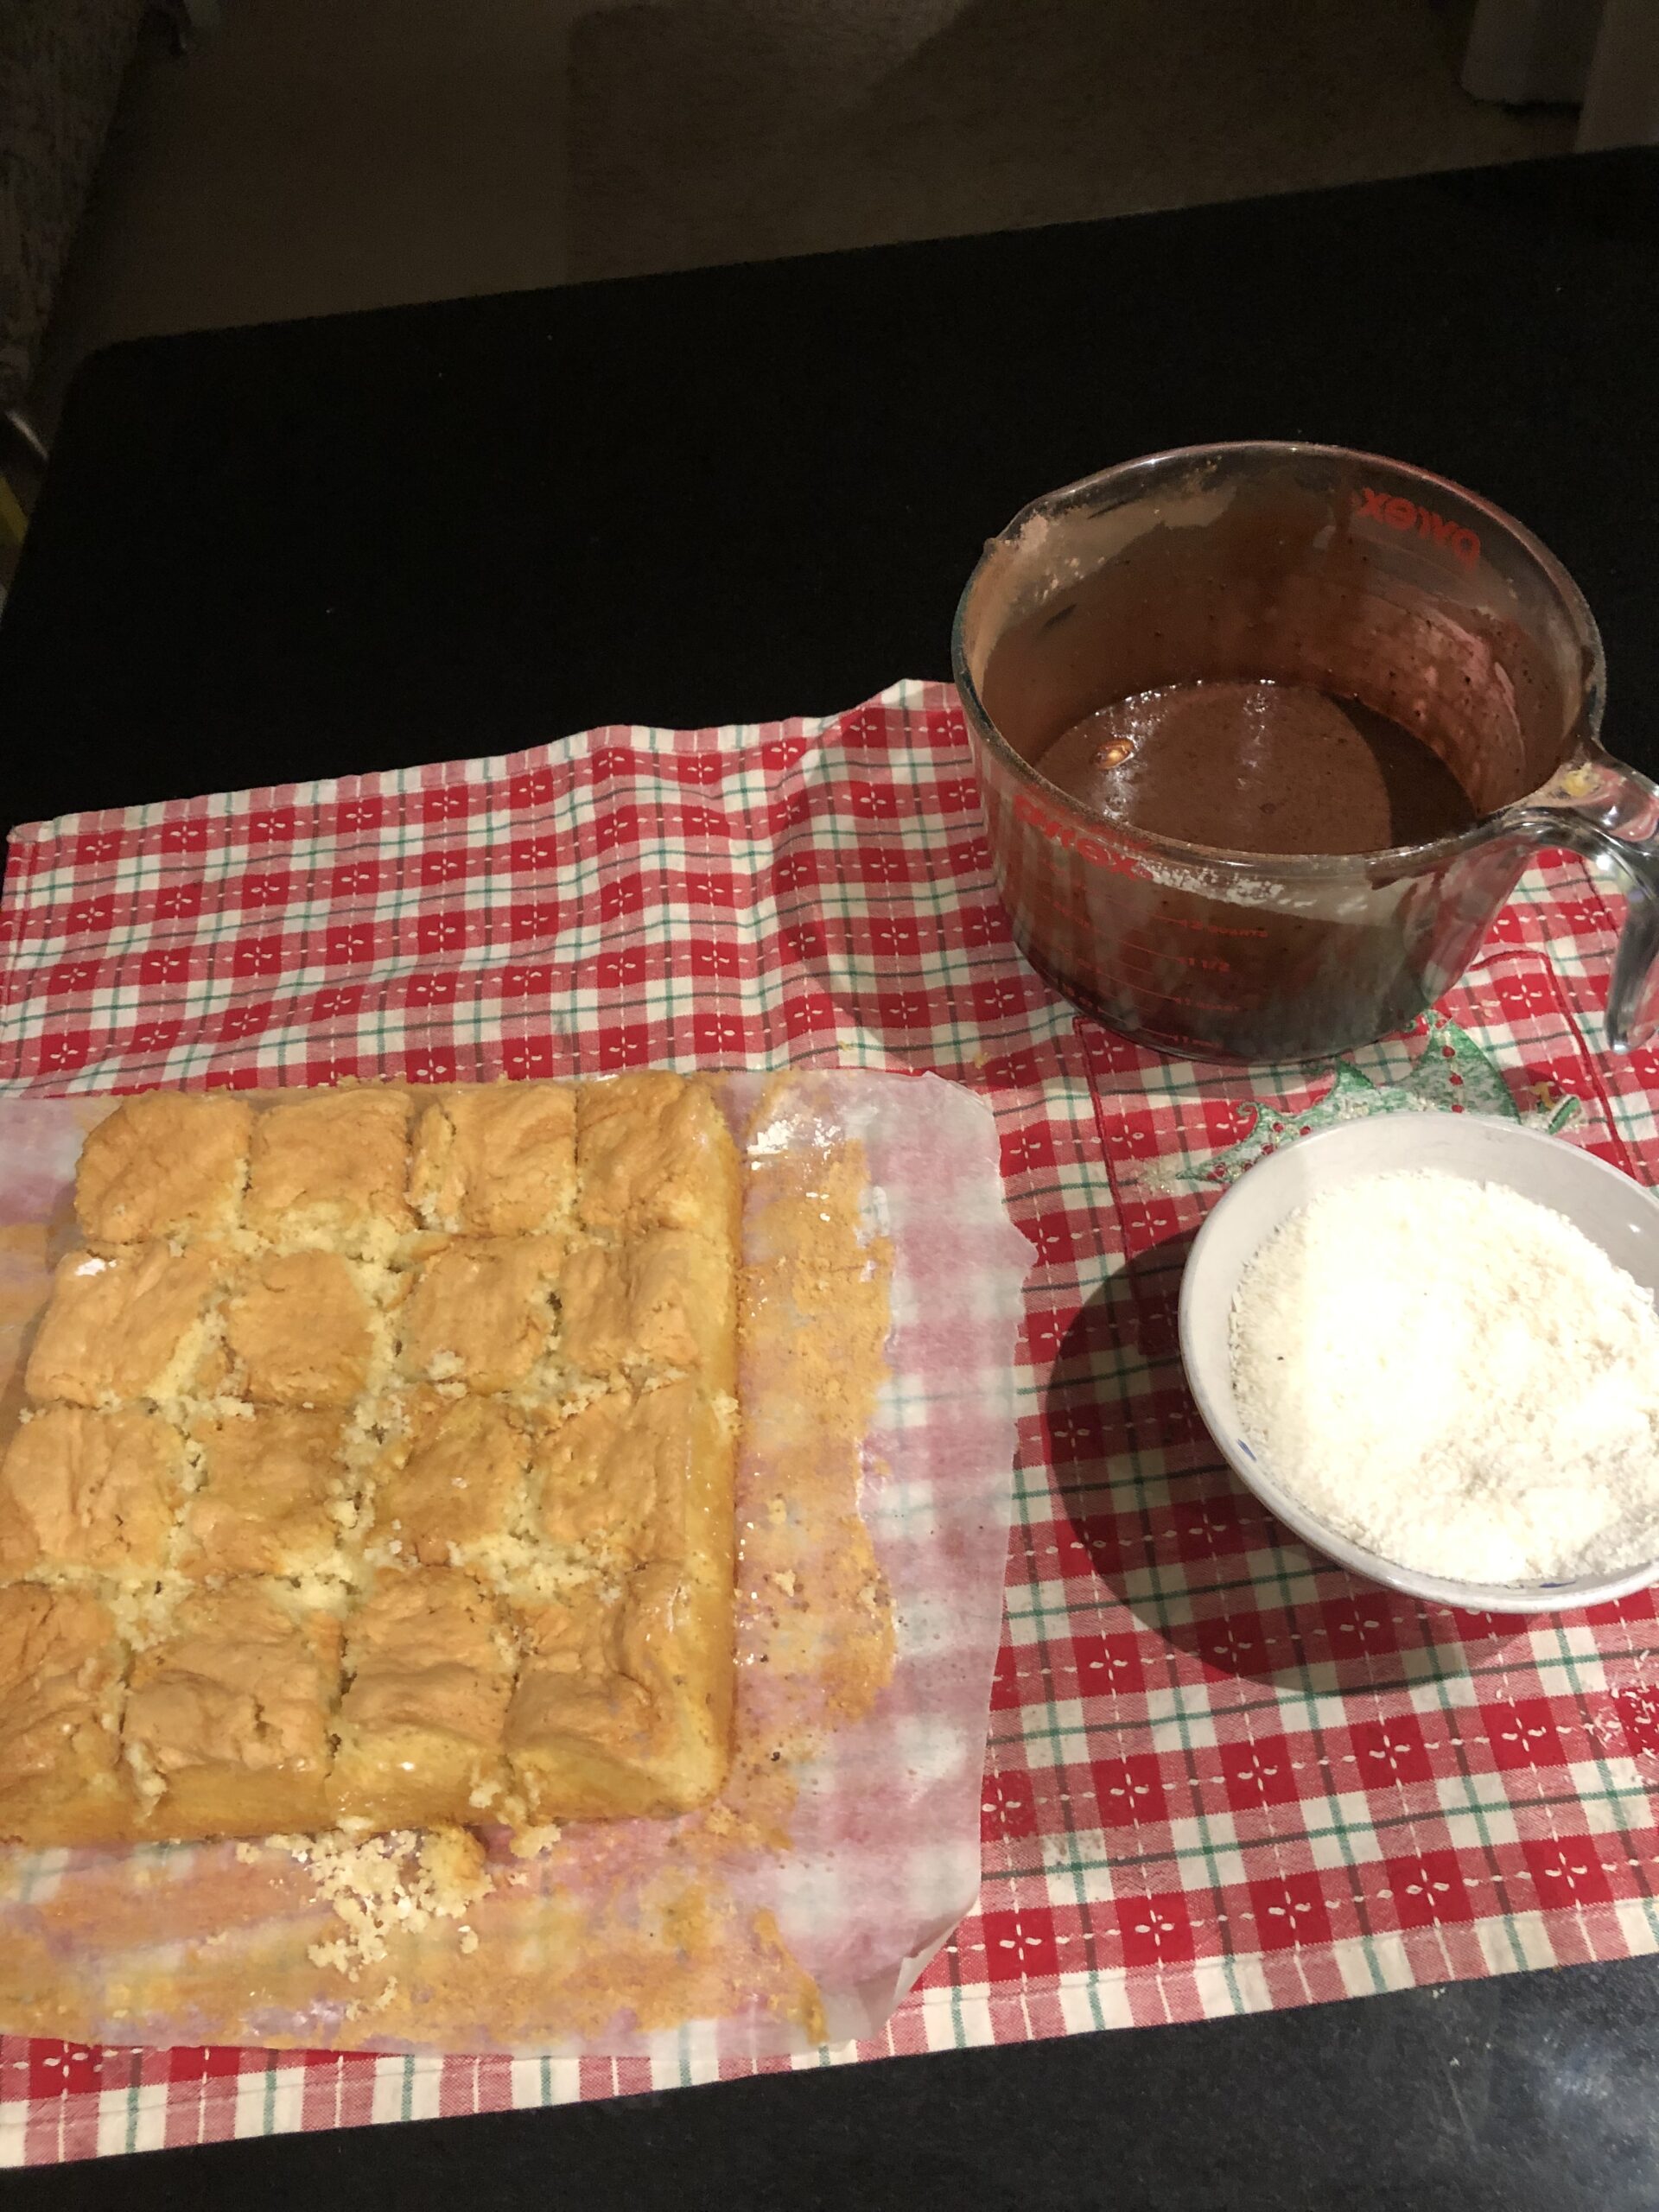
Roll your dough up from one of the long sides and cut evenly into thick slices. Then pop them into your hot oven for 10-12 minutes, easy as that! So quick to make and a nice rustic version with the wholemeal flour, sooooo good warm from the oven!

I hope you have a go at this recipe for yourself as it’s super yummy as an afternoon treat.

Thanks for reading and hope to see you back here soon!


2022-08-08T19:13:22+12:008 August 2022|Bakes, Fundraising cookbook, Kiwi bakes, Scones, Vintage Kitchen|0 Comments

Lamingtons

With the school holidays in full swing it felt like a great time to whip up a kiwi classic!

This is something I don’t make that often due to the fact that it can get pretty messy in the kitchen when the kiddoes get involved.

You will find these in every good bakery in NZ, some even filled with cream too. A good lamington is light and soft, soaked in chocolate or strawberry icing and thoroughly covered in delicious coconut.

This recipe makes them from scratch but if you want a cheats version you can buy a plain sponge and do the icing yourself. Just a heads up though, that’s the messy bit. 😊

This recipe requires:

6 eggs

2/3 cup caster sugar

1/3 cup cornflour

1/2 cup plain flour

2/3 cup self raising flour

3 cups icing sugar

1/2 cup cocoa powder

15g butter melted

2/3 cup milk

Desiccated coconut for rolling in.


First we put all the eggs in our electric mixer to beat for 10 minutes until they are thick and creamy.  It’s  best to preheat the oven to 180 degrees Celsius and grease and line a square cake tin while you are waiting unless you fancy a quick dance party instead.

The sugar gets put into the egg mixture gradually until dissolved and then make sure you triple fold your combo of flours as this makes for a lovely light sponge. Add this to the mix.

Super simple right! This mixture goes into your prepared cake tin to bake for 30 minutes. When it’s done it gets cooled upside down on a cake rack. A good tip that makes the cake easier to dip in the icing, is to make it a day ahead.

Mix all the remaining ingredients together until it is nice and runny and cut your sponge into squares.  This is where you need to ignore the clean freak part of you and throw caution to the wind. Your hands will be covered in icing as you coat each piece, then roll over in a low tray full of coconut, making sure you have them all covered.

Exercising all of your control leave them to set for a while to make eating them a bit easier.

They are delicious filled with cream and jam too, if you like to treat yourself. 😊

I hope you enjoy these as much as we do, thanks for reading and please come back again soon.


Mrs Beeton’s Adventure – Strawberry Drops

After a break from our regularly scheduled programme, I am back again with another adventure into the great Mrs Beeton’s cookbook. 😄

As a celebration for retaining our sanity through a very loooooooooong lockdown, I thought it was time for a special treat! I think we all deserve one, so here goes….

I guide you to the very sweet section of ‘Confectionery and Ices’ of this lovely old cookbook and very summery sounding (and smelling, it turns out) Sweet drop. Now this recipe is called Strawberry drops but the caption says that you could use any fruit you desire. Let your imagination run wild people!

I decided to stick to the original plan and make these with my family’s favourite summer fruit – Strawberries. 🍓

The recipe ingredients are pretty concise and you will only need 1/2lb of finely powdered sugar (icing sugar), 1/2 pint of the juice of your chosen fruit (pulp) and 2 egg whites. Should be a super quick treat right? Sounds perfect!

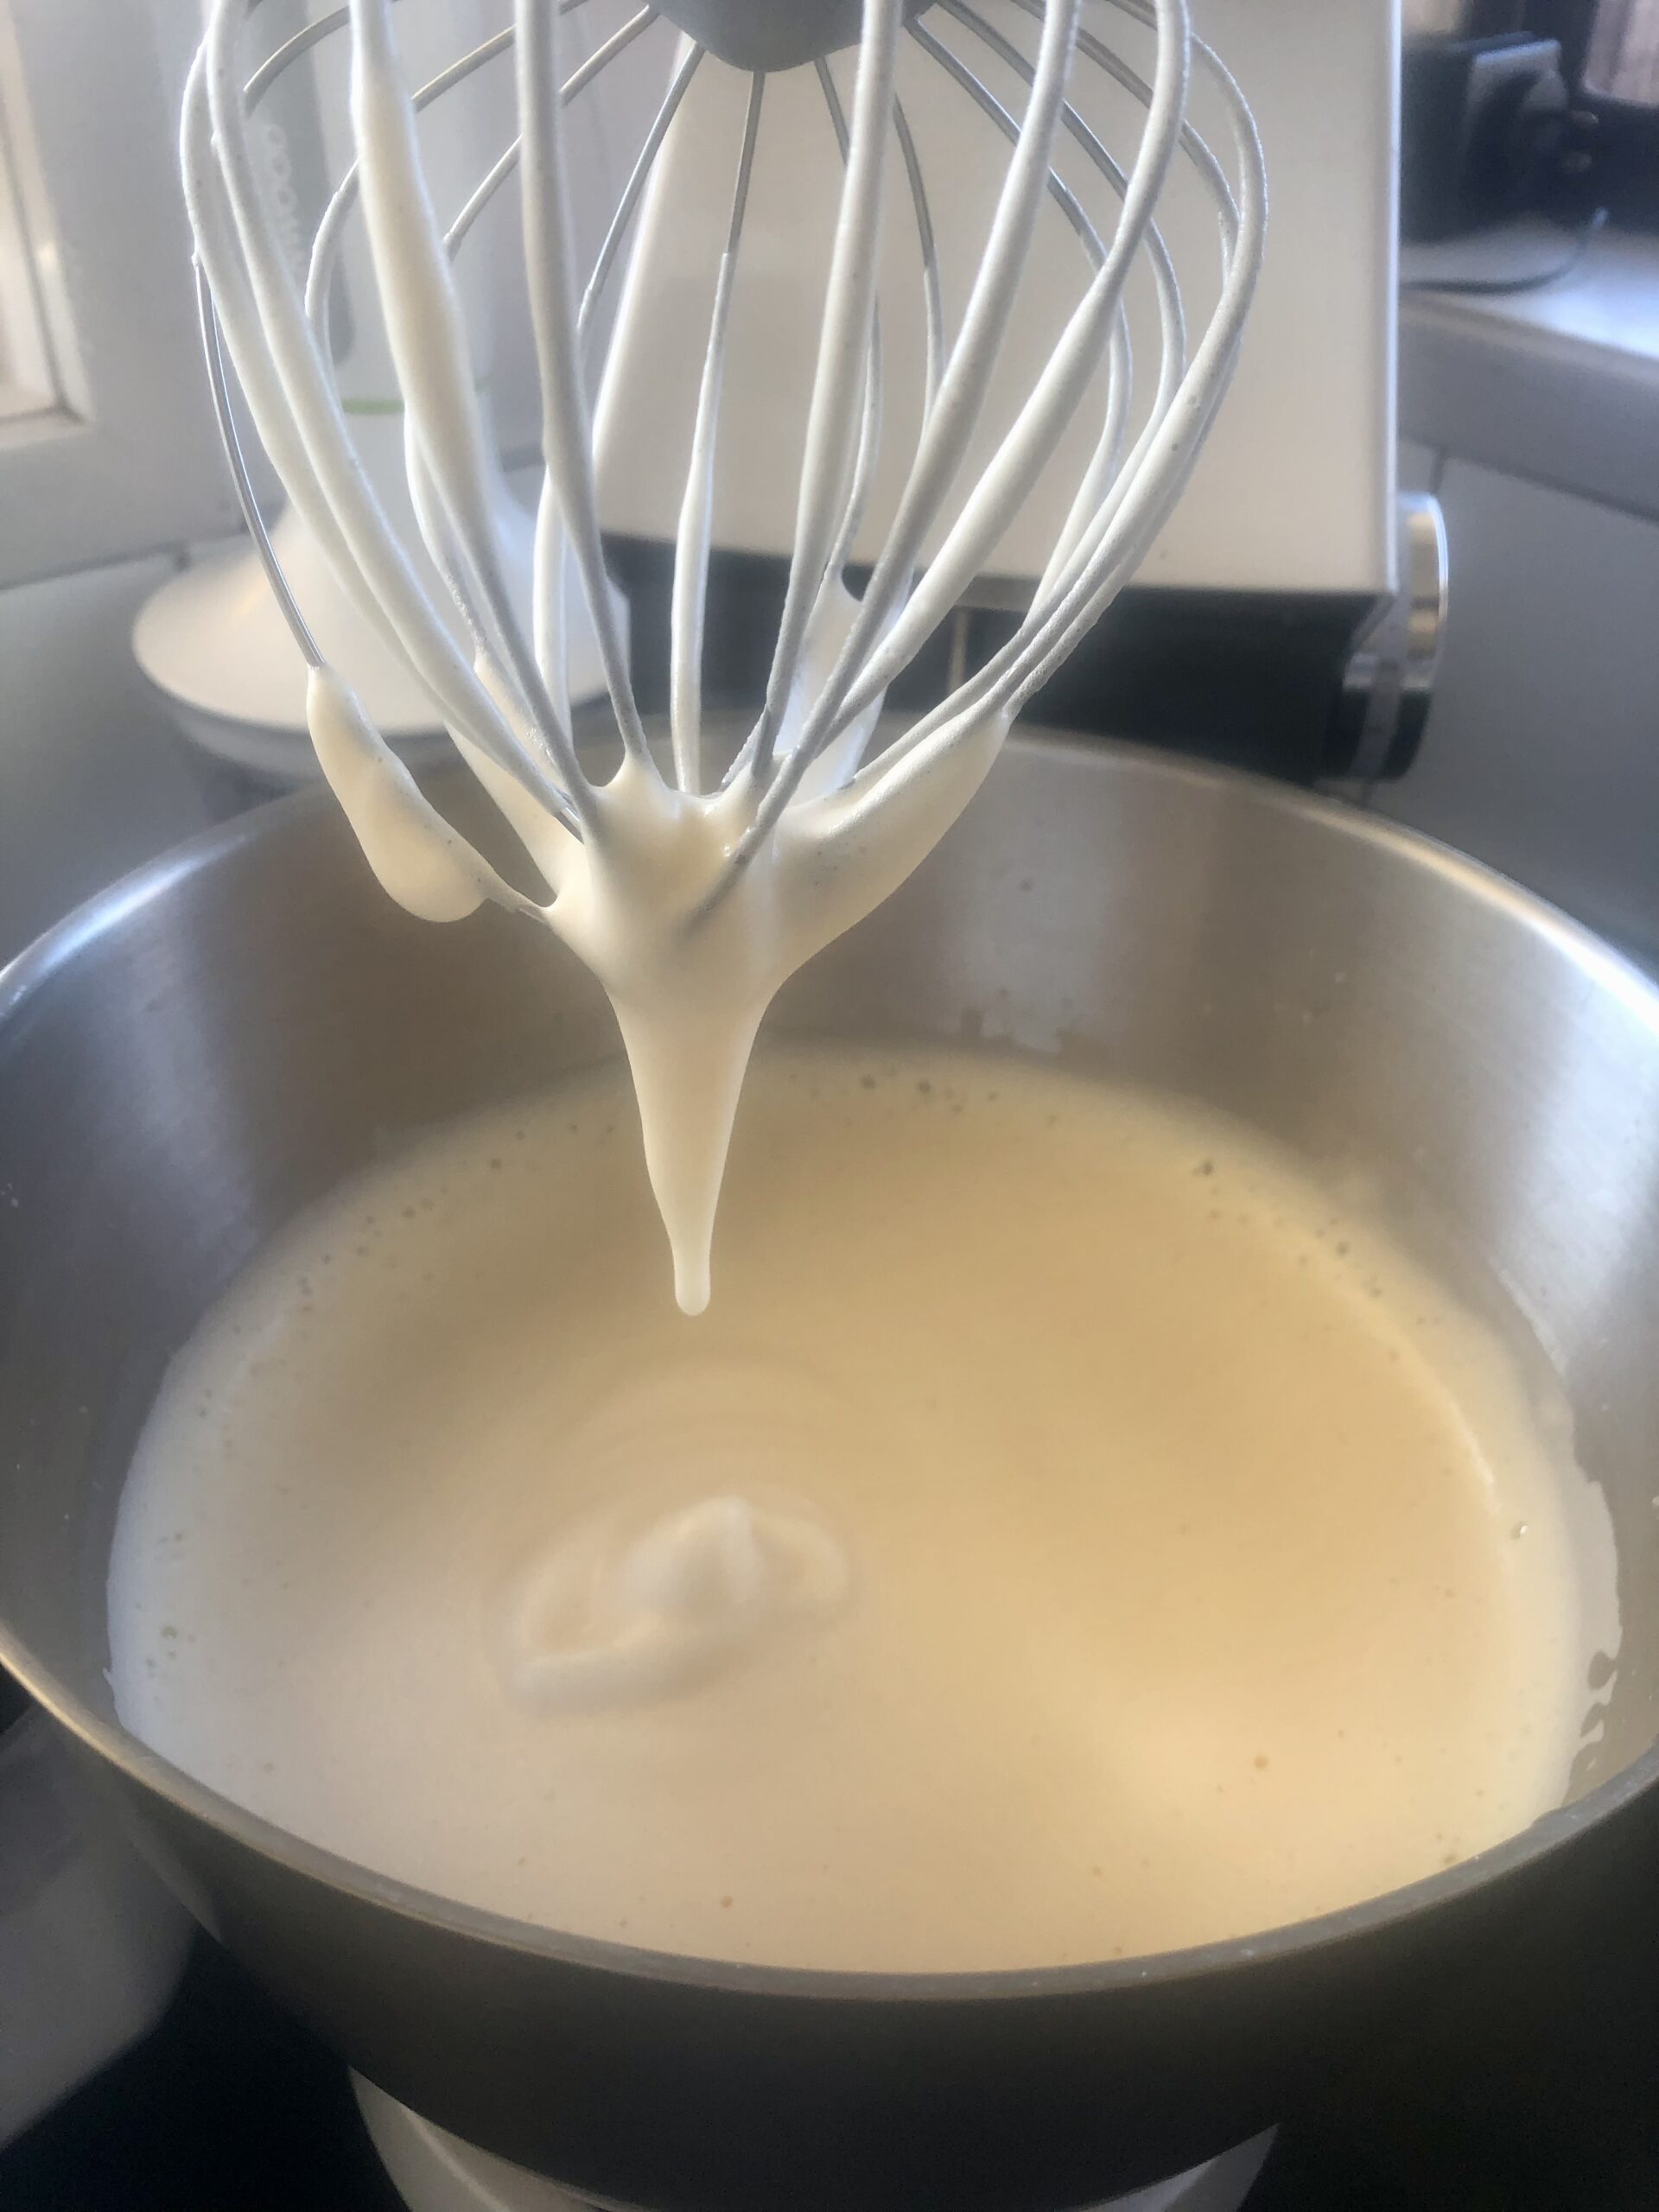
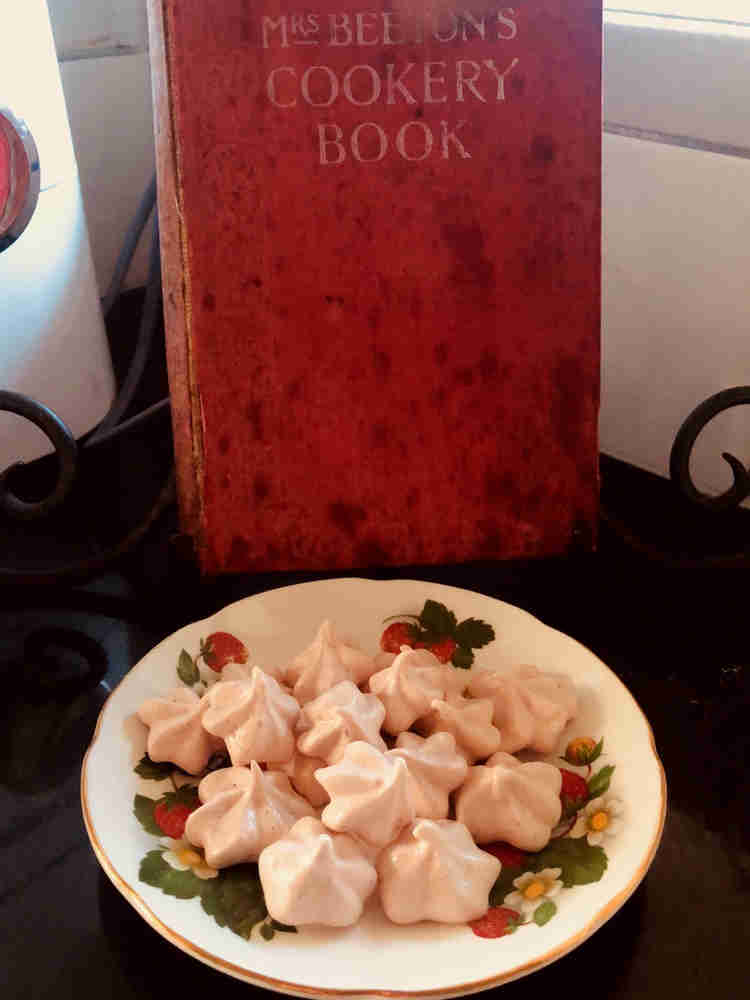
I started by whizzing my fresh strawbs in the food processor and straining then again through a sieve so that I had a smooth as silk ‘juice’. Then all you need to do is whip the egg whites into stiff peaks and fold the three ingredients together. If you are no stranger to cooking you may be taking a look at your mixture right now and thinking it’s pretty much like a flavoured meringue, right?!

It pretty much is, and the smell of the fresh fruit is divine! You may want to make these in all different flavours just to have this smell in your house 24/7. 😄

So I got my lovely piping bag out and fitted it with a pretty nozzle and spooned the mixture into my bag ready to pipe some teeny drops onto my baking tray. Making sure I had lined multiple baking trays with paper (cause it makes heeaps!) I went ahead and piped them out.

Now the recipe only says to ‘bake in a very cool oven’, so I needed to call on my previous meringue knowledge for this one. I set my oven to 120 degrees Celsius and baked them for around an hour, It ended up a very long dance party time today as it made 4 trays of mini ‘drops’

All that was left now was to plate up a dainty plate of drops and ration myself to a few at a time. 😄 These are great for decorating cakes and desserts and the natural fruit flavour is better than a processed sweet any day. Don’t be scared to try making homemade sweets and candies, they will be so much better for you than the store bought kind.

In my YouTube video I include an excerpt from Mrs Beeton encouraging you to do just this. 😁

I hope you enjoyed this quick bake, let me know below if you would like to read about more sweets from this cookbook. Check out my YouTube video below for a follow along tutorial.

Hope to see you back again with my next instalment. 💕

2021-11-10T08:55:03+13:006 October 2021|Bakes, History, Mrs Beeton's Cookbook|0 Comments

Baking Bread – Pretzels

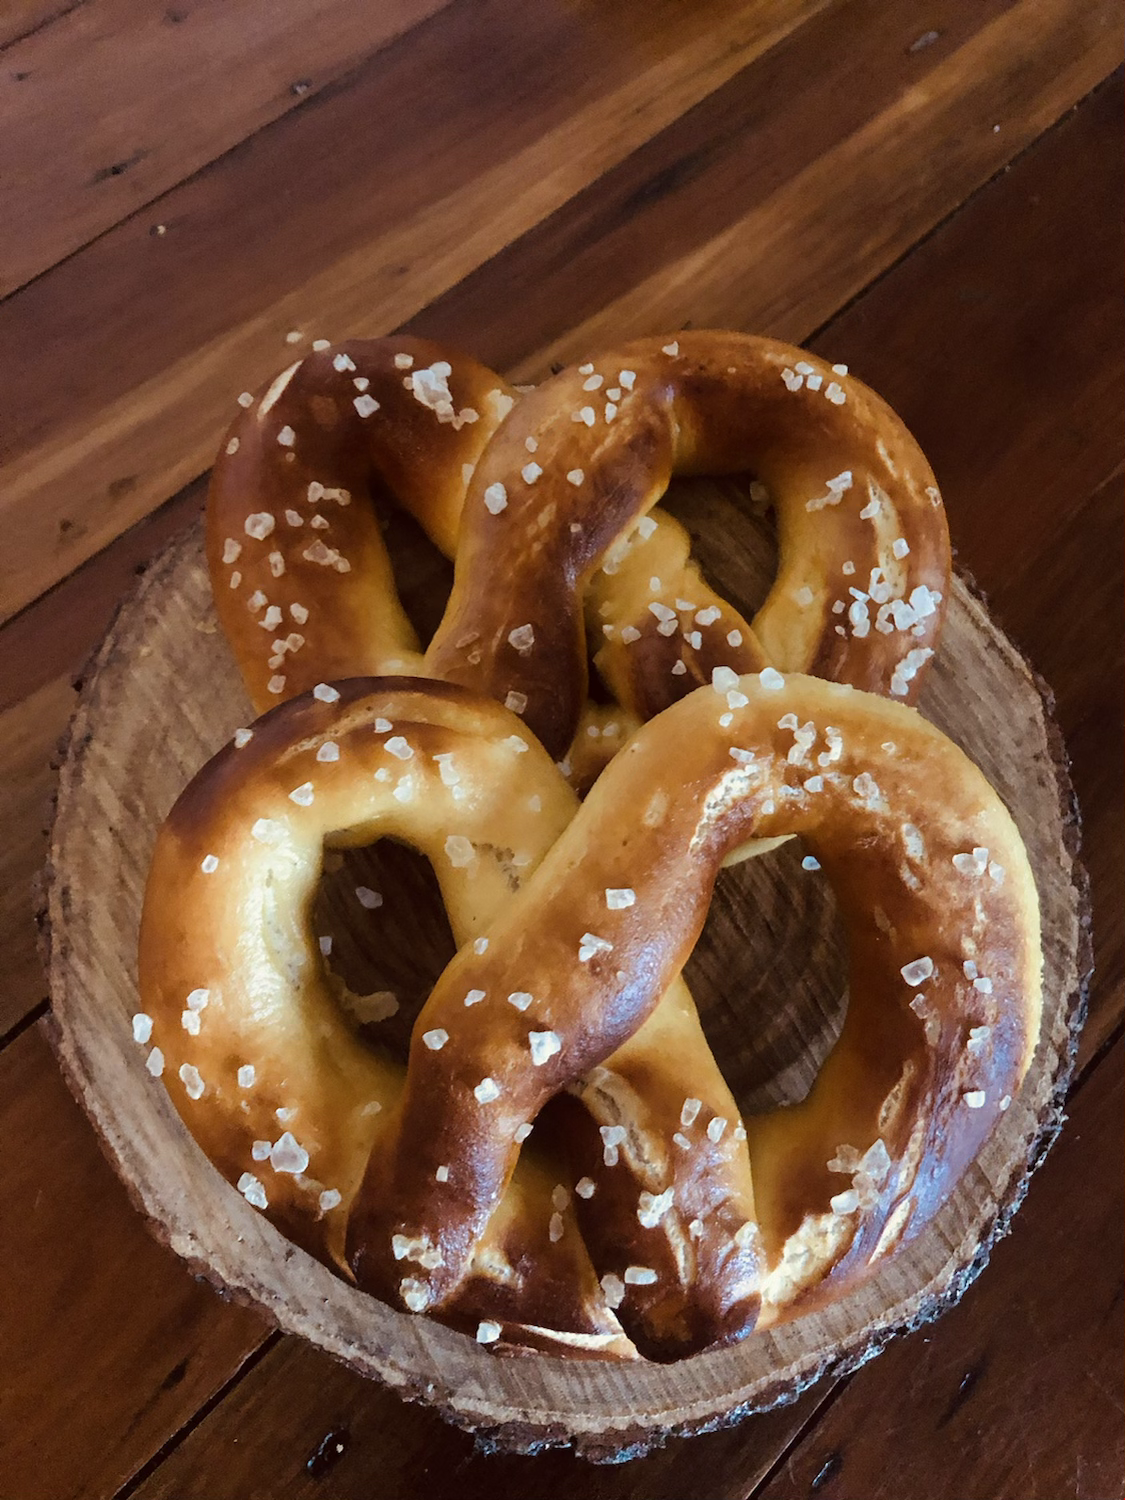
Hi everyone, with so much time on our hands and nowhere to go right now it’s the ideal time to test your bread baking skills!

I wanted to stretch myself (literally) and try something I had never attempted before, and what better way to do that than by making Pretzels! And no folks, not the little crunchy ones, the big soft, salty goodness that is a giant pretzel. 😀

You will need a few ingredients on your bench but THE most important one has to be PATIENCE. 😀. Yes people, bread is a bit of a waiting game and if you are not a patient person this your second test.

Here is the ingredient list:

1 1/2 cups warm water

1 Tablespoon sugar

2 teaspoons kosher salt

1 package active dry yeast, or 2 1/4 teaspoons

4 1/2 cups all-purpose flour

1/4 cup melted butter

10 cups water

2/3 cups baking soda

1 large egg yolk with 1 Tablespoon water

Pretzel Salt/Rock salt

Non-stick cooking spray/oil

For the first step I put my warm water into the mixing bowl, stirred in the sugar and salt and sprinkled my yeast into the water on top. The first wait is a short 5 minute one while the yeast puffs up/froths in the water.

Then I added the rest of the ingredients up to the melted butter. Making sure I had my dough hook attachment on my mixer I tuned it to medium speed and let it work it’s magic for around five minutes more. And low and behold – a lovely dough ball.

Now the longer wait begins…oil a clean bowl and cover with plastic wrap or a damp cloth for an hour or more, or until it is double the size.

The next bit involves a bit of rolling and some time making your best pretzel shapes. Dividing it into 8 pieces I rolled each one out into a long thin rope until they were all 24” long.” ( Yes, I did get a ruler out to measure 😄).

I then made some lovely U shapes and brought the ends down to cross over and meet the bottom of the U. 🥨

Lining them all out on two baking paper lined pans I put a pot of the water and baking soda combo on the stovetop to boil. Now, one by one I placed them into the boiling water for 30 seconds at a time. Another time consuming process, but essential to the bake.

Brushing these lovelies with an egg yolk/water wash combo I then sprinkled them with my rock salt (as that’s all I had available). They then go into a preheated oven at 235 degrees Celsius for approximately 14 minutes (keep that timer handy people).

They go a gorgeous deep golden brown and glisten if you brush them with melted butter straight outta the oven.

If you have a bit of time on your hands and LOVE pretzels, why not give this bake a go!

‘Til next time folks ❤️

2021-11-10T08:55:03+13:0030 August 2021|Breads|0 Comments

Mrs Beeton’s Adventure – Roly-Poly Jam Pudding

Welcome back to my next instalment of Mrs Beeton’s adventures, and here in NZ right now I thought everyone could do with a comfort food bake. ❤. Lets be swept away, come join me on my next adventure into the vintage baking world…..

Many of you may have made or eaten versions of this bake during your childhood and I think it’s lovely to bring back those memories by baking something with love. Today’s journey takes us into the world of pastry and puddings where we are going to be making a Roly-Poly Jam Pudding. 😁

Now this one is a three parter as I could not leave out the thing which makes this pudding extra nostalgic, but first things first I gathered the ingredients together for the pastry and jam pudding on my benchtop and set to work.

There are only two ingredients in Jam Roly poly but the first is suet crust which I needed to make from scratch beforehand. Suet crust includes flour, beef suet and water, now I couldn’t get hold of beef suet, so after consulting Mr google I decided to use shortening instead. If using beef suet the instructions are to ‘free the suet from the skin and shred, then chopping up extremely fine, rub into your flour‘. As I was using fridge cold shortening I used my old trick and grated it into the flour to give a fine consistency when rubbing in. For every pound of flour you will need 5/6 ounces of suet (or shortening) and then mix in 1/2 pint of water.

After mixing it by hand or in my case, my trusty Kenwood mixer it should look something like this…

Mrs Beeton explains that if you would like to go for a richer pasty you can use 1/2 to 3/4 pound of suet to every pound of flour. And if you are feeling extra energetic on the day, why not pound the suet in a mortar with a little butter and lay it on the pastry in small pieces as you would do for a puff pastry.

My workout today was the rolling of the pastry on my baking board, to around 1/2 inch thick. I think that’s plenty for one day, don’tcha think. 😁 Then the fun part was lathering the pastry with my homemade rhubarb and strawberry jam, the recipe calls for 3/4 pound but I say why not go wild!

Then you know what to do….roll it all up into a big sausage. I laid it on some floured calico I had, rolled that up around it and tied the ends up like a Christmas cracker. 😁

Mrs Beeton says to put the pudding into boiling water and boil for 2 hours. As I didn’t have any pot big enough for that feat I made a makeshift water bath and put my trusty oven to the test, at 180 degrees Celsius. Because the water evaporates you will need to keep an eye on it and top up when necessary.

Here are my Macgyver skills in action. 😂

While that was cooking happily away I got to thinking….What jam Roly poly is complete without the addition of some glorious custard. Why not go the whole hog people, it wouldn’t be the same without it. ❤️

Waddya know, there was a recipe for Boiled custard just a few pages along. This custard needed a pint of milk, 3 eggs, 3 oz sugar and flavouring of whatever your hearts desire. Mrs Beeton suggests bay leaves, lemons rind or vanilla extract, and a cheeky tablespoon of brandy to finish it off.

The milk gets popped into the saucepan with the sugar and flavouring and ‘steeped by the side of the fire until well flavoured’. I chose a low setting on my stovetop for this. The flavourings get taken out with straining the milk and then you will need to cook down the milk a little before stirring in the whisked eggs (you don’t want scrambled eggs in your custard, trust me).

There is a very lengthy description of what to do if you would like a richer custard, of which some are using 2 duck eggs, cream instead of milk, and doubling the eggs using only the yolks. The pot goes back on the heat and stir it ‘only one direction’ until it thickens. A very important point in italics is on no account allow it to reach boiling point, in other words have patience (if you can). The brandy is added after it is taken off the stovetop if you so desire and nutmeg grated on top. 😁

Violà! Delicious custard! 🤤

All that was left to do was remove the pudding from my oven and wait patiently for it to cool a little to avoid burning my fingers.

Cutting it into slices and putting 2 in my bowl (no judgment please 😁), I poured a healthy amount of custard and sat down to enjoy.

I hope you enjoyed this bake as much as I did, don’t forget to let me know if you’ve tried it by commenting below. Remember if you would like a follow-along video that will be up on my YouTube channel soon.

Til next time lovely readers ❤️ Bon Apetit!

2021-11-10T09:04:25+13:0027 August 2021|Bakes, Cakes, History, Makes, Mrs Beeton's Cookbook|0 Comments
Go to Top