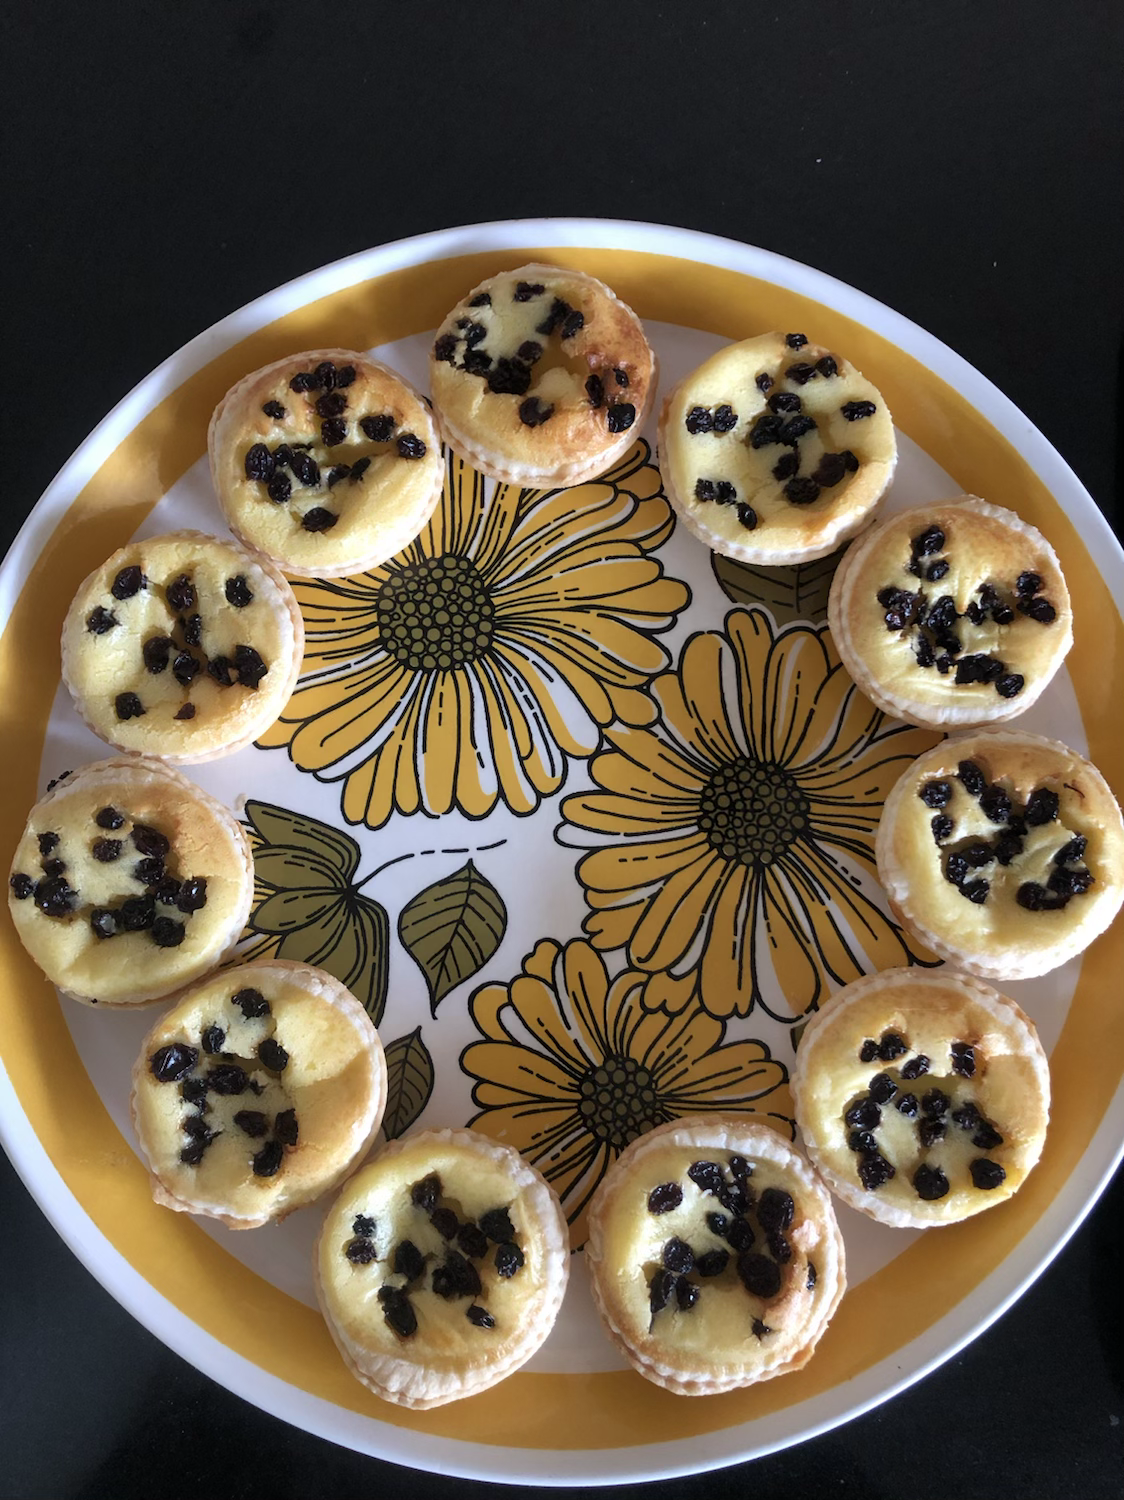
Nut Biscuits

We are travelling back to the 1930’s with the Bestway Cookery Gift Book.

The tagline reads:

“A book that will take you, step by step, through the Everyday Dishes to Delightful Experiments in high class Cookery!”

If that doesn’t inspire you what will?! 😁

This one starts with the filling first, a bit like eating your dessert before dinner, which is something that sounds good to me!

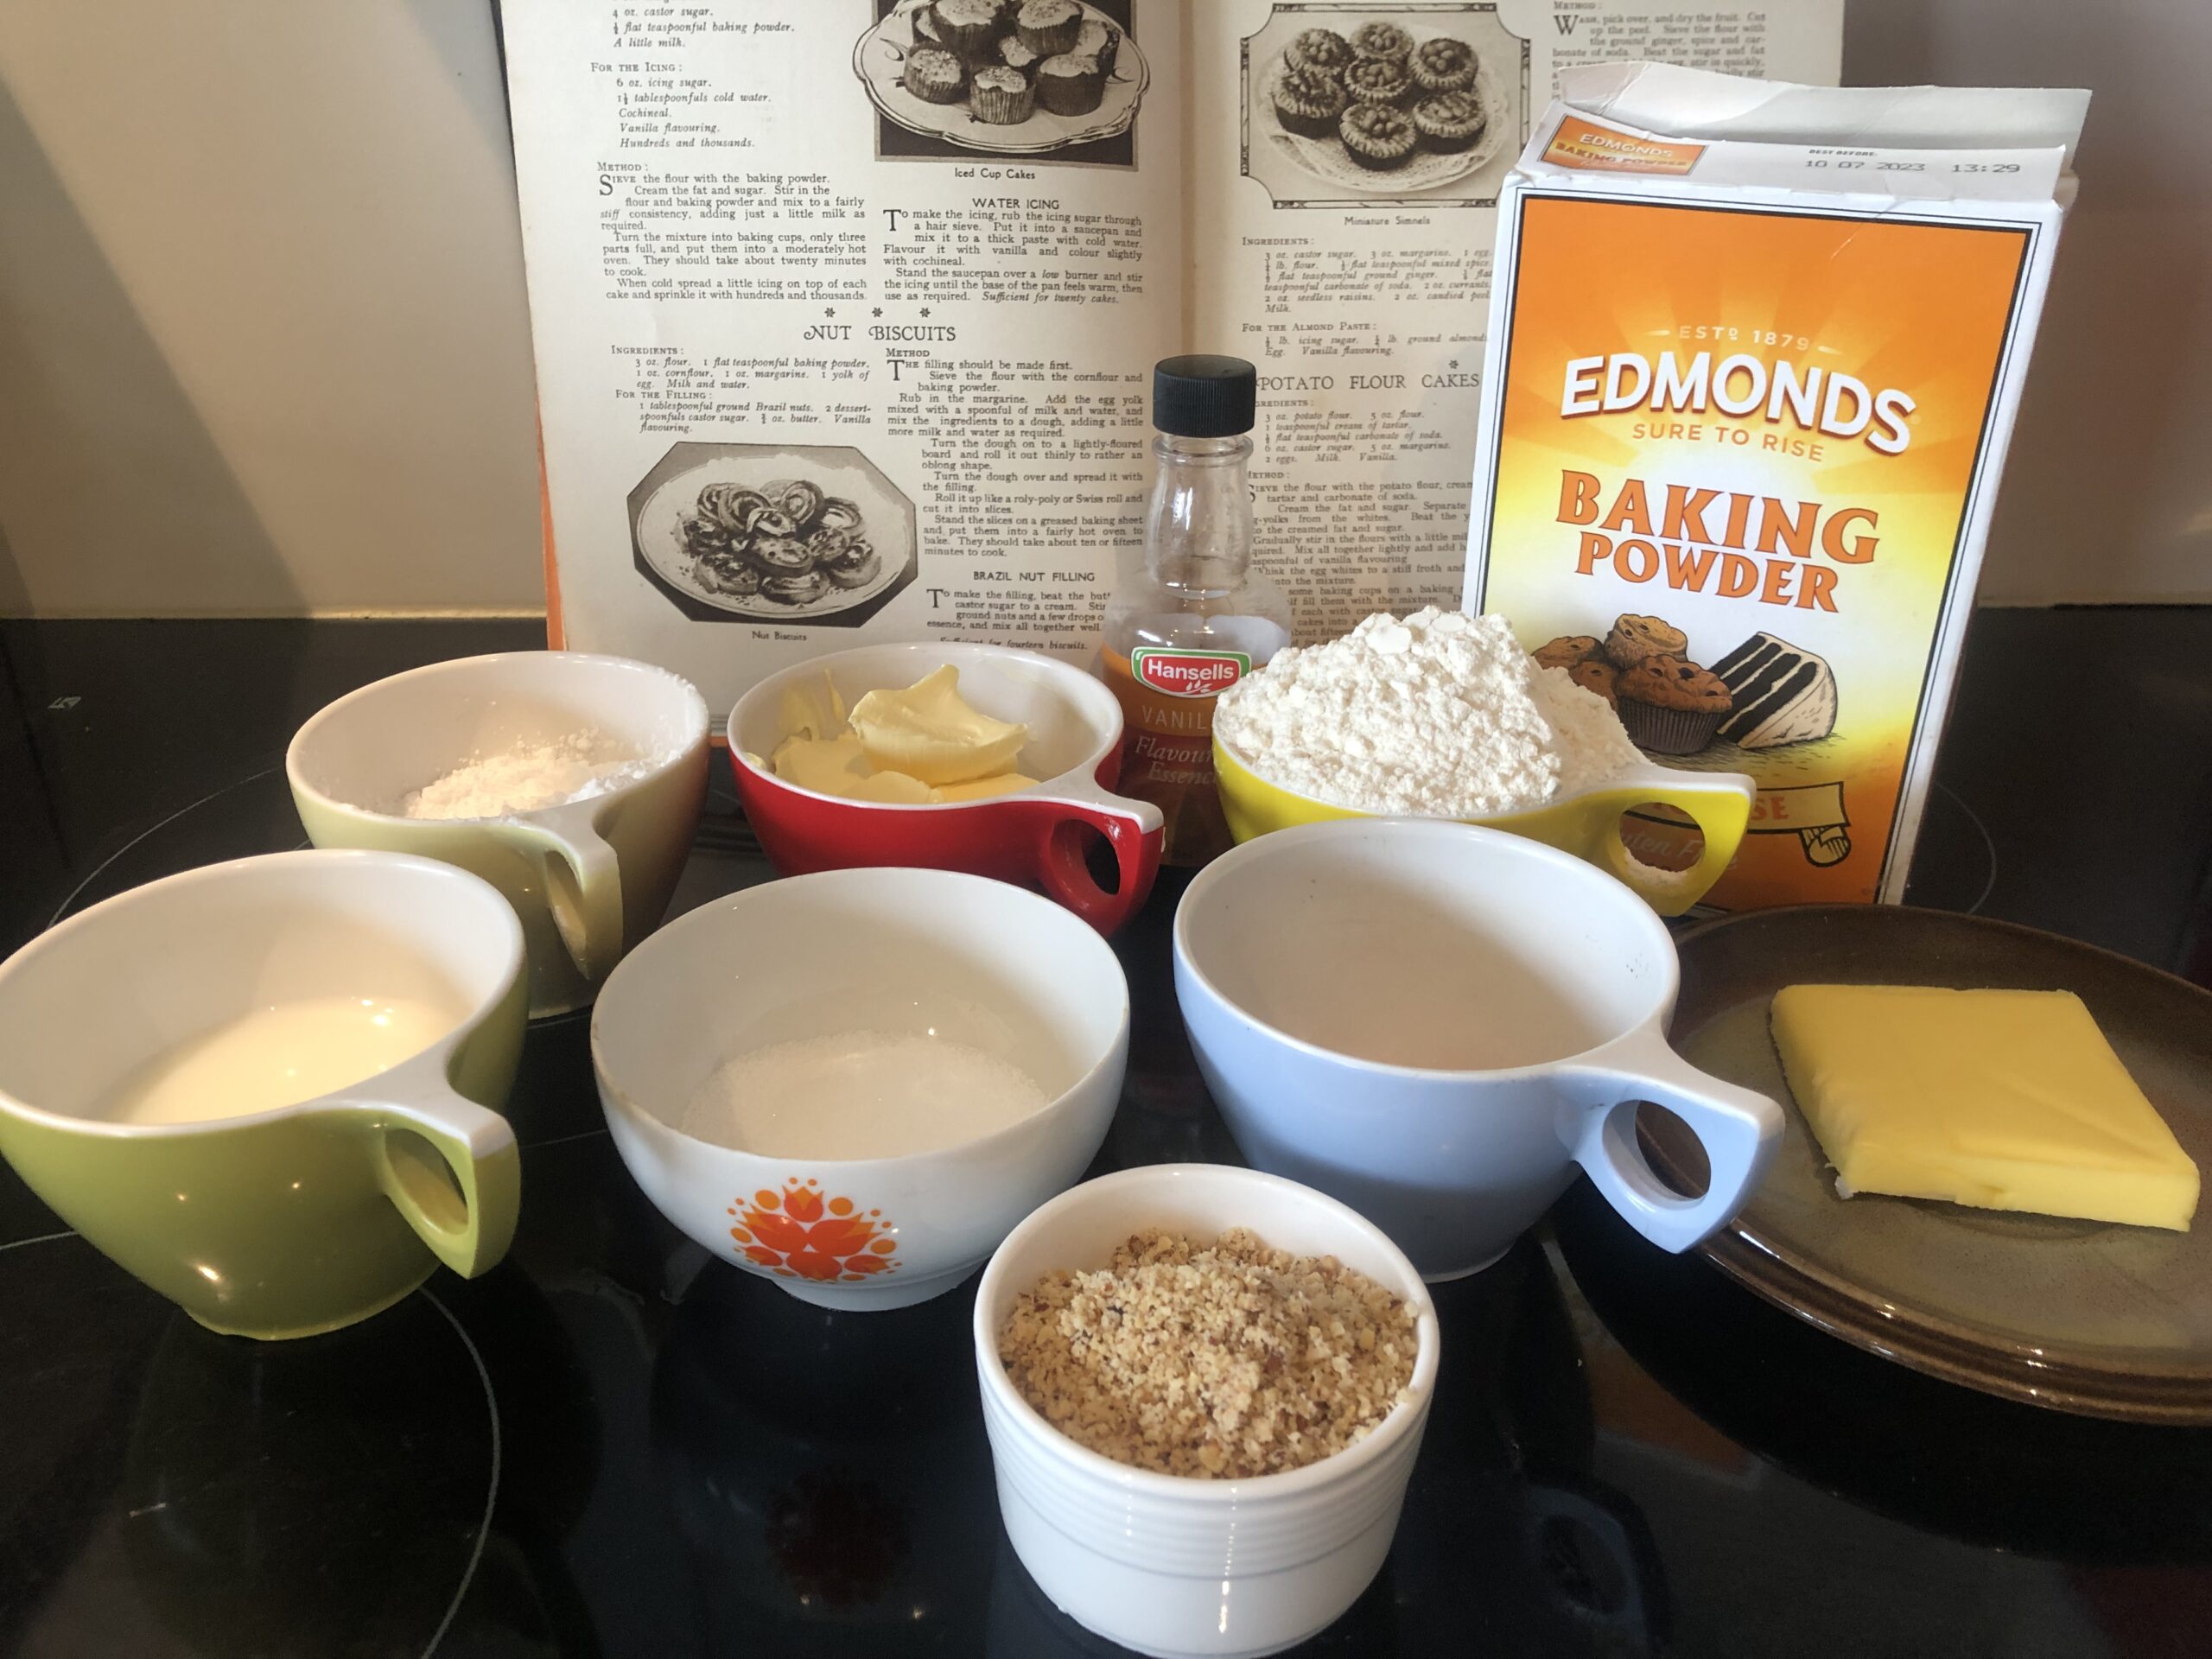
Cream 3/4 oz butter with 2 dessert spoons of caster sugar and stir in a tablespoon of ground Brazil nuts and a few drops of vanilla essence.

Now onto the main event – the dough..

Sieve 3 oz flour, 1 oz cornflour and 1 teaspoon of baking powder. Rub in 1 oz margarine with a mini blender if you’re feeling lazy (like me 😁), add one egg yolk and a spoonful of milk and water mix until it comes together as a dough.

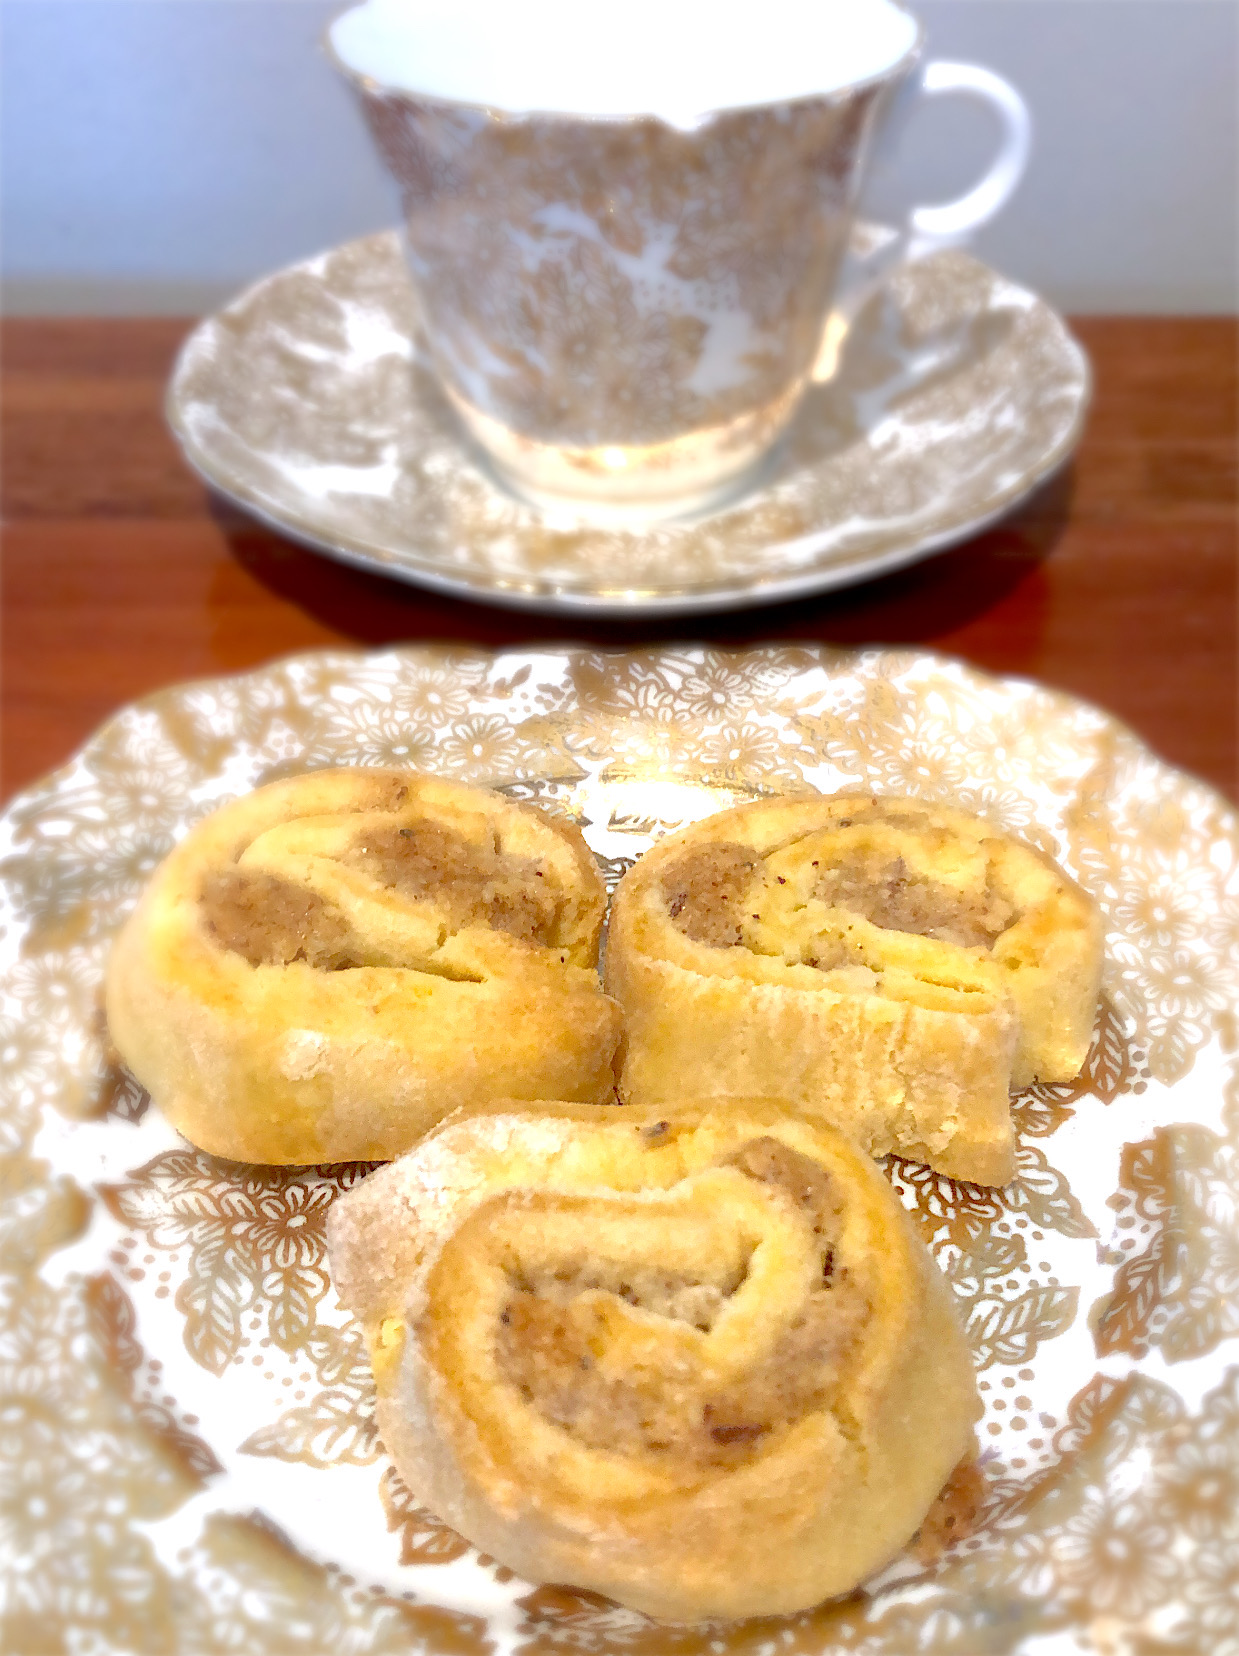
Roll it out on a floured board into a thin oblong shape and spread it evenly with the filling. (Here’s something I prepared earlier moment.) Rolling it up like a Swiss roll and cut it into biscuit sized slices.

Pop them into a ‘fairly hot oven’ (I picked 180C) for ten to fifteen minutes.

They come out lovely and crunchy and a the taste is a lot like biscotti.

Do try it and let me know what you think 😉

Thanks again for visiting my little blog, hope to see you back again soon.


2023-06-17T17:29:21+12:0017 June 2023|Bakes, Bestway Cookbook, Biscuits, Vintage cookbook|0 Comments

Mrs Beeton’s Adventures – Breads

Welcome back to my lovely readers, I thought I might go in a different direction this week, from my usual sweet bakes.

I don’t think you could find many out there that don’t love one of these delicious beauties heated with butter and lashings of golden syrup. Yes today I’m heading into the wonderful world of the golden crumpet!

The glorious crumpet is said to have originated in Wales and the earliest recipe was written way back in 1769. Originally cooked on a iron griddle pan over an open fire, which you will be relieved to know I won’t be attempting today. 😁 No need to ring the fire brigade, lol.

I started out with a quart of milk warmed, this is rather a lot so make sure you have plenty left over for your accompanying cuppa. A quart is equal to 4 cups or 1 litre of liquid. I then added 1/2tsp of salt and 1 1/2 ounces of yeast and stirred that up to froth. This recipe doesn’t actually give any quantities other than the milk so I used a bit of previous knowledge of breads and a bit of good luck.

When adding the flour you need to make sure the dough is more like a batter than a dough, so more on the pouring scale. Then I exercised a bit of patience, yes I know, I’m learning. 😁 Leaving it to sit for at least half an hour to rise and get all ‘bubbly’ (the technical term).

Now make sure you have more than one crumpet ring or you will be stood at the cooktop until your legs give way (gained from experience 😁). Spray oil is a fantastic invention to grease the rings before filling with batter, making them much easier to remove.

I cooked them in a hot pan until they were golden on both sides. When you flip over with a spatula you may get some oosing of batter, no problem, just push the ring down and this gets chopped off so they are all evenly round.

If you manage to wait until they are all cooked you can heat or toast them, or you can eat them deliciously hot off the stovetop with a cute little butter pat and some golden or maple syrup.

Please don’t forget to let me know how you get on with your crumpet adventure and don’t forget to tune in for more Mrs Beeton’s adventures!


2022-03-23T13:13:38+13:0023 March 2022|Bakes, Breads, History, Mrs Beeton's Cookbook, Vintage Kitchen|0 Comments

Mrs Beeton’s Adventure – Folkestone Pudding Pies

I hope everyone is ready for an afternoon tea treat with this recipe, as my next adventure was in the ‘Pastry and Puddings’ section of my Mrs Beeton’s cookbook.

As you will know I love to bake, so this one was pretty exciting for me. I searched for a recipe which had an ‘olde worldly‘ feel to it and after poring through the recipe goodies I decided on ‘Folkestone Pudding Pies’. I know what you’re thinking – that sounds interesting!
I’ll keep you in suspense no longer, here we go…

The ingredients I gathered on my bench were; milk, ground rice (rice flour), butter, sugar (white), 6 eggs, puff-paste (puff pastry sheets – to save time), currants and my chosen flavouring. The recipe suggests lemon peel or bay leaves, you can use whichever one takes your fancy. 🙂

The most exciting part was having it all in pounds and ounces so that I got to use my very cool op shop buy of my brown retro salter scales. Groovy baby! 😄

The flavouring is used to infuse your pint of milk with and needs to sit in the milk for at least a half an hour, minimum, for this to happen, then we take these out of the milk and add the rice flour (3oz).

I then ‘set it on the fire’ (which is really just my stovetop, but the fire sounds so much cooler) for 1/4 hour. I had to really watch it and stir the whole time in order to not end up with a gluggy, lumpy mess.

You are really just making a super light custard by using the rice flour, and as an added bonus it is gluten-free if you have anyone in the household who is also gluten-free.

After my 15 minutes was up I took it off the heat and added my 3oz butter (chopped for easy melting), 1/4 lb sugar and my eggs (these need to be beaten well before adding). This mixture has to be left to cool, so again the need for a dance party for one while I was waiting. 😄 You could totally put it in your fridge to help speed up the process if you’re pushed for time or don’t feel like dancing.

I used a standard-sized ‘patty-pan’ tray to make my pudding pies in, but you could use any size you wanted, Go muffin size for a good-sized dessert or mini for some delicious bite-sized ones. I chose a circular cutter to cut out the bases for my pies and greased and floured the tray before placing the pastry in them. This was just to make sure that I could get them out easily without any brute strength involved.

Greasing and flouring creates a non-stick base if you don’t have any baking paper or the time to cut it out.

Each circle was placed in each patty mould and these were filled up to the top of the pastry with the cooled custard. I went wild sprinkling currants onto each one (cause I love them), and then put them on to bake at 180 degrees Celsius for 20-25 minutes. The recipe just states that the need to be cooked in ‘a moderate oven’, so I used my baking experience to determine how hot my oven needed to be.

Now I managed to fill 3 dozen patty pans with my mixture, as I chose the standard size, but this would change depending on the size of your trays. She does say ‘sufficient to fill a dozen patty pans’, so I’m thinking she went for the larger size. Back then, Mrs Beeton let us know, the average cost was 1s 6d.

Now I’m kind of glad that it made so many as they didn’t last long in my house, everyone that tried them loved them. I likened them to the flavour of a very light bread and butter pudding and would love to know if you try them too!


Every baking day is a happy day!

Don’t forget to subscribe for further updates everyone ❤️


Video link on You Tube for this bake at:

#vintagecooking, #vintagecookbook, #mrsbeeton, #cookingblog, #bakingblog, #vintagebaking, #retrobake, #retrobaking,

2021-11-10T09:03:50+13:0031 May 2021|Bakes, Cakes, History, Mrs Beeton's Cookbook|0 Comments
Go to Top