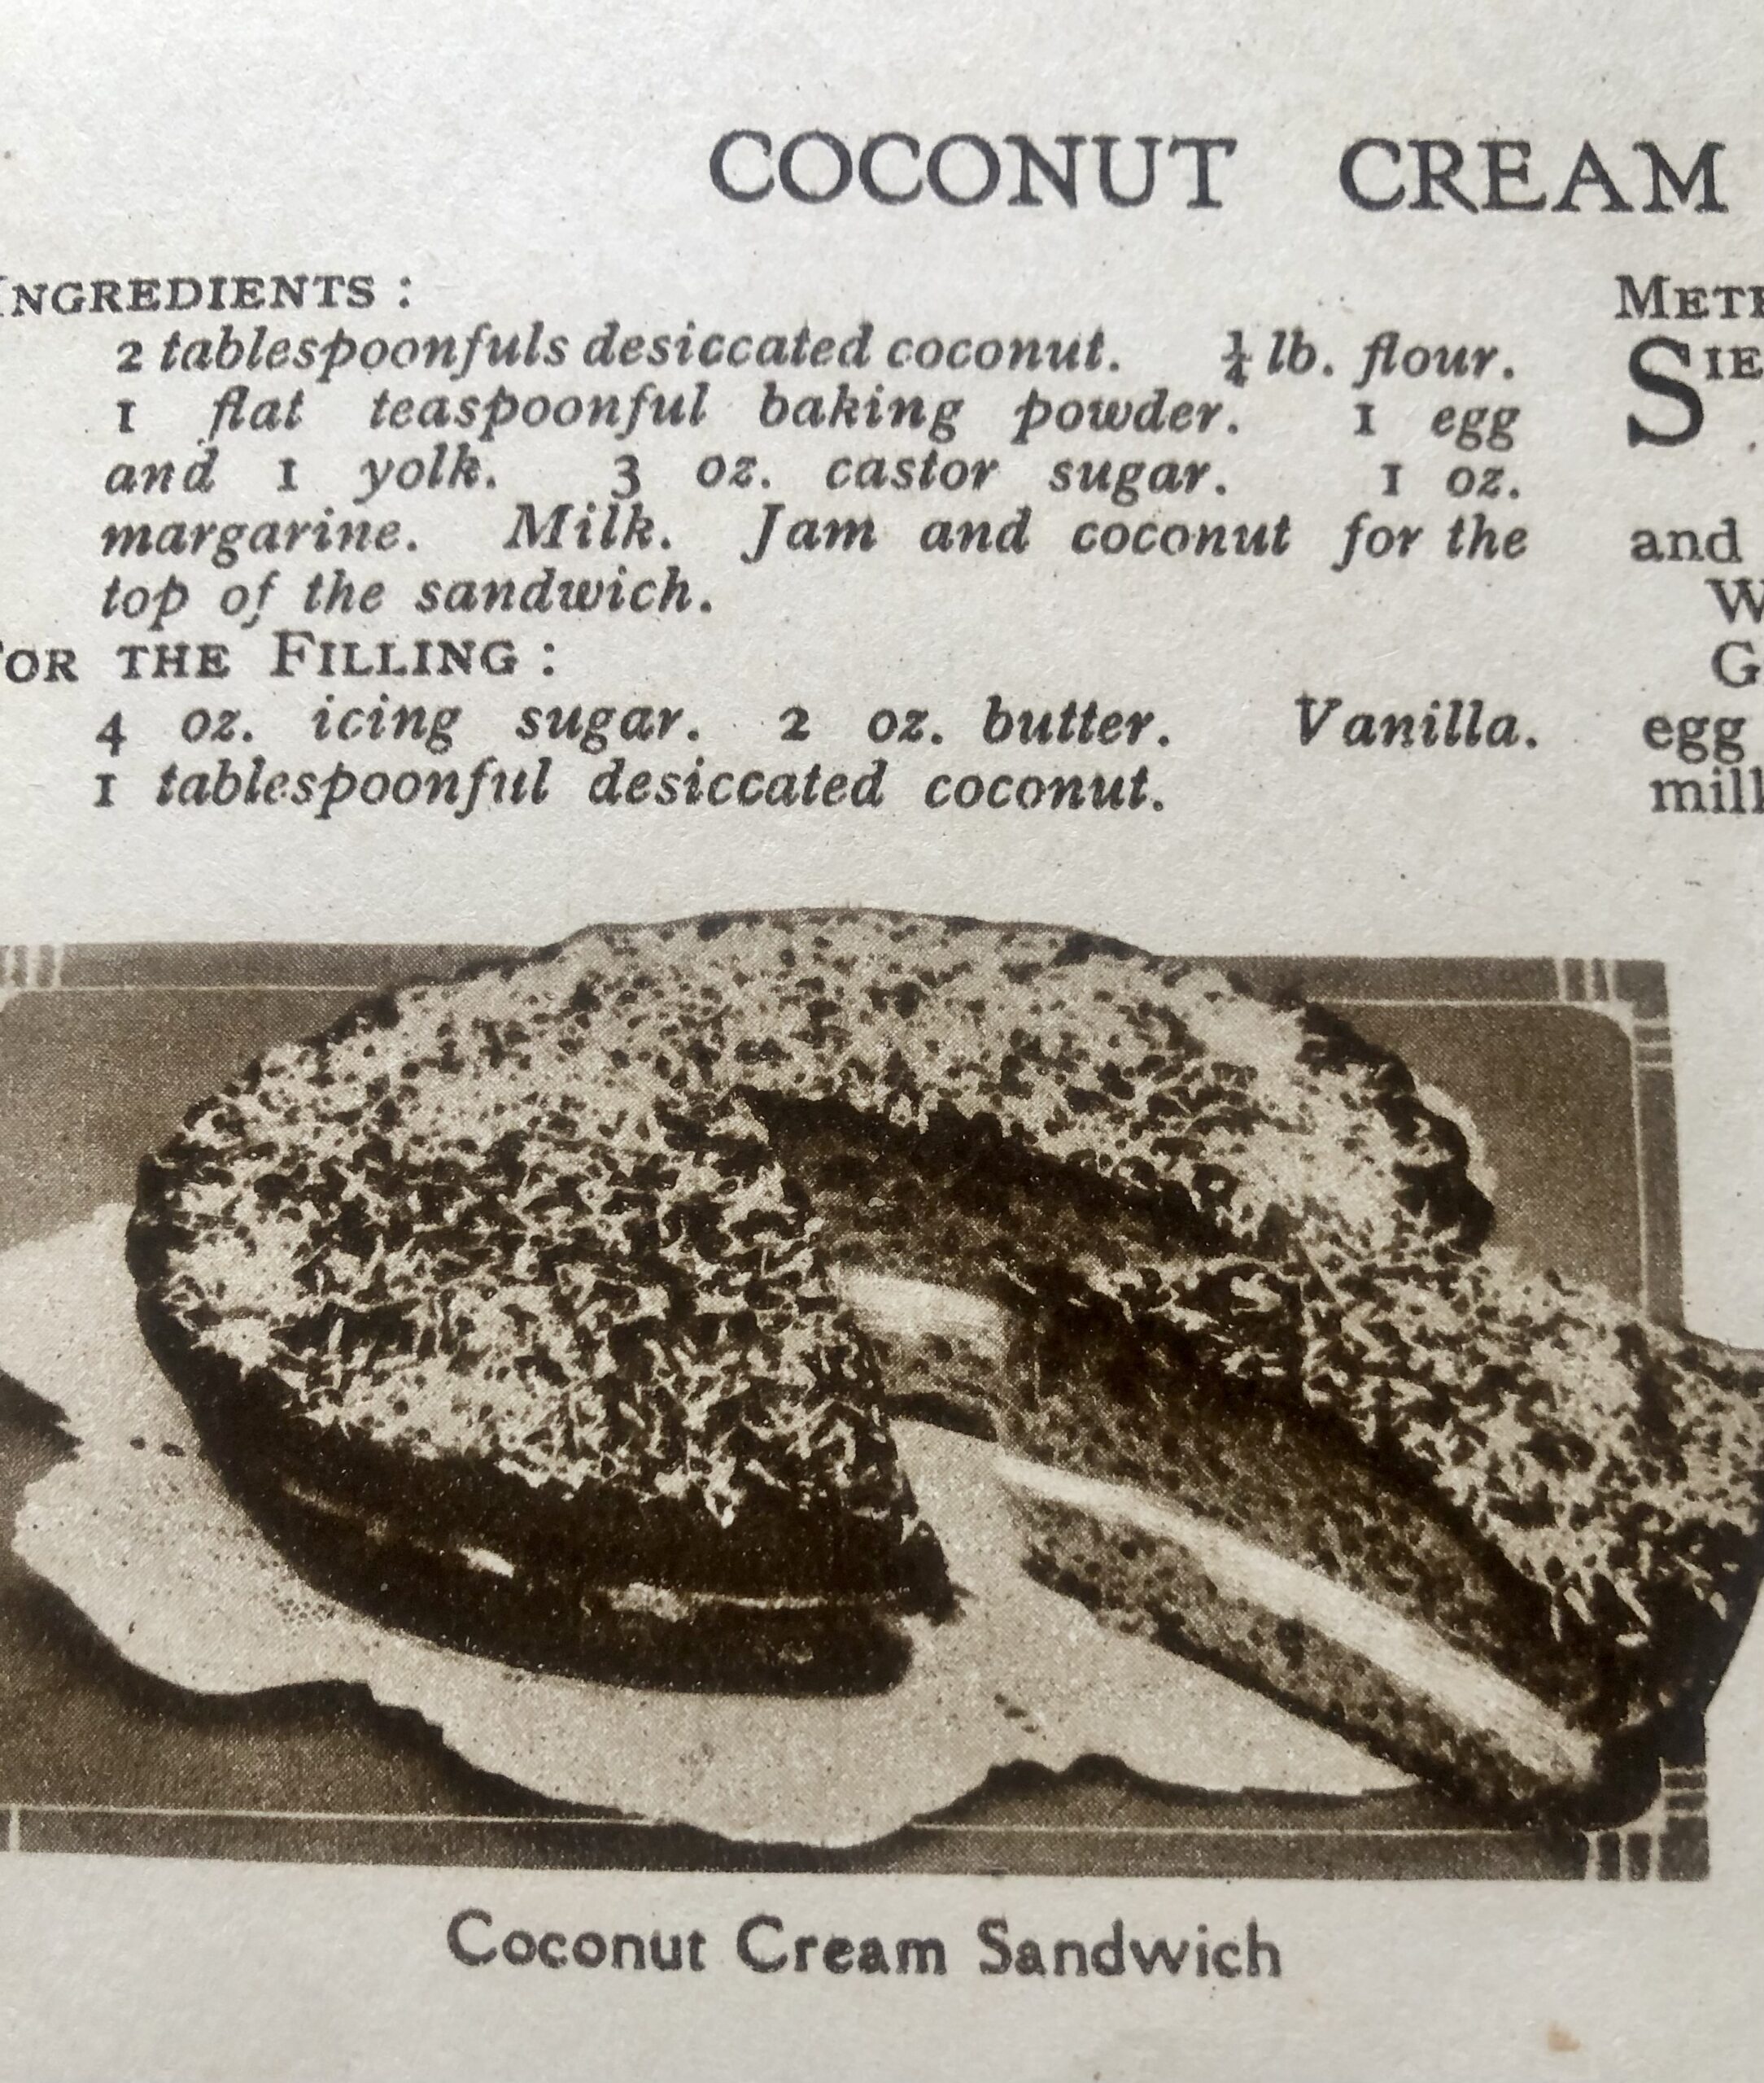
Coconut Cream Sandwich
Welcome back all you lovely people – It’s been a while but I’m ready to jump back into a new recipe today!
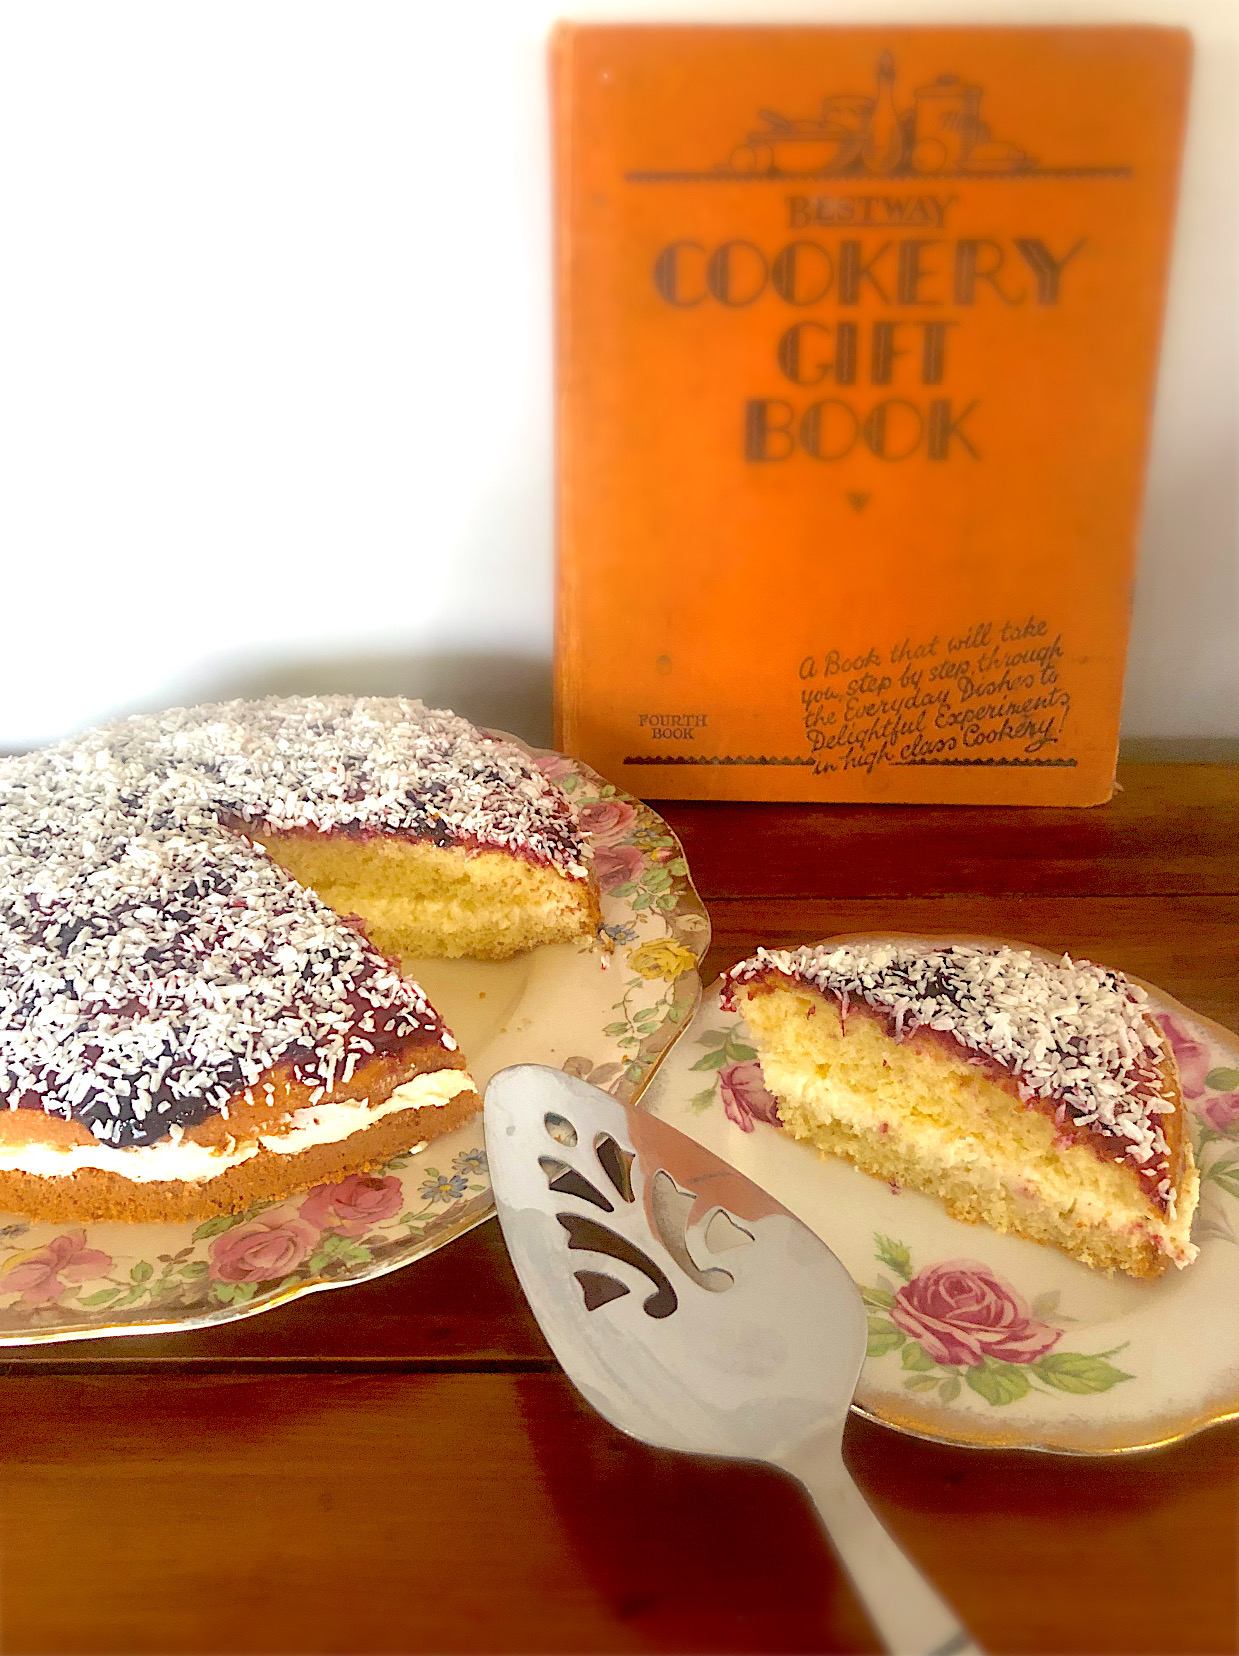
We will be travelling back to 1935 and diving into the world of ‘Everyday dishes to Experiments in High Class Cookery’ with the Bestway Cookery Gift Book.
The recipe I have chosen is delicious and a fantastic addition to your high tea party. Made similar to a sponge with some lip smacking add ons, is the decadent Coconut Cream Sandwich!
Don’t be confused by the word sandwich, this is very much a cake, this just refers to the creamy filling which sandwiches the two layers together.
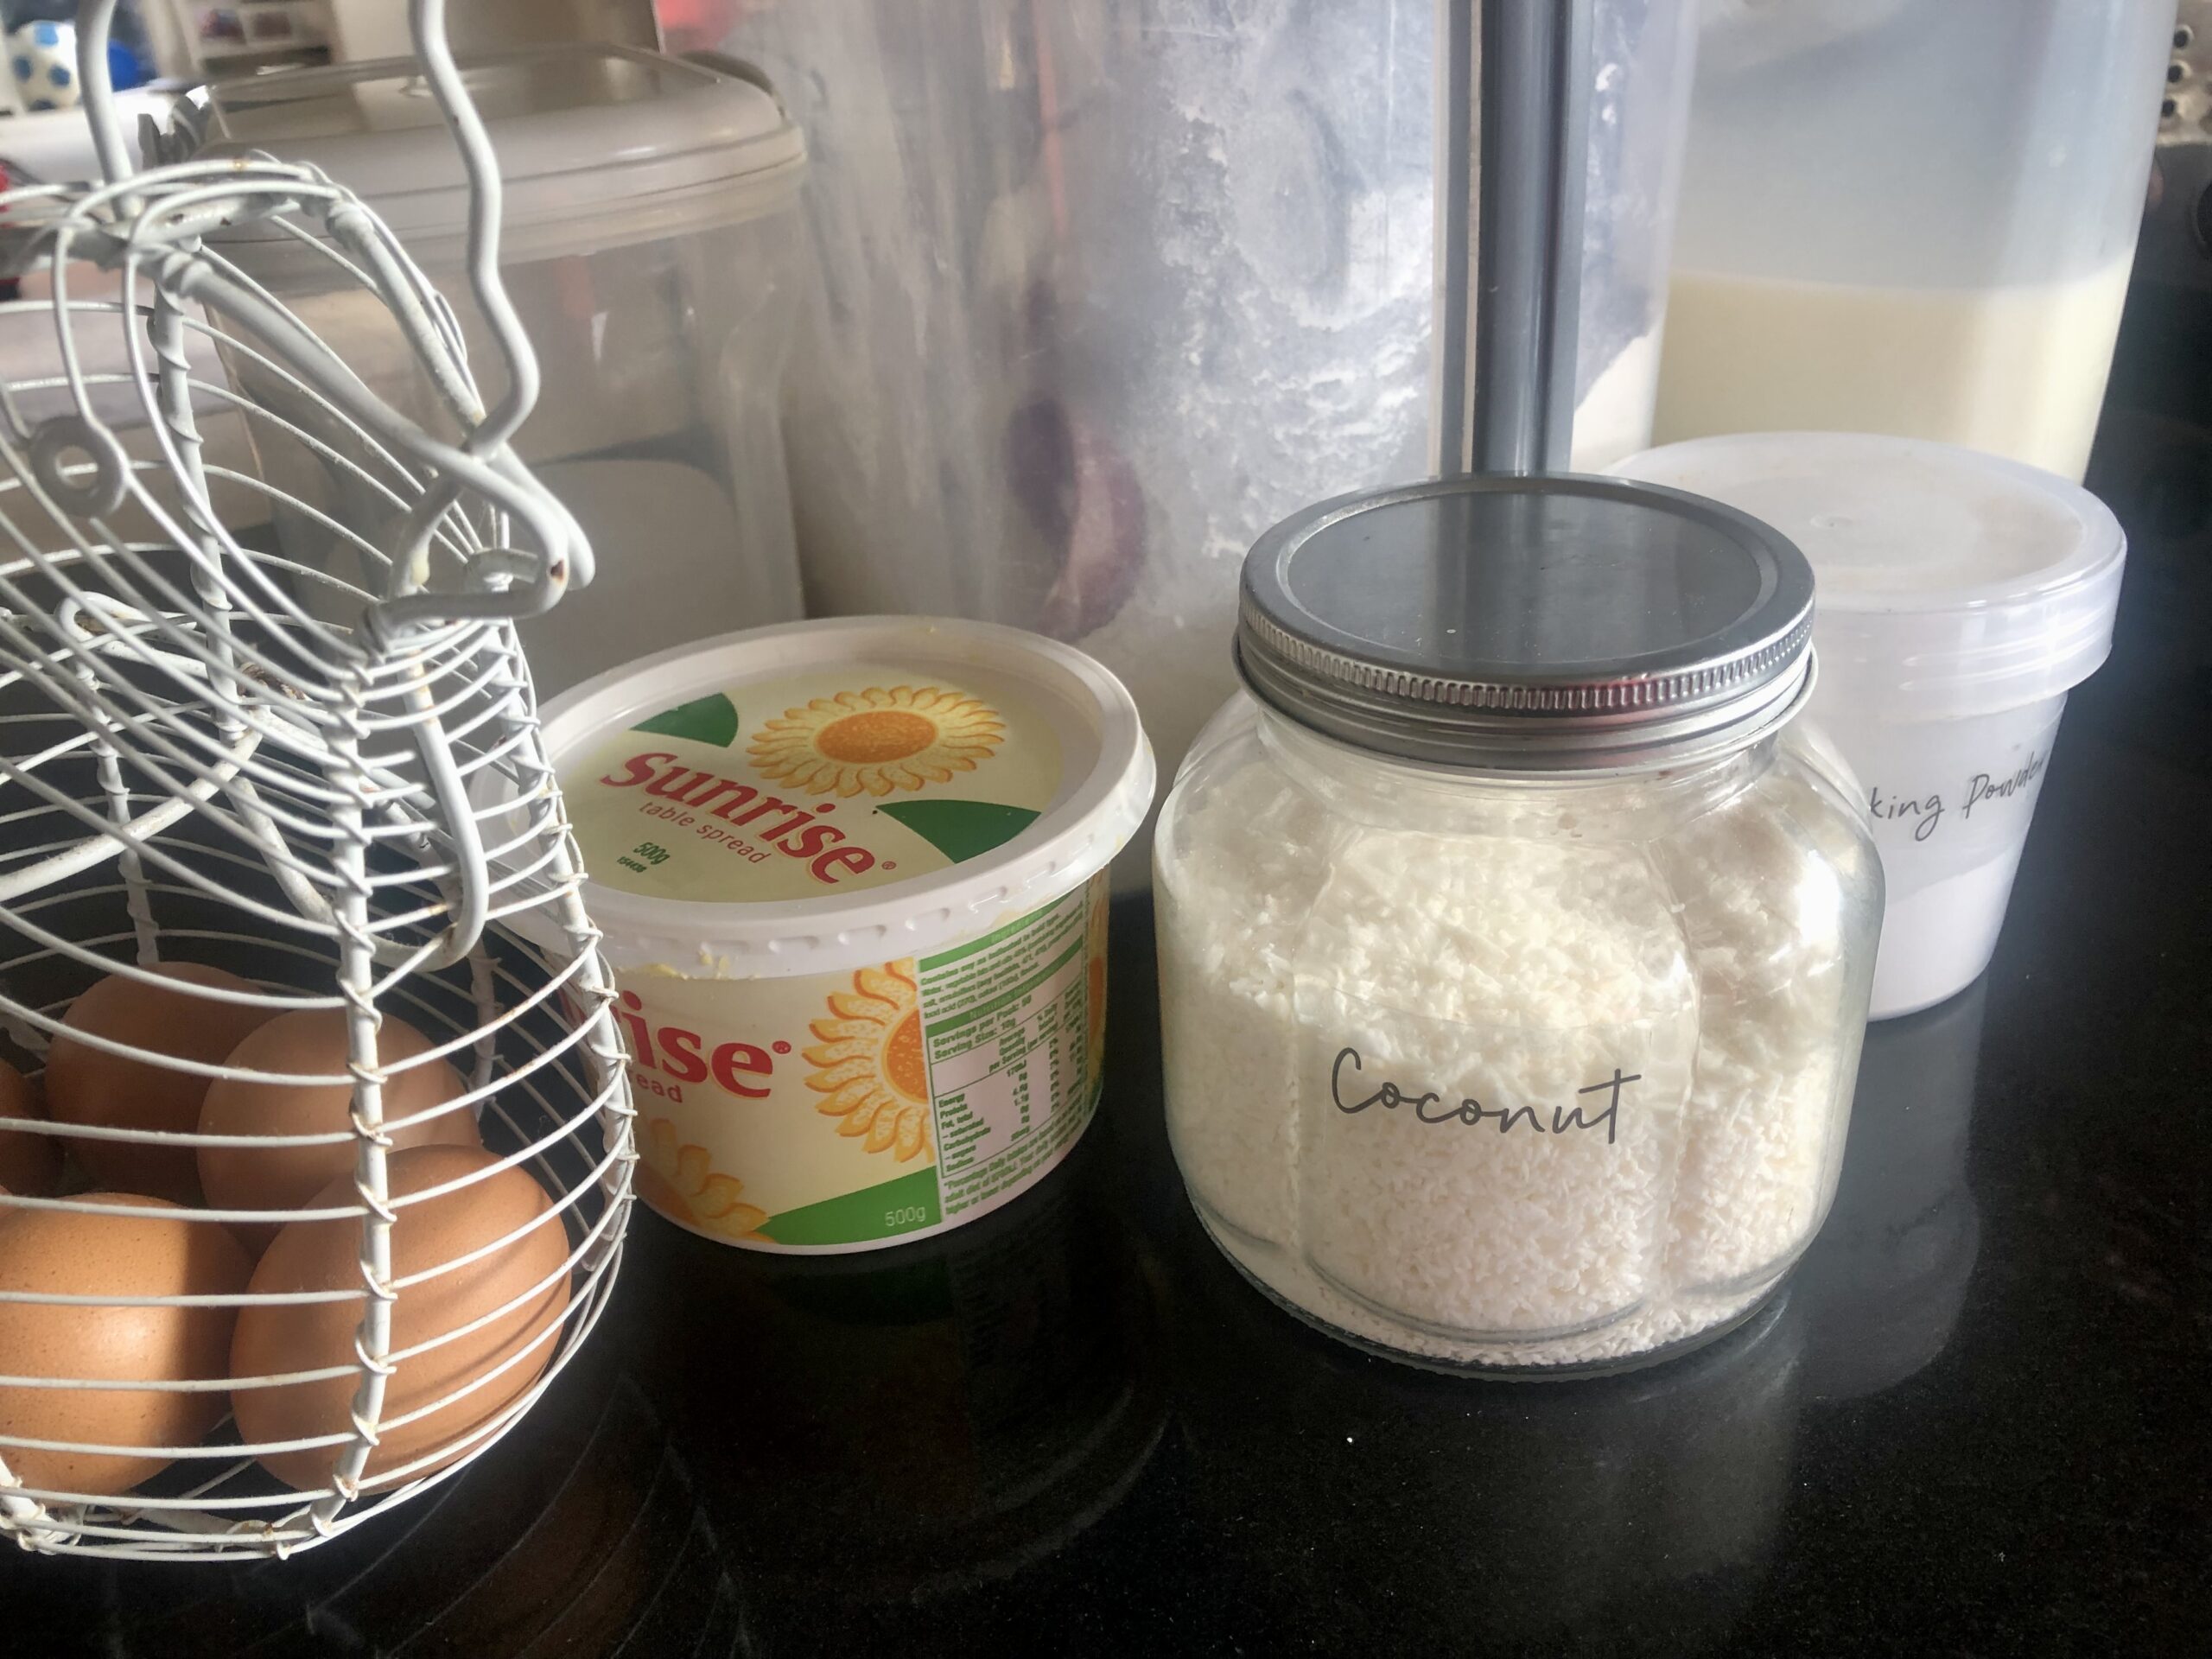
The ingredients list is as follows:
2 Tbsp desiccated coconut
1/4 lb Flour
1 Tsp Baking powder
1 Egg + 1 Egg Yolk
3 oz Caster sugar
1 oz Margarine
Milk to mix
Jam & Coconut for the top
Filling:
4 oz Icing sugar
2 oz Butter
Vanilla essence
1 Tbsp Desiccated coconut
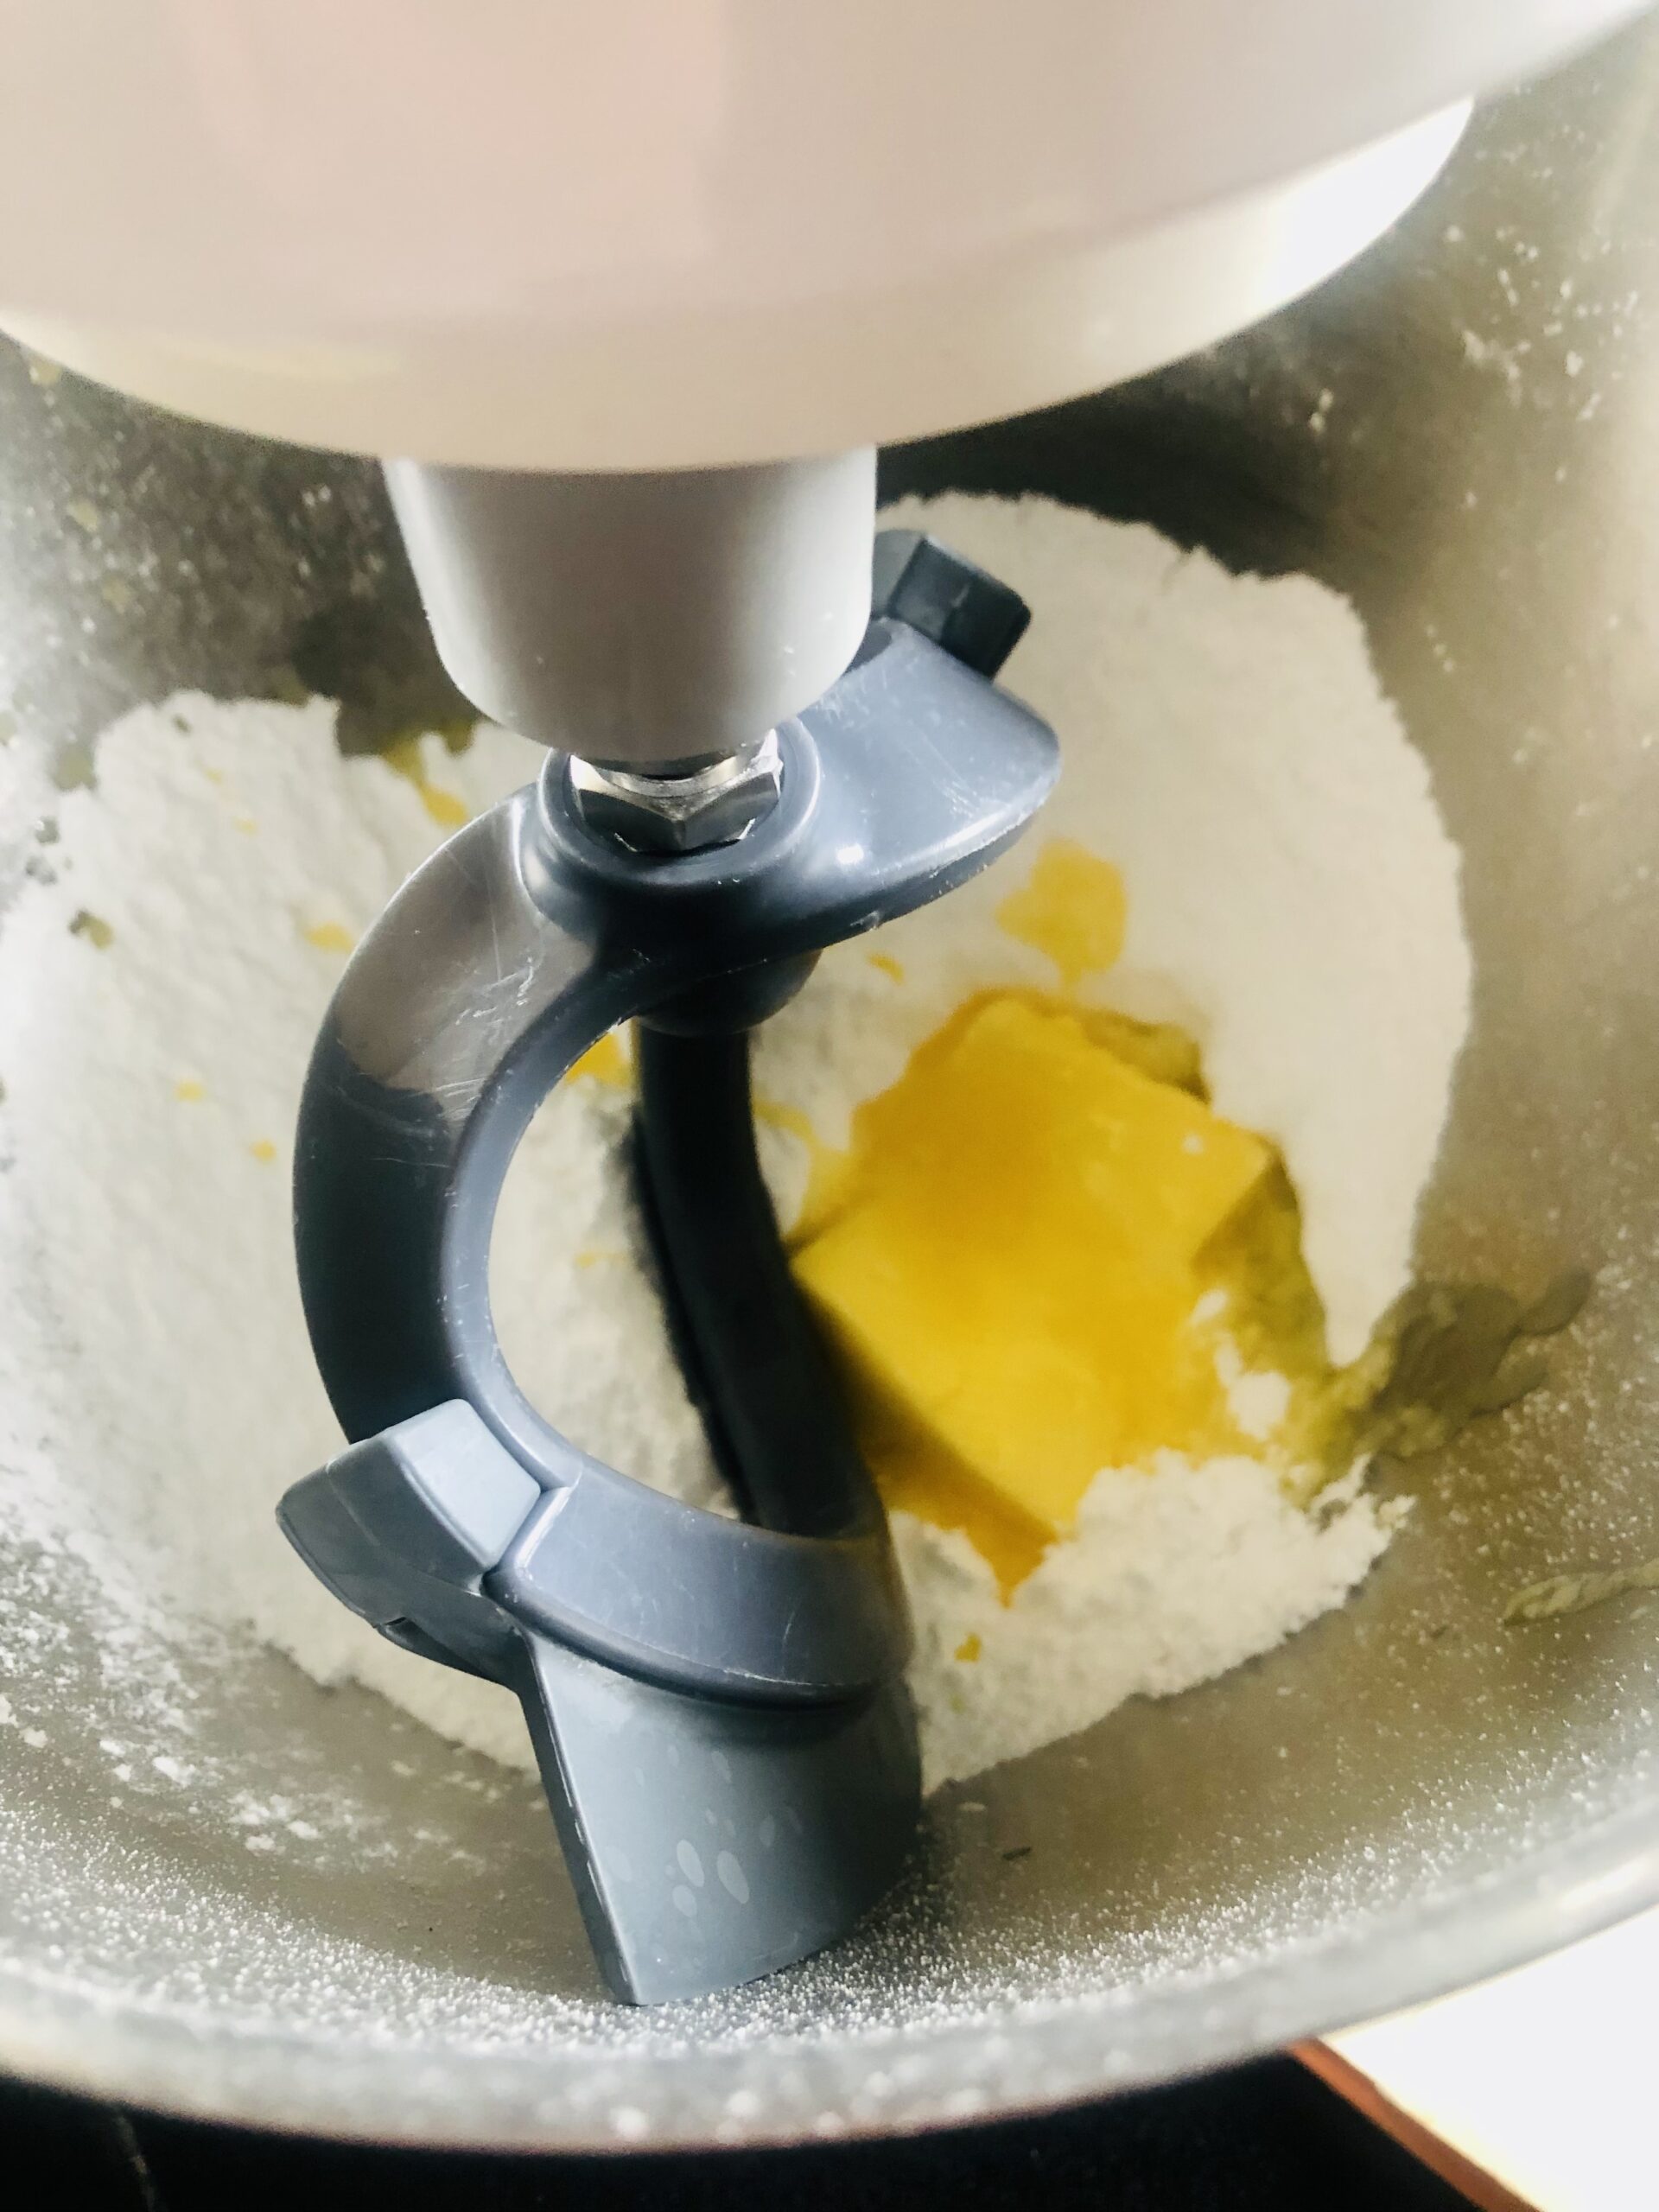
The flour and baking powder are sieved into a bowl and the coconut is mixed in.
Whisk the eggs and sugar in a separate bowl until they are thick and creamy (this takes about 3 minutes with a good mixer). Then the warmed melted margarine goes into the egg mixture with around 2 tablespoons of milk and your flour mixture. I mixed this gently so as not to disturb my frothy egg mixture, and keep the mixture light.
Pour your mixture into a greased and lined cake tin (sandwich size if you have one) and bake at 190C for 10-15 minutes.
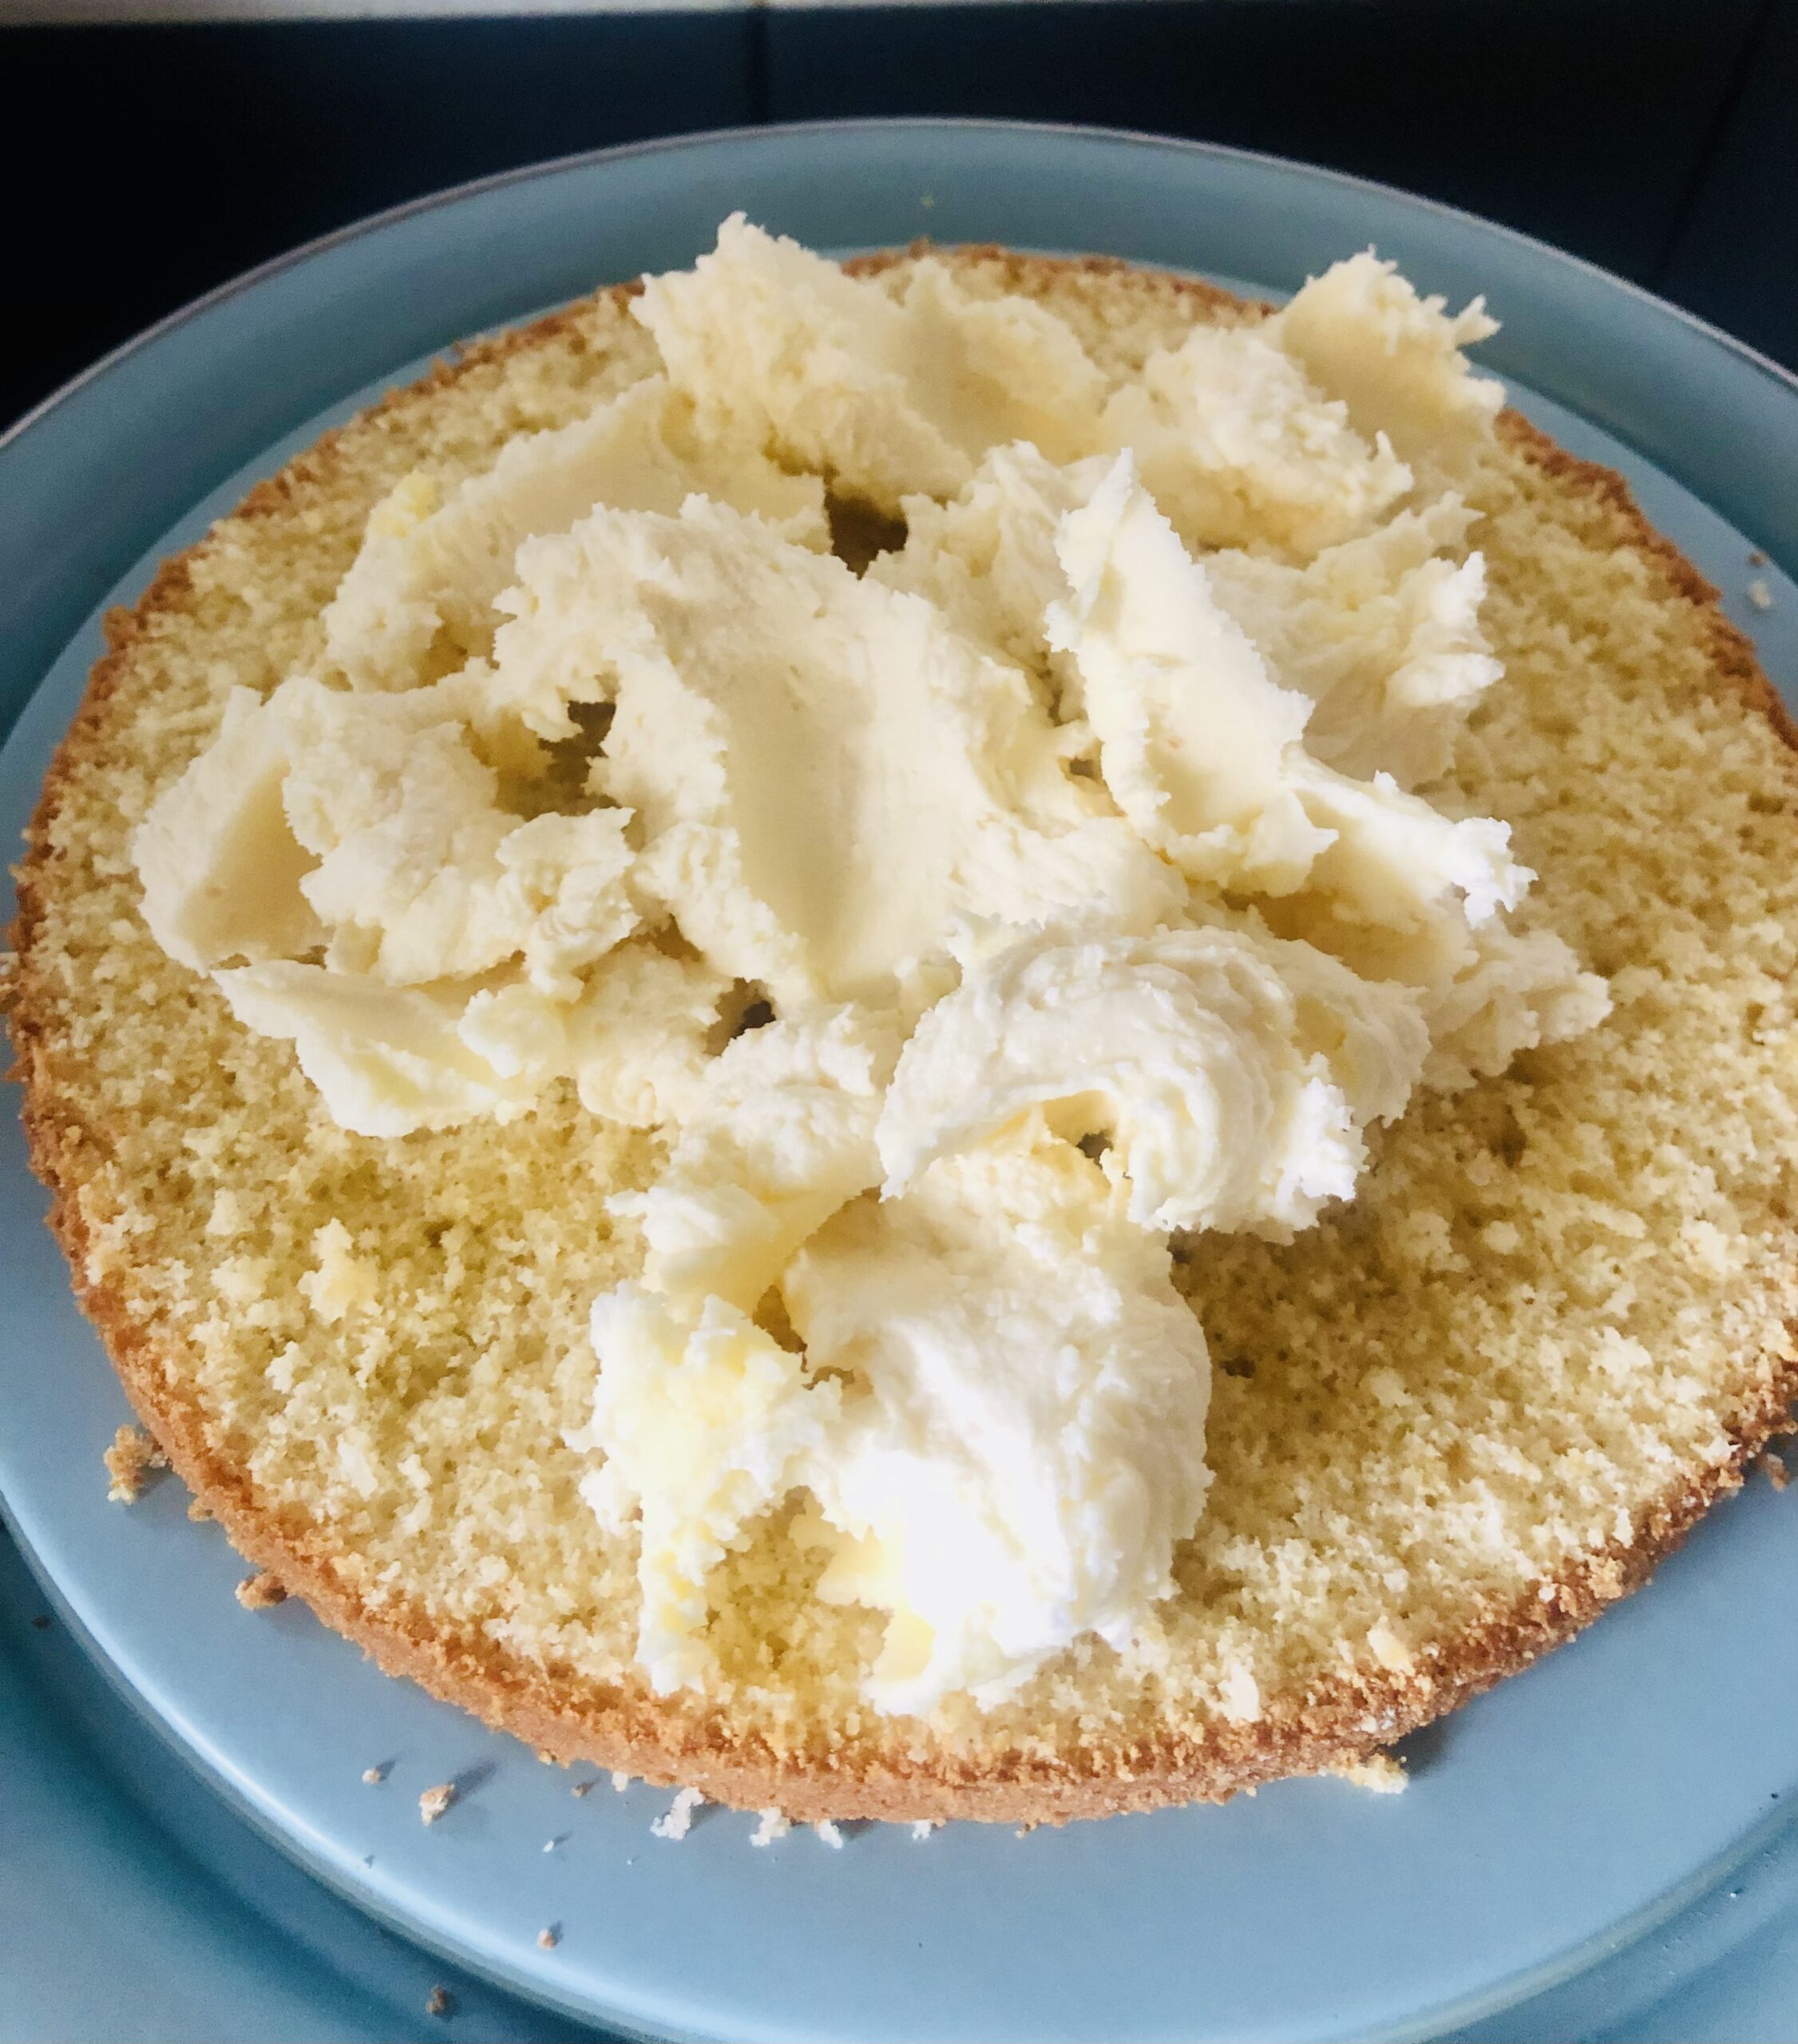
Now comes the patience test…make sure it is cooled on a rack before cutting horizontally in half through the middle and spread it with the creamy coconut filling.
The filling is super easy, just beat the butter and icing sugar into a creamy mix and add the coconut and few drops of vanilla essence (I love coconut so much I doubled the amount of this in the filling).
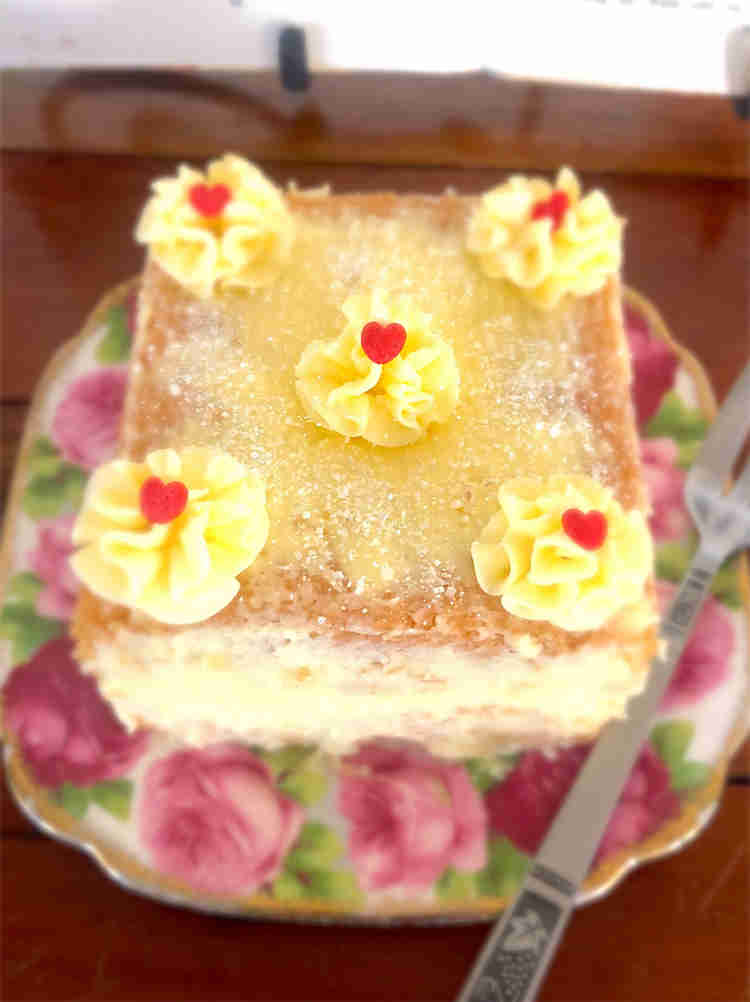
Pop your top half back on (the cake that is 😉) and spread the top with your favourite jam and go wild again with the desiccated coconut over the top.
This is such a lovely take on the traditional sponge and, if you are a lover of coconut like I am, you are in for a treat!
Enjoy this recipe lovely readers and I hope to see you back real soon for more delicious traditional recipes.


 Scanning through I saw that even though the recipe was two-thirds of the page instruction wise, it doesn’t contain too many ingredients. You will need eggs, castor sugar, flour, butter, milk and water. The recipe is divided into two sections, the cake and the icing, and it pays to read through before starting. There is a variation note which suggests you could make this up as one Gateau or multiple petite fours, I thought why not grease and flour a few more pans and go for the smaller cakes. If you’re going to put in the work why not go the whole hog. 😁