Mrs Beeton’s Adventures – Breads

Welcome back to my lovely readers, I thought I might go in a different direction this week, from my usual sweet bakes.

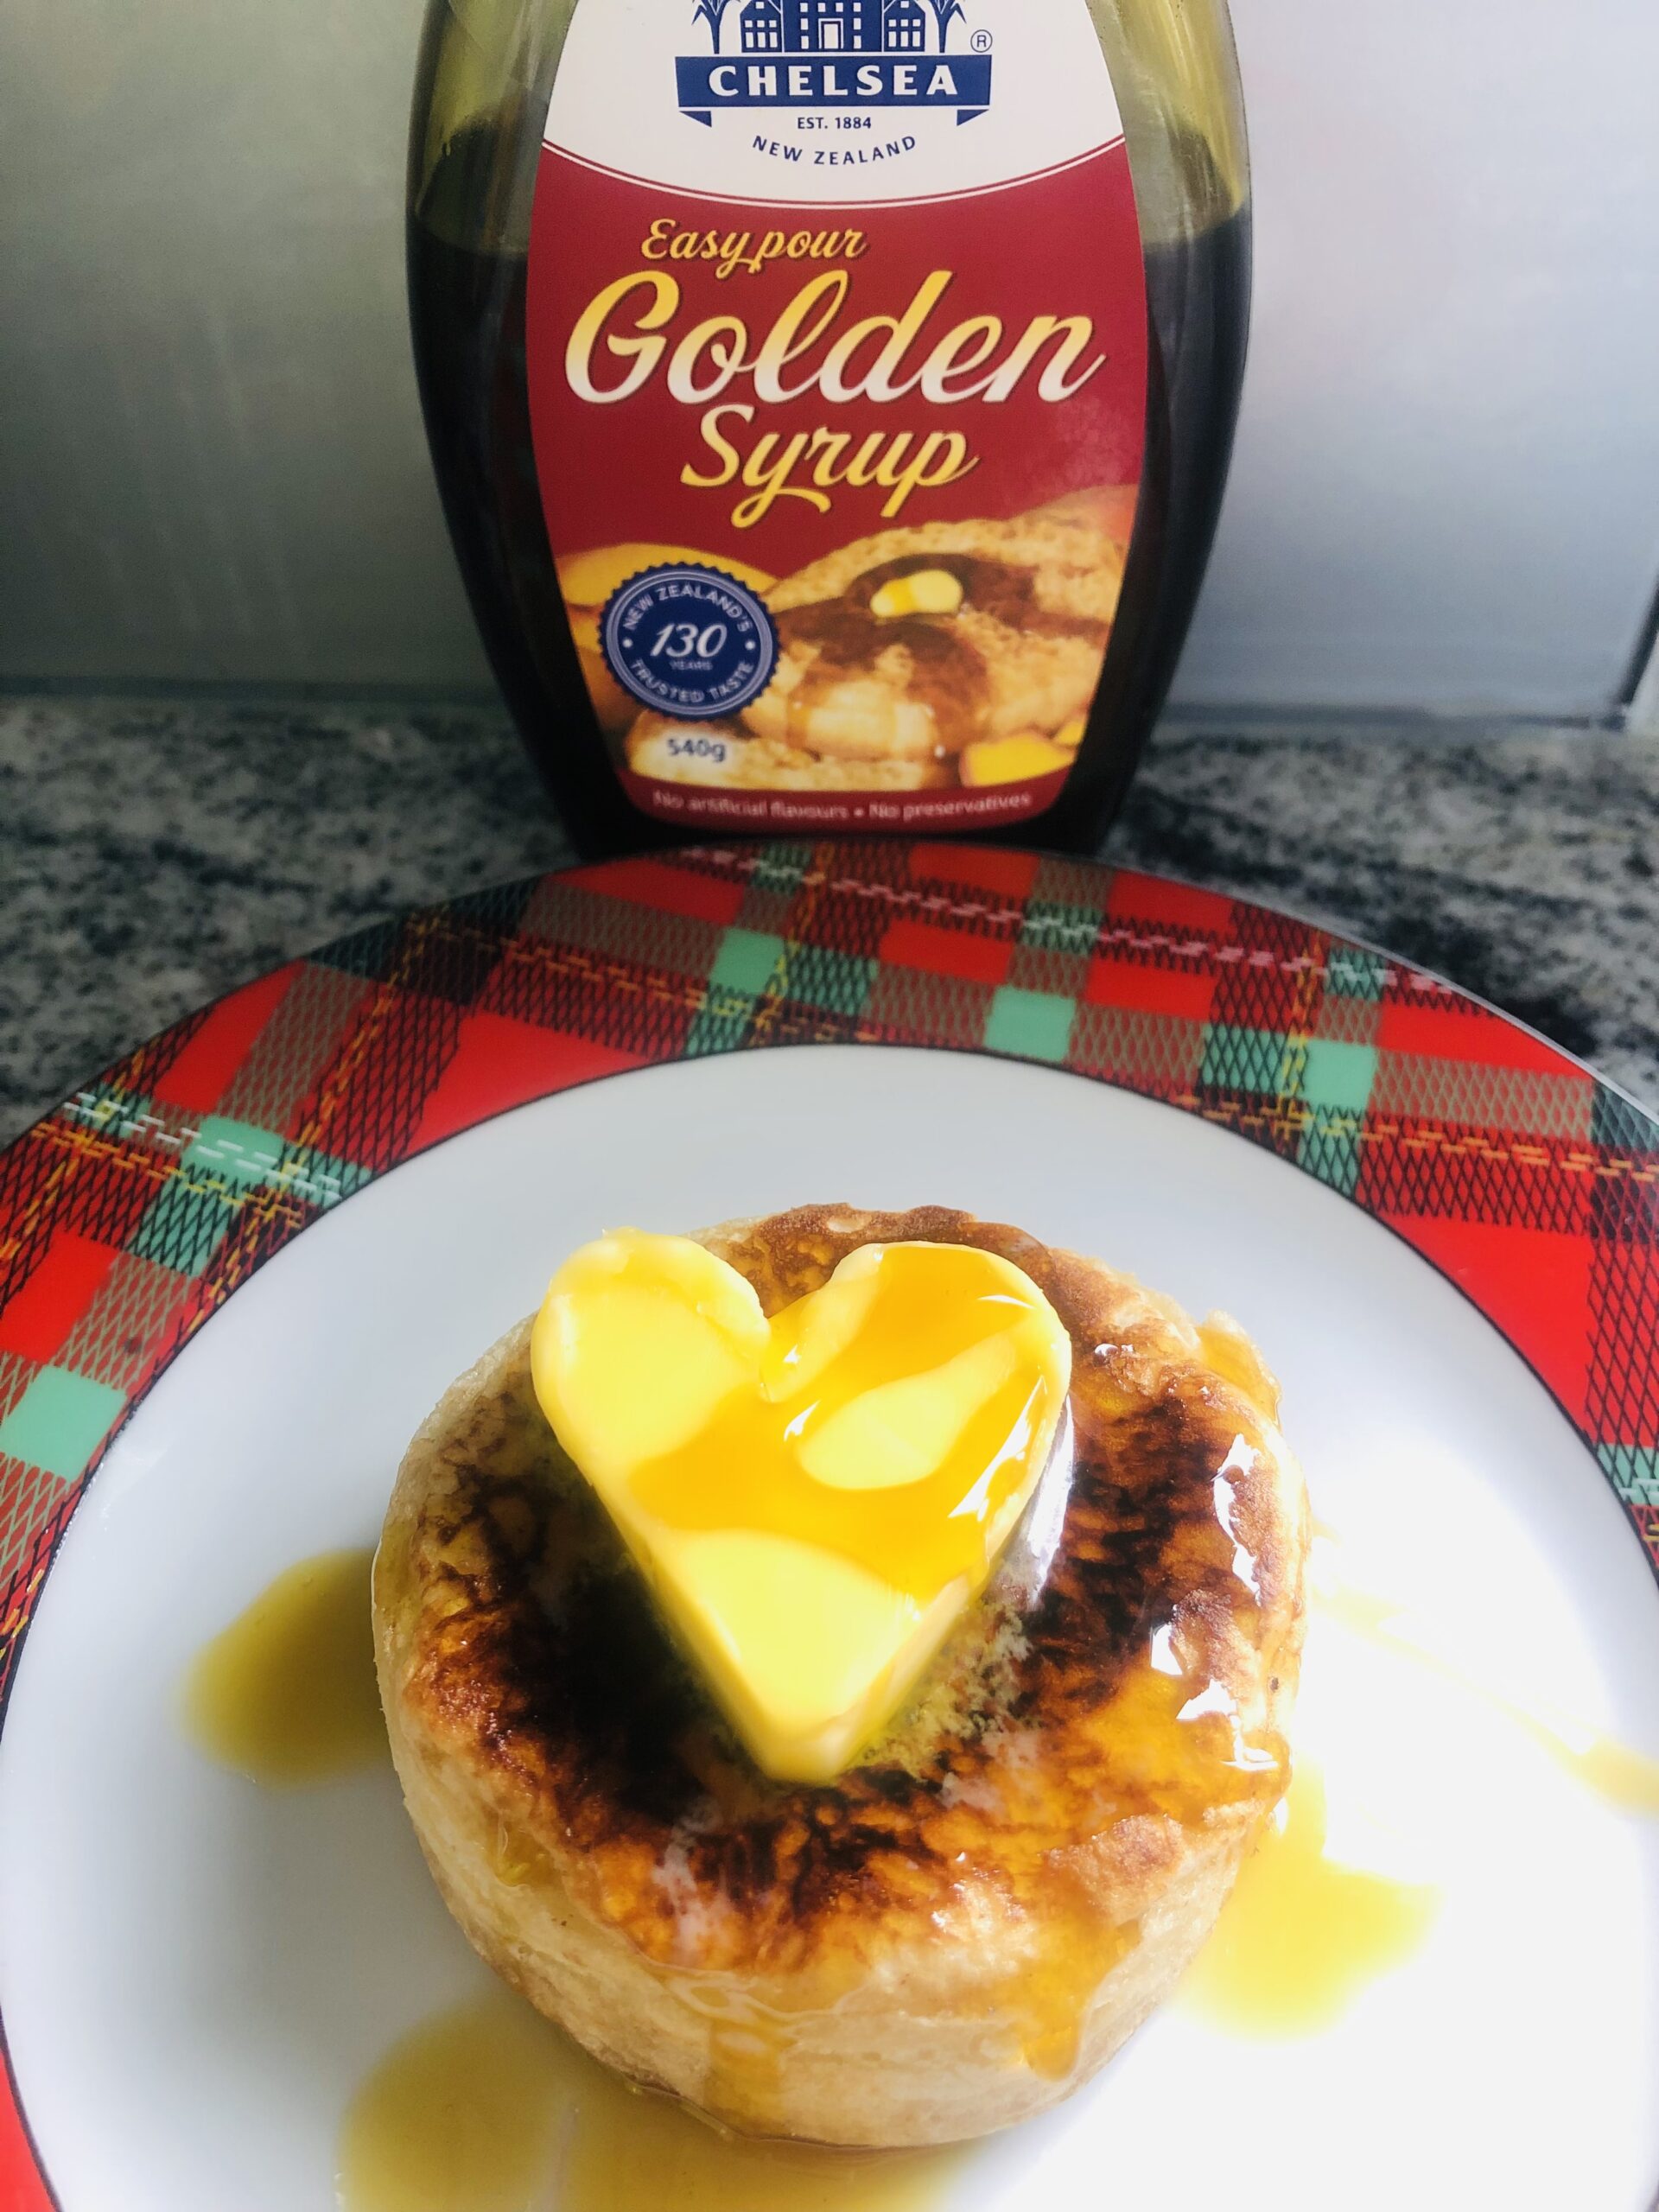
I don’t think you could find many out there that don’t love one of these delicious beauties heated with butter and lashings of golden syrup. Yes today I’m heading into the wonderful world of the golden crumpet!

The glorious crumpet is said to have originated in Wales and the earliest recipe was written way back in 1769. Originally cooked on a iron griddle pan over an open fire, which you will be relieved to know I won’t be attempting today. 😁 No need to ring the fire brigade, lol.

I started out with a quart of milk warmed, this is rather a lot so make sure you have plenty left over for your accompanying cuppa. A quart is equal to 4 cups or 1 litre of liquid. I then added 1/2tsp of salt and 1 1/2 ounces of yeast and stirred that up to froth. This recipe doesn’t actually give any quantities other than the milk so I used a bit of previous knowledge of breads and a bit of good luck.

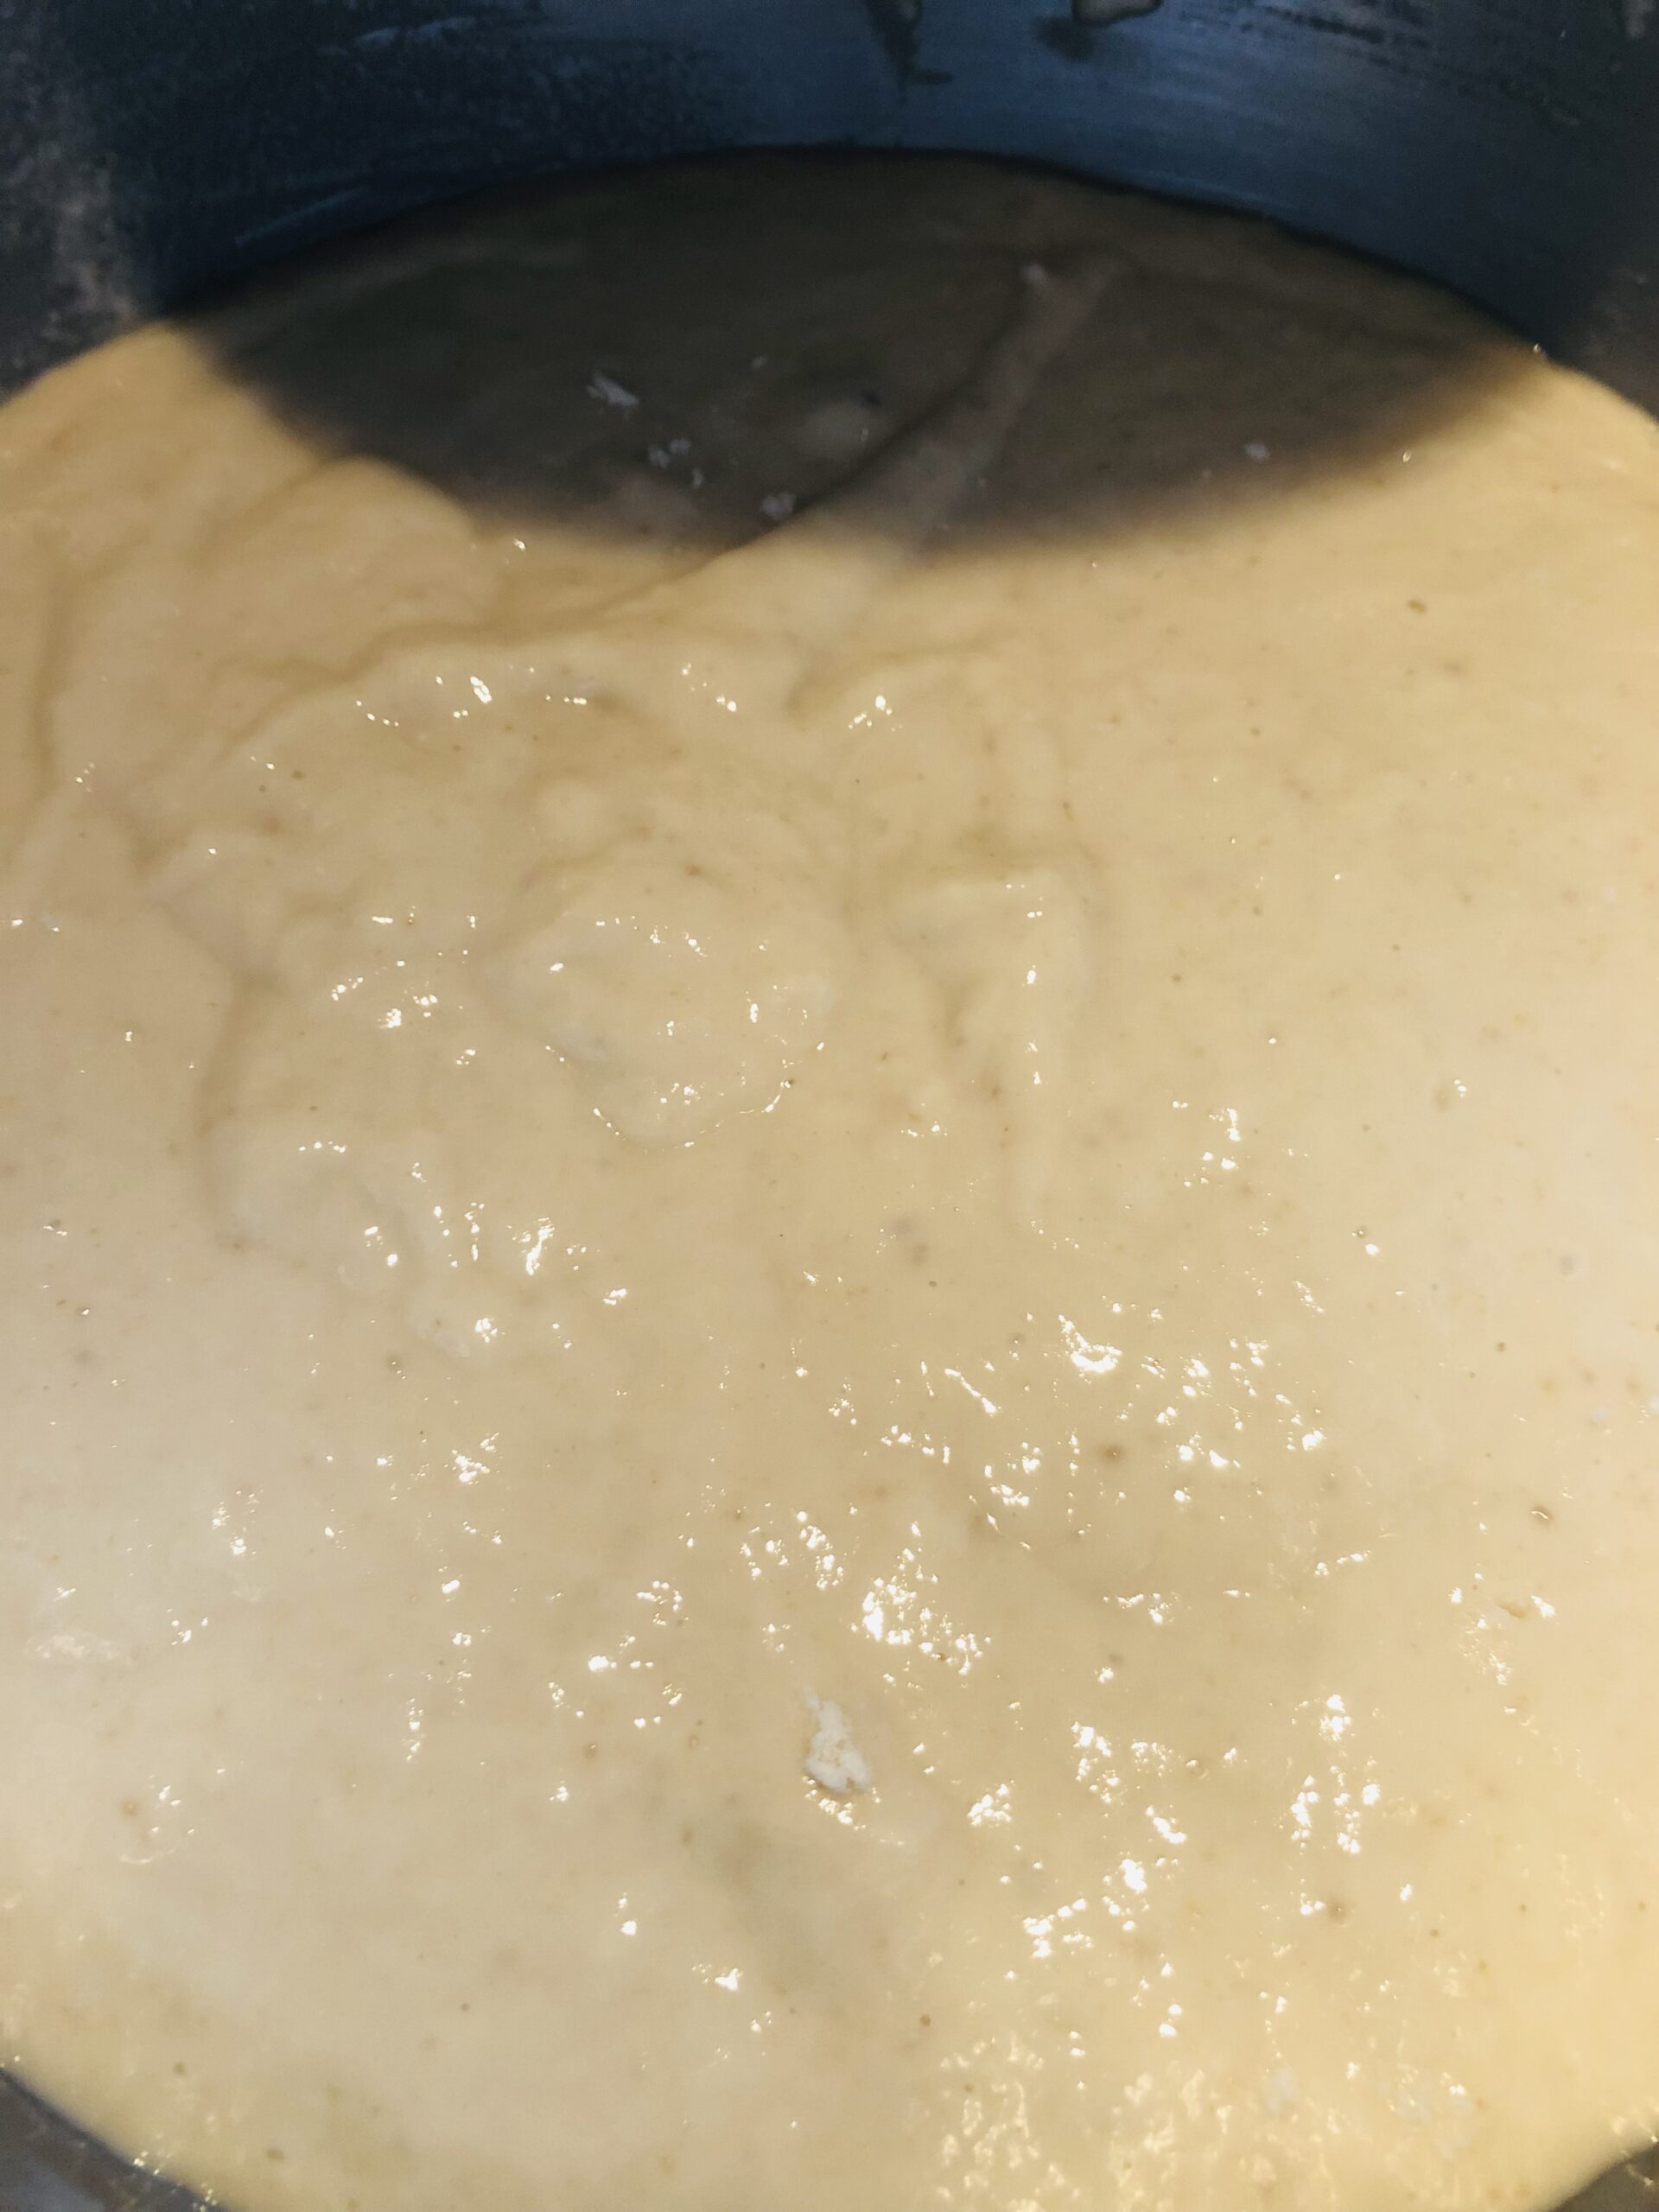
When adding the flour you need to make sure the dough is more like a batter than a dough, so more on the pouring scale. Then I exercised a bit of patience, yes I know, I’m learning. 😁 Leaving it to sit for at least half an hour to rise and get all ‘bubbly’ (the technical term).

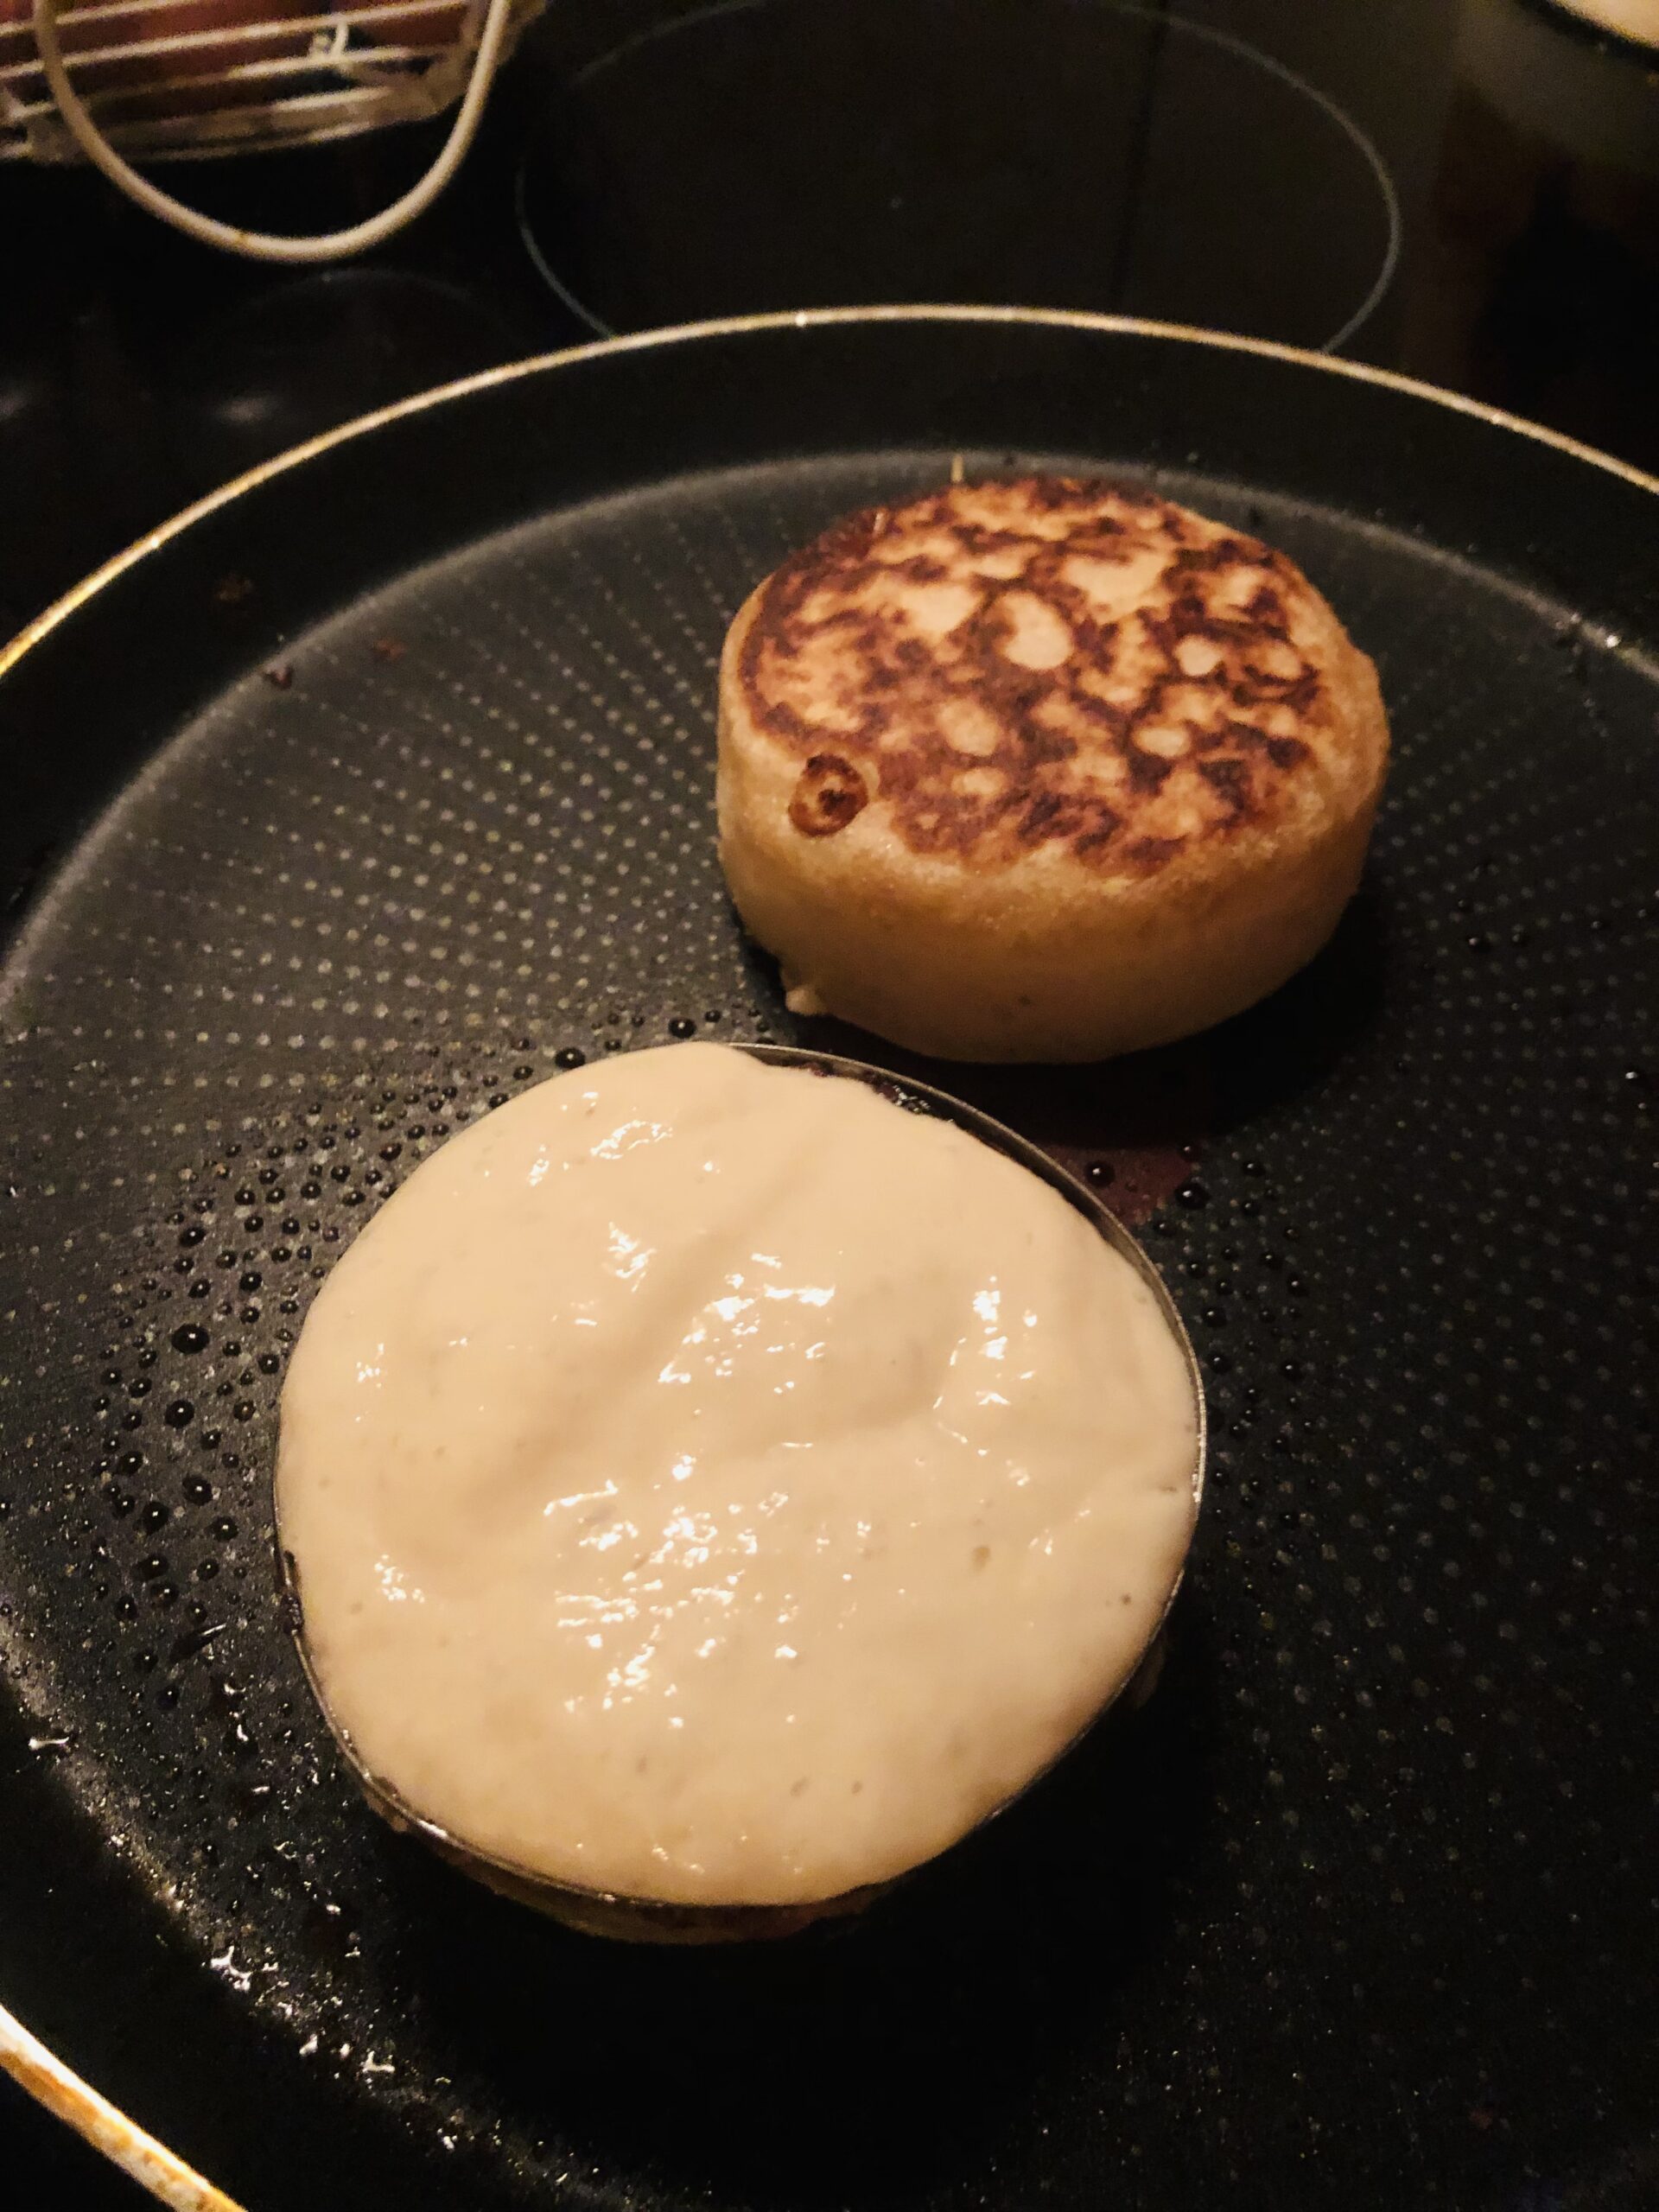
Now make sure you have more than one crumpet ring or you will be stood at the cooktop until your legs give way (gained from experience 😁). Spray oil is a fantastic invention to grease the rings before filling with batter, making them much easier to remove.

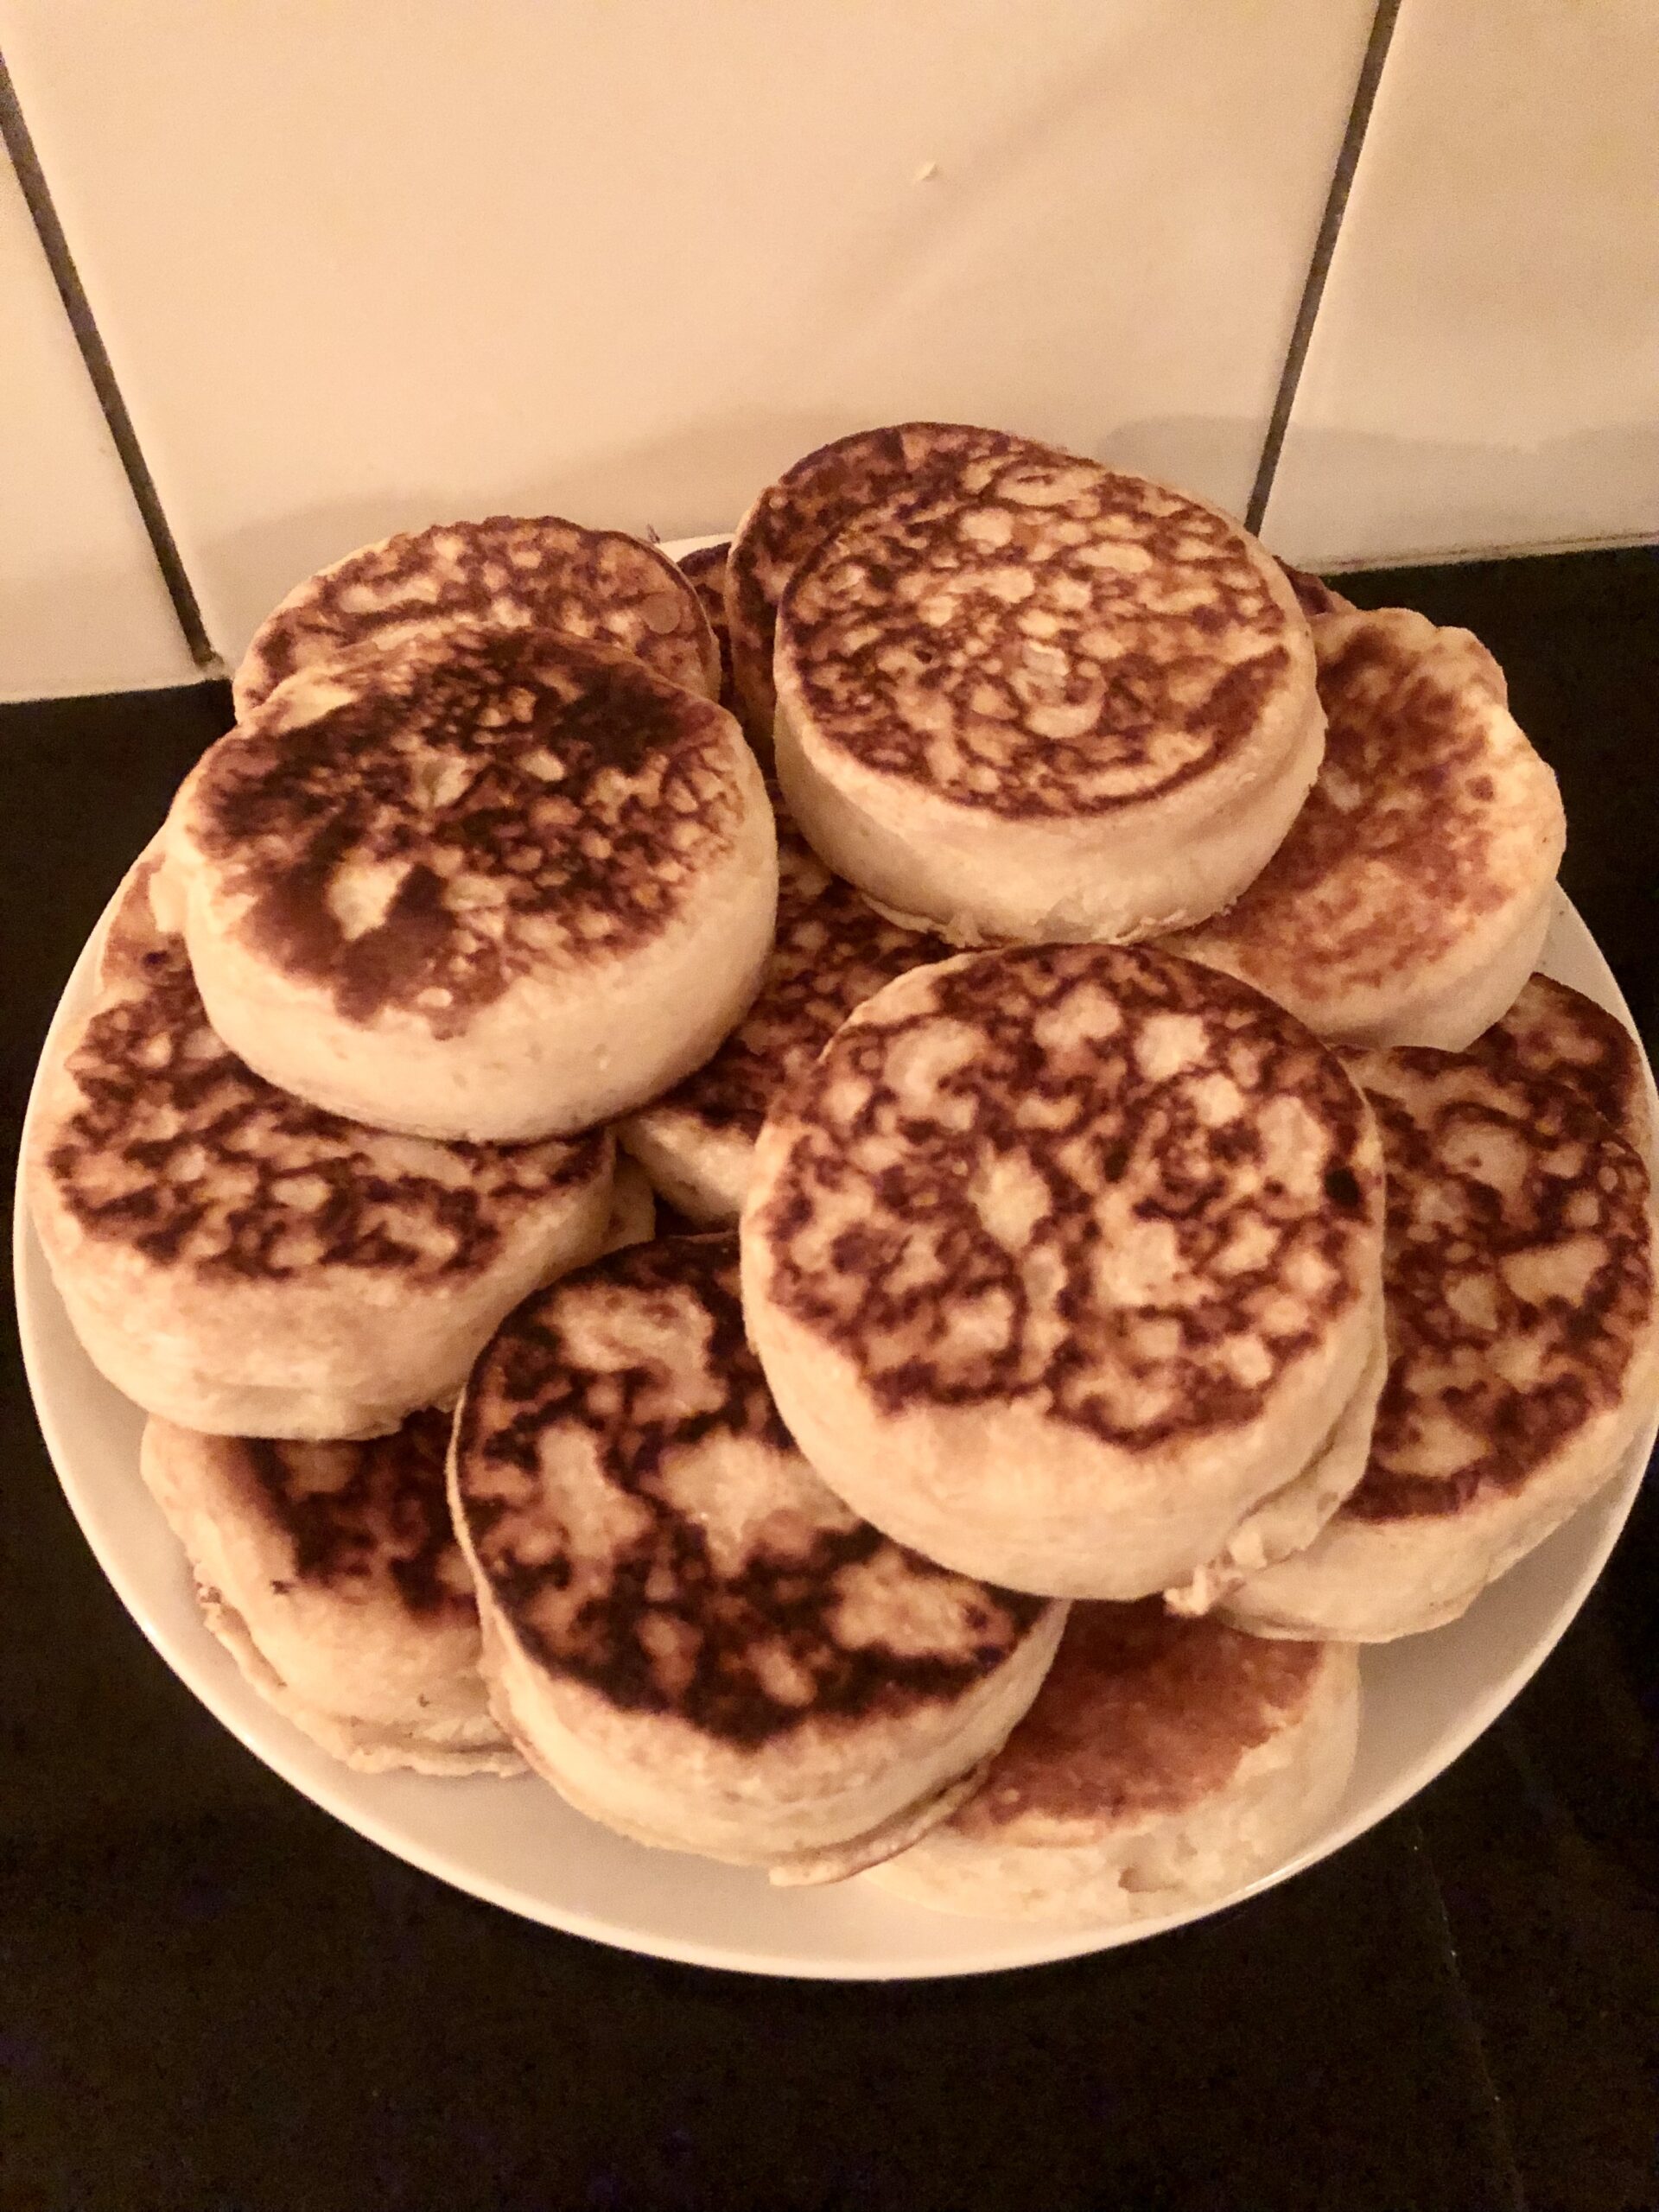
I cooked them in a hot pan until they were golden on both sides. When you flip over with a spatula you may get some oosing of batter, no problem, just push the ring down and this gets chopped off so they are all evenly round.

If you manage to wait until they are all cooked you can heat or toast them, or you can eat them deliciously hot off the stovetop with a cute little butter pat and some golden or maple syrup.

Please don’t forget to let me know how you get on with your crumpet adventure and don’t forget to tune in for more Mrs Beeton’s adventures!


2022-03-23T13:13:38+13:0023 March 2022|Bakes, Breads, History, Mrs Beeton's Cookbook, Vintage Kitchen|0 Comments

Mrs Beeton’s Adventure Dessert Biscuits

These dessert biscuits are fantastic for Holiday treats in the lead up to Christmas!


Halloween is over and I am definitely one of those Christmas fanatics – so bear with me here.

My latest bake is a lovely soft biscuit with a outside crunch and as Mrs Beeton says “With whatever the preparation is flavoured, so are the biscuits called, and an endless variety can be made in this manner”.  So go with whatever flavour your little heart desires – today I chose ground ginger to add to my biscuit batter to get everyone in the Christmas spirit.

As per the usual routine I started off with my ingredients set out ready to go.  The recipe needs; 1 lb Flour, 1/2lb Butter, 1/2lb Sifted Sugar, the Yolks of 6 eggs and flavouring to taste.  If your mind is blank as to options for flavouring here are some ideas – Cinnamon, Lemon zest, Currants, Ground ginger, Cocoa powder…let your imagination soar.  If you are feeling fancy, make half and half different flavours!

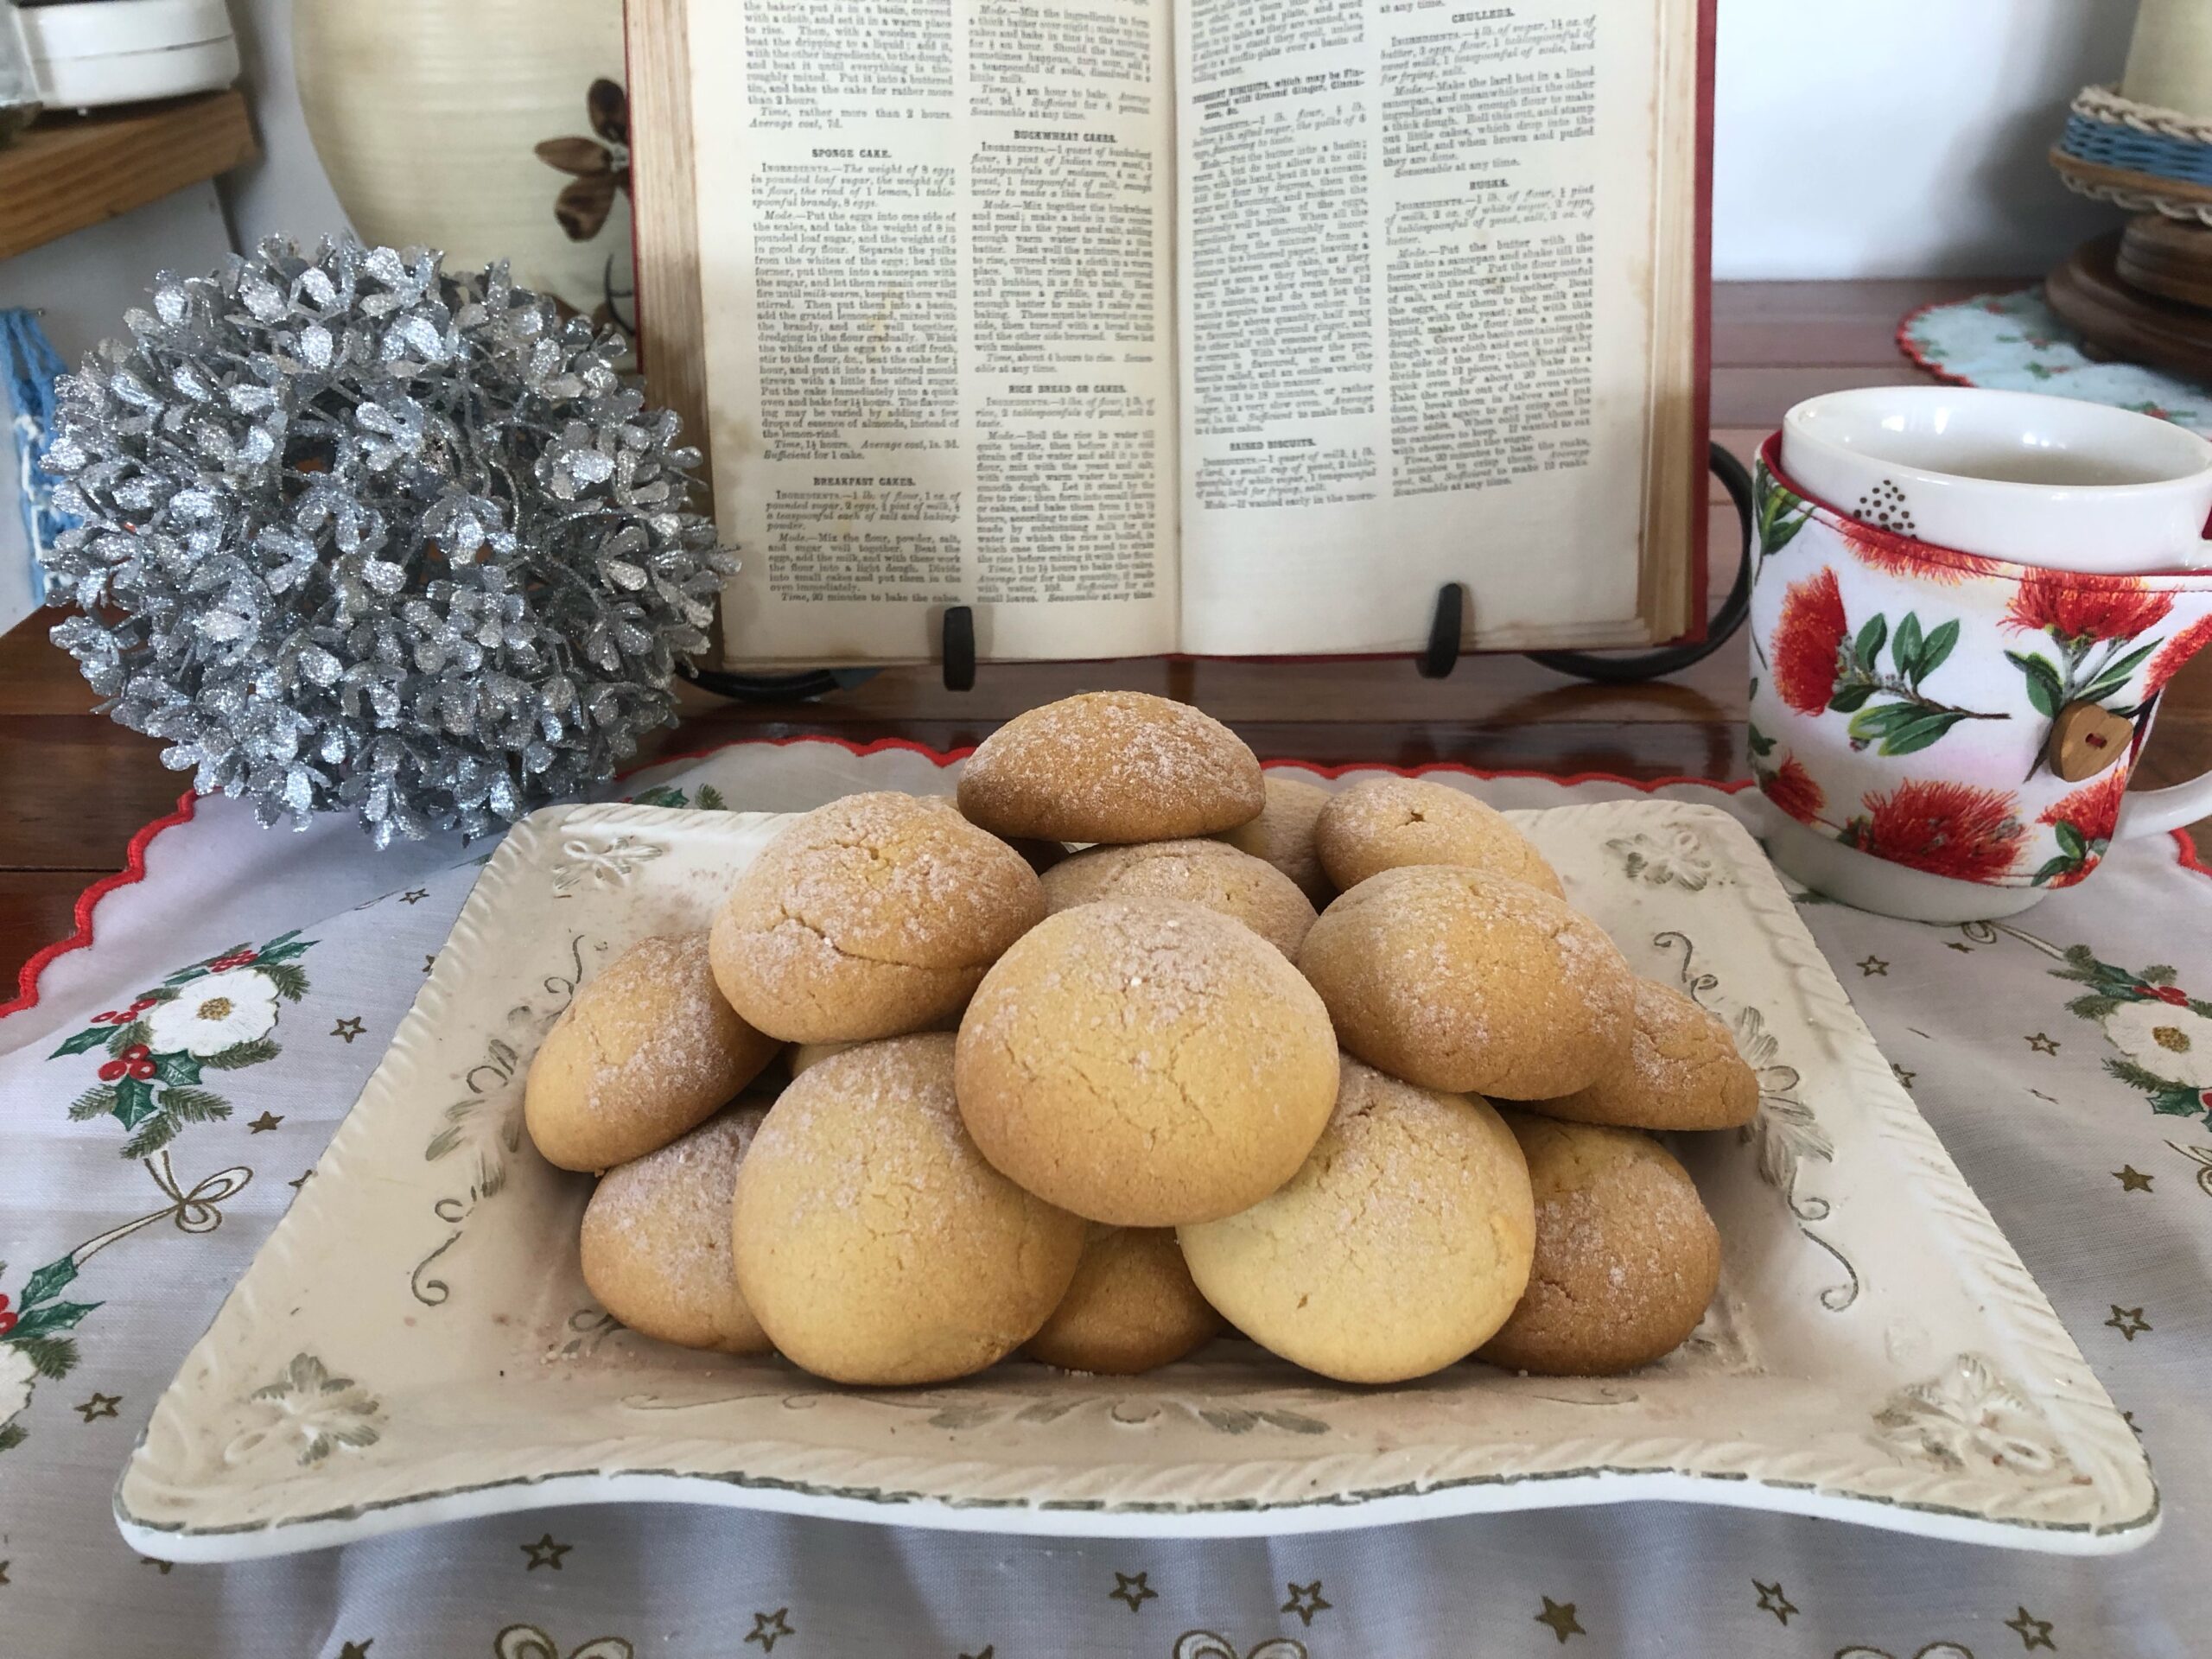
Soften your 225g (Yeah I know, it’s a lot!) of Butter and beat it vigorously until it resembles cream instead of butter.  I used my mixer for this so as not to wear out my arms this early in the bake, haha.  Then I added in the flour “by degrees”, which is just really a posh way of saying ‘a bit at a time’ until it is mixed in.  Then in went the icing sugar and the flavouring, and followed up by your lovely egg yolks (previously beaten until light and frothy).


Your mixture will end up a soft dough, but still be able to be moulded with your hands into tablespoonful balls.  This mixture made 5 trays of cookies, but you can reuse your trays after removing the cooked biscuits if you don’t have a neverending supply of cookie trays.  Grease and flour, or line them with baking paper – the reusable type is a fantastic save for the environment, it may be more expensive to start with, but in the long run it is worth it.

The cookies need to go into a ‘slow oven’ for around 15 minutes, making sure they don’t gain too much colour (don’t burn them – it does not add to the flavour, haha).  I put my oven at around 160 degrees Celsius and this worked well.

The average cost back in the day was apparently 1s, 6d to make these and you will get around 4 dozen biscuits out of the one dough.  This is why it is such a fantastic recipe to make and gift for Christmas, or pop it on the table to let the gannets help themselves as my family did.  I started out with 52 and now have one plateful left, that’s how moreish they are.  I think they would look super cool decorated with some red or white royal icing and a cherry on top.

I hope you enjoyed this bake and I hope you come back to visit me again soon.  I am over the moon with this fabulous new website and have to credit Yellow Banana Design for all their hard work.  Remember if you are a fan of YouTube also this recipe will be up to view on there very soon under Sweet Sensations NZ.


2021-11-10T09:04:39+13:009 November 2021|Bakes, Biscuits, Makes, Mrs Beeton's Cookbook, Vintage Kitchen, Xmas|0 Comments

Mrs Beeton’s Adventure – Strawberry Drops

After a break from our regularly scheduled programme, I am back again with another adventure into the great Mrs Beeton’s cookbook. 😄

As a celebration for retaining our sanity through a very loooooooooong lockdown, I thought it was time for a special treat! I think we all deserve one, so here goes….

I guide you to the very sweet section of ‘Confectionery and Ices’ of this lovely old cookbook and very summery sounding (and smelling, it turns out) Sweet drop. Now this recipe is called Strawberry drops but the caption says that you could use any fruit you desire. Let your imagination run wild people!

I decided to stick to the original plan and make these with my family’s favourite summer fruit – Strawberries. 🍓

The recipe ingredients are pretty concise and you will only need 1/2lb of finely powdered sugar (icing sugar), 1/2 pint of the juice of your chosen fruit (pulp) and 2 egg whites. Should be a super quick treat right? Sounds perfect!

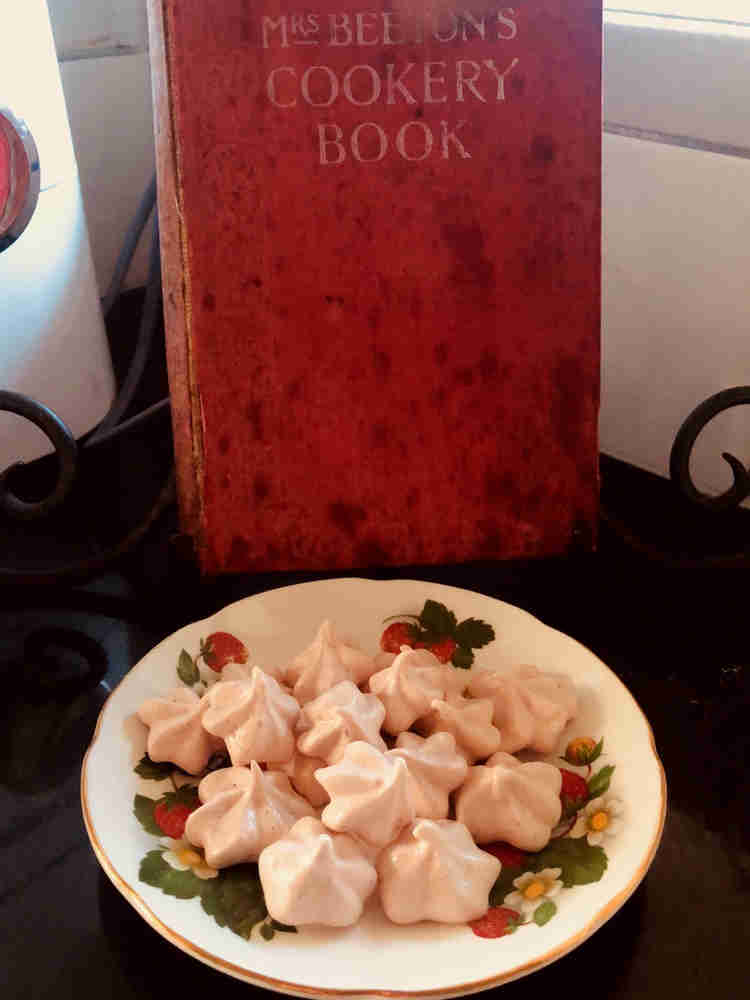
I started by whizzing my fresh strawbs in the food processor and straining then again through a sieve so that I had a smooth as silk ‘juice’. Then all you need to do is whip the egg whites into stiff peaks and fold the three ingredients together. If you are no stranger to cooking you may be taking a look at your mixture right now and thinking it’s pretty much like a flavoured meringue, right?!

It pretty much is, and the smell of the fresh fruit is divine! You may want to make these in all different flavours just to have this smell in your house 24/7. 😄

So I got my lovely piping bag out and fitted it with a pretty nozzle and spooned the mixture into my bag ready to pipe some teeny drops onto my baking tray. Making sure I had lined multiple baking trays with paper (cause it makes heeaps!) I went ahead and piped them out.

Now the recipe only says to ‘bake in a very cool oven’, so I needed to call on my previous meringue knowledge for this one. I set my oven to 120 degrees Celsius and baked them for around an hour, It ended up a very long dance party time today as it made 4 trays of mini ‘drops’

All that was left now was to plate up a dainty plate of drops and ration myself to a few at a time. 😄 These are great for decorating cakes and desserts and the natural fruit flavour is better than a processed sweet any day. Don’t be scared to try making homemade sweets and candies, they will be so much better for you than the store bought kind.

In my YouTube video I include an excerpt from Mrs Beeton encouraging you to do just this. 😁

I hope you enjoyed this quick bake, let me know below if you would like to read about more sweets from this cookbook. Check out my YouTube video below for a follow along tutorial.

Hope to see you back again with my next instalment. 💕

2021-11-10T08:55:03+13:006 October 2021|Bakes, History, Mrs Beeton's Cookbook|0 Comments

Mrs Beeton’s Adventure – Roly-Poly Jam Pudding

Welcome back to my next instalment of Mrs Beeton’s adventures, and here in NZ right now I thought everyone could do with a comfort food bake. ❤. Lets be swept away, come join me on my next adventure into the vintage baking world…..

Many of you may have made or eaten versions of this bake during your childhood and I think it’s lovely to bring back those memories by baking something with love. Today’s journey takes us into the world of pastry and puddings where we are going to be making a Roly-Poly Jam Pudding. 😁

Now this one is a three parter as I could not leave out the thing which makes this pudding extra nostalgic, but first things first I gathered the ingredients together for the pastry and jam pudding on my benchtop and set to work.

There are only two ingredients in Jam Roly poly but the first is suet crust which I needed to make from scratch beforehand. Suet crust includes flour, beef suet and water, now I couldn’t get hold of beef suet, so after consulting Mr google I decided to use shortening instead. If using beef suet the instructions are to ‘free the suet from the skin and shred, then chopping up extremely fine, rub into your flour‘. As I was using fridge cold shortening I used my old trick and grated it into the flour to give a fine consistency when rubbing in. For every pound of flour you will need 5/6 ounces of suet (or shortening) and then mix in 1/2 pint of water.

After mixing it by hand or in my case, my trusty Kenwood mixer it should look something like this…

Mrs Beeton explains that if you would like to go for a richer pasty you can use 1/2 to 3/4 pound of suet to every pound of flour. And if you are feeling extra energetic on the day, why not pound the suet in a mortar with a little butter and lay it on the pastry in small pieces as you would do for a puff pastry.

My workout today was the rolling of the pastry on my baking board, to around 1/2 inch thick. I think that’s plenty for one day, don’tcha think. 😁 Then the fun part was lathering the pastry with my homemade rhubarb and strawberry jam, the recipe calls for 3/4 pound but I say why not go wild!

Then you know what to do….roll it all up into a big sausage. I laid it on some floured calico I had, rolled that up around it and tied the ends up like a Christmas cracker. 😁

Mrs Beeton says to put the pudding into boiling water and boil for 2 hours. As I didn’t have any pot big enough for that feat I made a makeshift water bath and put my trusty oven to the test, at 180 degrees Celsius. Because the water evaporates you will need to keep an eye on it and top up when necessary.

Here are my Macgyver skills in action. 😂

While that was cooking happily away I got to thinking….What jam Roly poly is complete without the addition of some glorious custard. Why not go the whole hog people, it wouldn’t be the same without it. ❤️

Waddya know, there was a recipe for Boiled custard just a few pages along. This custard needed a pint of milk, 3 eggs, 3 oz sugar and flavouring of whatever your hearts desire. Mrs Beeton suggests bay leaves, lemons rind or vanilla extract, and a cheeky tablespoon of brandy to finish it off.

The milk gets popped into the saucepan with the sugar and flavouring and ‘steeped by the side of the fire until well flavoured’. I chose a low setting on my stovetop for this. The flavourings get taken out with straining the milk and then you will need to cook down the milk a little before stirring in the whisked eggs (you don’t want scrambled eggs in your custard, trust me).

There is a very lengthy description of what to do if you would like a richer custard, of which some are using 2 duck eggs, cream instead of milk, and doubling the eggs using only the yolks. The pot goes back on the heat and stir it ‘only one direction’ until it thickens. A very important point in italics is on no account allow it to reach boiling point, in other words have patience (if you can). The brandy is added after it is taken off the stovetop if you so desire and nutmeg grated on top. 😁

Violà! Delicious custard! 🤤

All that was left to do was remove the pudding from my oven and wait patiently for it to cool a little to avoid burning my fingers.

Cutting it into slices and putting 2 in my bowl (no judgment please 😁), I poured a healthy amount of custard and sat down to enjoy.

I hope you enjoyed this bake as much as I did, don’t forget to let me know if you’ve tried it by commenting below. Remember if you would like a follow-along video that will be up on my YouTube channel soon.

Til next time lovely readers ❤️ Bon Apetit!

2021-11-10T09:04:25+13:0027 August 2021|Bakes, Cakes, History, Makes, Mrs Beeton's Cookbook|0 Comments

Mrs Beeton’s Adventure – Succotash

Welcome back all you lovely readers, today I feel like a bit of a change so we are heading into the ‘Vegetarianism’ section of Mrs Beeton’s cookbook.

If you are an avid meat eater don’t be put off today by the topic, a good steak always looks great with a side of yummy veges. 😉

If you are an 80’s kid like me, you will have grown up with Saturday cartoons and no doubt be familiar with Sylvester or Daffy giving a good old “Sufferin’ succotash” every now and then. If like me, you have always wondered exactly what succotash was, you are in for a treat. 😁

According to good old Mr Google, Succotash is ‘broken corn kernels’ and originated from the United States and Canada. My favourite toons use it as an expression of frustration and I think it’s pretty cool. So why not cook up the recipe courtesy of Mrs Beeton and see how it tastes!

We start off with Lima or String beans, green corn (I used regular old yellow corn as that’s all I could find – I think you can even use a mix of beans and corn to spice it up a bit), milk, butter, pepper and salt. Pretty simple list of ingredients don’tcha think? Should be a pretty short and sweet cook! Never judge a book by its cover, 😄 the cooking time is looooong!

I recommend cooking this while you have your meat cooking, especially good with a bbq or your favourite roast. She starts by instructing us to shell the beans or if using string beans, cut them into pieces. I topped and tailed mine and chopped them into 2cm sized pieces to put into my pot. You will need to either use whole kernel corn or remove it from the cob, making sure you have a third more corn than beans. The beans go into the saucepan of boiling water and keep them simmering away for 20 minutes on your stovetop.

It’s a good idea to have a strainer on standby as there is a lot of straining in this recipe. I then drained the beans and added the corn to the saucepan with the beans. Just enough boiling water to cover goes into the pot with a little salt and back on the stovetop for another 30 minutes, and we are getting there….but wait there’s more! We then strain off most, but not all, of the water and substitute it for your milk which has been patiently waiting. Adding butter (it doesn’t say how much so I made a guess and added 1 1/2 tablespoons), salt and pepper to taste. And on again to Mr Stovetop for another 10 minutes (I put it on low heat for this bit).

Taking it off the heat I plated it up onto my Crown Lynn (as I felt a vintage cook deserved vintage plating 😁), along with my roast chicken legs which had been happily cooking away in my oven.

There you have it! It’s not a tricky recipe but it is time-consuming. The instructions are to serve ‘very hot’ and it is seasonable from July to October. I think if you can get hold of beans and corn year-round from your local supermarket you can pretty much have this at any time of year.

Bon appetit my lovely readers!

A video of the cook it is up to view on my YouTube channel at: https://youtu.be/vAzOlaQ3Dlg

Please check out my other blog posts if you haven’t already and my Sweet Sensations NZ YouTube channel for videos of my lovely vintage cooks and bakes 💕 See you again soon!

2021-11-10T08:55:03+13:0029 July 2021|History, Mrs Beeton's Cookbook|0 Comments

Mrs Beeton’s Adventure – Common Cake

It was an easy decision to go with another bake again this time, as I loved the last recipe. So turning to the “Breads, Buns, Cakes” section I scanned through and found one that caught my eye…Common Cake 😃

Although this combination of spices does not make a ‘common cake‘ in today’s times, it was common for these to be used back when this cookbook was created “1906” when their bakes may have been done in a range something like this advertisement (featuring in the front of #MrsBeetons cookbook).

Caraway gives this bread a slightly anise or liquorice flavour and was a sought after flavour in British baking, dating back from the 1700s and through Victorian times.

Now that our mini history lesson is complete let’s get back to our recipe bake, shall we? 😃

The Common cake includes a note in its title mentioning that this bake is ‘suitable for sending to Children at school’, of which I have plenty, so it seemed right up my alley. 🤣 Here are the ingredients laid out on my benchtop ready to go.

We have flour, butter (or clarified dripping), caraway seeds, allspice, pounded sugar, currants, milk and yeast.

Now the recipe starts off like a scone mixture and quickly segue into a bread. After rubbing the butter into the flour with a little cheat I learned at High School cooking class (grating it in makes it easier to rub in smaller amounts – you’re welcome if you didn’t already have that titbit stored. 😉) Alternatively you can use one of these nifty little pastry blender thingmys.. (or your good old hands)

I warmed the milk in my super quick non-vintage Microwave and stirred in the yeast. It didn’t mention leaving the yeast to froth for 10 minutes but I did it anyway, as with other breads I’ve made in the past.

I then added the milk into the flour with the other dry ingredients and mixed to a dough with the dough hook on my Kenwood mixer (saving my tired arms, lol). Add in the currants and mix some more until it was nice and shiny.

I had to divide this into around a third (one larger tin) and then the remaining 2/3 I cut into 4 smaller ‘buns’ for my cute little #JamieOliver springform tins.
She says to line the cakes ‘with strips of buttered paper about 6 inches higher than the top of the tin’ and I then put the separated dough balls into the 5 tins.

Now we play the waiting game as I waited for them to rise for ‘more than an hour’ (dance party time 🥳).

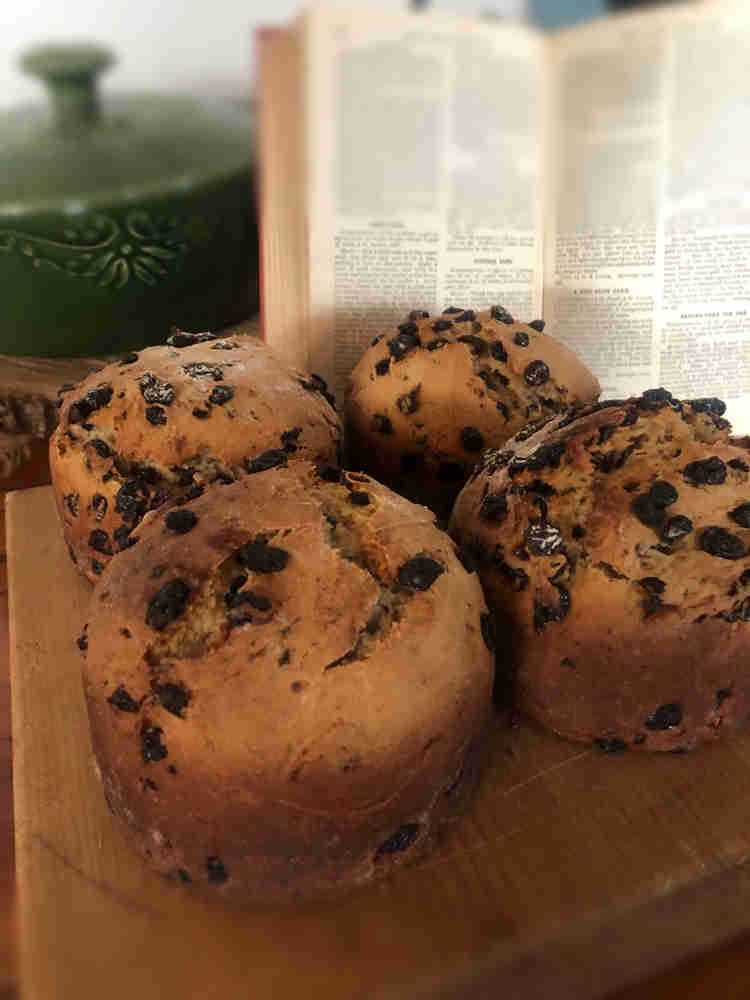
The instructions for baking once again don’t give any specific temperature but do say I needed a ‘well-heated oven’ and ‘1 1/2 to 2 hours baking’ time.

I put mine onto good 180 degrees celsius again just to be on the safe side with my oven.

The smell filling the room was gorgeous and they rose a bit, maybe 6 inches brown paper lining was a bit of an overkill, but they rose above the tin edges nonetheless.

The resulting breads were pretty impressive and reminded me of panettone in looks. Those lovers of caraway had a wee taste of my mini buns and I had rave reviews.

Mrs Beeton mentions that the time taken to make the common cake is 1 3/4 to 2 1/4 hours. The average cost being 1s. 4d. and is sufficient to make 2 moderate-sized cakes.

I hope you enjoyed this bake as much as I did and remember there will be a YouTube video to watch at:

Thank you so much for coming back again to my blog and welcome to any new readers! Hope to see you here next time😁 Cheerio!

2021-11-10T08:55:03+13:0026 June 2021|Cakes, History, Mrs Beeton's Cookbook|0 Comments
Go to Top