
Lamingtons
With the school holidays in full swing it felt like a great time to whip up a kiwi classic!
This is something I don’t make that often due to the fact that it can get pretty messy in the kitchen when the kiddoes get involved.
You will find these in every good bakery in NZ, some even filled with cream too. A good lamington is light and soft, soaked in chocolate or strawberry icing and thoroughly covered in delicious coconut.
This recipe makes them from scratch but if you want a cheats version you can buy a plain sponge and do the icing yourself. Just a heads up though, that’s the messy bit. 😊
This recipe requires:
6 eggs
2/3 cup caster sugar
1/3 cup cornflour
1/2 cup plain flour
2/3 cup self raising flour
3 cups icing sugar
1/2 cup cocoa powder
15g butter melted
2/3 cup milk
Desiccated coconut for rolling in.
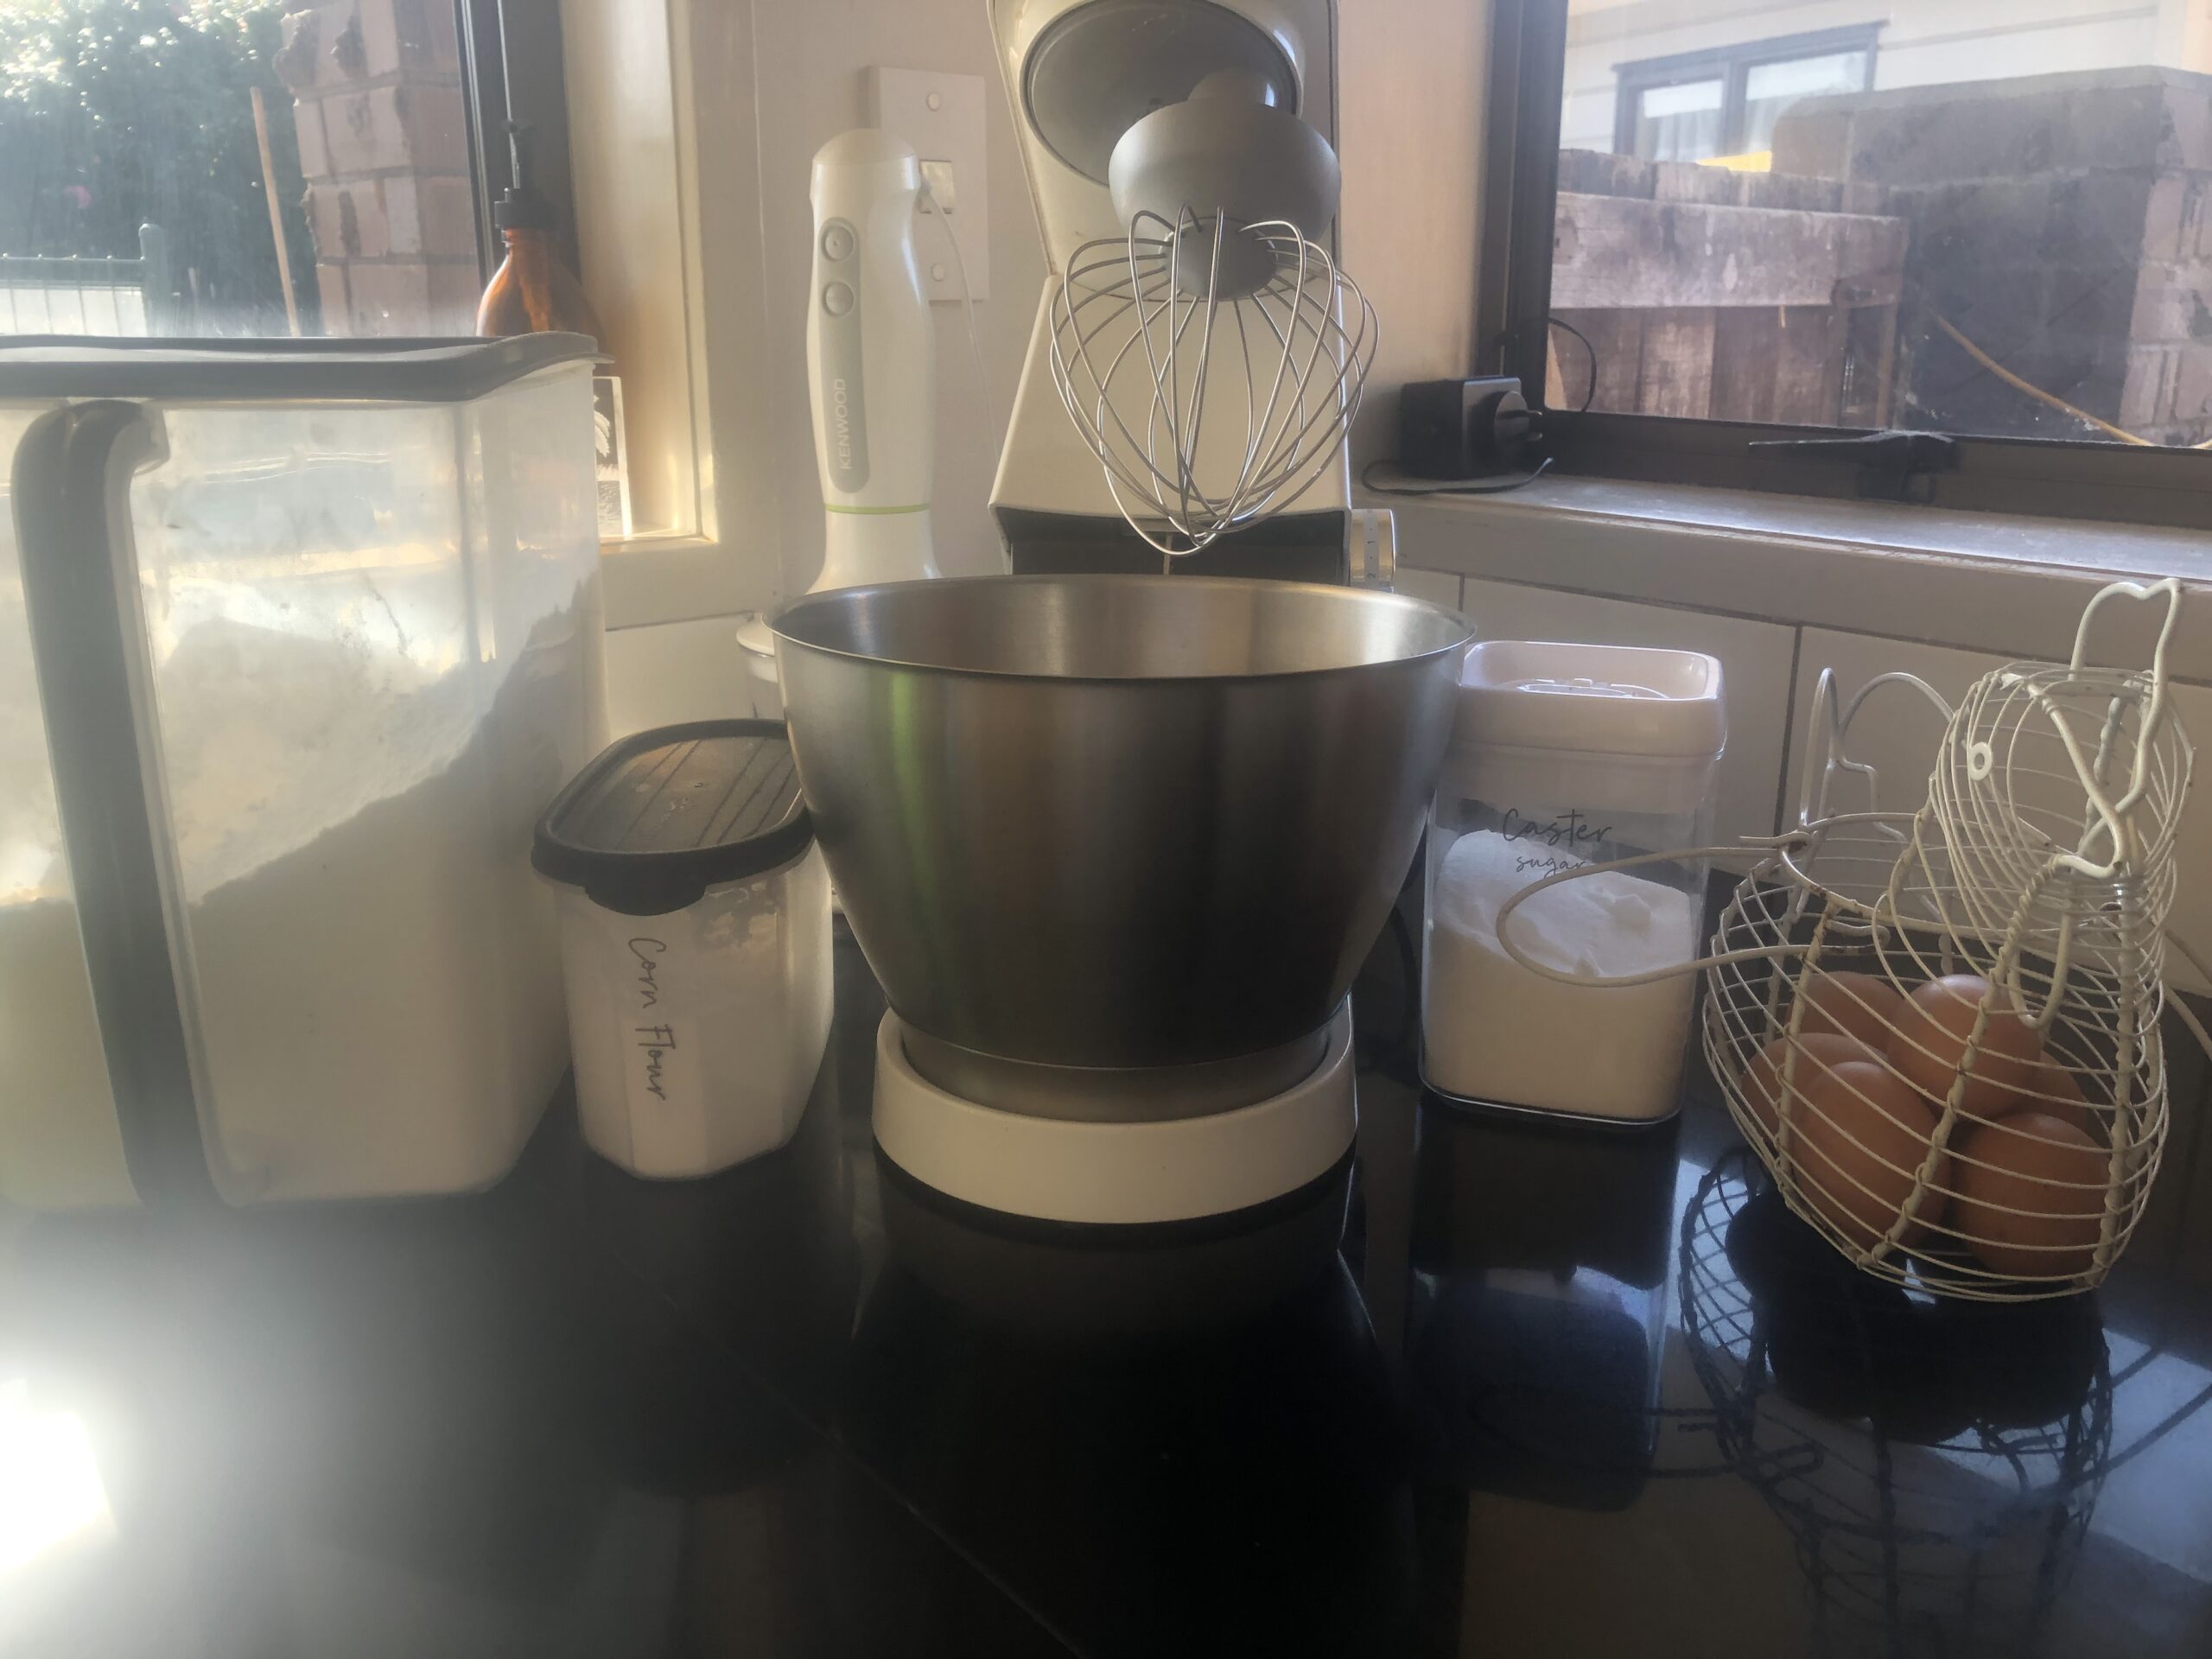
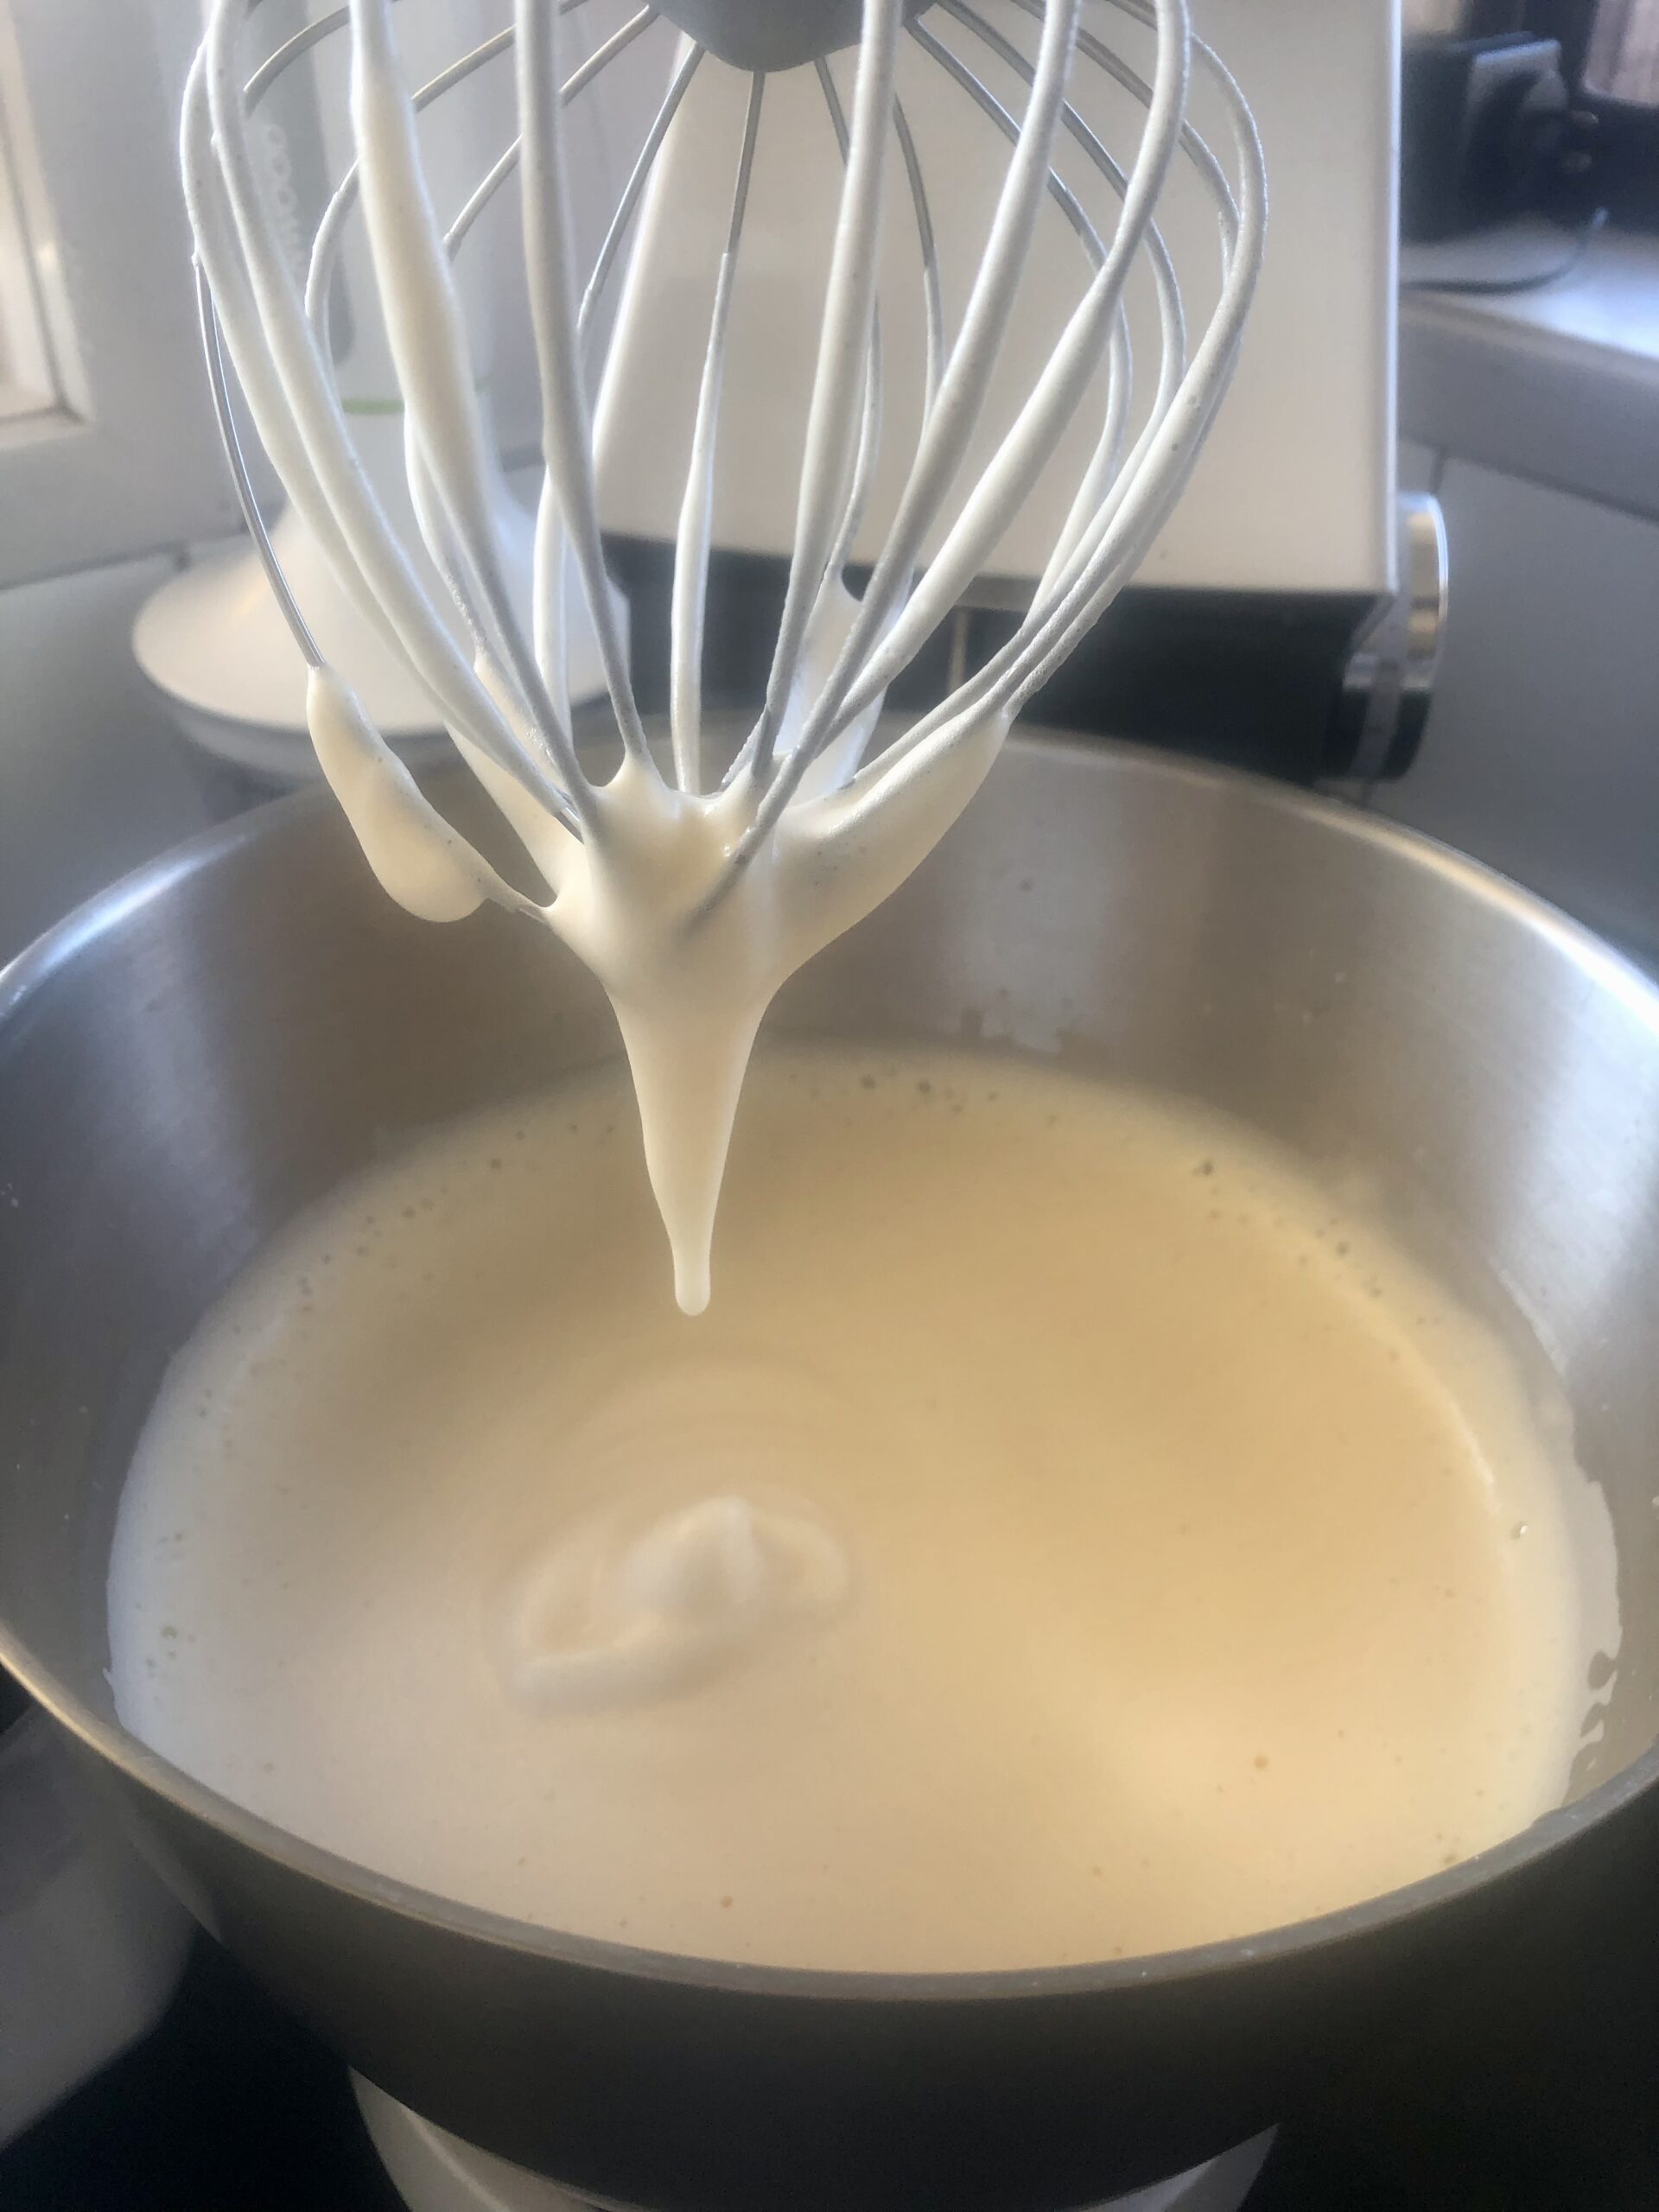
First we put all the eggs in our electric mixer to beat for 10 minutes until they are thick and creamy. It’s best to preheat the oven to 180 degrees Celsius and grease and line a square cake tin while you are waiting unless you fancy a quick dance party instead.
The sugar gets put into the egg mixture gradually until dissolved and then make sure you triple fold your combo of flours as this makes for a lovely light sponge. Add this to the mix.
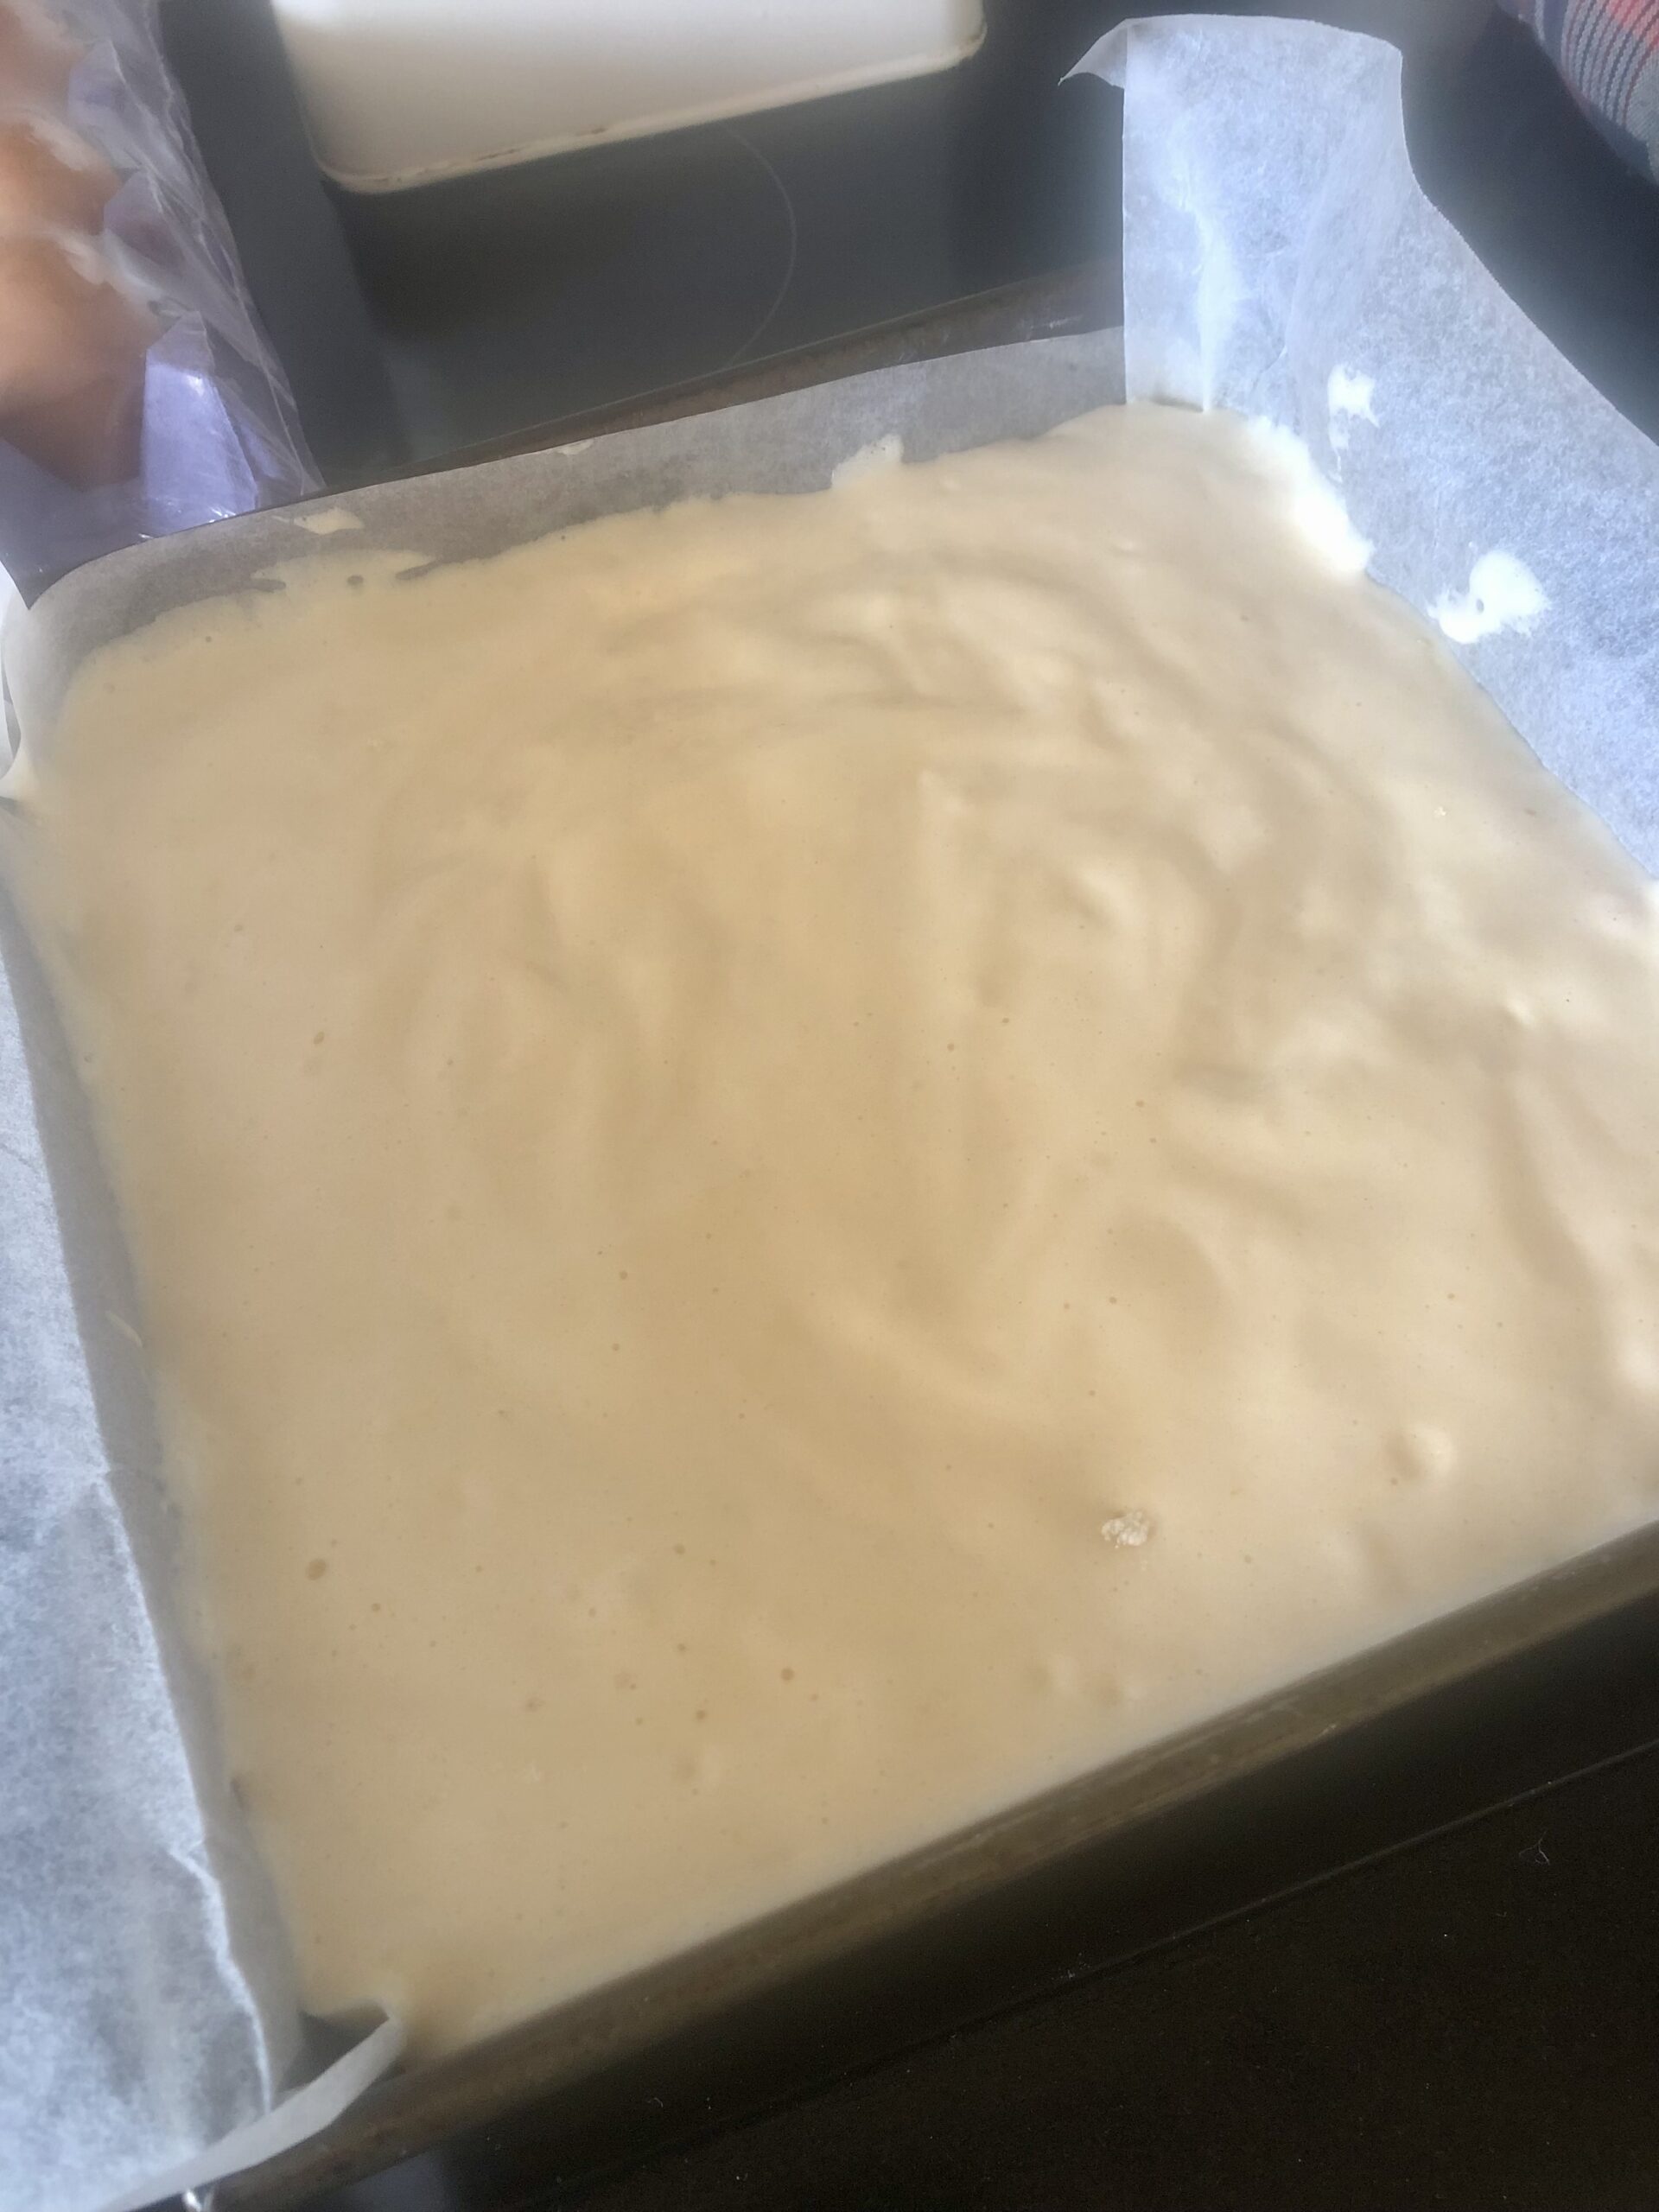
Super simple right! This mixture goes into your prepared cake tin to bake for 30 minutes. When it’s done it gets cooled upside down on a cake rack. A good tip that makes the cake easier to dip in the icing, is to make it a day ahead.
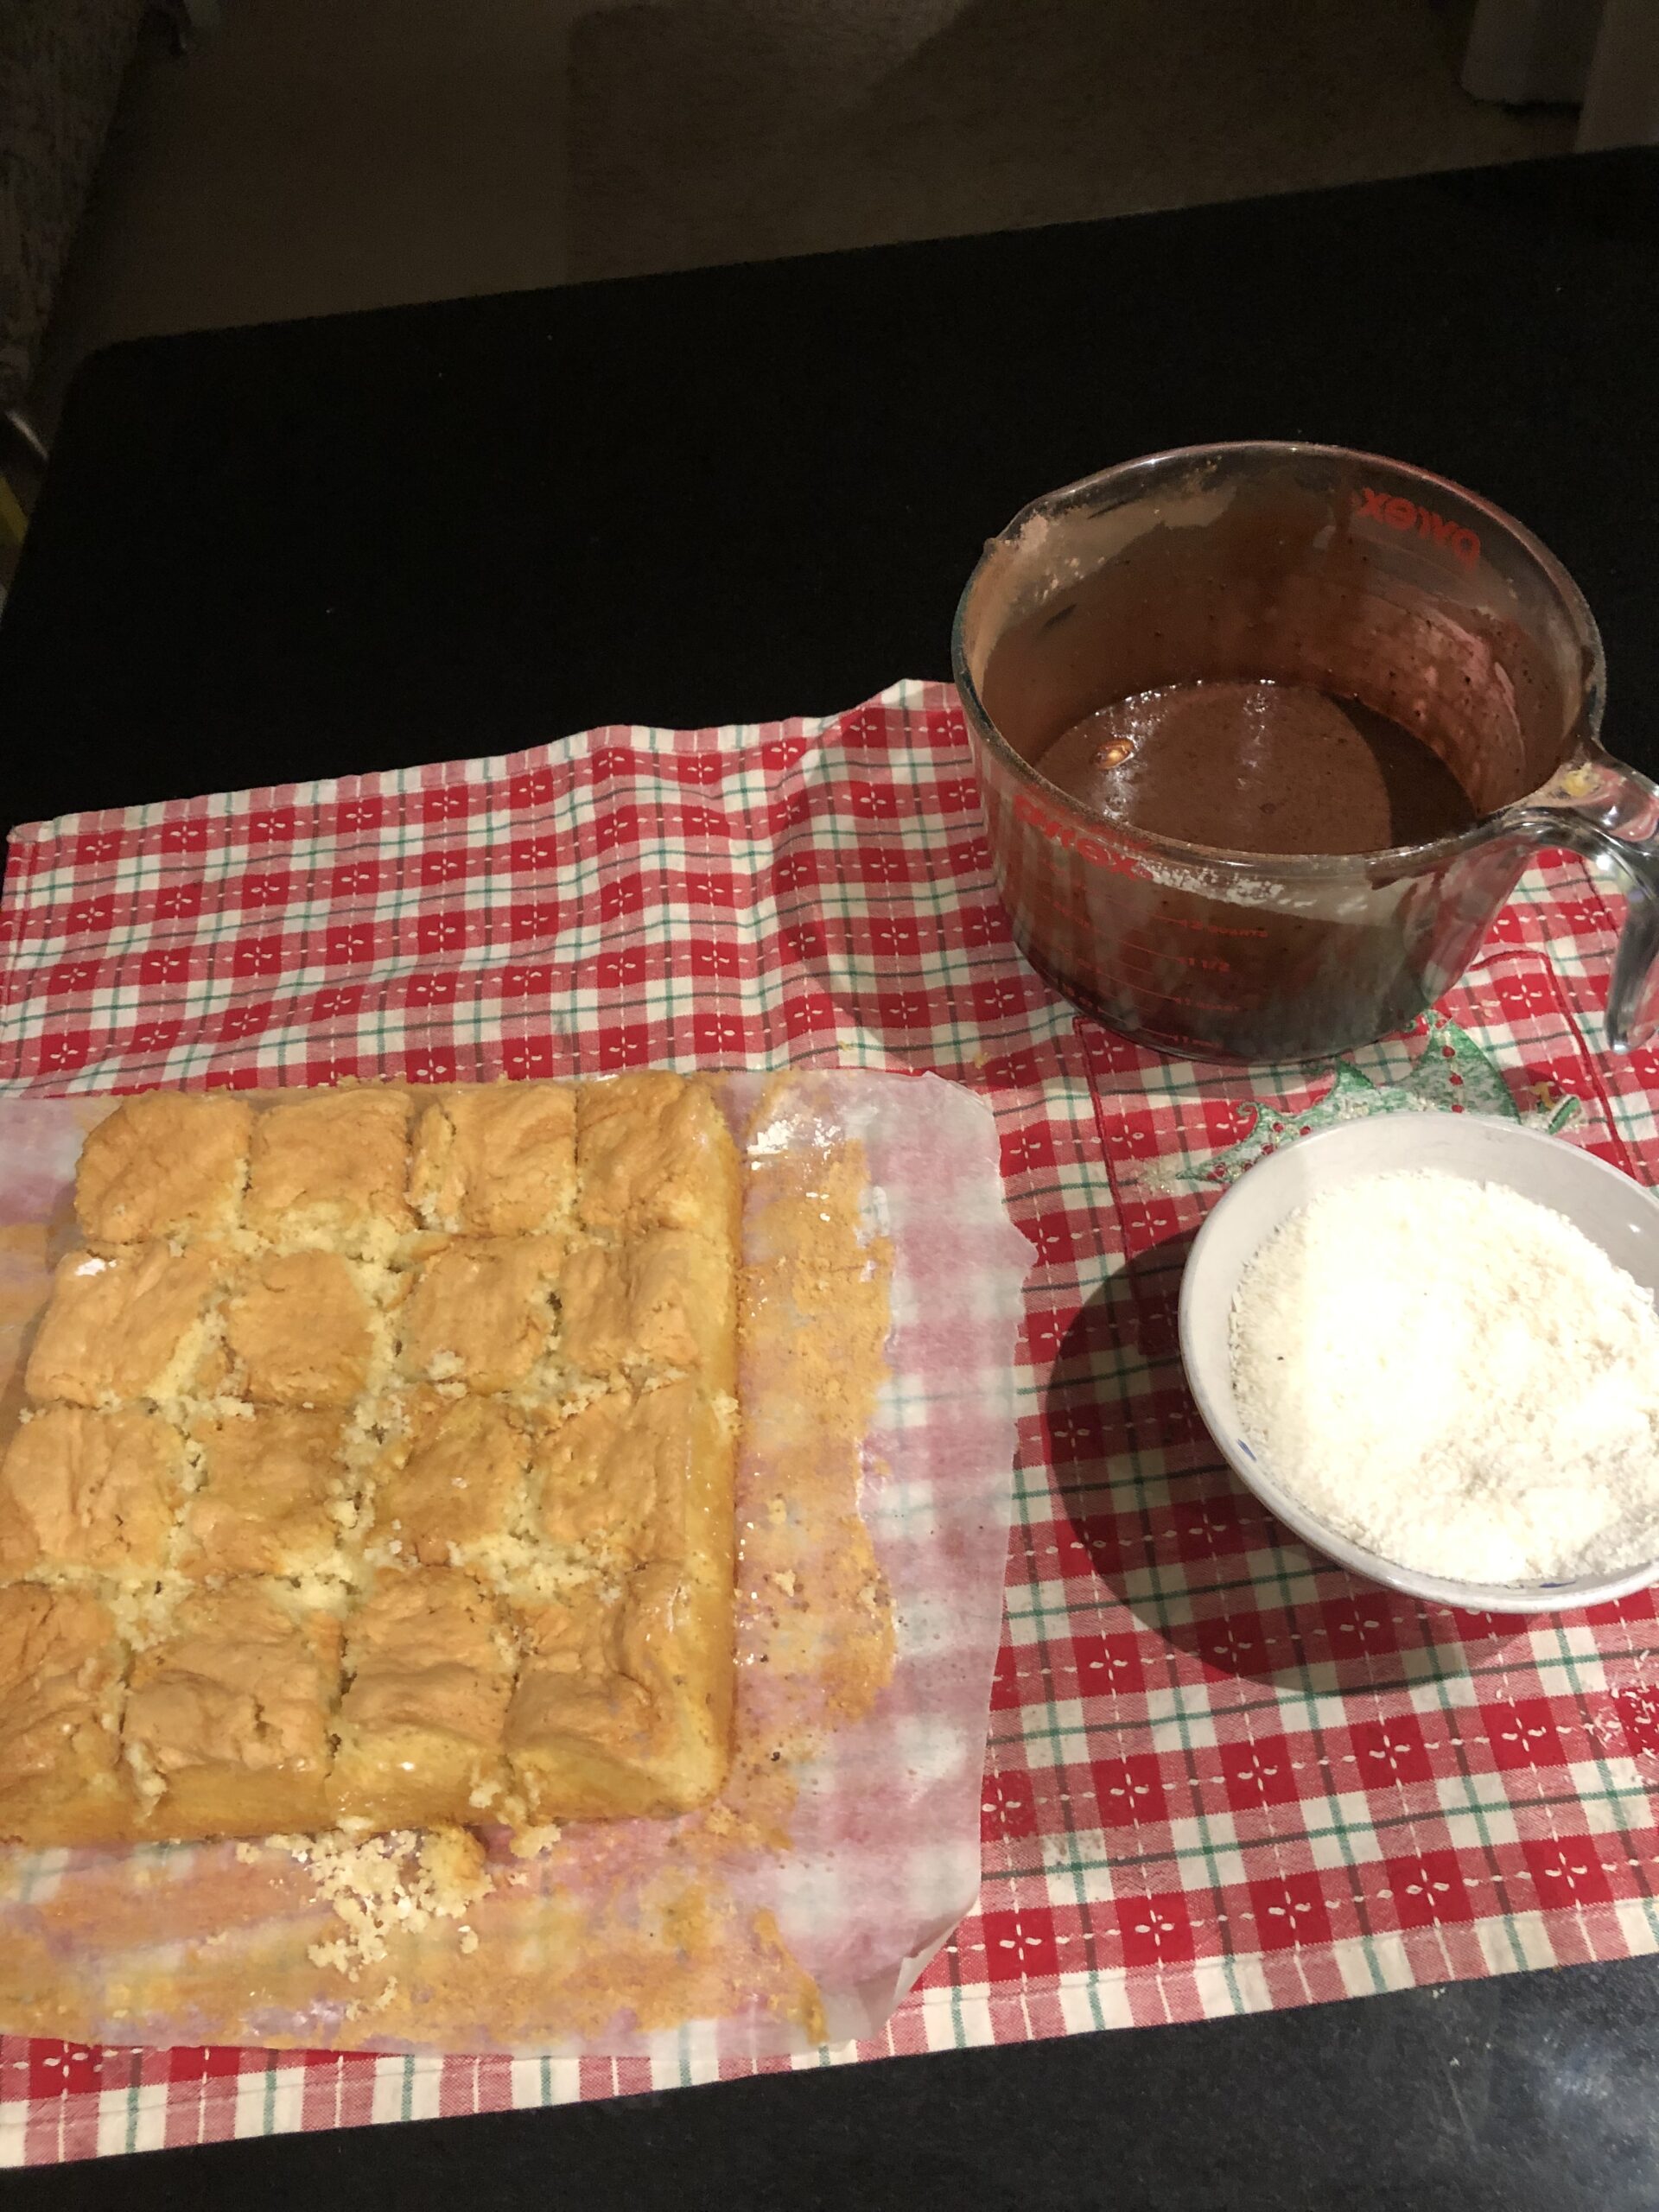
Mix all the remaining ingredients together until it is nice and runny and cut your sponge into squares. This is where you need to ignore the clean freak part of you and throw caution to the wind. Your hands will be covered in icing as you coat each piece, then roll over in a low tray full of coconut, making sure you have them all covered.
Exercising all of your control leave them to set for a while to make eating them a bit easier.
They are delicious filled with cream and jam too, if you like to treat yourself. 😊
I hope you enjoy these as much as we do, thanks for reading and please come back again soon.

 My helper and I started off with the butter and water in a saucepan and heated it on the stovetop until the butter had melted and the mixture was bubbling. Here’s where you have to work fast – straight after you have tipped your flour into the butter/water mixture you will need to use those muscles to stir vigorously until the mixture comes together and away from the sides of the pot.
 It doesn’t look very pretty yet but there’s more work to be done! It will be delicious, I promise.
 Here we have several lovely caterpillars lined up on our tray. 😁 We used two trays to fit them all in. Then in they went to our trusty oven at 200 degrees Celsius for around 25 minutes. The bigger your eclairs the longer they should be in the oven (We made cute minis – the smaller they are the fewer calories, right? 😂).
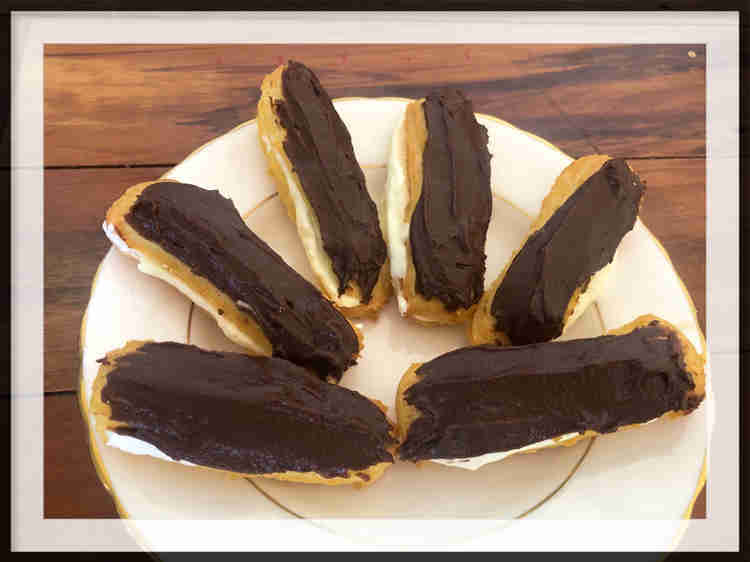
 After the timer went off we took them out, nice and golden brown, to cool. Then with a sharp knife, we cut a slit in the slides the length of the eclair. If you have large eclairs and need them to dry out inside, then cut the slit earlier and leave to dry.
 And there was only one thing left to do, which was to enjoy the tasty treats – Fresh is best people! ❤️