Classic Kiwi Baking – Eclairs
Hey there,
It’s another week in Level 4 for us Aucklanders so it was time to do something a bit different and break out into the good old classic kiwi bake. What better place to do that than with a classic kiwi cookbook – The Edmonds cookbook. 😁. Hopefully, most of you kiwis have this in your cupboard, so why not get it out and bake along with us!
Yes! So I have a helper for this bake…my 11-year-old son. That’s right folks, let’s teach our boys how to cook too, it’s not just a girly ‘sport.’ 😁. He has been helping me in the kitchen a lot this lockdown and is getting pretty good at it. Today I let him pick and he chose something I’m sure most of you know and love – Chocolate Eclairs. ❤️
We started out getting all our ingredients together on the benchtop and measuring them ready to go. The recipe calls for 75g butter, 1 cup water, 1 cup plain flour, 2 tablespoons of sugar, 1/2 teaspoon of vanilla essence, 3 eggs, Chocolate Icing (icing sugar, cocoa, water + butter) and some delicious fresh whipped cream.
Just a note folks, that it will take some strength and a decent piping bag to pipe these beauties onto the baking sheet, so get pumping iron. 😁
 My helper and I started off with the butter and water in a saucepan and heated it on the stovetop until the butter had melted and the mixture was bubbling. Here’s where you have to work fast – straight after you have tipped your flour into the butter/water mixture you will need to use those muscles to stir vigorously until the mixture comes together and away from the sides of the pot.
We then turned off our element and brought the pot over to our bench to add the sugar and vanilla essence. After incorporating this we added the eggs one at a time (using a go between bowl just to double check there was no shell going on in too). This mixture may look a bit weird and is pretty tough to combine, if you have trouble mixing the eggs in pop it in your mixture for a quick burl, works wonders!
 It doesn’t look very pretty yet but there’s more work to be done! It will be delicious, I promise.
Fill your large piping bag with any large nozzle you fancy and pipelines of around 7cm onto the baking sheet. A trick to get the pastry to disconnect from the nozzle is to cut it off with a pair of scissors or a sharp knife.
 Here we have several lovely caterpillars lined up on our tray. 😁 We used two trays to fit them all in. Then in they went to our trusty oven at 200 degrees Celsius for around 25 minutes. The bigger your eclairs the longer they should be in the oven (We made cute minis – the smaller they are the fewer calories, right? 😂).
 After the timer went off we took them out, nice and golden brown, to cool. Then with a sharp knife, we cut a slit in the slides the length of the eclair. If you have large eclairs and need them to dry out inside, then cut the slit earlier and leave to dry.
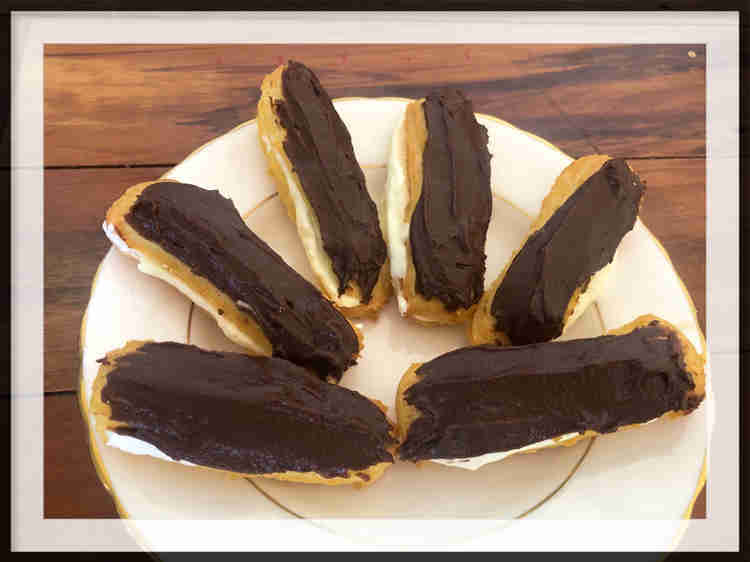
We whipped our cream to soft peaks and made some really easy chocolate icing with a cup of icing sugar, a tablespoon of cocoa and a tablespoon of butter, with water to mix until we were happy with the consistency. Then we got out a piping bag with a smaller nozzle and piped that delicious cream inside the eclair, and iced the top with our chocolatey good Icing.
 And there was only one thing left to do, which was to enjoy the tasty treats – Fresh is best people! ❤️
I hope you all get a chance to do some baking with your family, it really is a very special time, and something they will take with them for the rest of their lives. ❤️


