Mrs Beeton’s Adventures – Breads
Welcome back to my lovely readers, I thought I might go in a different direction this week, from my usual sweet bakes.
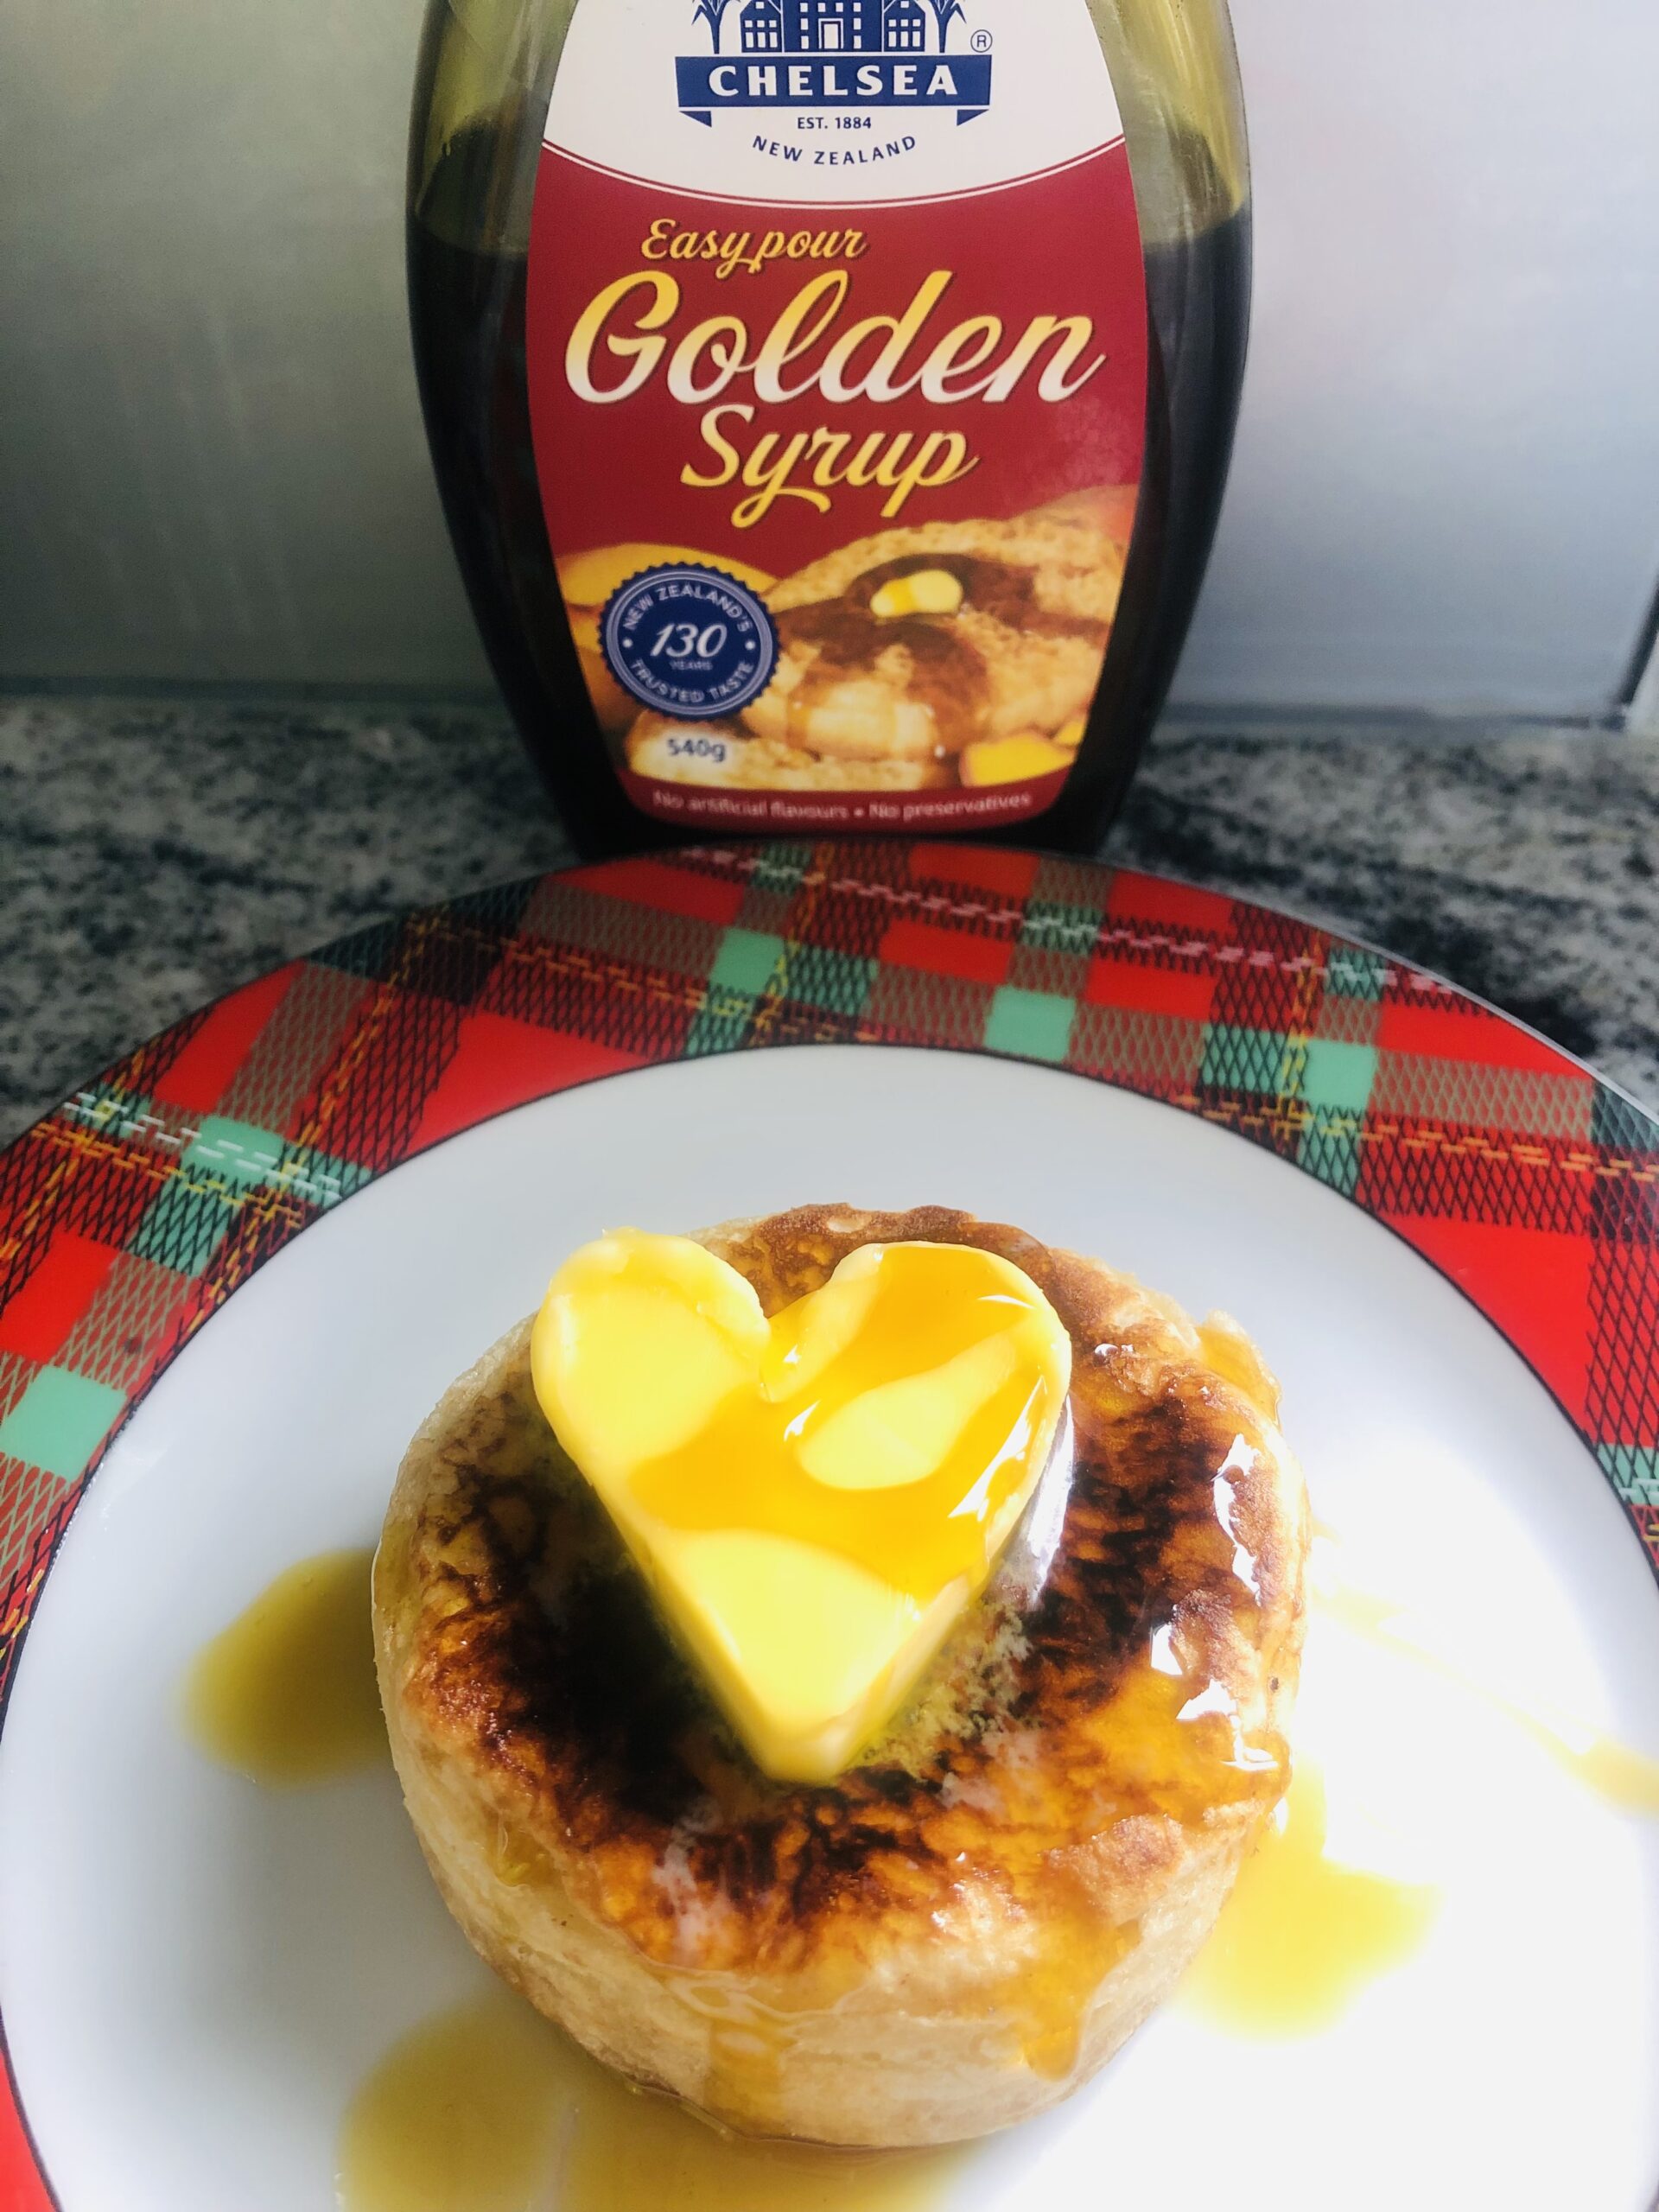
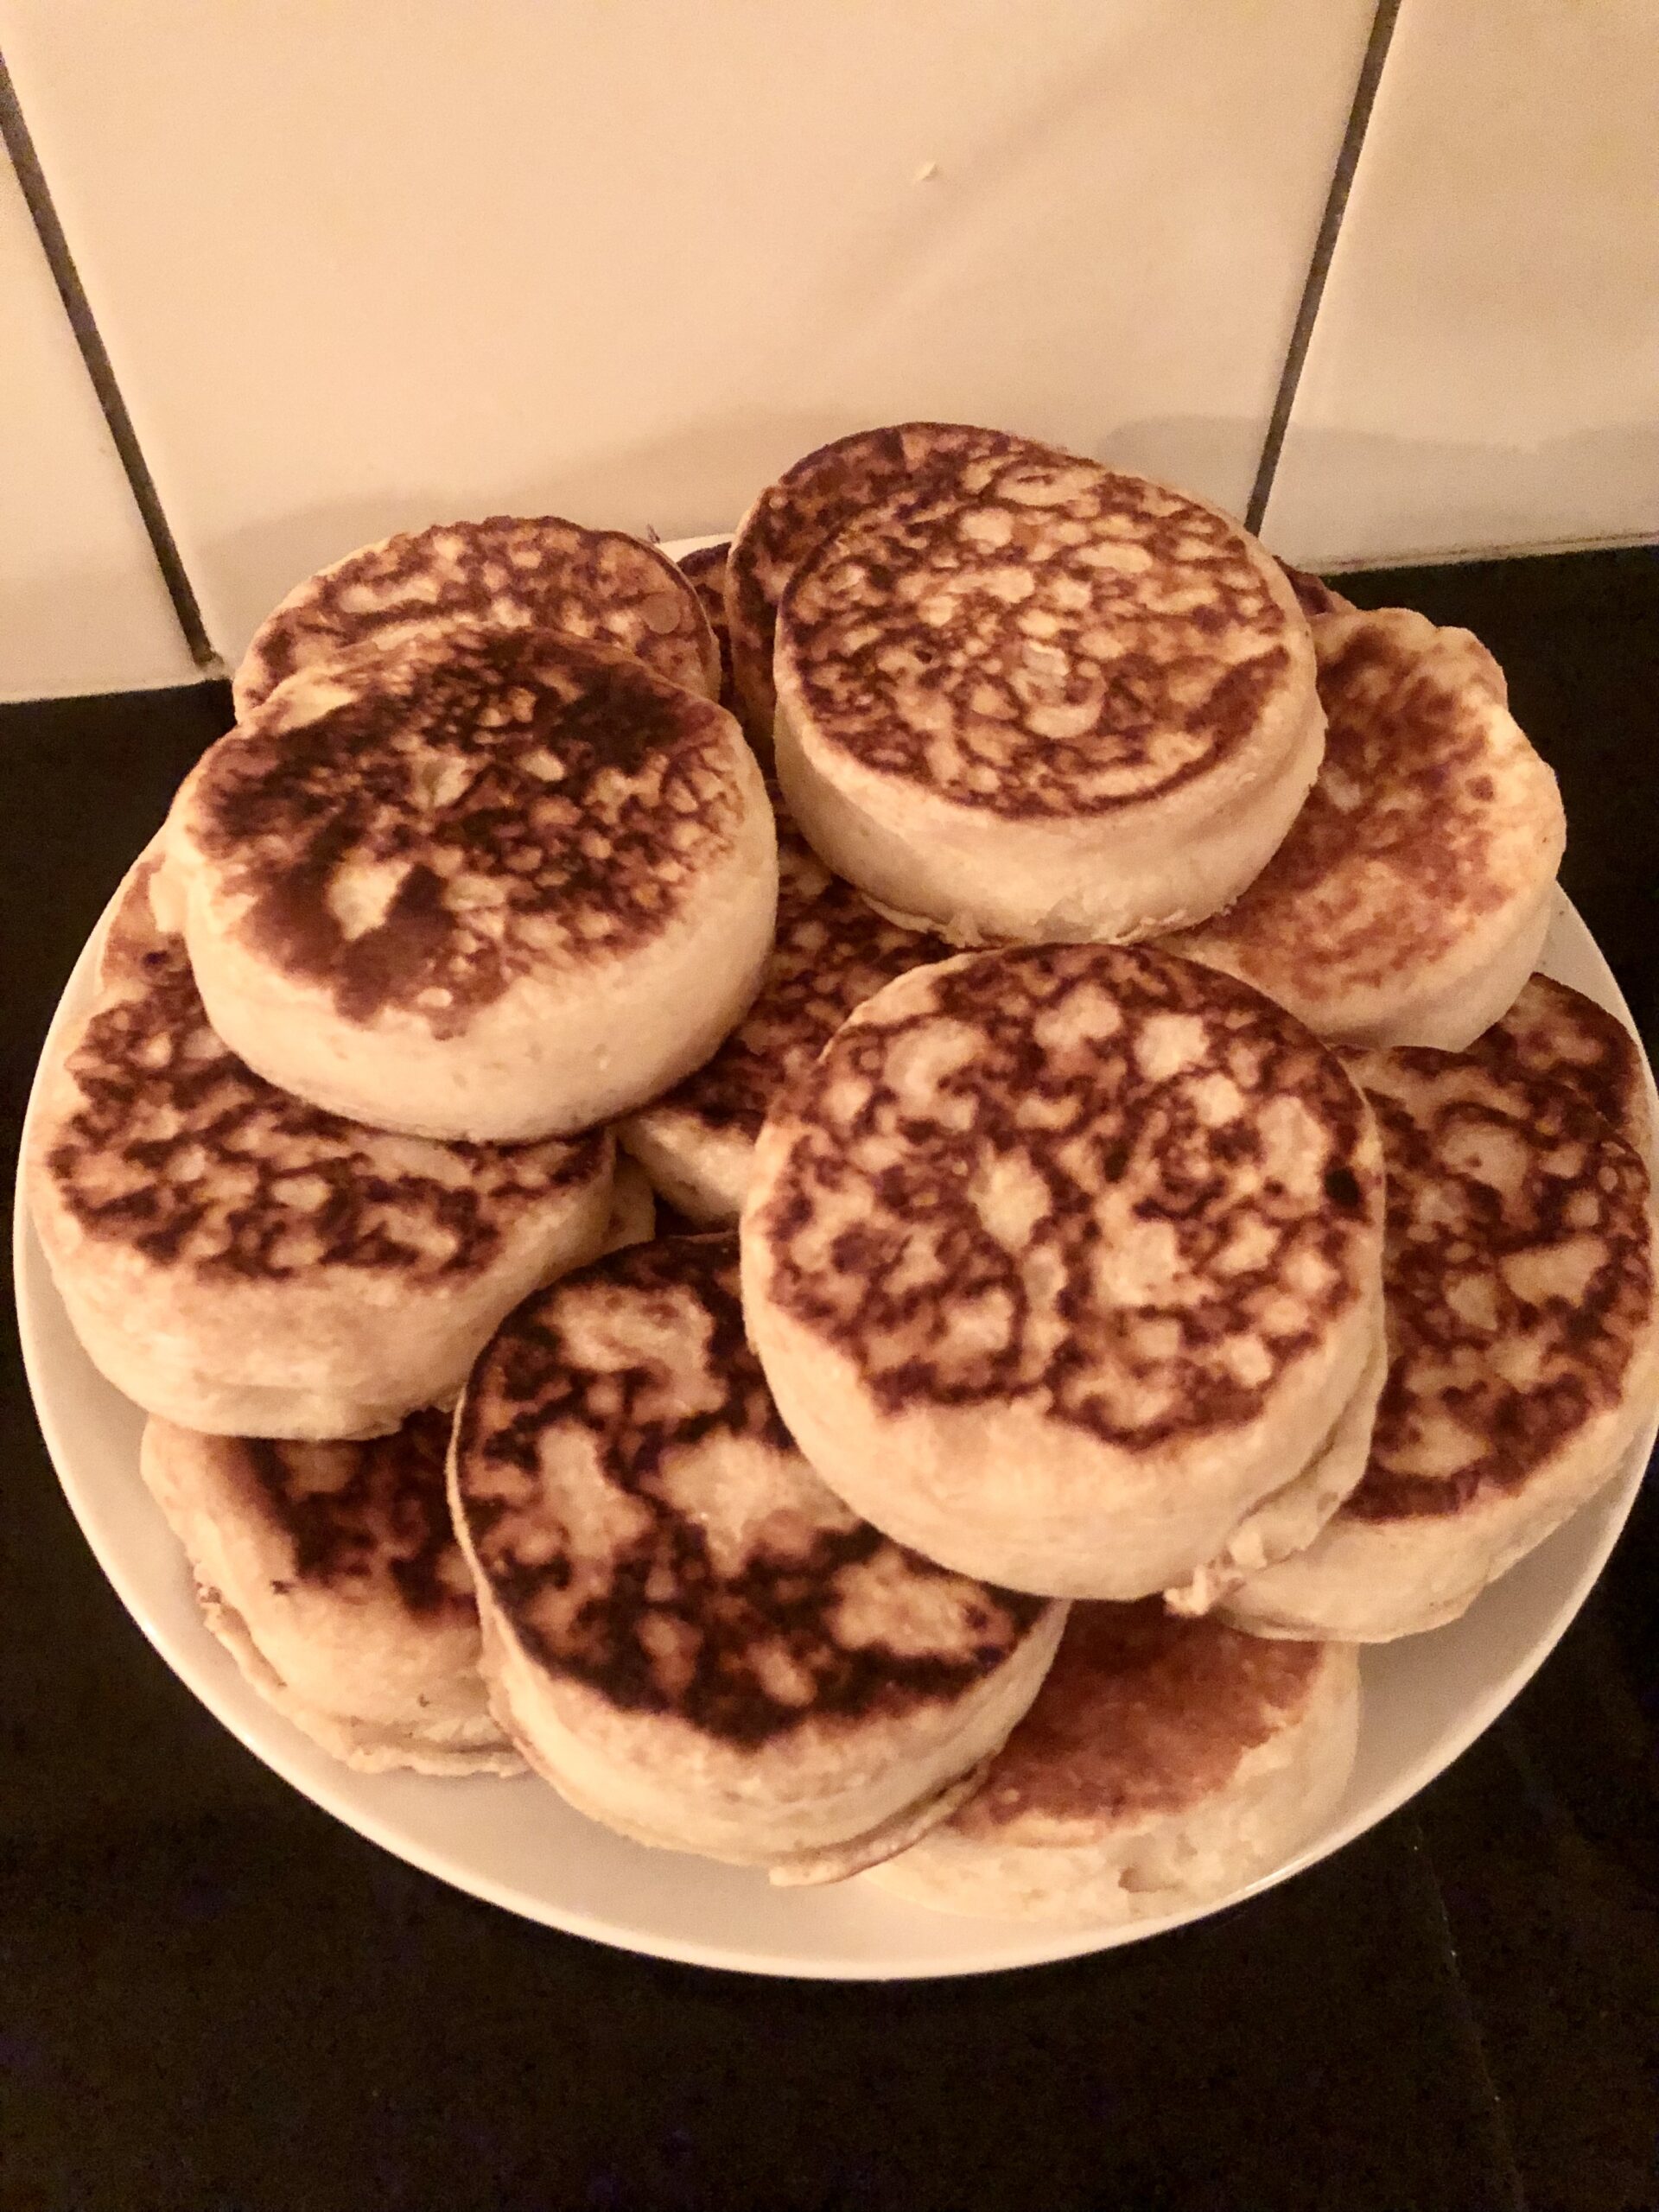
I don’t think you could find many out there that don’t love one of these delicious beauties heated with butter and lashings of golden syrup. Yes today I’m heading into the wonderful world of the golden crumpet!
The glorious crumpet is said to have originated in Wales and the earliest recipe was written way back in 1769. Originally cooked on a iron griddle pan over an open fire, which you will be relieved to know I won’t be attempting today. 😁 No need to ring the fire brigade, lol.
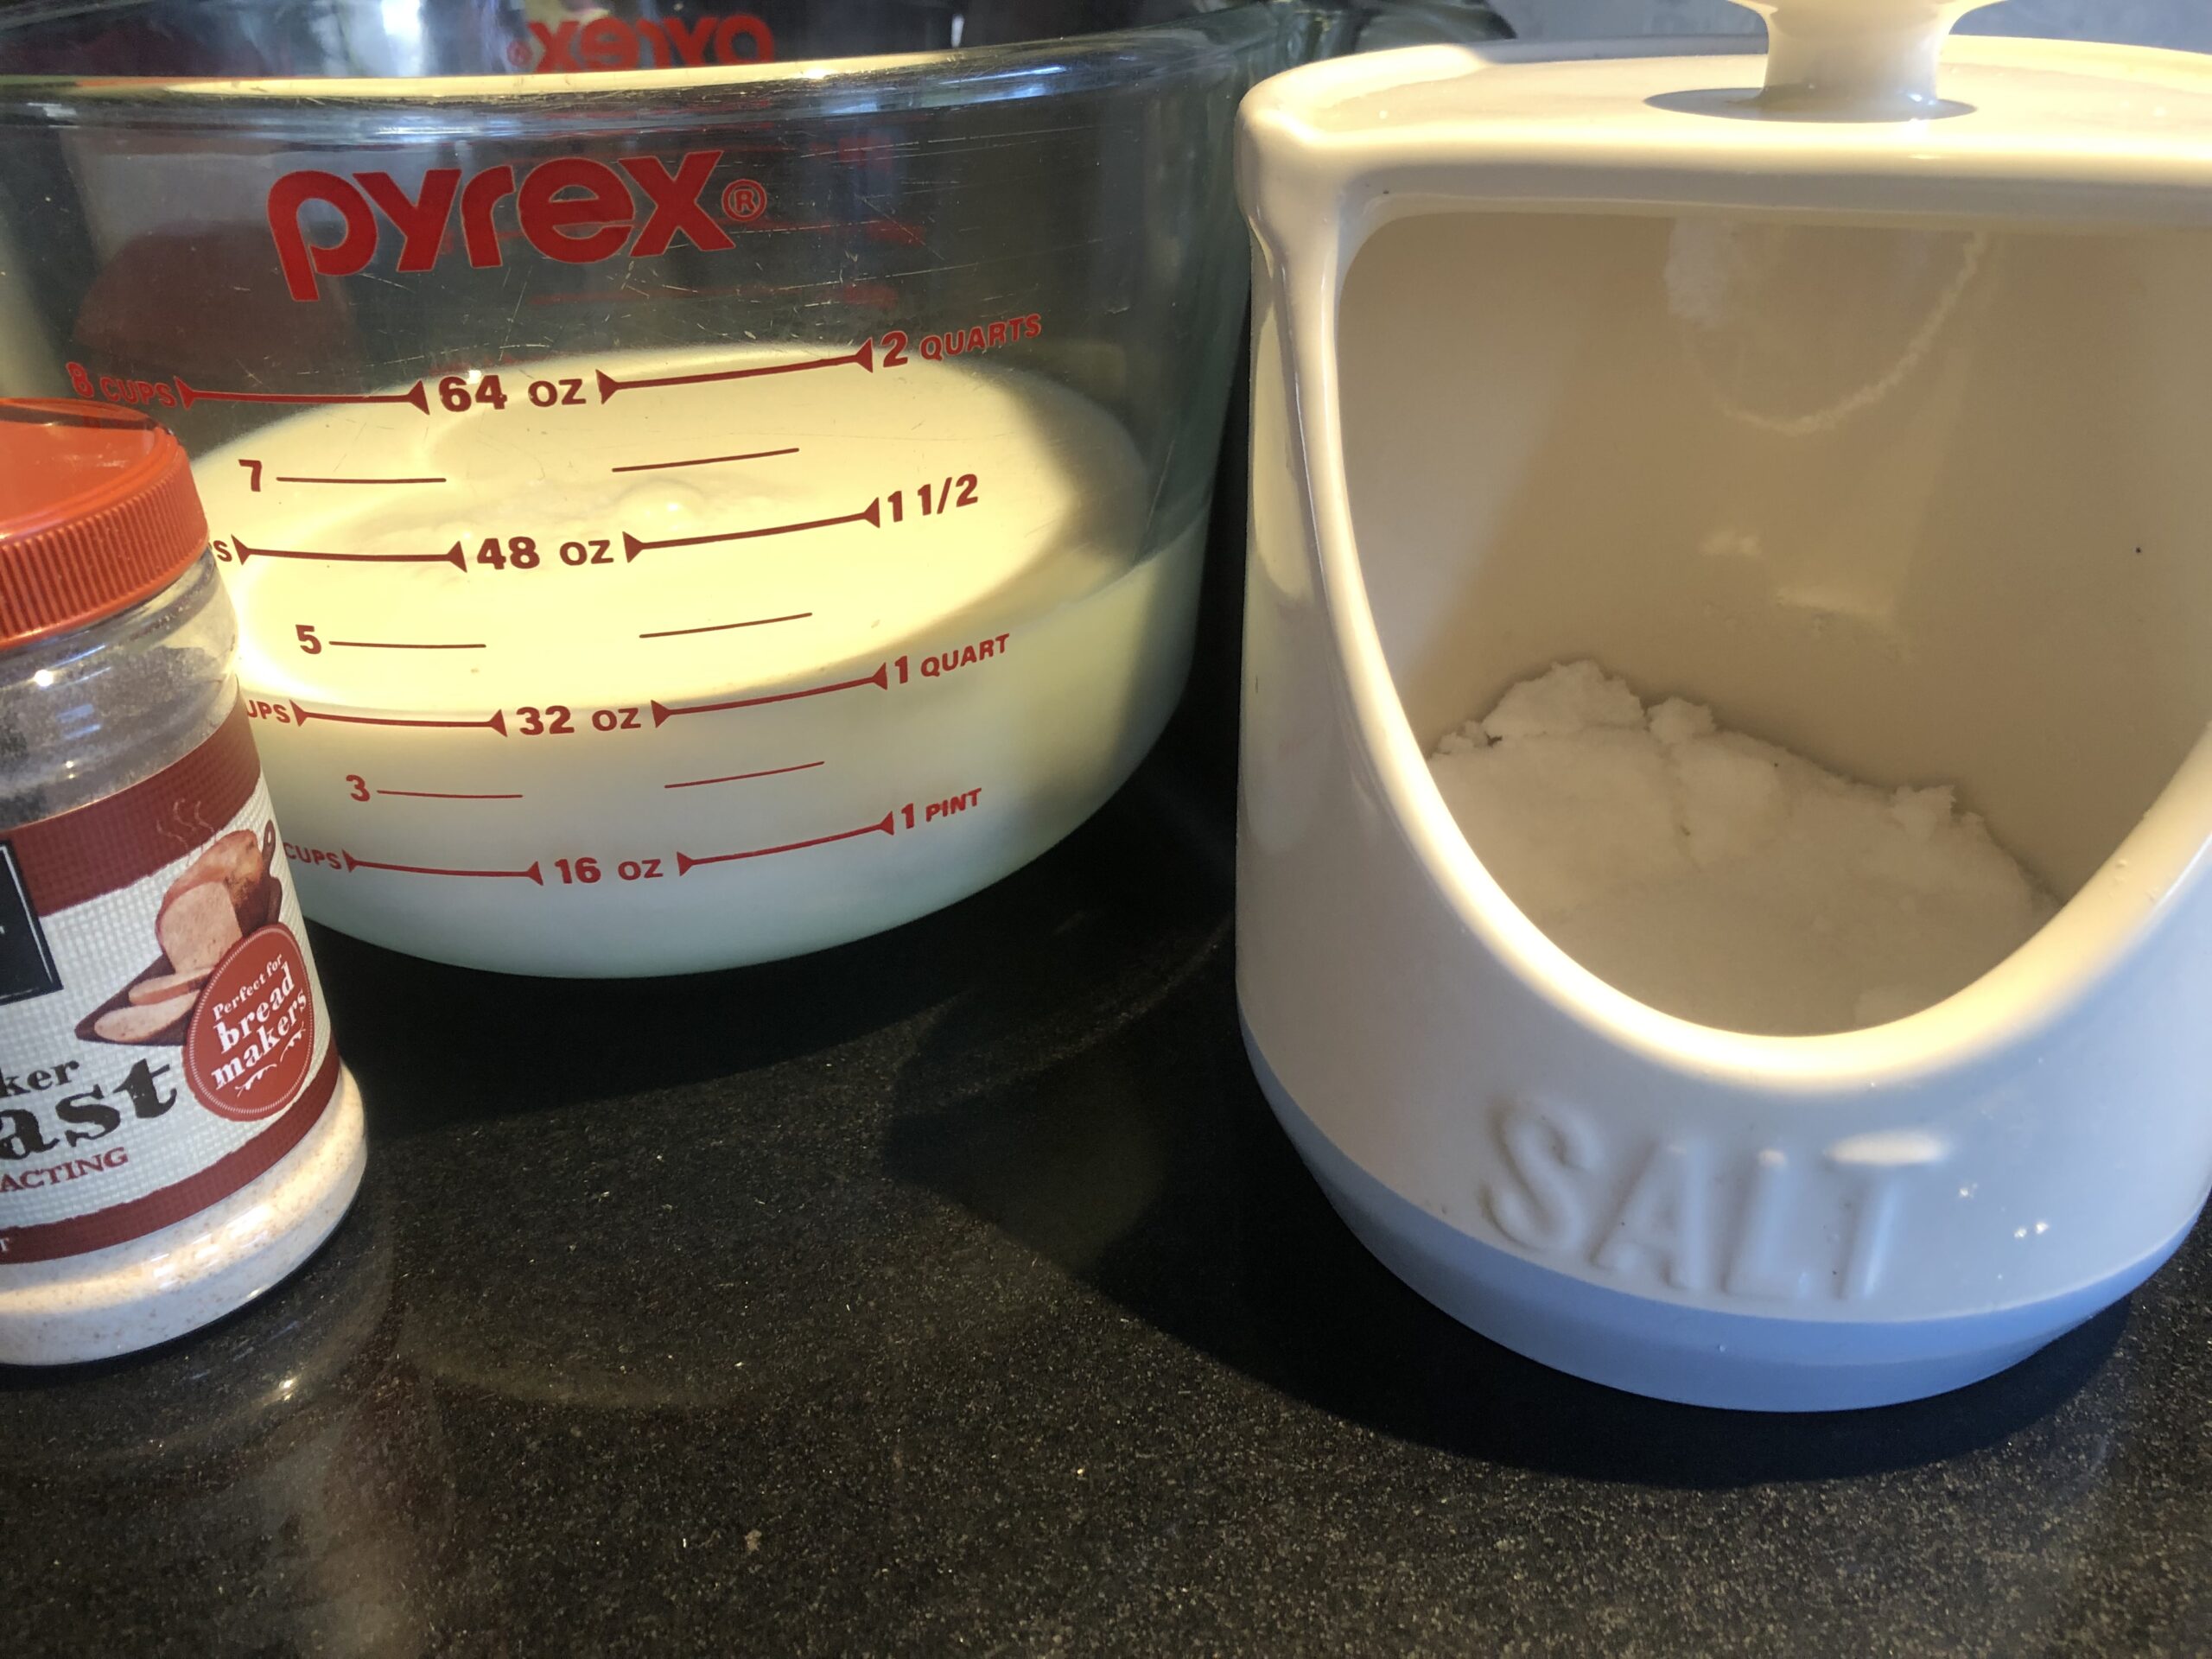
I started out with a quart of milk warmed, this is rather a lot so make sure you have plenty left over for your accompanying cuppa. A quart is equal to 4 cups or 1 litre of liquid. I then added 1/2tsp of salt and 1 1/2 ounces of yeast and stirred that up to froth. This recipe doesn’t actually give any quantities other than the milk so I used a bit of previous knowledge of breads and a bit of good luck.
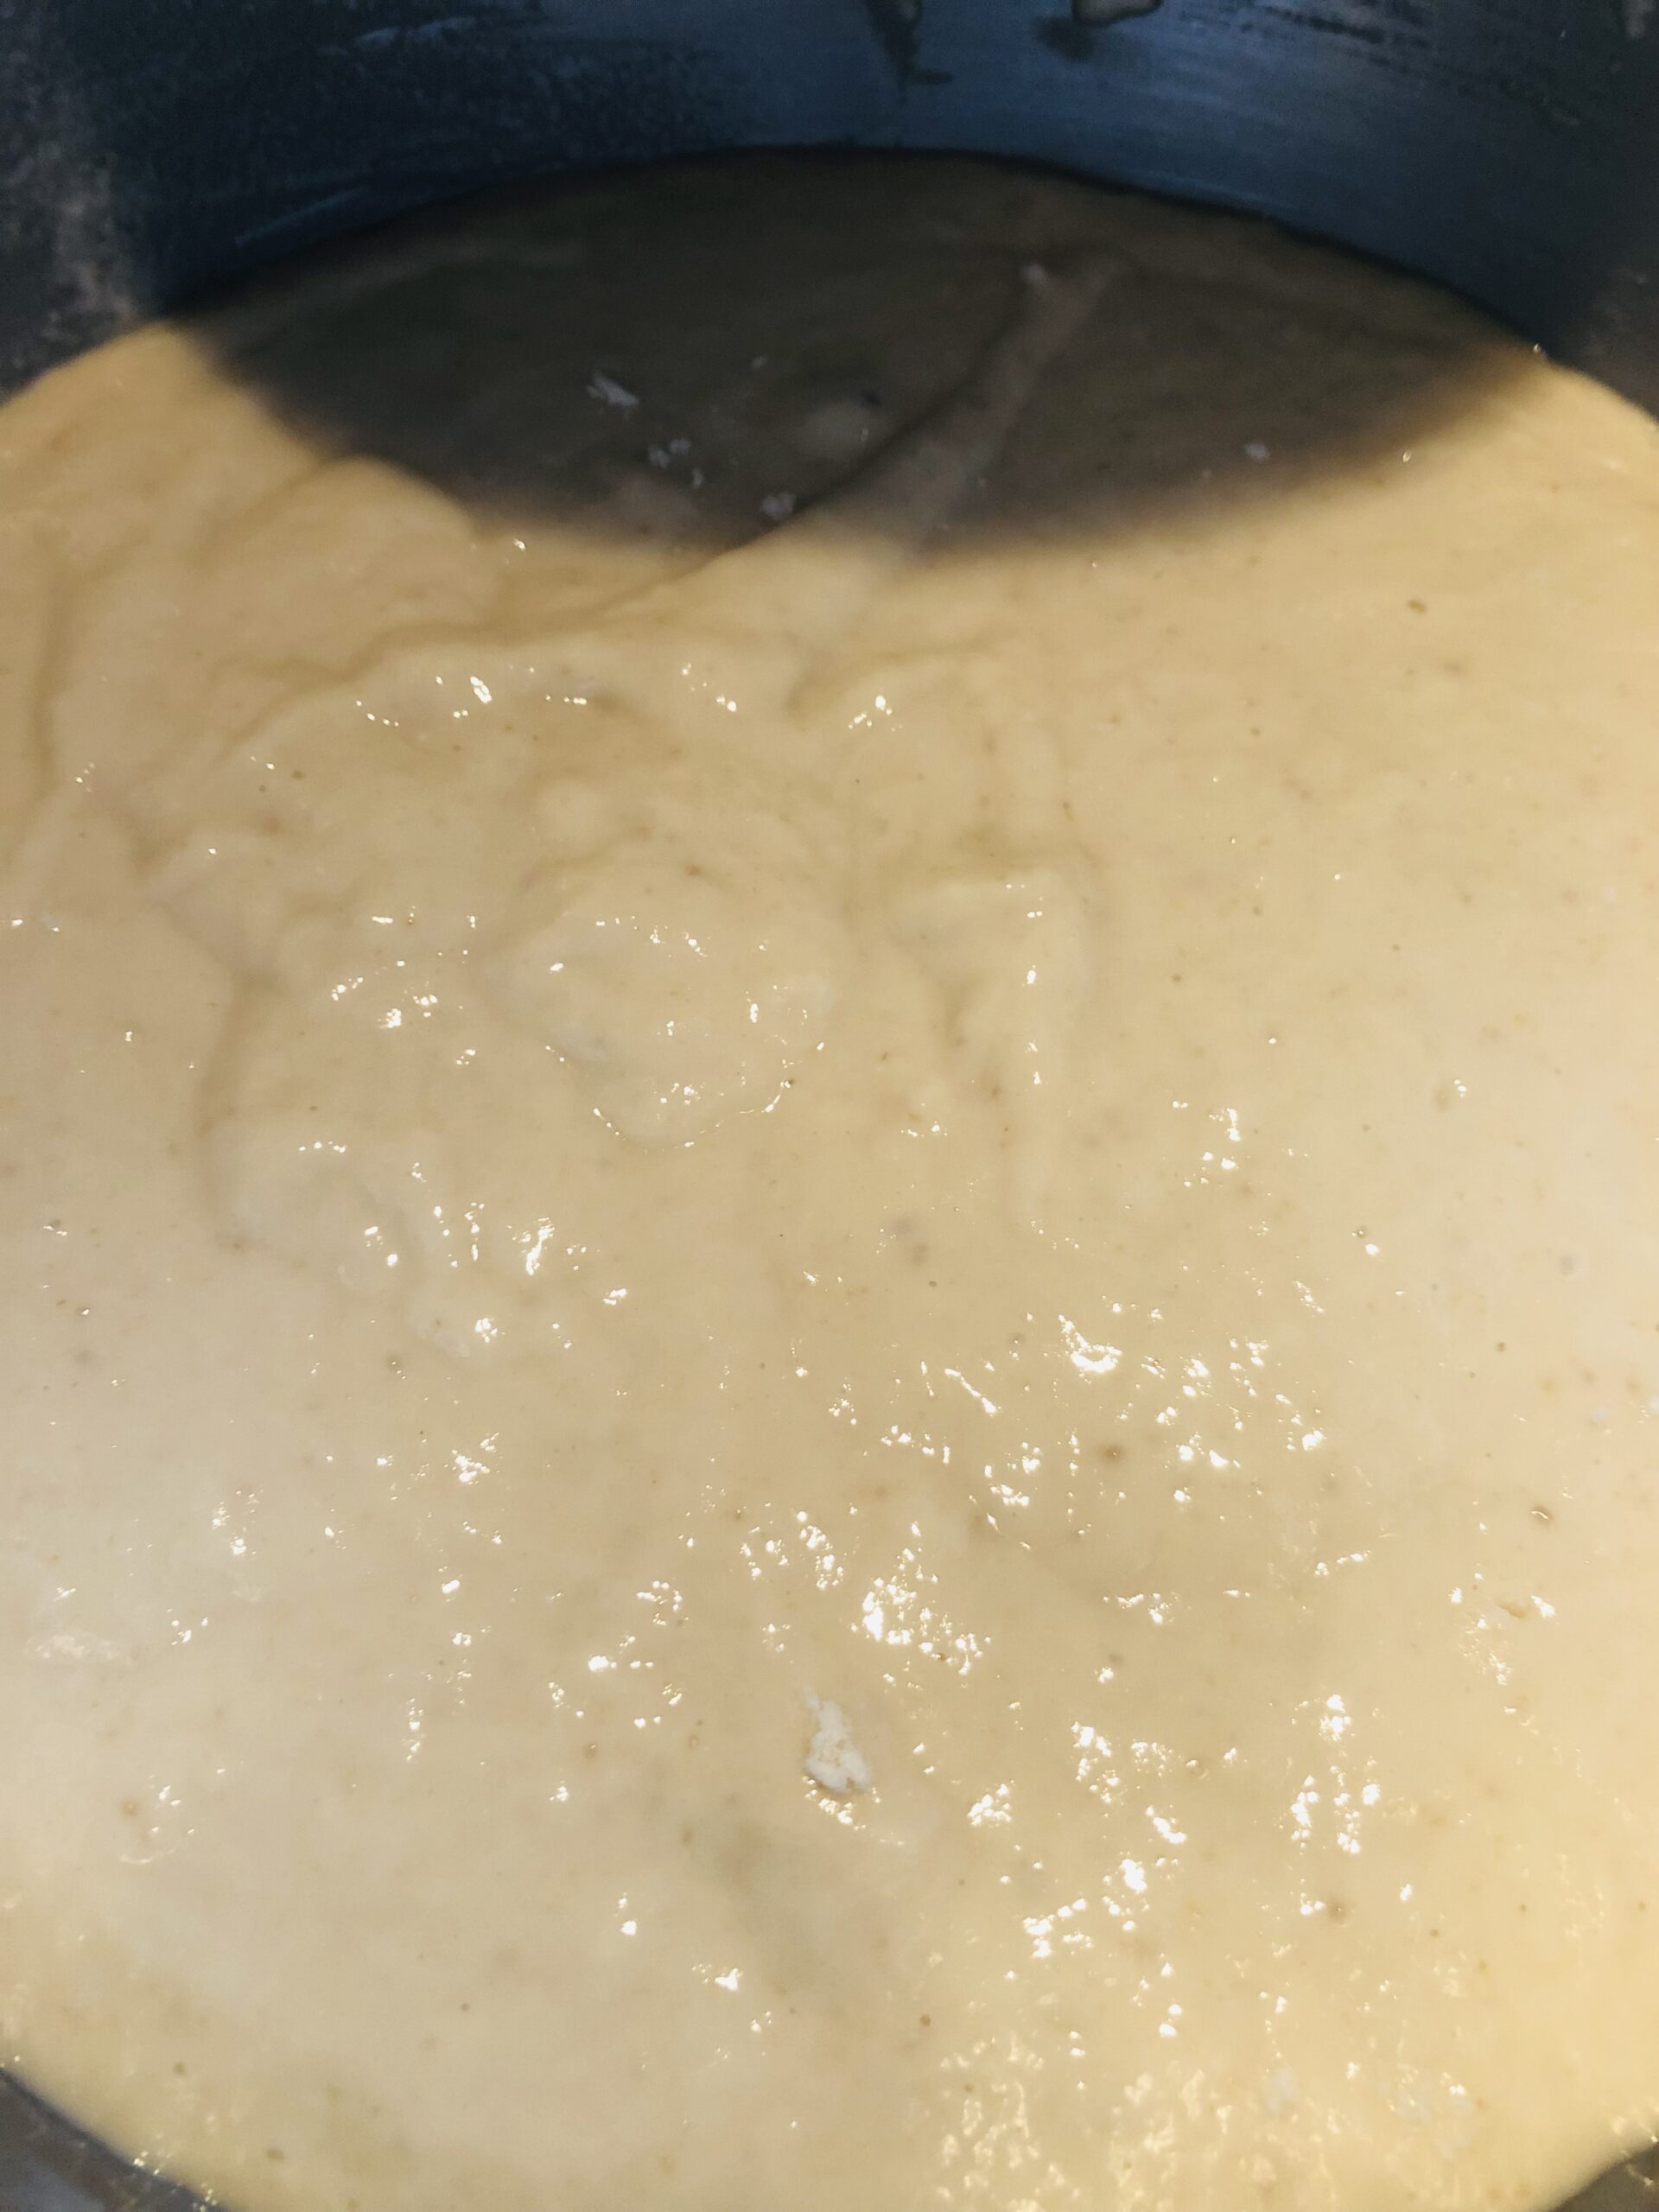
When adding the flour you need to make sure the dough is more like a batter than a dough, so more on the pouring scale. Then I exercised a bit of patience, yes I know, I’m learning. 😁 Leaving it to sit for at least half an hour to rise and get all ‘bubbly’ (the technical term).
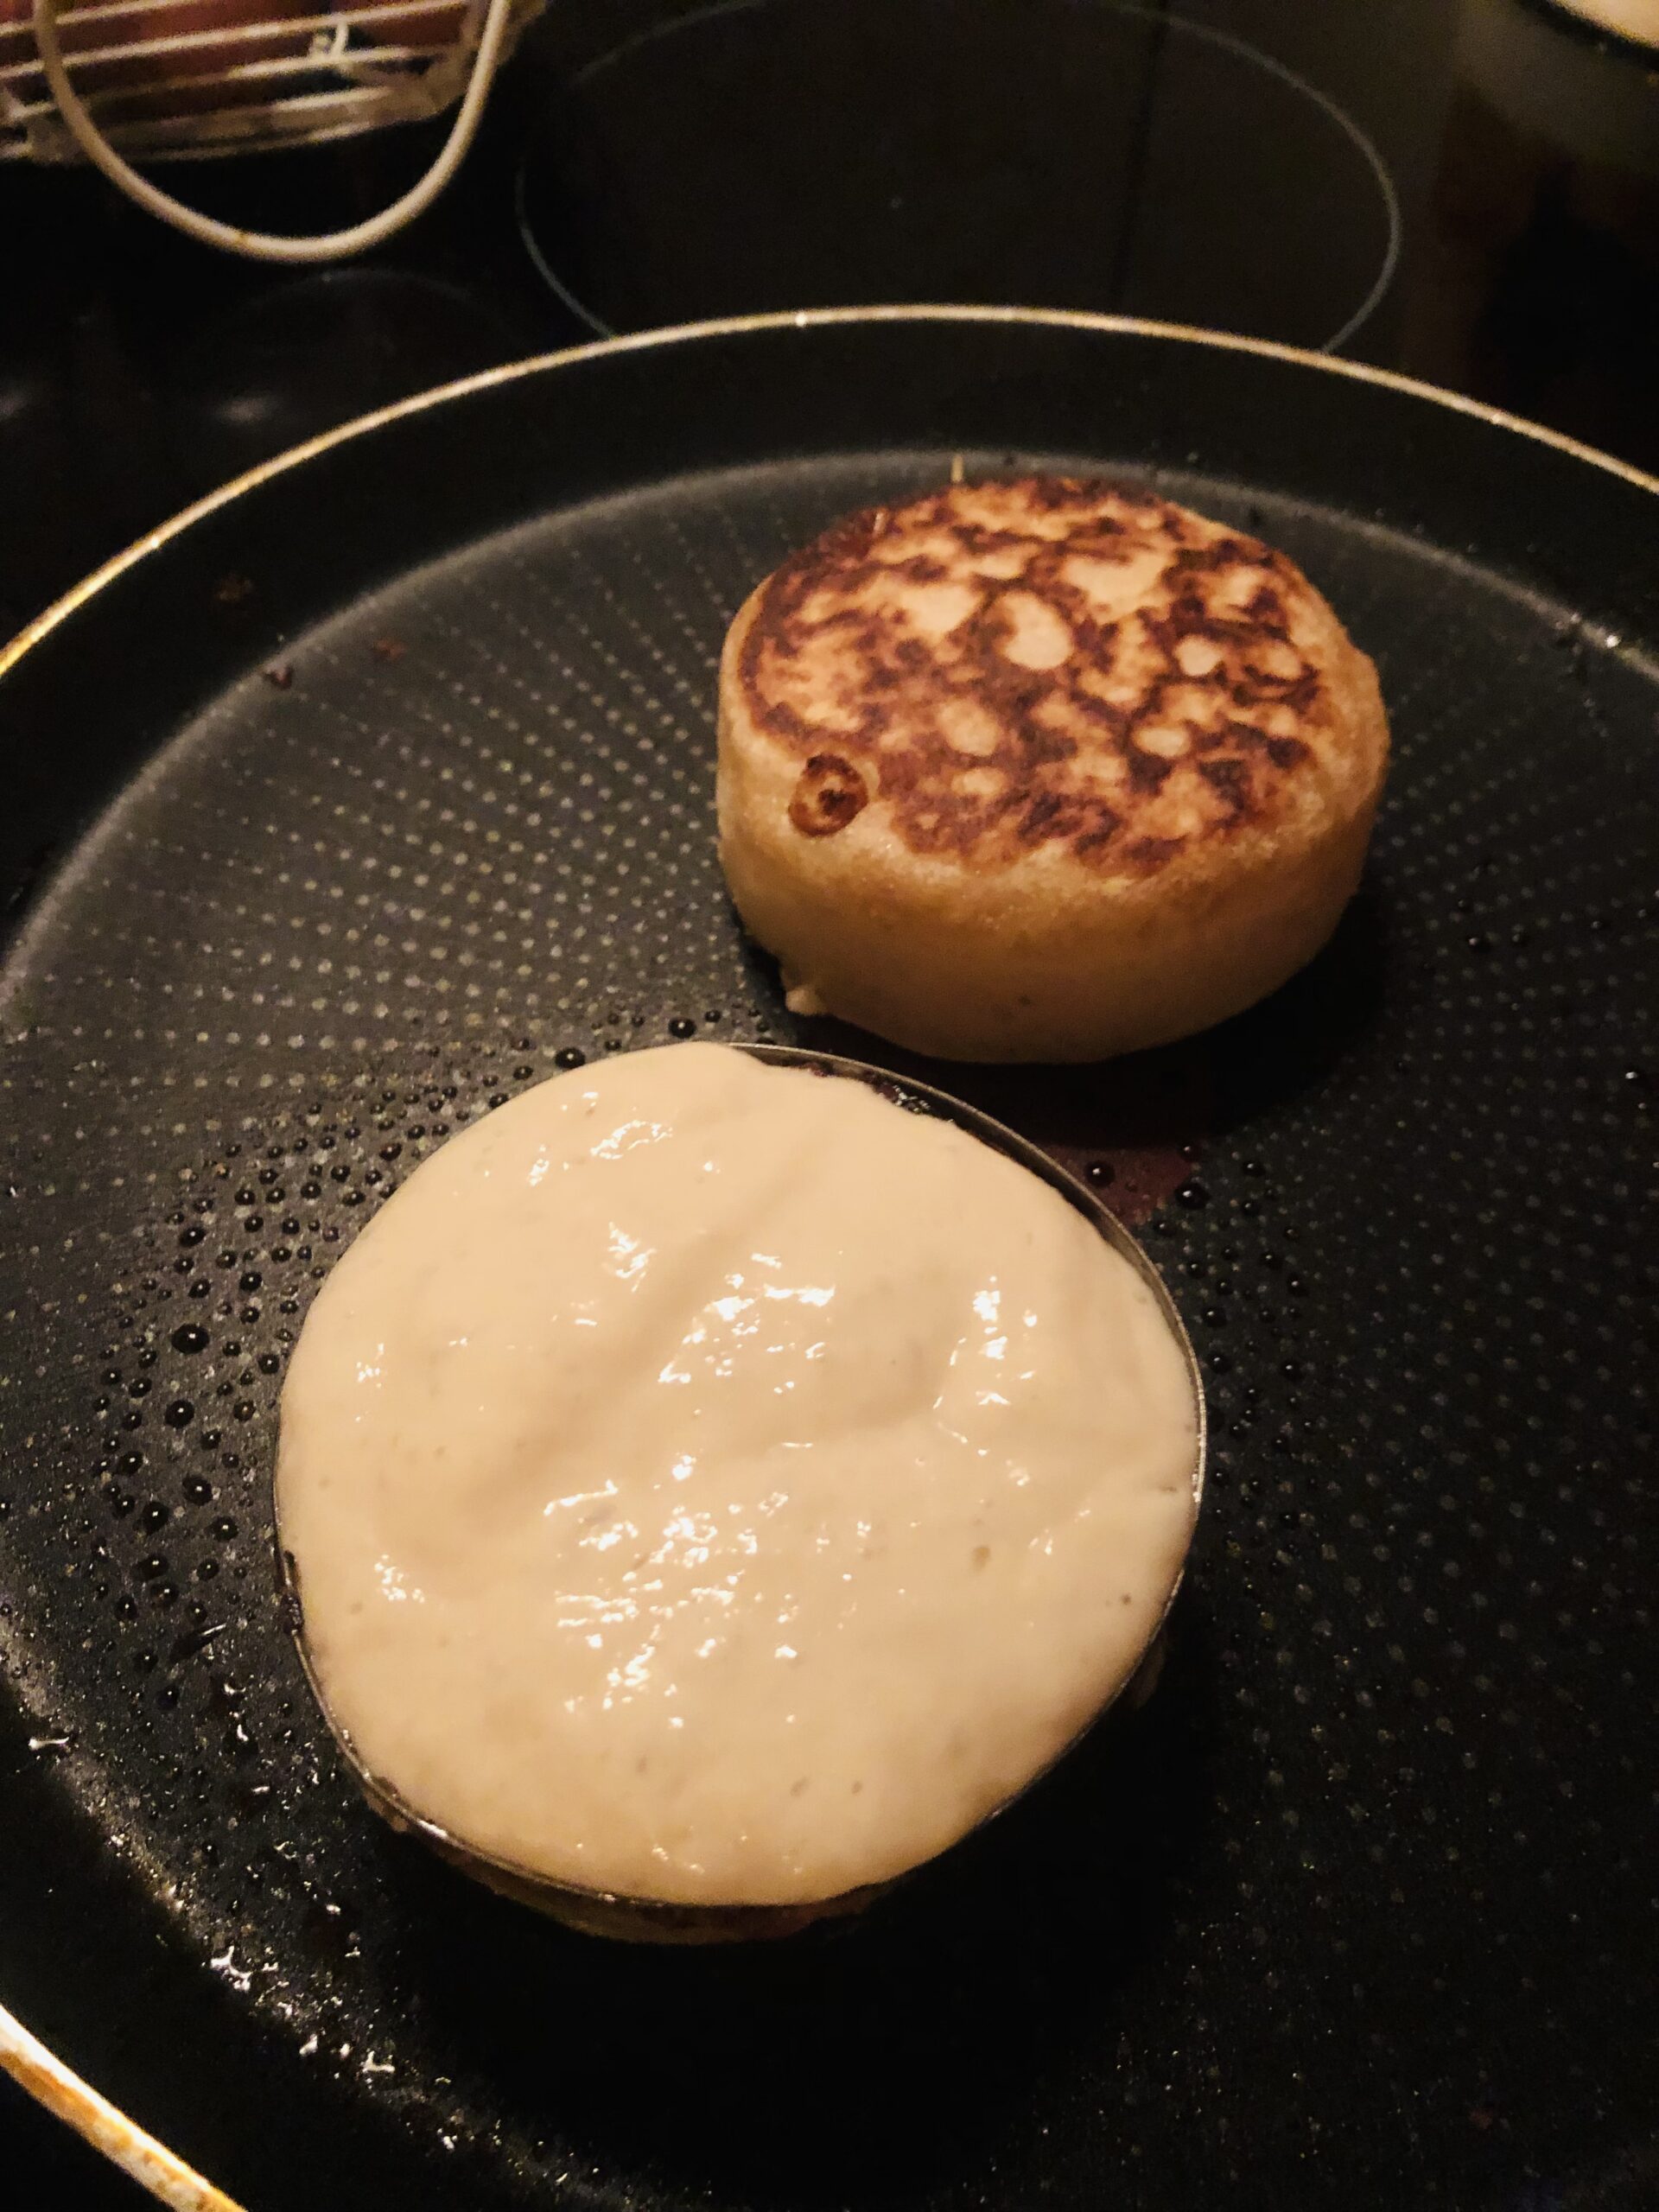
Now make sure you have more than one crumpet ring or you will be stood at the cooktop until your legs give way (gained from experience 😁). Spray oil is a fantastic invention to grease the rings before filling with batter, making them much easier to remove.
I cooked them in a hot pan until they were golden on both sides. When you flip over with a spatula you may get some oosing of batter, no problem, just push the ring down and this gets chopped off so they are all evenly round.
If you manage to wait until they are all cooked you can heat or toast them, or you can eat them deliciously hot off the stovetop with a cute little butter pat and some golden or maple syrup.
Please don’t forget to let me know how you get on with your crumpet adventure and don’t forget to tune in for more Mrs Beeton’s adventures!
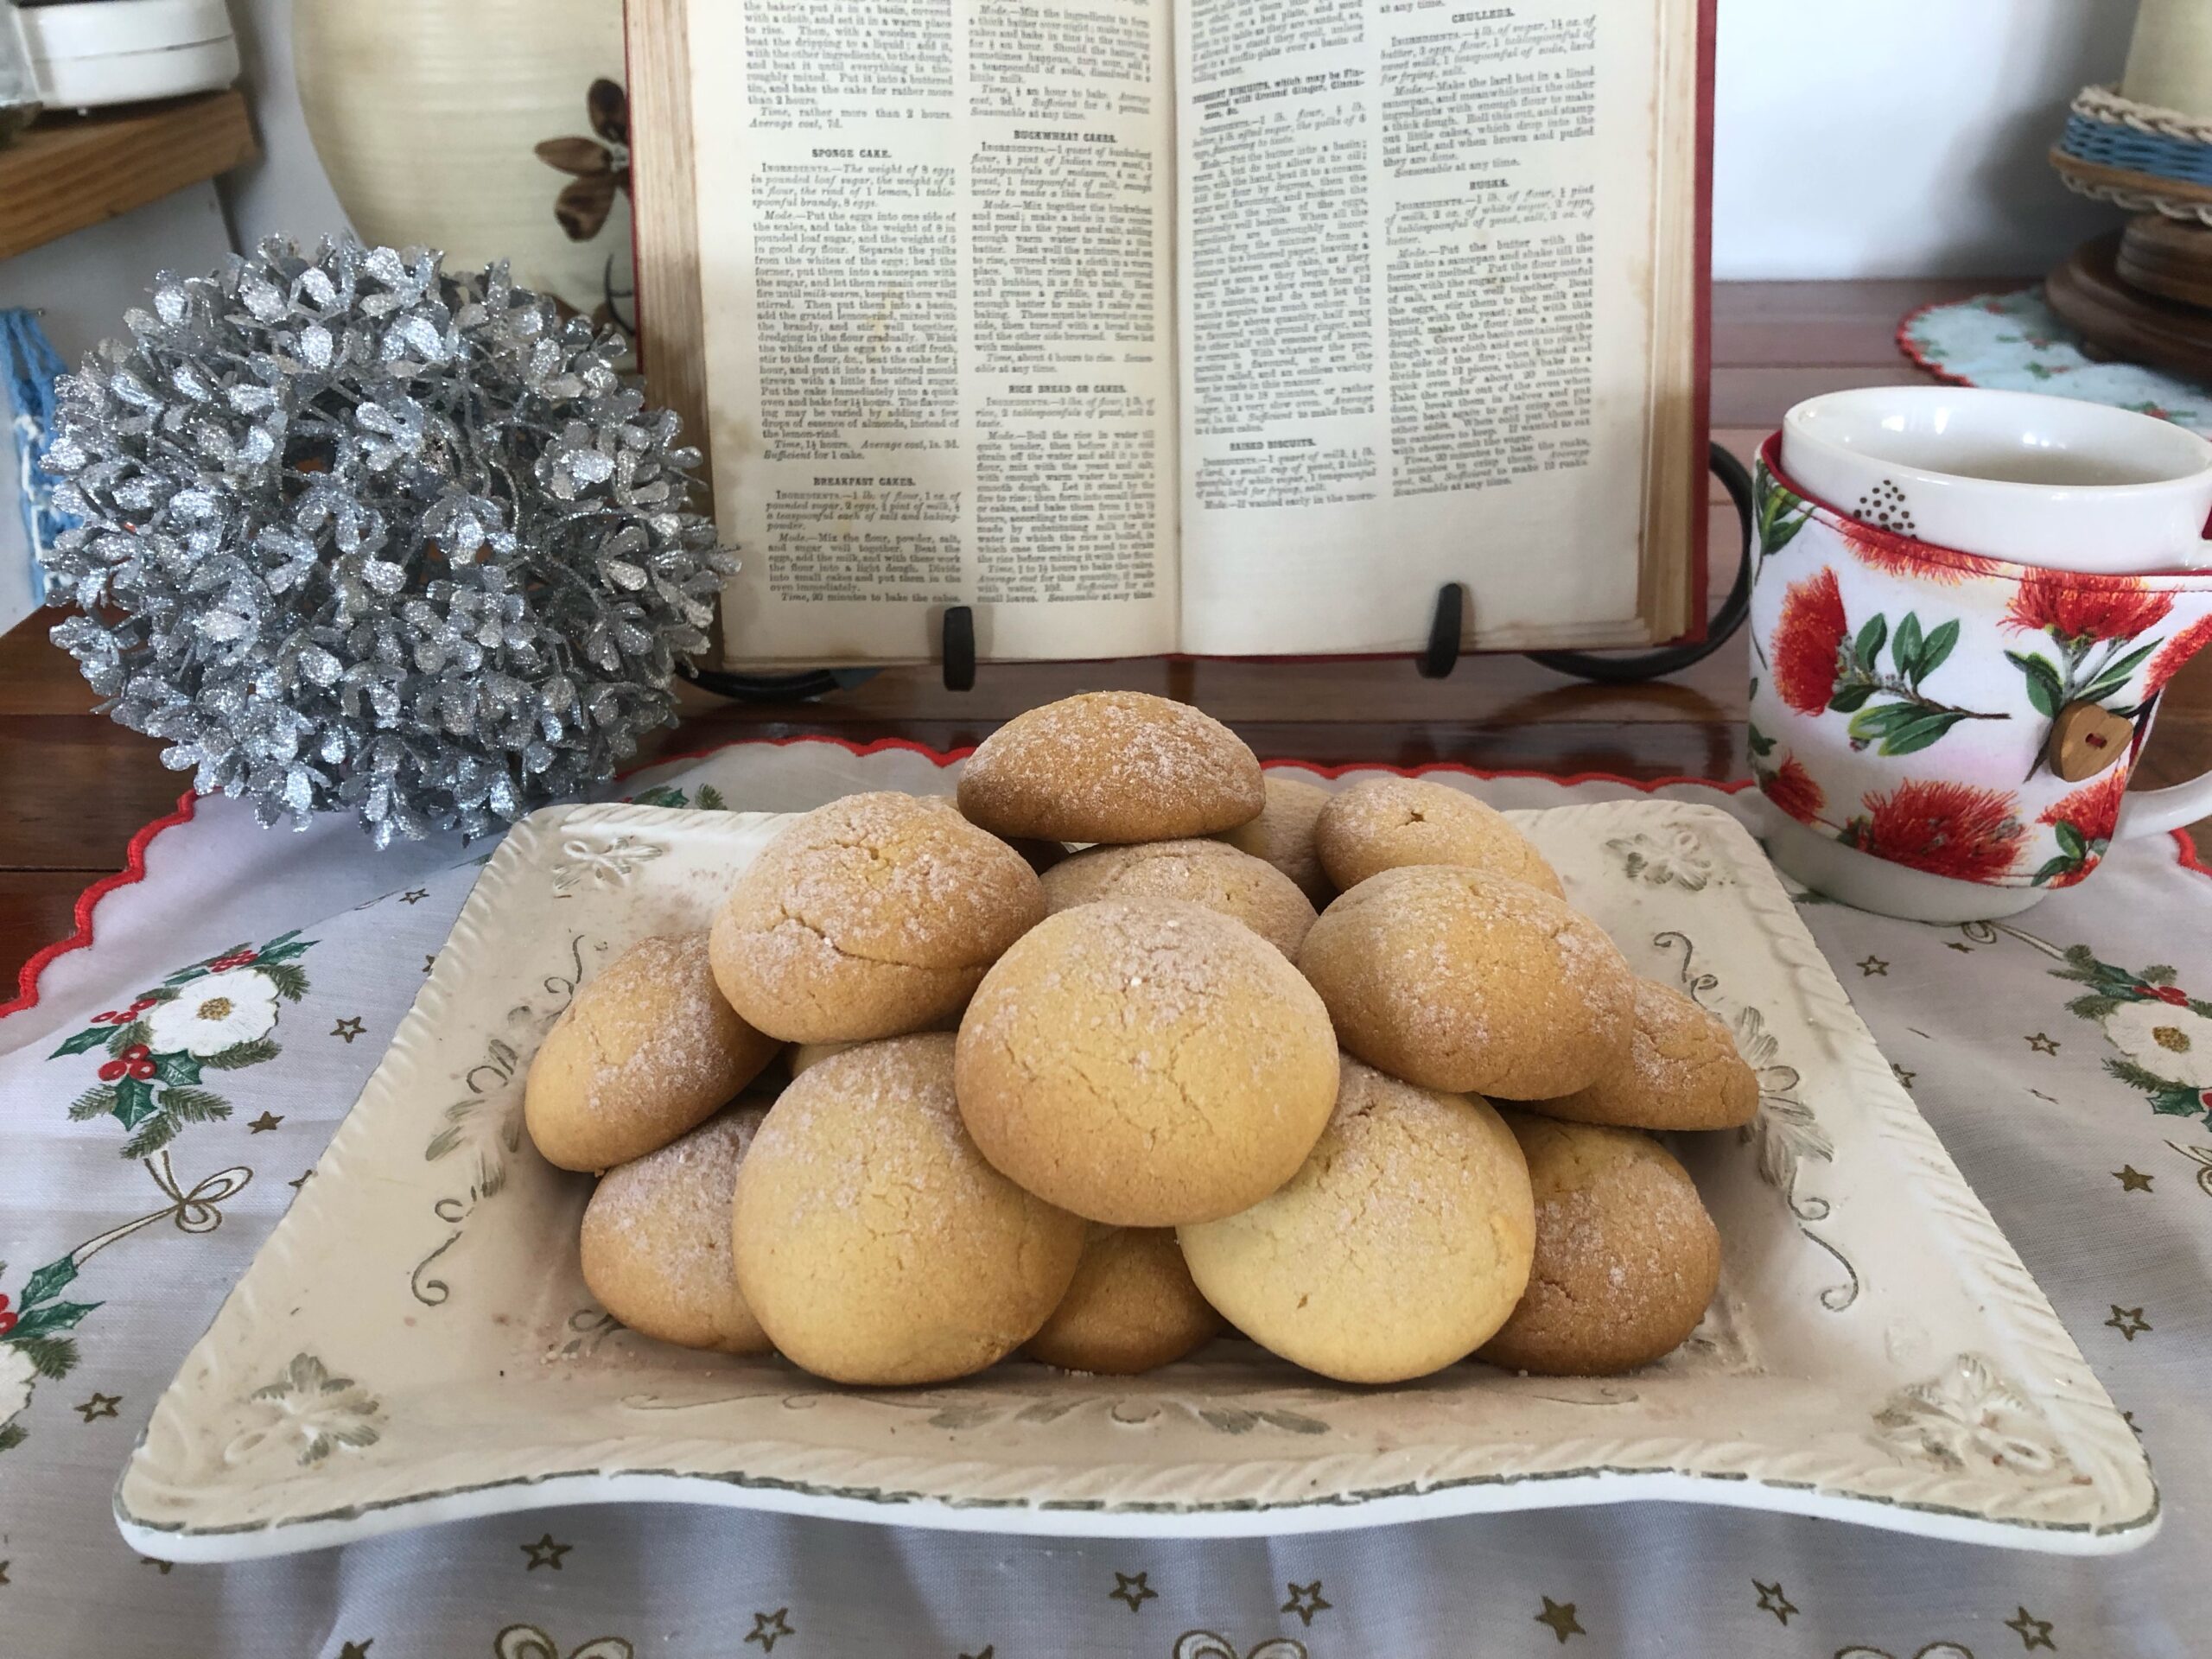

 Soften your 225g (Yeah I know, it’s a lot!) of Butter and beat it vigorously until it resembles cream instead of butter. I used my mixer for this so as not to wear out my arms this early in the bake, haha. Then I added in the flour “by degrees”, which is just really a posh way of saying ‘a bit at a time’ until it is mixed in. Then in went the icing sugar and the flavouring, and followed up by your lovely egg yolks (previously beaten until light and frothy).


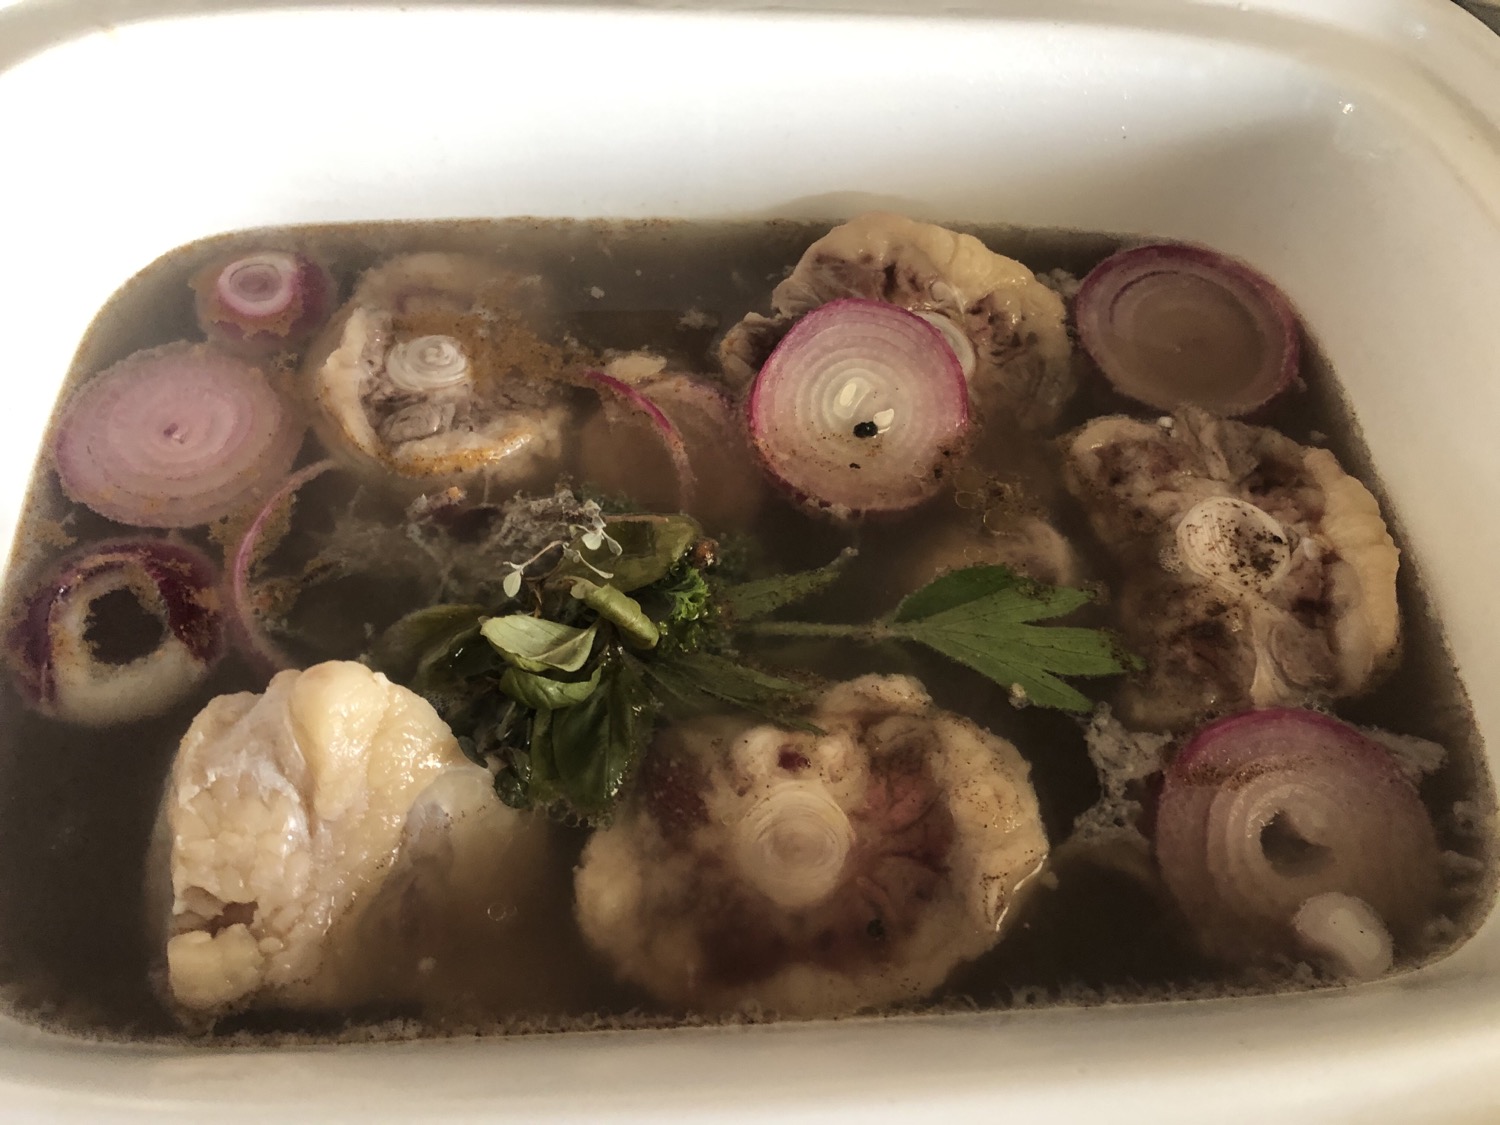
 Hanging out on my kitchen bench were my Oxtails, 1 Onion, Mace, Black peppercorns, Allspice, Salt, My trusty herbs gathered in a bunch, Butter, Flour and Lemon Juice. The last ingredient I was unable to find in our local supermarket so decided to source a recipe for this via the internet, I have attached this recipe below for mushroom ketchup for those of you who would like to try it. It’s not too tricky and tastes great!
 The first instruction was to divide the tails at the joints, which as my kitchen is pretty much devoid of any butchery equipment, would have been a bit of a tricky task. Luckily my trusty local butcher had already done this for me, ah, bliss! Then I simply had to ‘put them in a stewpan with sufficient water to cover and set them on the fire’

