Mrs Beeton’s Adventure – Folkestone Pudding Pies

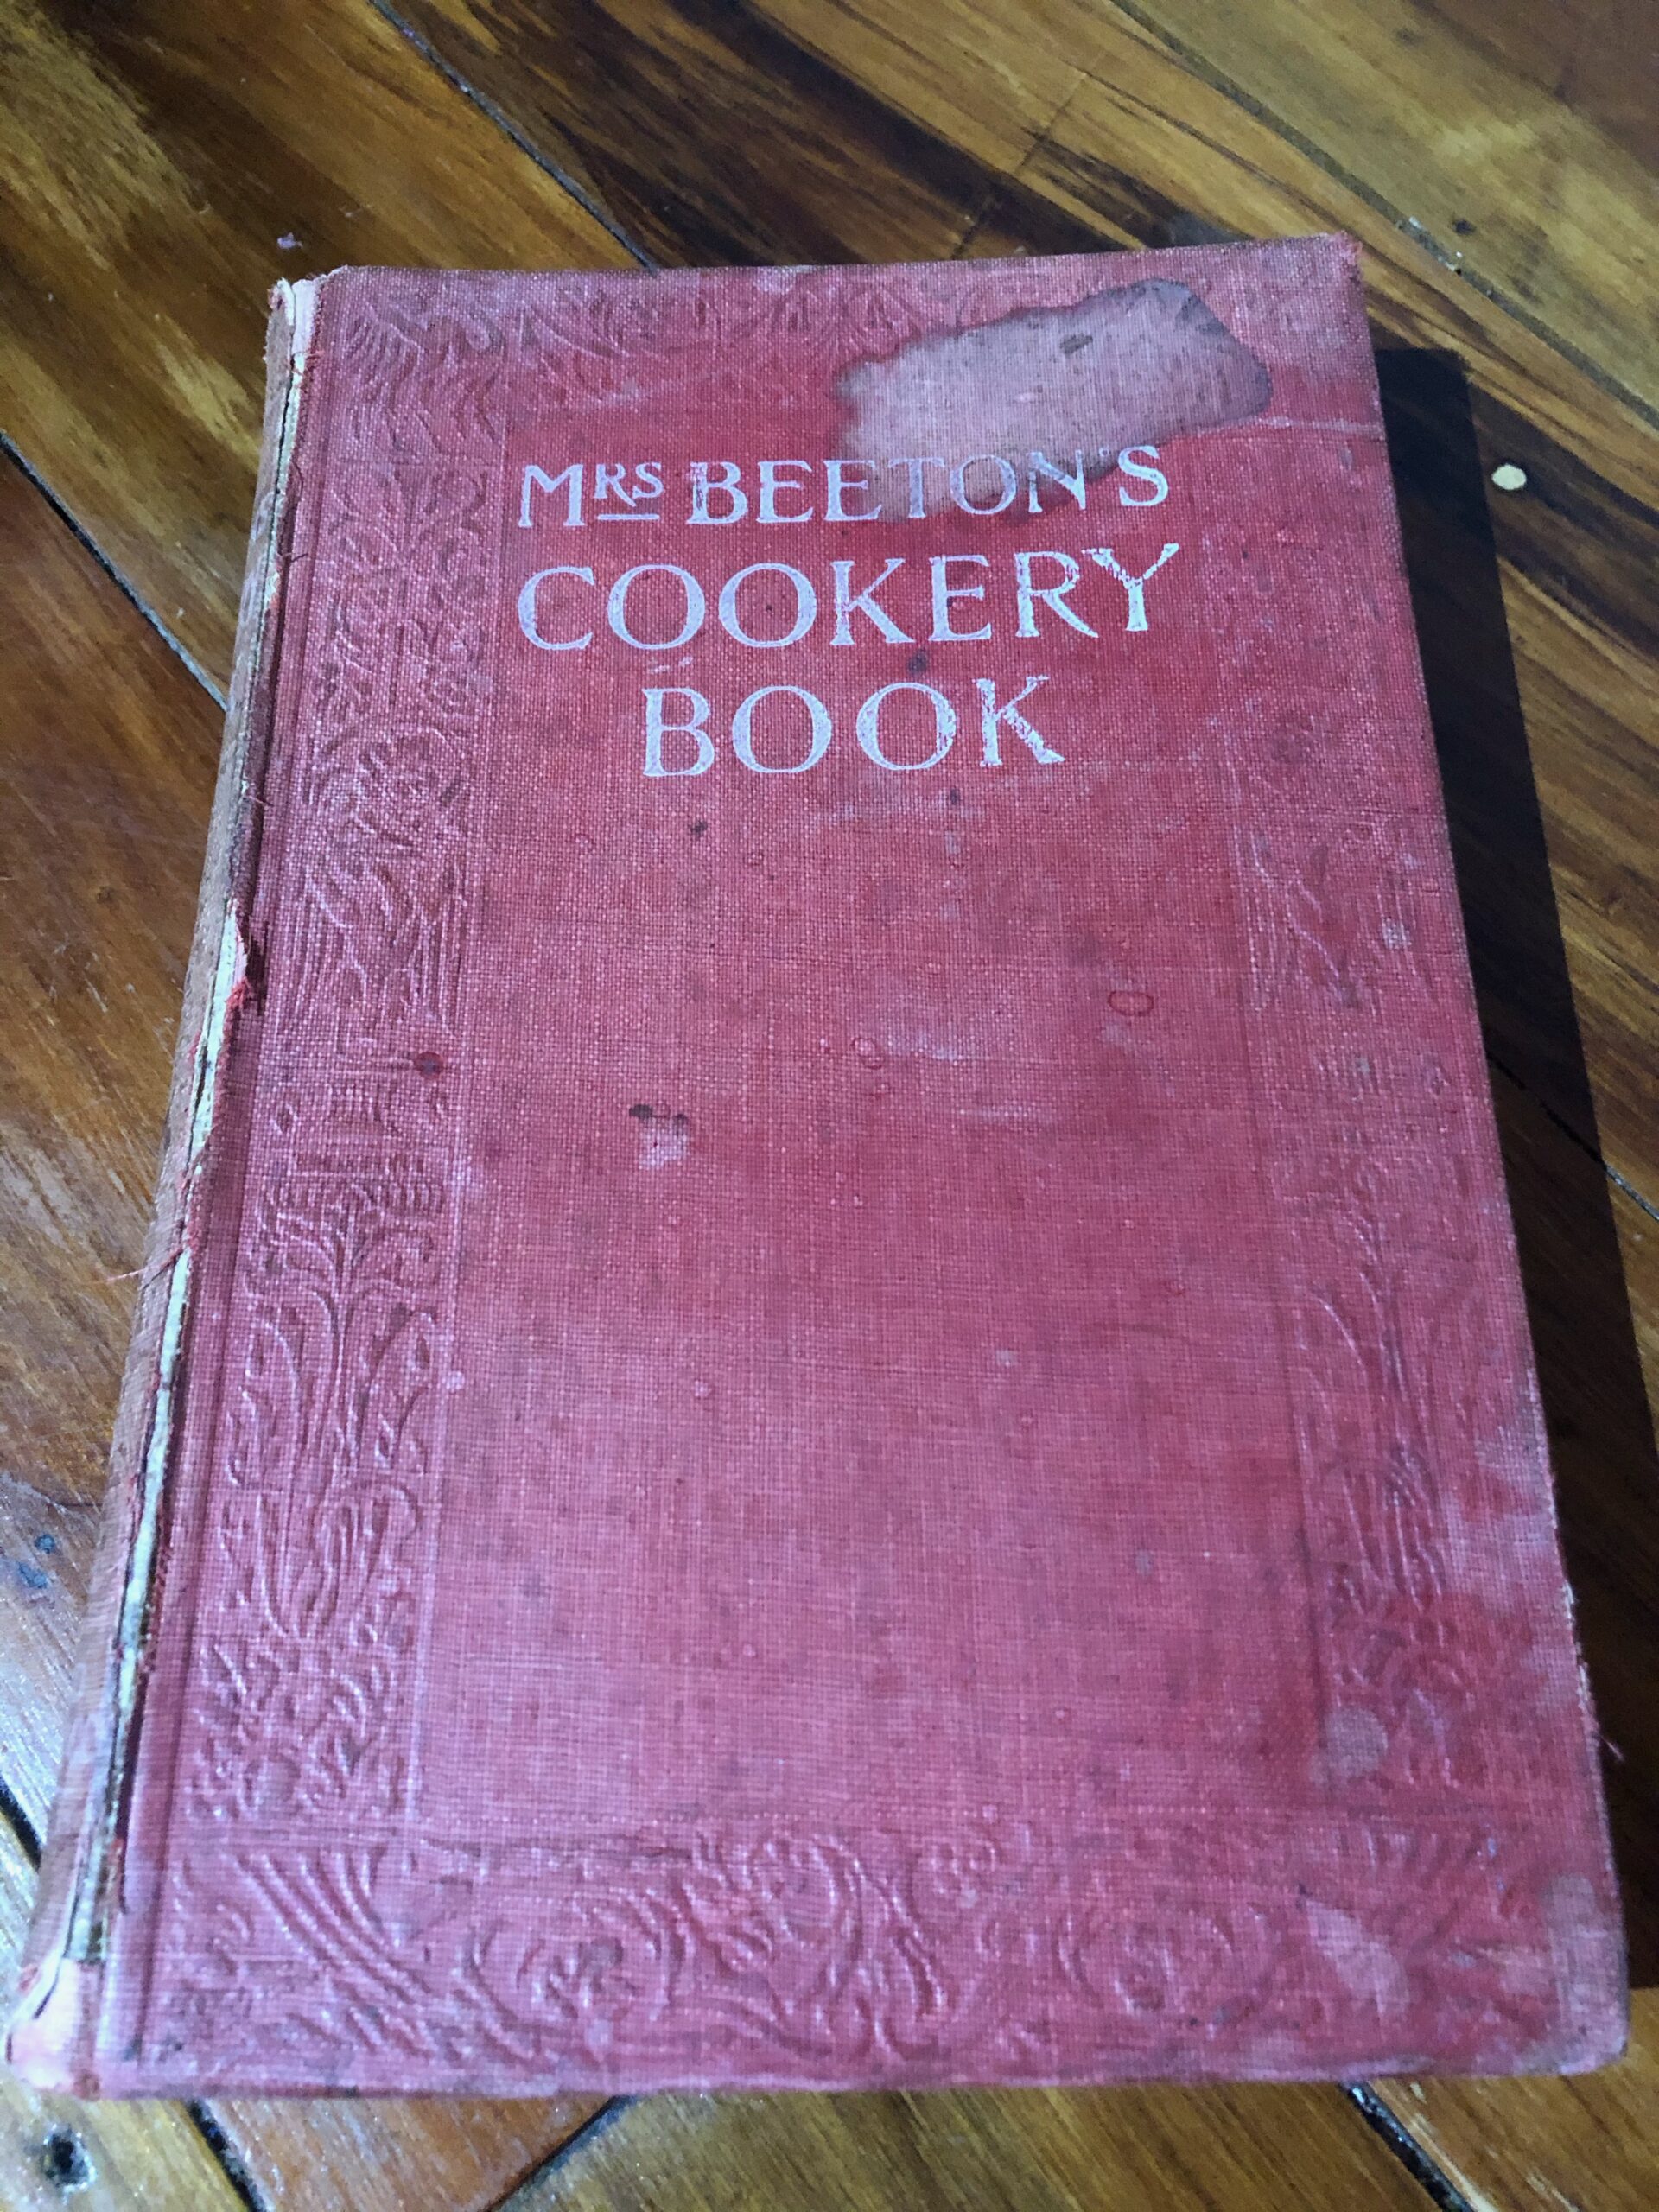
I hope everyone is ready for an afternoon tea treat with this recipe, as my next adventure was in the ‘Pastry and Puddings’ section of my Mrs Beeton’s cookbook.

As you will know I love to bake, so this one was pretty exciting for me. I searched for a recipe which had an ‘olde worldly‘ feel to it and after poring through the recipe goodies I decided on ‘Folkestone Pudding Pies’. I know what you’re thinking – that sounds interesting!
I’ll keep you in suspense no longer, here we go…

The ingredients I gathered on my bench were; milk, ground rice (rice flour), butter, sugar (white), 6 eggs, puff-paste (puff pastry sheets – to save time), currants and my chosen flavouring. The recipe suggests lemon peel or bay leaves, you can use whichever one takes your fancy. 🙂

The most exciting part was having it all in pounds and ounces so that I got to use my very cool op shop buy of my brown retro salter scales. Groovy baby! 😄

The flavouring is used to infuse your pint of milk with and needs to sit in the milk for at least a half an hour, minimum, for this to happen, then we take these out of the milk and add the rice flour (3oz).

I then ‘set it on the fire’ (which is really just my stovetop, but the fire sounds so much cooler) for 1/4 hour. I had to really watch it and stir the whole time in order to not end up with a gluggy, lumpy mess.

You are really just making a super light custard by using the rice flour, and as an added bonus it is gluten-free if you have anyone in the household who is also gluten-free.

After my 15 minutes was up I took it off the heat and added my 3oz butter (chopped for easy melting), 1/4 lb sugar and my eggs (these need to be beaten well before adding). This mixture has to be left to cool, so again the need for a dance party for one while I was waiting. 😄 You could totally put it in your fridge to help speed up the process if you’re pushed for time or don’t feel like dancing.

I used a standard-sized ‘patty-pan’ tray to make my pudding pies in, but you could use any size you wanted, Go muffin size for a good-sized dessert or mini for some delicious bite-sized ones. I chose a circular cutter to cut out the bases for my pies and greased and floured the tray before placing the pastry in them. This was just to make sure that I could get them out easily without any brute strength involved.

Greasing and flouring creates a non-stick base if you don’t have any baking paper or the time to cut it out.

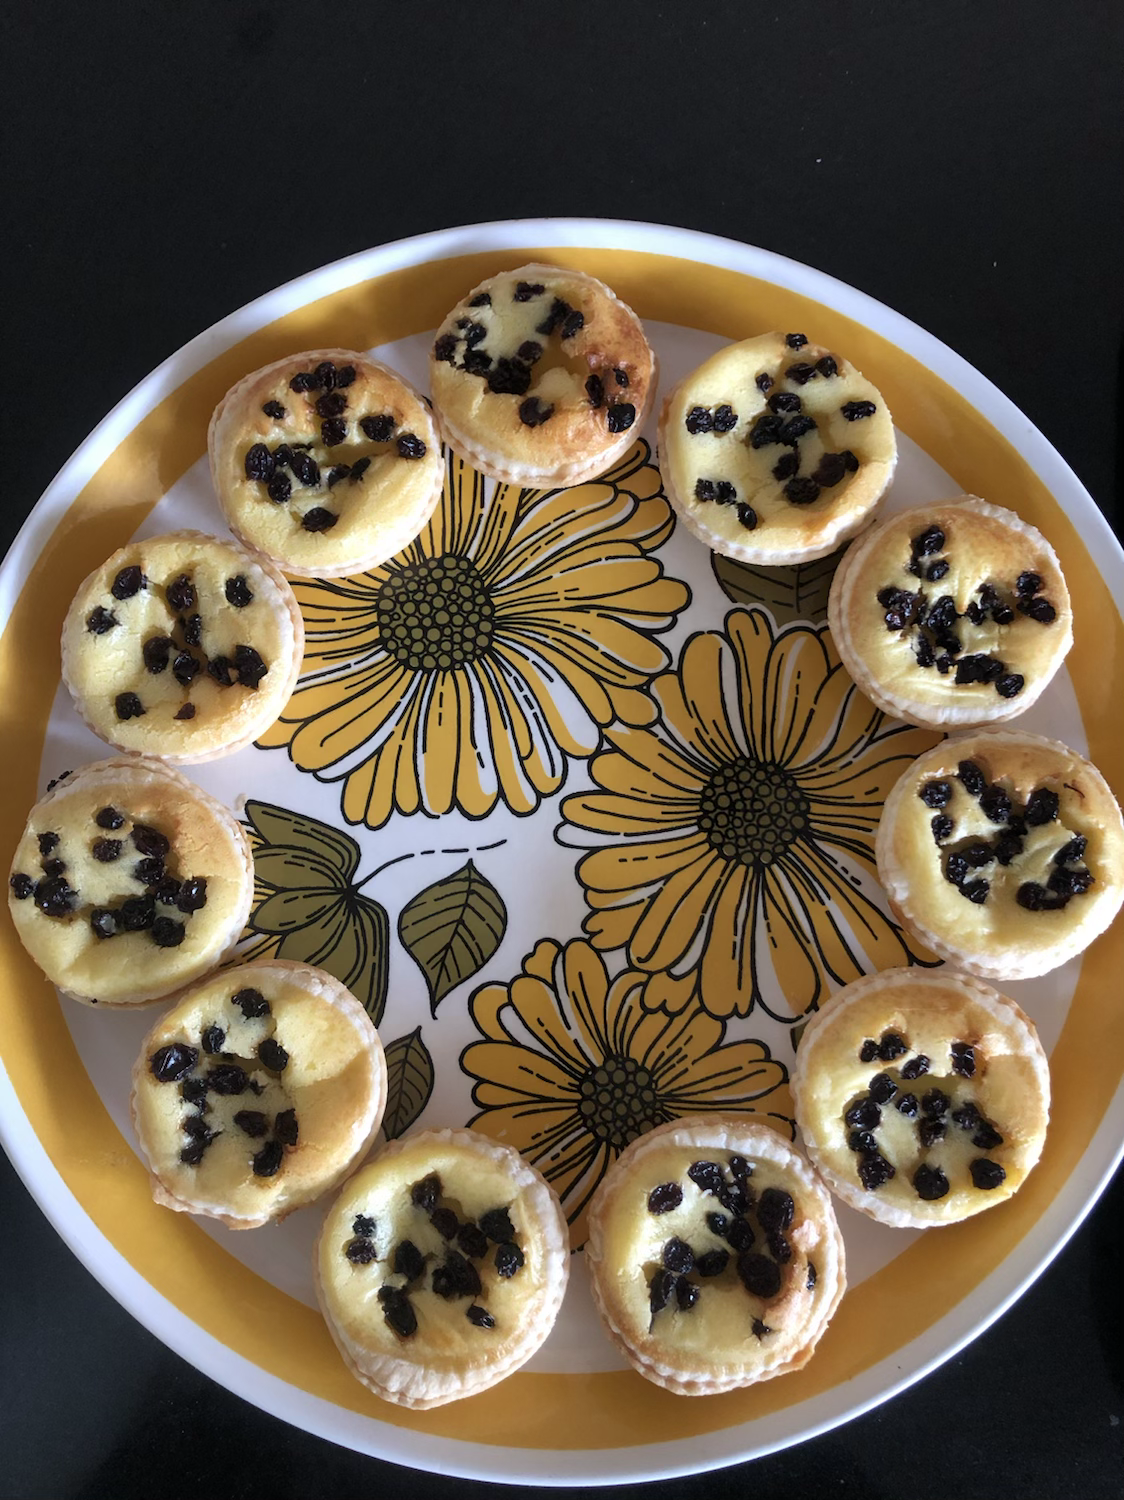
Each circle was placed in each patty mould and these were filled up to the top of the pastry with the cooled custard. I went wild sprinkling currants onto each one (cause I love them), and then put them on to bake at 180 degrees Celsius for 20-25 minutes. The recipe just states that the need to be cooked in ‘a moderate oven’, so I used my baking experience to determine how hot my oven needed to be.

Now I managed to fill 3 dozen patty pans with my mixture, as I chose the standard size, but this would change depending on the size of your trays. She does say ‘sufficient to fill a dozen patty pans’, so I’m thinking she went for the larger size. Back then, Mrs Beeton let us know, the average cost was 1s 6d.

Now I’m kind of glad that it made so many as they didn’t last long in my house, everyone that tried them loved them. I likened them to the flavour of a very light bread and butter pudding and would love to know if you try them too!


Every baking day is a happy day!

Don’t forget to subscribe for further updates everyone ❤️


Video link on You Tube for this bake at:

#vintagecooking, #vintagecookbook, #mrsbeeton, #cookingblog, #bakingblog, #vintagebaking, #retrobake, #retrobaking,

2021-11-10T09:03:50+13:0031 May 2021|Bakes, Cakes, History, Mrs Beeton's Cookbook|0 Comments

Mrs Beeton’s Adventure – Stewed Ox Tail

So many recipes to choose from!

Where do I go for my next Mrs Beeton’s adventure?
I chose to not overthink things and go with a main which would naturally follow a starter in a meal, and as I already had the oxtail in the freezer from our local butcher, the Stewed Ox Tail seemed the obvious choice.

Skimming through the ingredients it looked like there was a lot less chopping involved in this one, another thumbs up from me. 👍🏻
After gathering everything I needed I dove straight into my second adventure with good old Mrs Beeton…

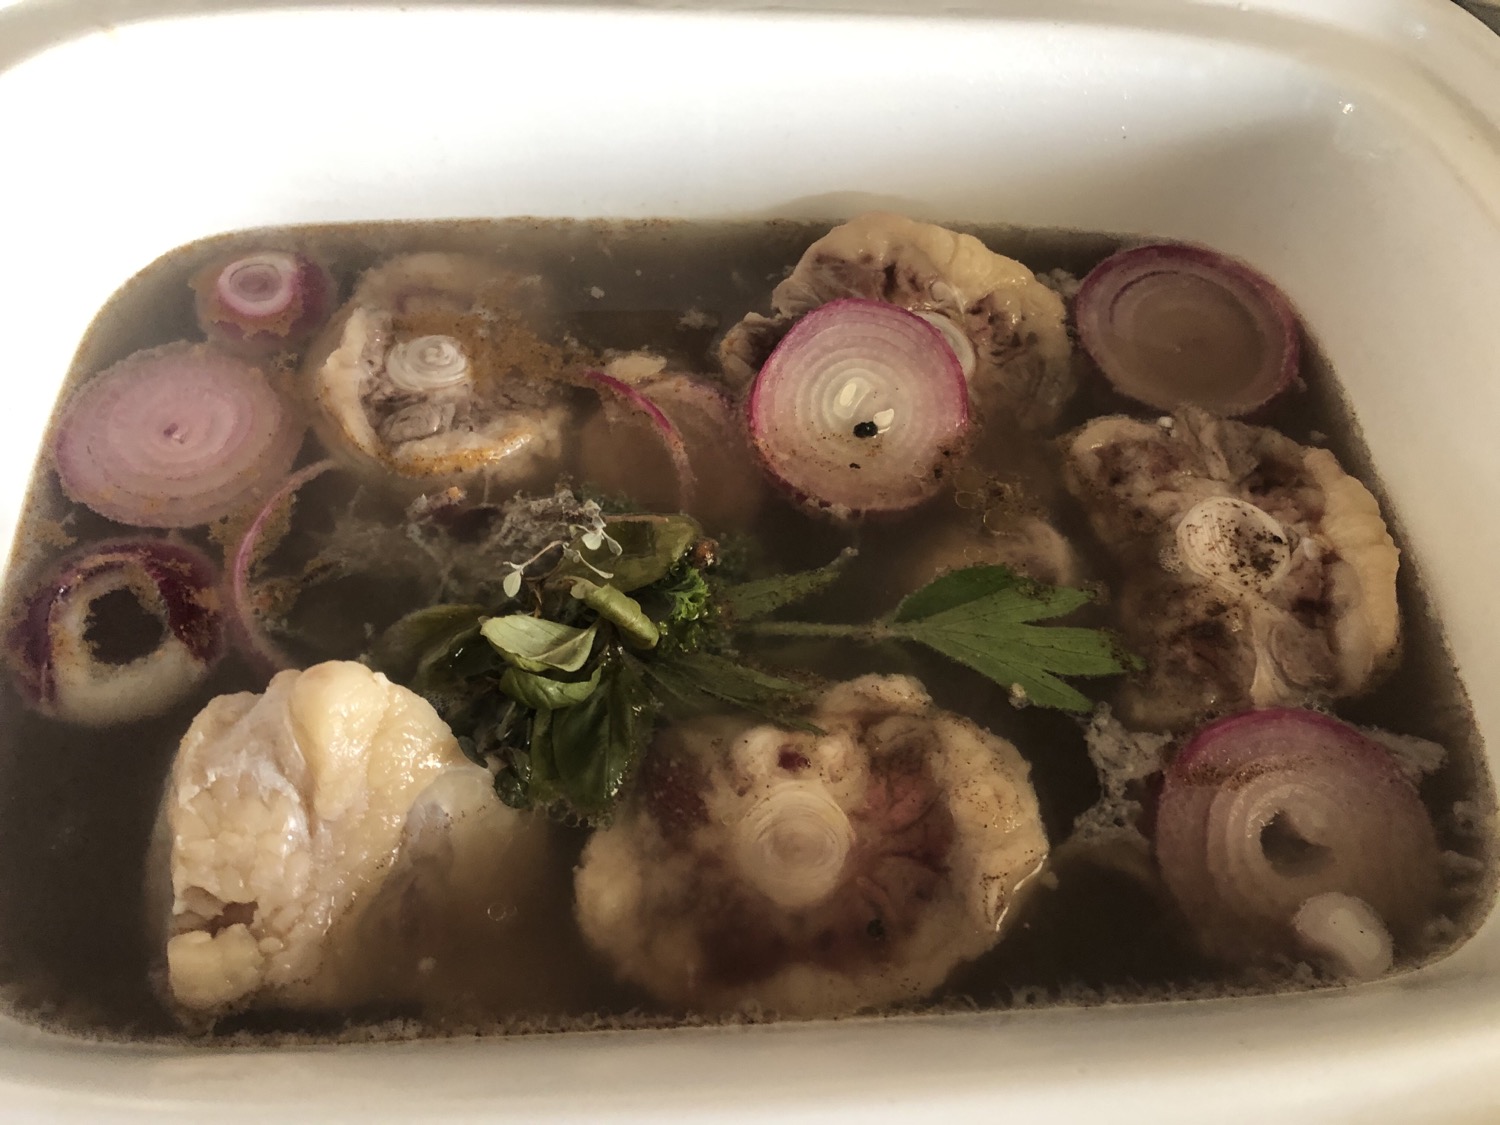
Hanging out on my kitchen bench were my Oxtails, 1 Onion, Mace, Black peppercorns, Allspice, Salt, My trusty herbs gathered in a bunch, Butter, Flour and Lemon Juice. The last ingredient I was unable to find in our local supermarket so decided to source a recipe for this via the internet, I have attached this recipe below for mushroom ketchup for those of you who would like to try it. It’s not too tricky and tastes great!

The first instruction was to divide the tails at the joints, which as my kitchen is pretty much devoid of any butchery equipment, would have been a bit of a tricky task. Luckily my trusty local butcher had already done this for me, ah, bliss! Then I simply had to ‘put them in a stewpan with sufficient water to cover and set them on the fire’

As we covered last time, the chances of me lighting a fire in the kitchen without an Aga were pretty slim and a little dangerous, I decided to use my good old slow cooker to make the meat lovely and tender over the 2 1/2 hour cooking time required.

After bringing the cooker to the boil I skimmed the scum (to make the end gravy clearer) from the top of the dish, added my onion chopped into rings, spices, seasoning and my lovely herbs, turning it to low heat.

My youngest and I used the waiting time to host an impromptu 80s dance party in the living room 😎🎶

Time flies when you’re having fun and before too long I was back in the kitchen ready to remove the tails and make the gravy.

I took some of the liquid out (as there was quite a bit due to the size of the cooker) and put it into a pot on the stovetop.

Mixing around 25grams of melted butter and a tablespoon of cornflour together I added this to the saucepan to whisk together, brought it to the boil to simmer for 15minutes until it was thickened and gorgeous. The next instruction was to strain through a sieve but there didn’t seem to be any lumps in my pot so I went straight to adding the tablespoon of lemon juice and teaspoon of my homemade mushroom ketchup.

I heated the lot through and poured it lightly over my dished up Oxtail. The recipe asked for it to be garnished with croutons but I was a bit pushed for time so quickly snipped off a garnish of fresh parsley.

The note under the recipe tells us that the average cost back then for this dish was 1-2shillings, according to the season and it fed around 8 persons.

The slow-cooked meat just fell off the bone and melted in your mouth, the addition of the mushroom ketchup was one I had never used before but was a refreshing flavour change!

The YouTube video for this cook is available to view at: https://youtu.be/l_HpaaXCTaI

I hope you enjoyed my second adventure and will join me for number three.🙂

Thanks so much for following along!

2021-11-10T08:55:03+13:003 May 2021|Bakes, History, Mrs Beeton's Cookbook|0 Comments

Mrs Beeton’s Adventure – Ox Cheek Soup

Where to start?

This has been a thoroughly researched question this week as I pored through the pages of my much loved cookery book.

I figured if I was starting off on my adventure then I really had to begin with tackling a starter, but which one??

What I really wanted to do was to relive my childhood obsession with Alice in Wonderland. My Scottish grandparents sent me a video tape (that’s an 80’s way of watching movies for you young ’uns) of an Alice in wonderland movie, taped from their television, and I remember watching it over and over again. So when I saw “Mock Turtle Soup” I was more than keen to give it a go! Although my excitement didn’t last long as the very first ingredient was a Calf’s head! And the instructions began with a very graphic “Scald the head with the skin on, remove the brain..”!! 😲Somehow I didn’t think I could a) find a calf’s head or b) remove any part of it to cook it), as my butchery skills were pretty much at a bare minimum. Although if I could have roped in my hubby with his family’s butchers background, I may have been tempted to give it a go. 😉

So on I searched through the soups to find one with a little less butchery, and my eyes were drawn to a couple of dishes. The first was ox cheek soup and the next oxtail soup.

Being a bit nervous after the blank stares I received at my local supermarket when asking if these were available I decided to try our local Village butcher. After double checking with a friend that these meats were actually a thing in good old NZ I strode up to the counter and bravely asked. I honestly needn’t of worried, he had a vast amount of knowledge and was eager to assure me that I could carry out my cooking experiment and the result would be delicious!

If anyone is as nervous as I was, I urge you to go ahead and ask at your local butchers, they really are the best people for the job. I got both of the meats so will be cooking the Ox Tail soup very soon.

But today the star of the show was Mrs Beeton’s Ox Cheek soup.

I was assured by a very reliable source that people would also love to watch a youtube clip of each of my adventures (although I’m still not so sure I will put it up), so I painstakingly laid out all of my ingredients and utensils on my kitchen bench and pilfered my daughters phone stand from her room all ready to go. Now I thought this was going to be rather tricky with my pre-schooler having quiet time in the lounge, but when I told him Mummy needed quiet he was quick to assure me that he would be an angel 😇.

After a bit of “Who are you talking to mummy?” I dove in…

The recipe started with butter in the saucepan (largest one I could find) and then instructed me to lay the bacon and beef cheek on top of this. In went a LOT of tiny chopped vegetables; parsnip, carrots, onions, and holey moley what a lot of celery! (with even more celery to go in after cooking with the meat).

The recipe asked for a ’faggot of savoury herbs’ which just means a small bunch, so I was pretty excited to be able to whip out to my herb stand on my deck and pick these fresh. 😀 I tied them to a longer string which I tied around my pot handle for easy removal later.

The recipe didn’t specifically say when to put the herbs in so I made an executive decision and included them with the veges. All the usuals such as salt and pepper, some whole cloves and a bay leaf ,from my lovely little tree, went into the pot too. And one rather unusual ingredient that I had never used before, Mace, which was right there, with all of the other packaged herbs, at my local supermarket. I had to do a bit of googling when it came to the amount of ‘two blades of mace’, as I had only managed to get ground mace. The lovely internet did not disappoint and assured me that this was equal to exactly 1 teaspooon.

The cooking started with setting the pot over a ‘slow fire‘ for 1/4 of an hour, so I reckoned it was a safer bet for me to put it on my stovetop at mark 3. Just to save any impromptu visits from any local firefighters. 😉

This was followed with adding water (no exact amount was detailed in the recipe so I went with my gut and added as much as my pot could handle without boiling over. The pot then had to simmer until reduced by 4quarts (16 cups according to my measuring jug). Now my pot would not handle any where near that amount so I decided to reduce the liquid by as much as I could in an hour and a half of slow boiling (as with soups I have made in the past).

The next step was to take out the meat and strain the soup into a ’stewpan’. I did give straining it a go but didn’t really have the muscles to push the veges through the sieve (they must have had much stronger cooks back in the day). My cheat move was to turn them to mush in my little kenwood blender, voila! Back into the soup liquid they went and I thickened it (as per the recipe) with flour.

The extra chopped head of celery went in to simmer until soft and cutting the meat into little diced pieces, removing gristle as I went, this went back in too.

Plated up just as ordered with a “crusty roll“ and a “glass of sherry to much improve the soup” (subbed for rosé as that’s all I had).

I can see why the endnote says it takes 3-4 hours with all of the prep work, stovetop boiling and end prep. It’s definitely a labour of love! ❤️
The average cost at the time of publication was 7d (pennies) apparently and this soup serves 12 persons. A great dinner party starter indeed.

I have really enjoyed my first cook and hope you have enjoyed reading about it.

If you are keen to view the YouTube video for this cook it is available at: https://youtu.be/9dNXMQYx9ug

Until next time, new adventures await!

2021-11-10T08:55:03+13:0031 March 2021|History, Mrs Beeton's Cookbook|0 Comments

The Great Mrs Beetons Adventure

Anyone who knows me will know that I LOVE lists and coming up with new projects that I can sink my teeth into, so I thought why not combine these two with my love of baking and cooking! (Something that may come up to bite me in the butt a little later on but why not follow our passions).

I have a few lovely old books and this treasured one below is one of my favourites.

…so why not go through and try to recreate the recipes in it in my own kitchen.

Now given that this book has the grand old publishing date inside its pages of 1906 this may not be as straightforward as simply following a recipe and should throw up a few ‘translation problems’ as well as difficulty trying to source the same ingredients that were used 115 years ago. Despite all that I’m up for the challenge!

So if you are a fan of vintage cookery books, the great Mrs Beeton, or just need some light relief reading about someone else’s kitchen (mis)adventures, come along with me on my journey through a wonderful well known old book. You might find inspiration along the way!

2021-11-10T08:55:03+13:0023 March 2021|History, Mrs Beeton's Cookbook|0 Comments

High Tea & Its History

No doubt you have heard of the posh afternoon treats known as ‘High Tea’, but have you ever taken the time to find out what it is all about?

Shrewsbury Biscuits

The history of it all dates back to as early as the mid-1700s in Great Britain and was initially taken each day at around 3 pm. These days there is a very feminine theme surrounding the high tea but did you know that in the 1700s it was originally taken by working class males, and the ‘high’ in high tea came from the fact that they sat on high stools to eat it. Betcha didn’t know that! 🙂

The event grew in fame and eventually became the thing to do amongst high society ladies and gentlemen, a great way to get some sustenance before your long evening out dancing or at the opera 🙂

The popularity of the High tea has only gone from strength to strength over the years and now is taken across the globe, for a lot of special events such as birthdays, Mothers Day, wedding brunches etc. A fantastic reason to get out all the vintage cookbooks and bring the flavours and delicacies of the ‘good old days’ to your table.

Ginger Gems

High tea comprises of many different elements; beautiful serving plates, delicate sandwiches with delicious fillings, mini cakes and scones and your favourite people to share it with. Don’t forget the vintage teacups and saucers for an authentic high tea.

If the thought of creating such a spread leaves you a nervous wreck you can always contact us here at Sweet Sensations-Homemade Delights NZ #sweetsensationsnz #sweetsensationshomemadedelights to whip up a lavish spread to adorn your table for your special celebration. Make your guests day and give them the gift of reliving their best childhood celebration memories.

2021-11-10T09:10:38+13:001 March 2021|History|0 Comments
Go to Top